This is the Atari 800 computer, released in 1979.
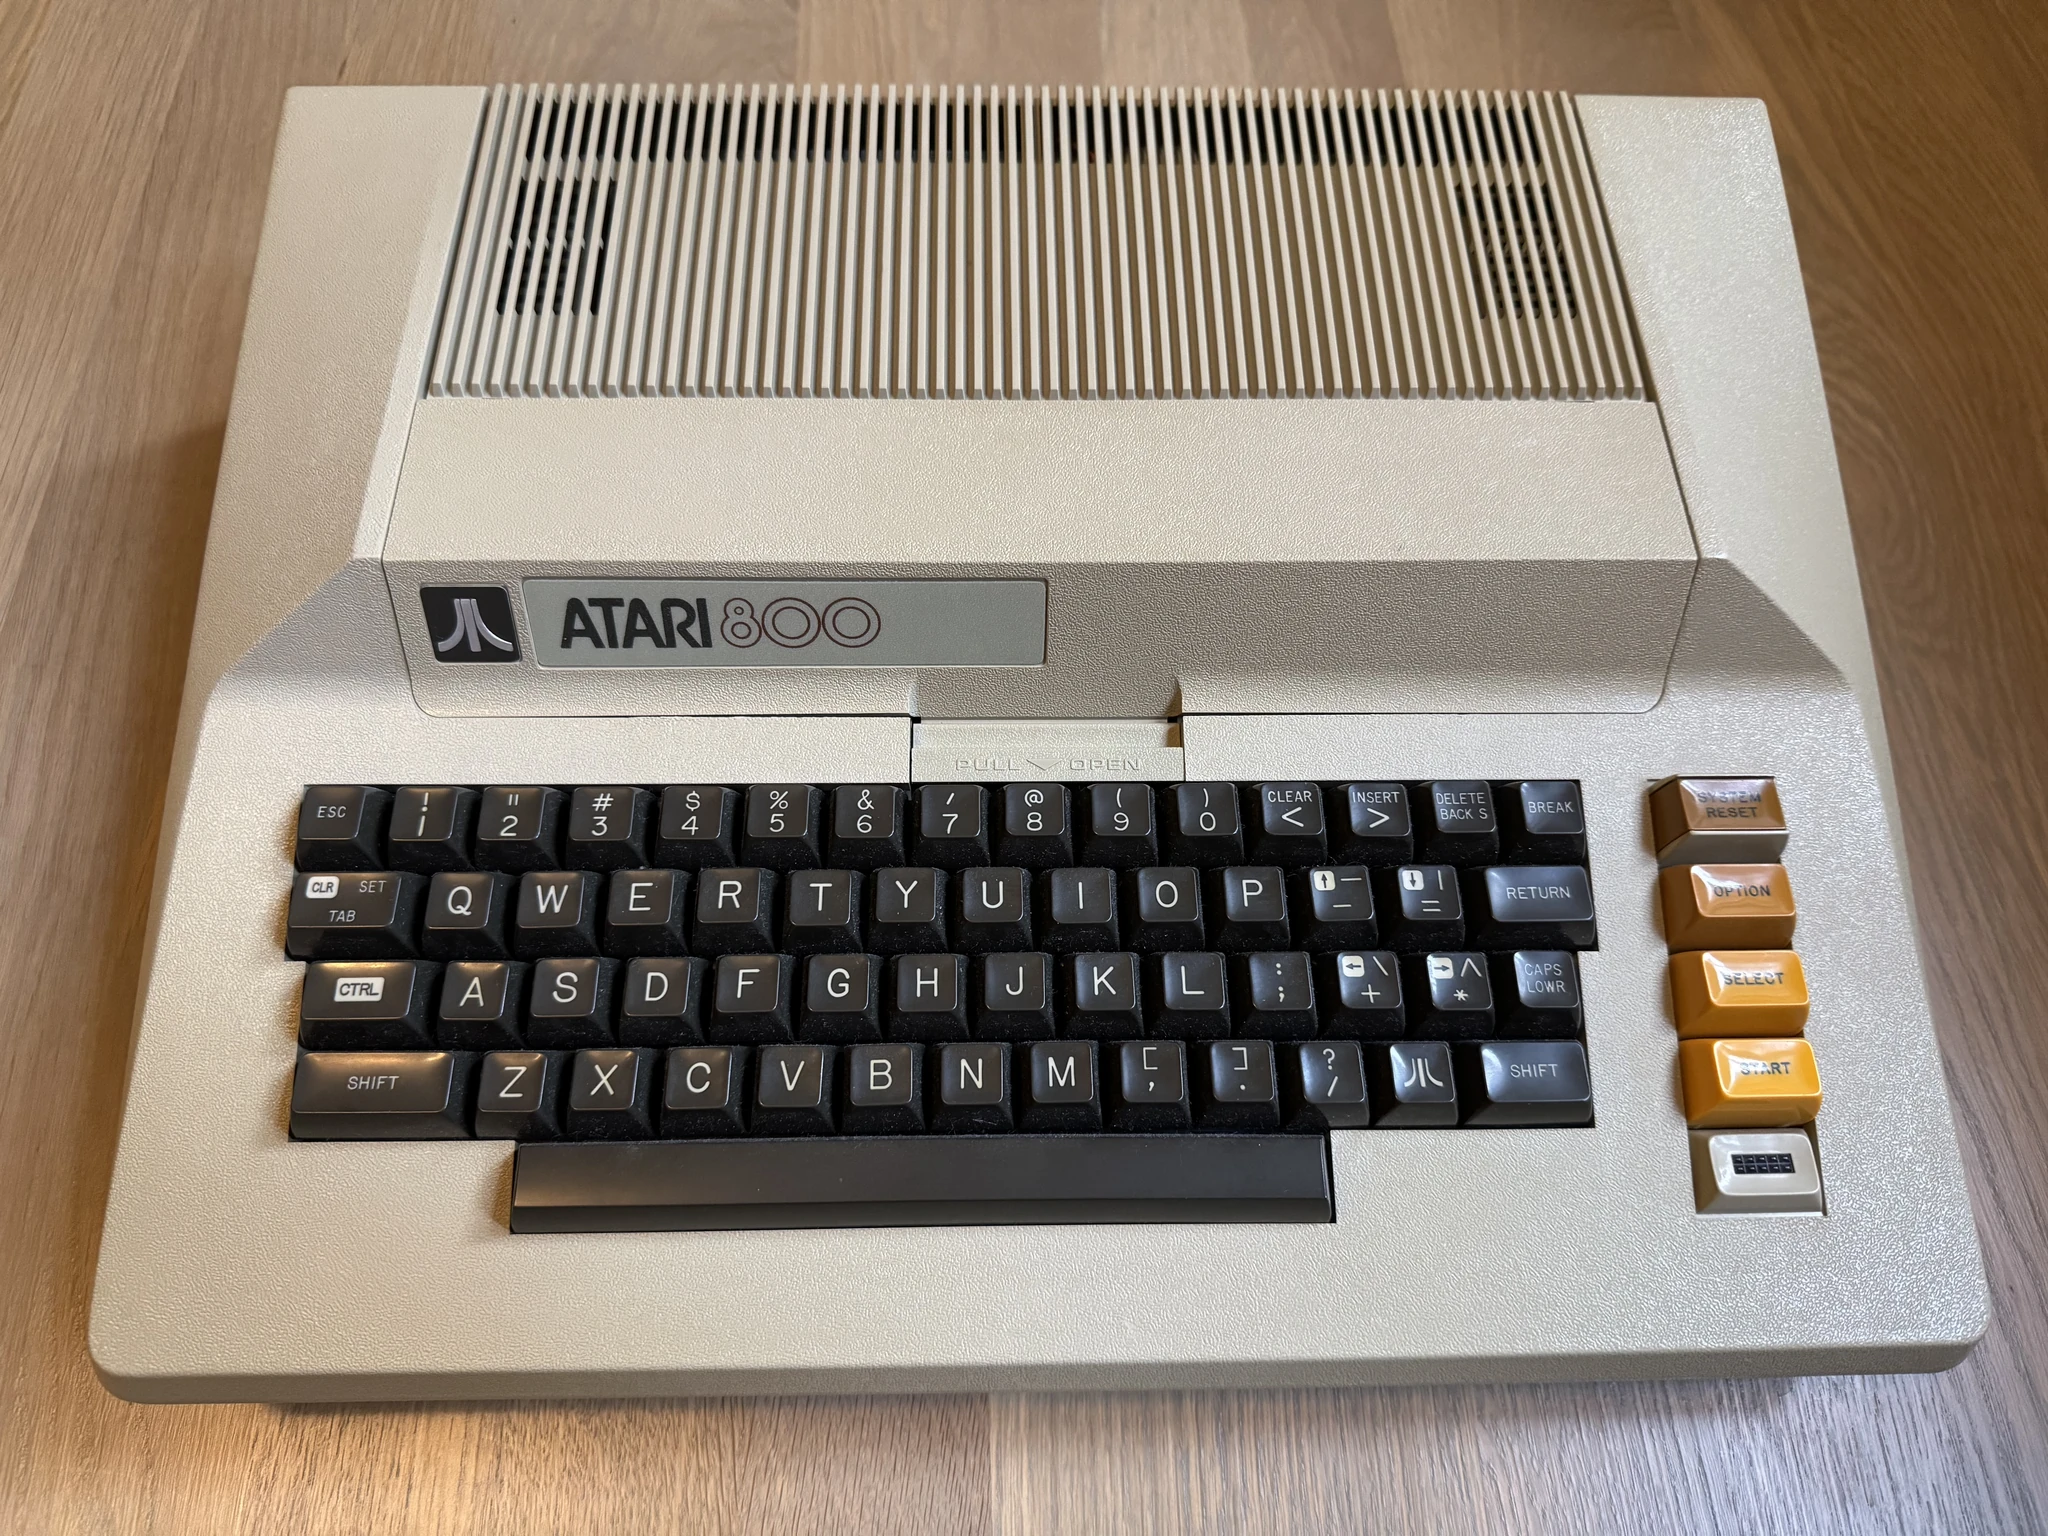
Back in the day, I was very fond of this computer and dreamt of owning it. I even purchased a copy of this book to read all about it. Its a wonderful book, really.
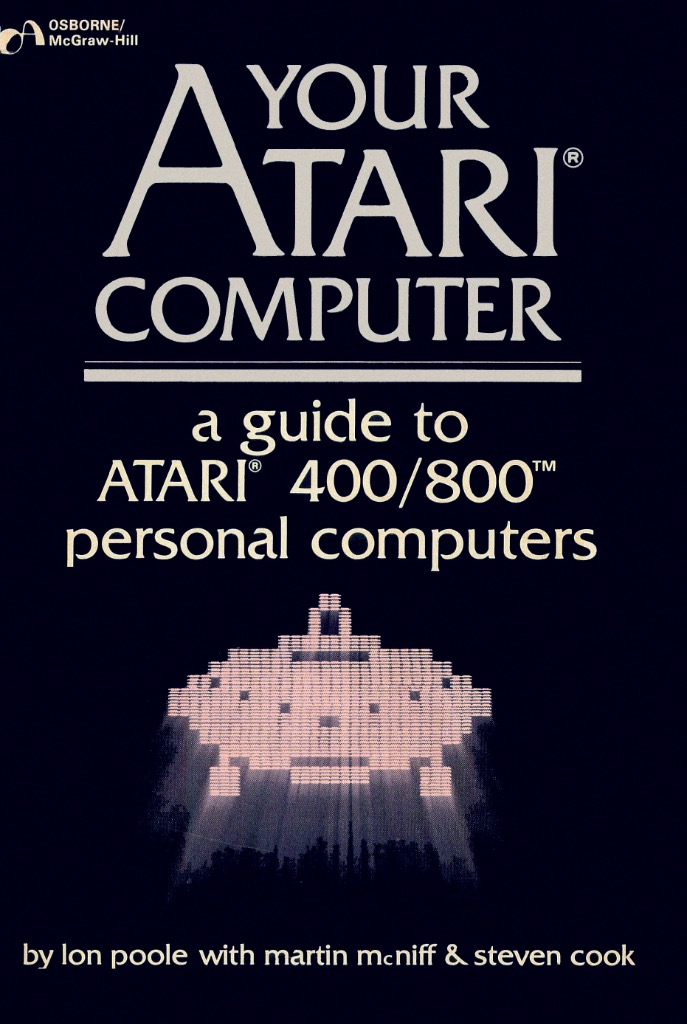
Any computer was a lot of money at the time and I was spending my money on my photography and Super 8 film hobbies. Eventually I would get an Atari 800 XL when I was in the Air Force a couple years later.
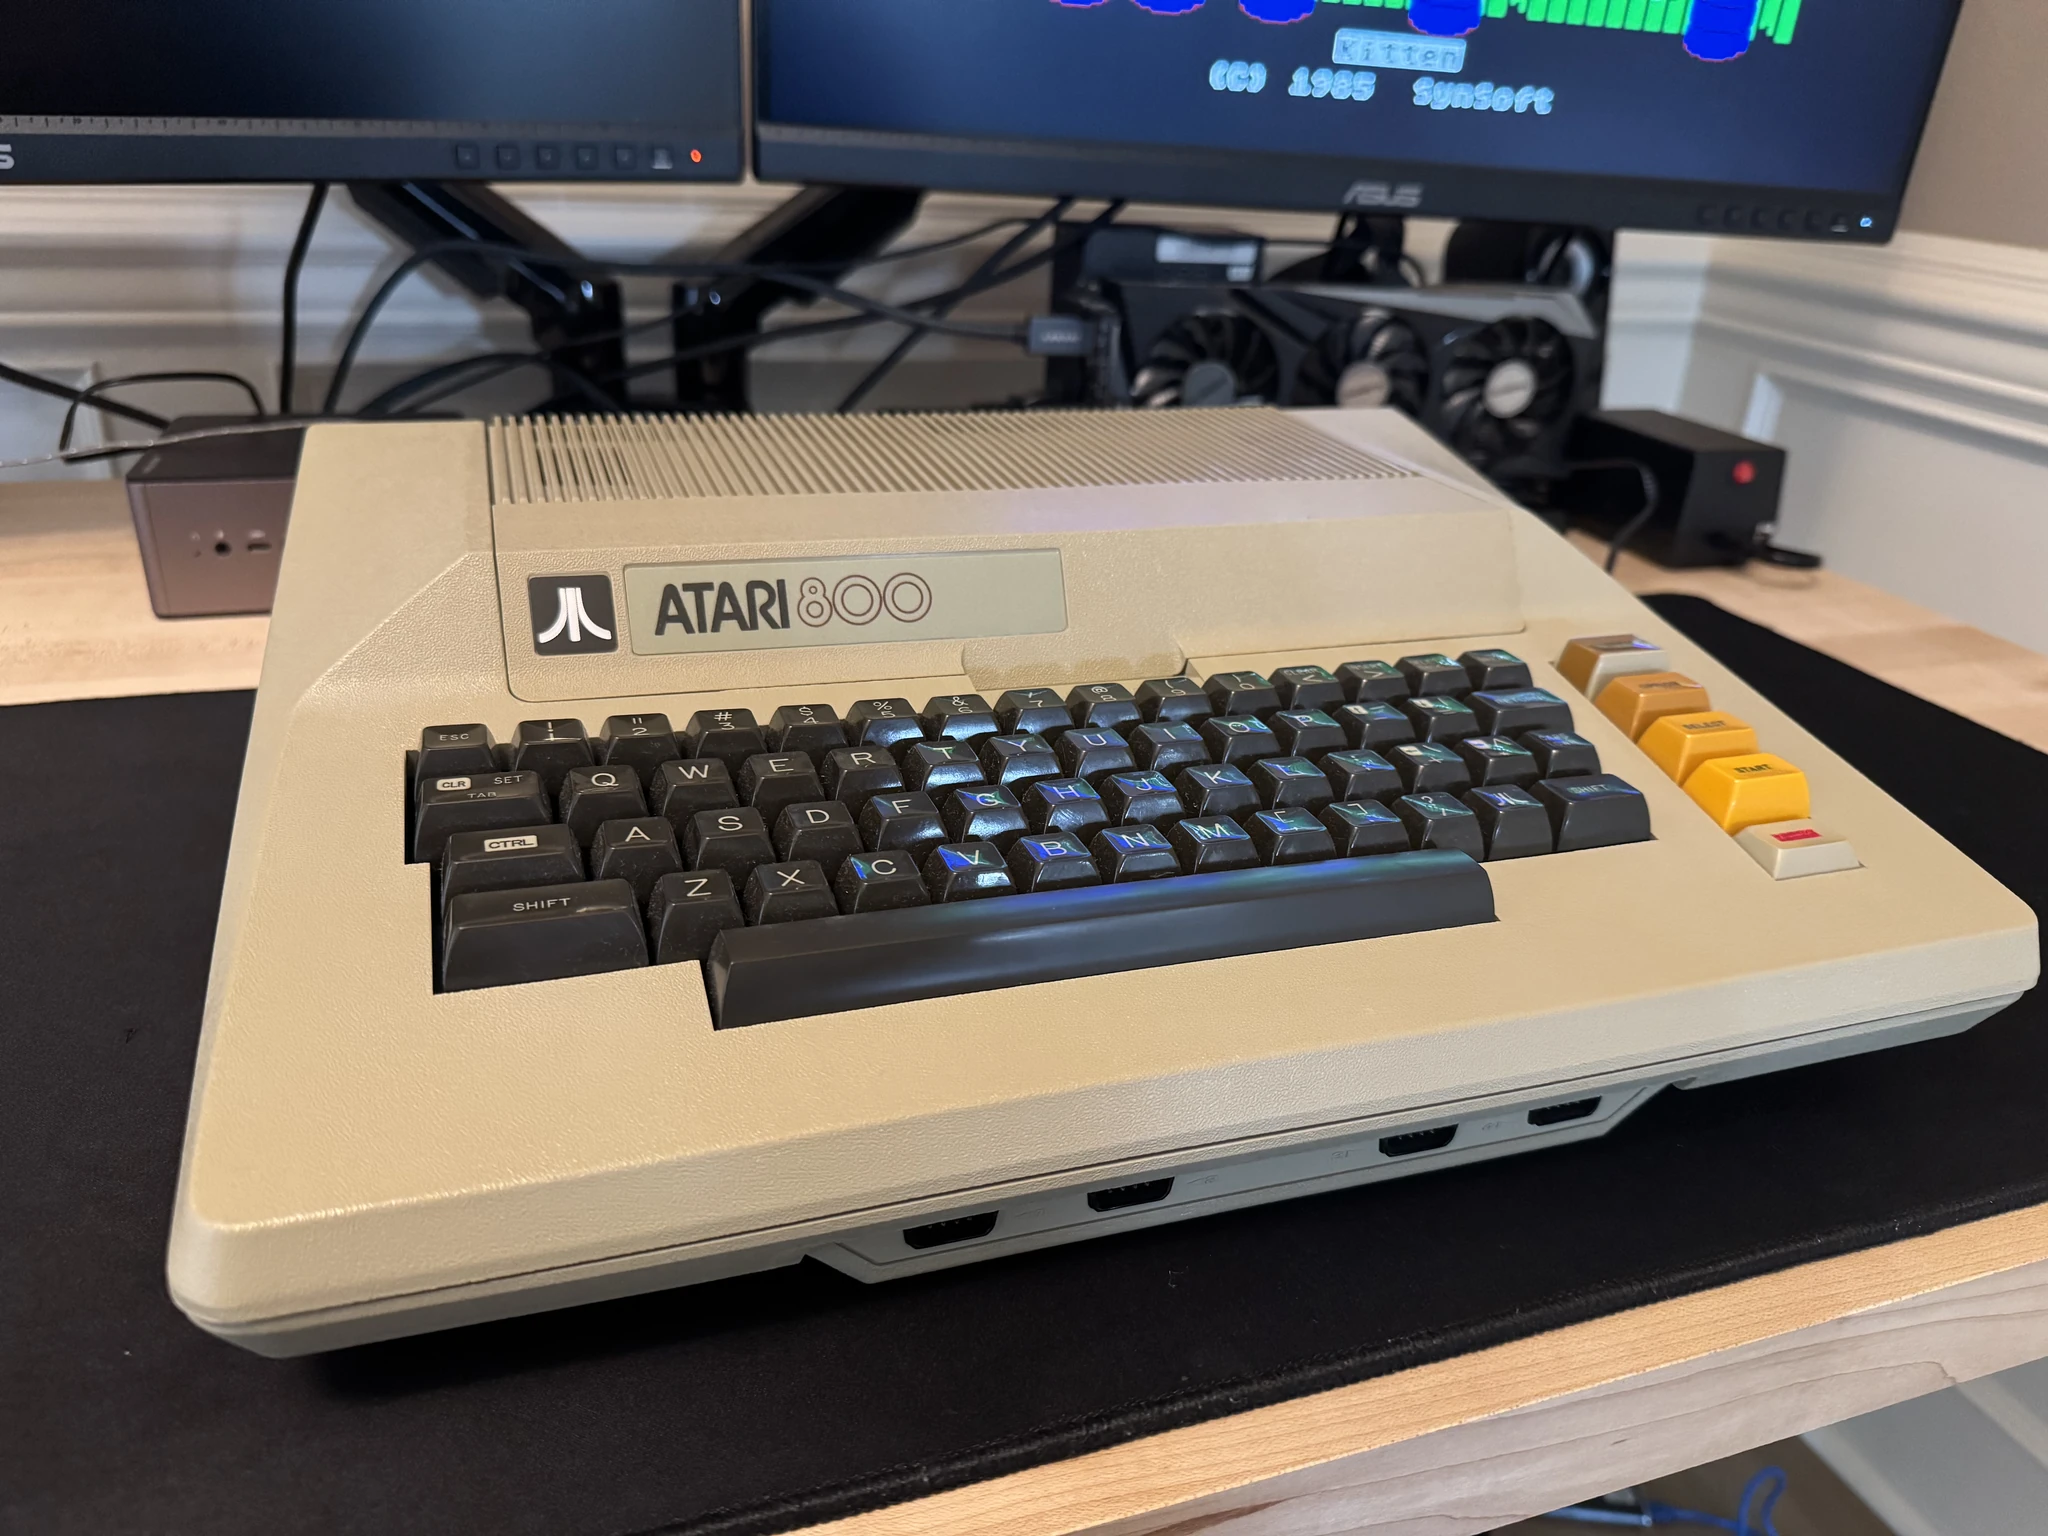
Some while ago I acquired my current Atari 800 via a friendly trade. I had decided I didn’t need 16 bit computers so this came with a swap of 8 bit computer stuff for some 16 bit computer stuff. My heart is with the 8 bit computers.
This thing is a beast!
The 800 had a real keyboard, the 400 had a membrane keyboard that was spill proof. Its hard to think of it now, but back then most people did not know how to type, so the membrane keyboard seemed reasonable.
What makes the 800 a beast is that at the time it was produced, the FCC required Atari to use massive amounts of aluminum shielding as the device was intended to be hooked up to a television. The thing looks and feels like a heavy IBM typewriter almost. The later Atari 800XL is smaller and more practical, but folks that owned the original 800 are likely to prefer it for nostalgic or other personal reasons.
If you pop open the panel in front there are two slots in the aluminum housing to insert cartridges. The right cartridge was an idea that didn’t really take off as the 400 didn’t have one. Depending on the source, there are either 11 or 14 cartridge products that were created to use the right cartridge slot. I have never seen one.
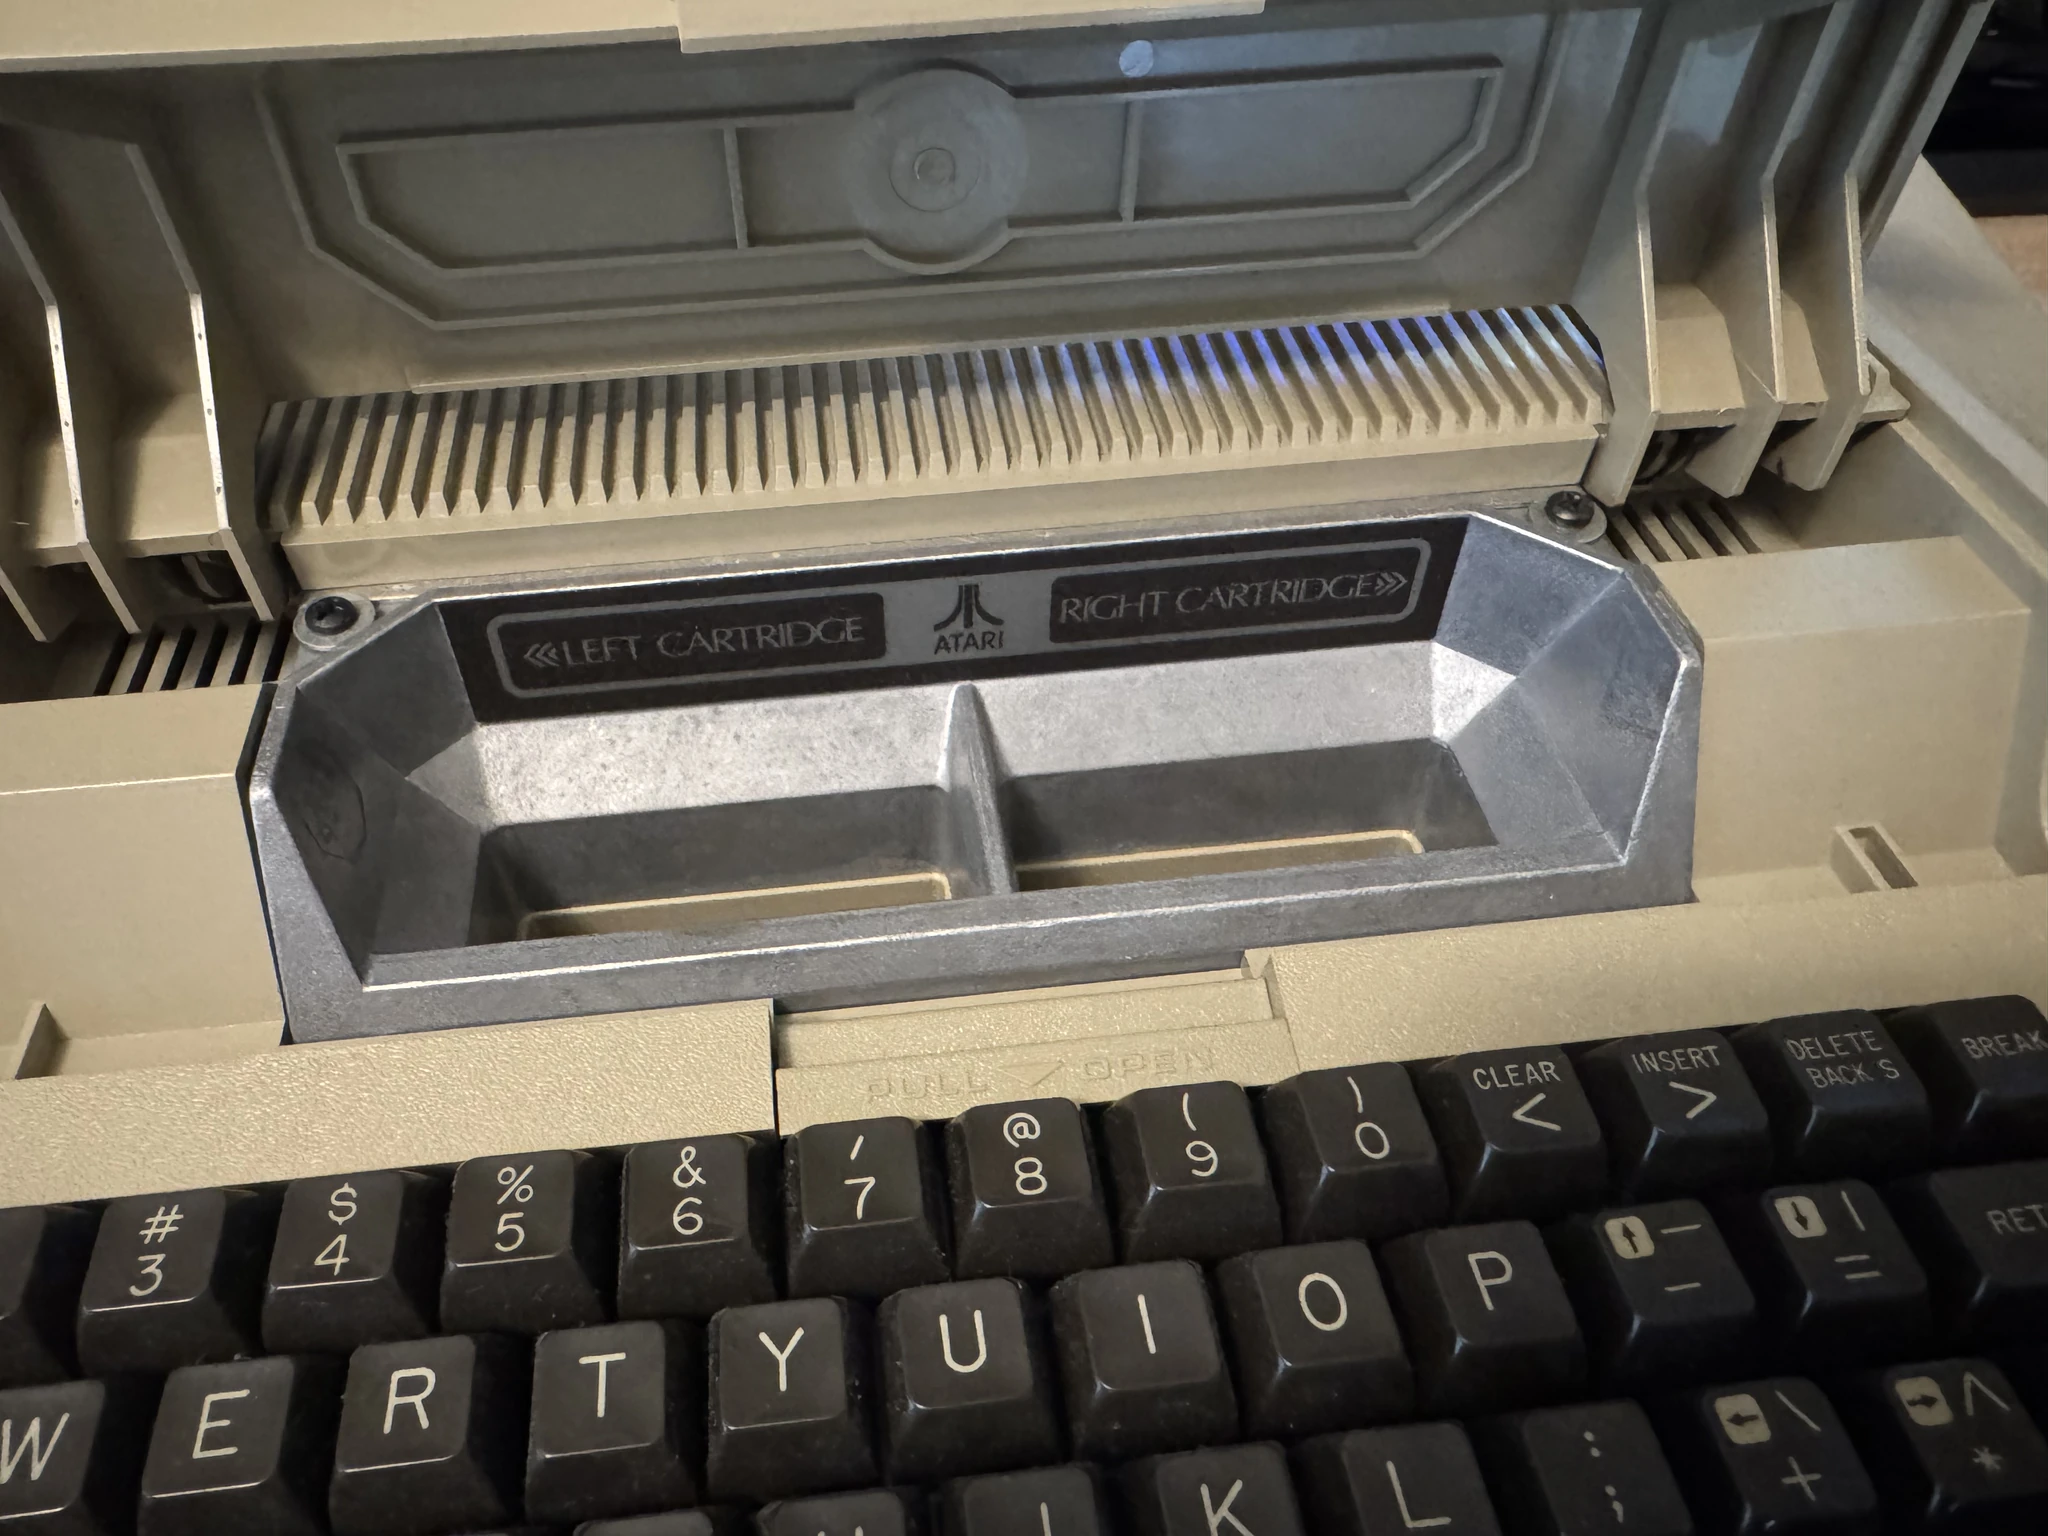
I’ve got a small collection of left cartridges. These work on the single cartridge slot on the Atari 800XL also.
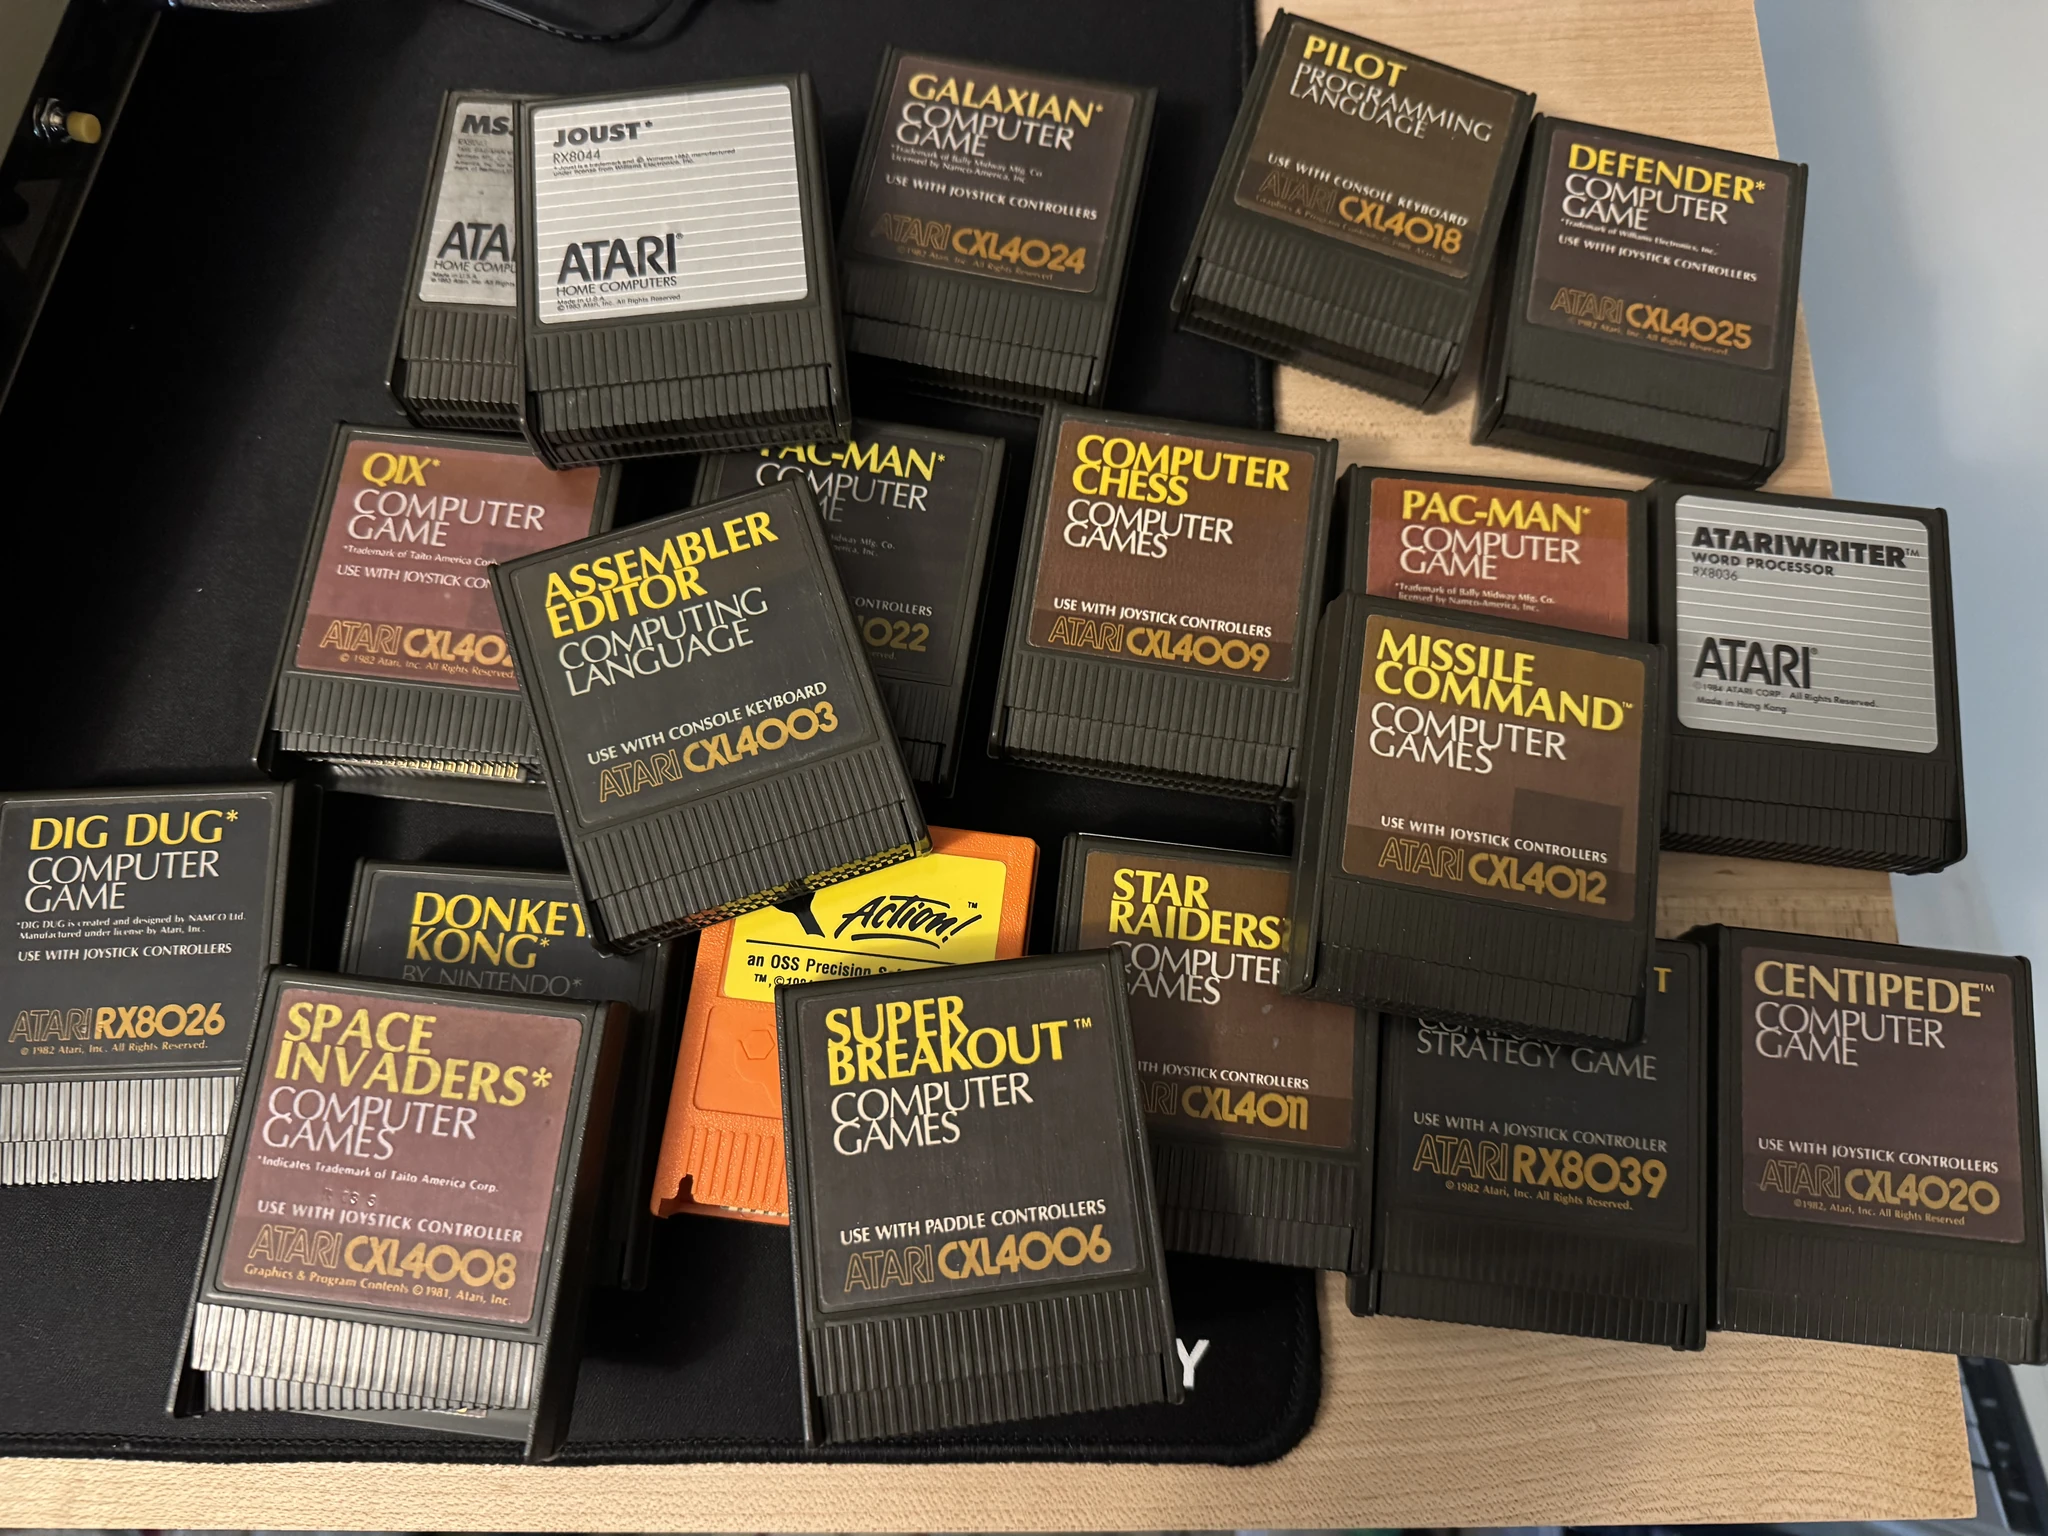
Probably the most famous cartridge is Star Raiders.
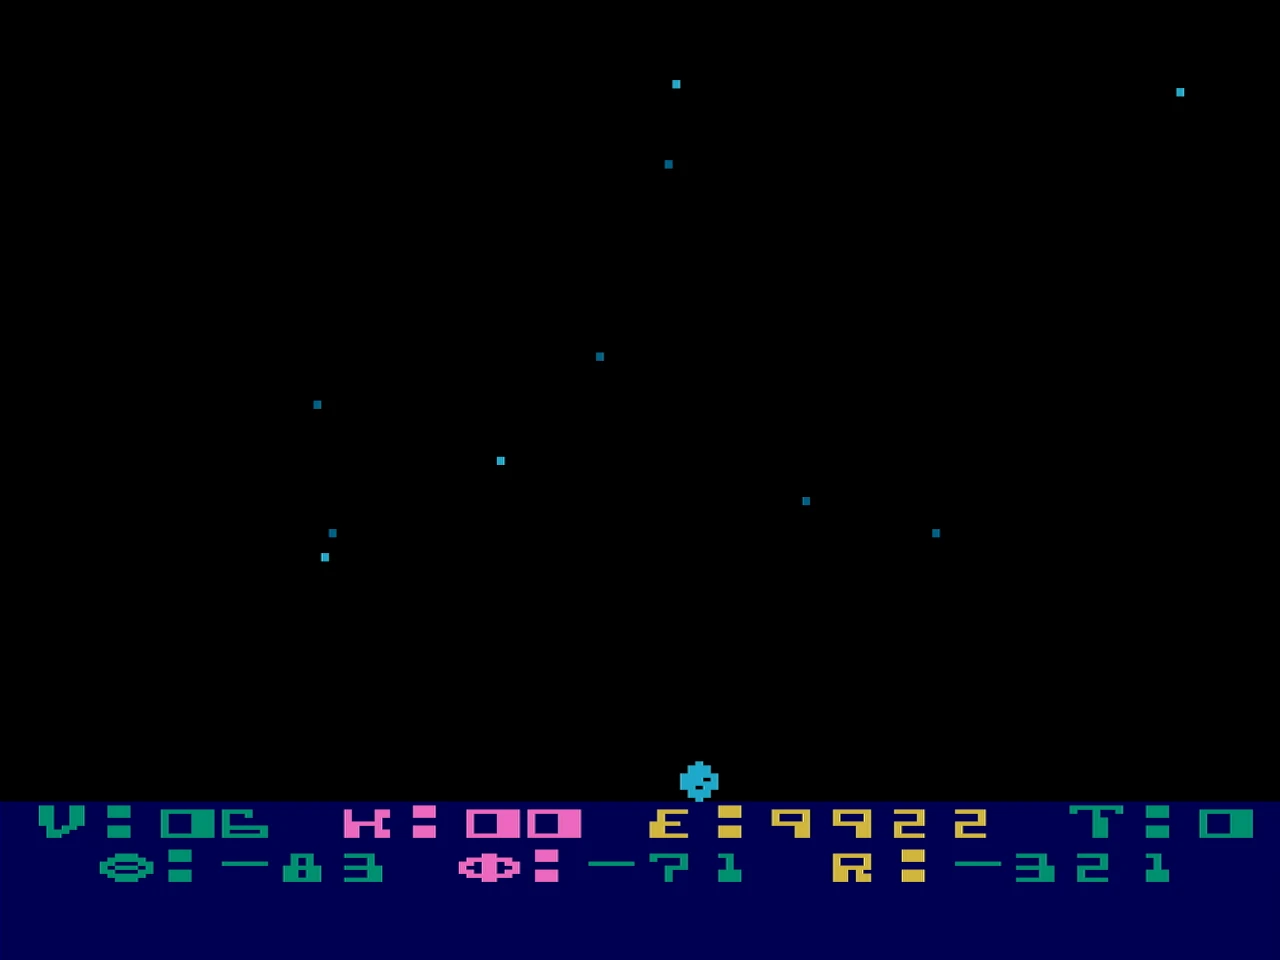
In this screen shot I’m wandering through a star field. This would have been totally mesmerizing back when this computer was new. Folks say that this game displayed as a demo sold many computers.
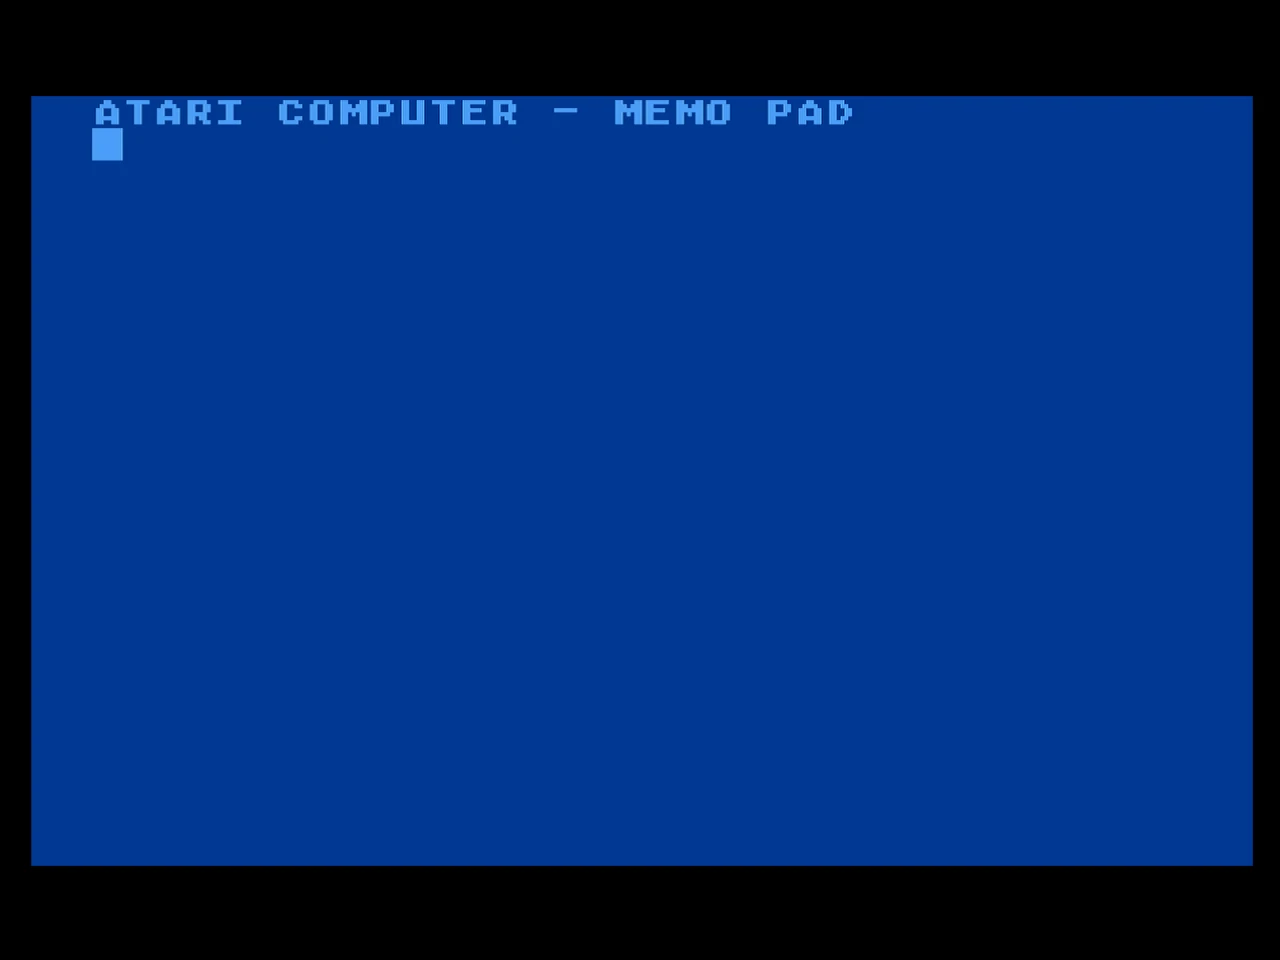
If you don’t have any cartridge, cassette player or floppy drive with media connected, the computer boots to a completely useless memo pad. You can type to your hearts content with the screen editor but it doesn’t get saved to anything so will vanish when the computer is turned off.
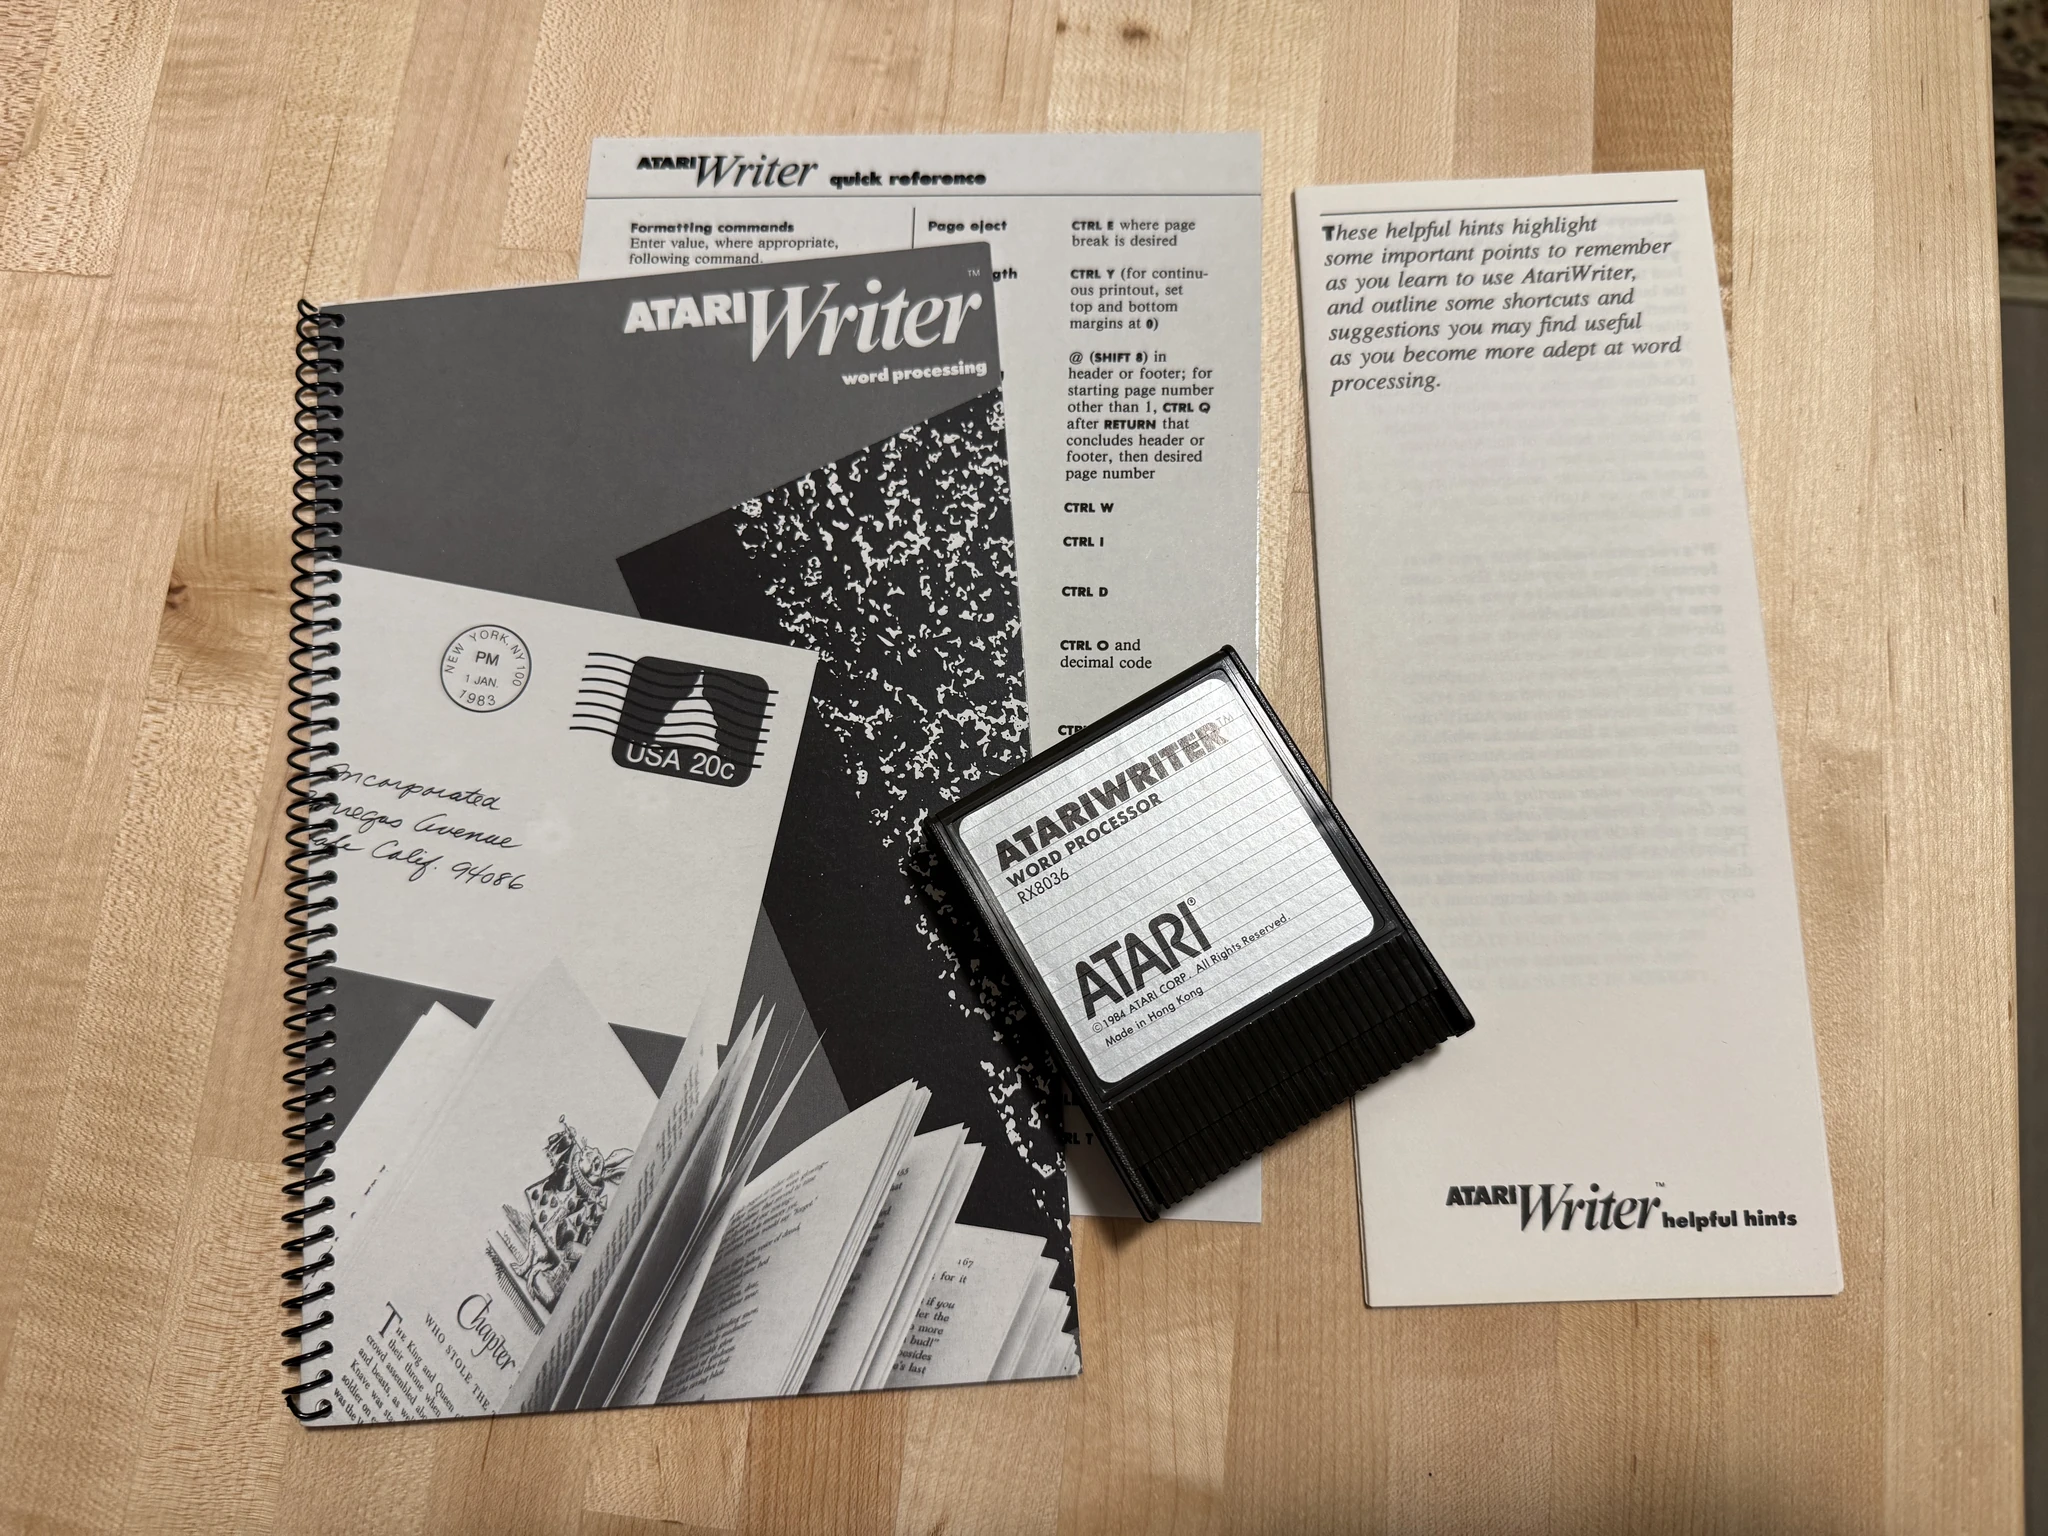
On my original 800 XL, I used AtariWriter to write papers for some night classes I was taking while in the Air Force in Ramstein Germany. I found me a copy of that too though it doesn’t make any sense to use it.
This is probably a familiar screen for Atari 8 bit fans that had floppy drives.
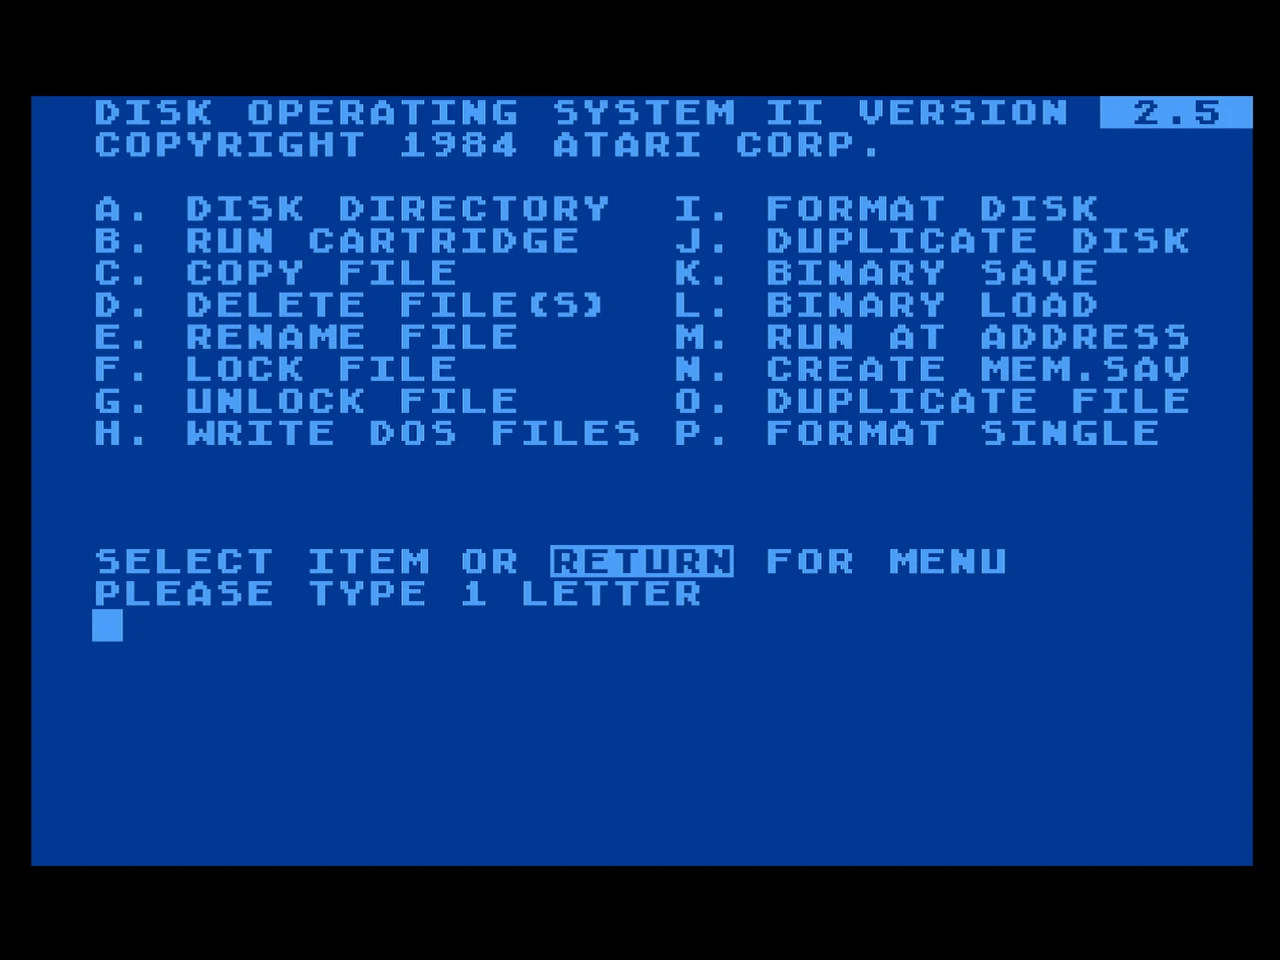
Its the DOS menu for disk operations.
My 800 needed some repairs. The keyboard was not working. This involved repairing the connector film where the keyboard is plugged into one of the PCBs inside. I also replaced all the capacitors and cleaned things up. There is a switch that turns off the computer if the cartridge door is open; I removed that functionality.
My Atari 800 is modded in a few additional ways. It has the Incognito board by Lotharek. The product as I bought it is discontinued but a similar one, INCOGNITO Atari 800 GOLD appears to be available. The board has similar functionality to the combination of the Ultimate 1mb upgrade and Side3 cart that I have on my Atari 800 XL. With the Incognito, I can make my 800 run as if it was an 800 XL if I choose. It has a flash cart with programs stored on it, so I can pull up games quickly.
The menu system is similar to what I showed on the page about my Atari 800 XL. With the Incognito, you have the option of saving multiple profiles, so I have one for Atari 800, one for using SpartaDos, and another for Atari 800 XL mode.
SpartaDos is a DOS more like MSDOS where you have a large assortment of console commands. I have it configured so there are multiple “drives” available, which really just write to the memory card in the Incognito.
I also installed a Sophia 2 video enhancement similar to what I did on the 800 XL.
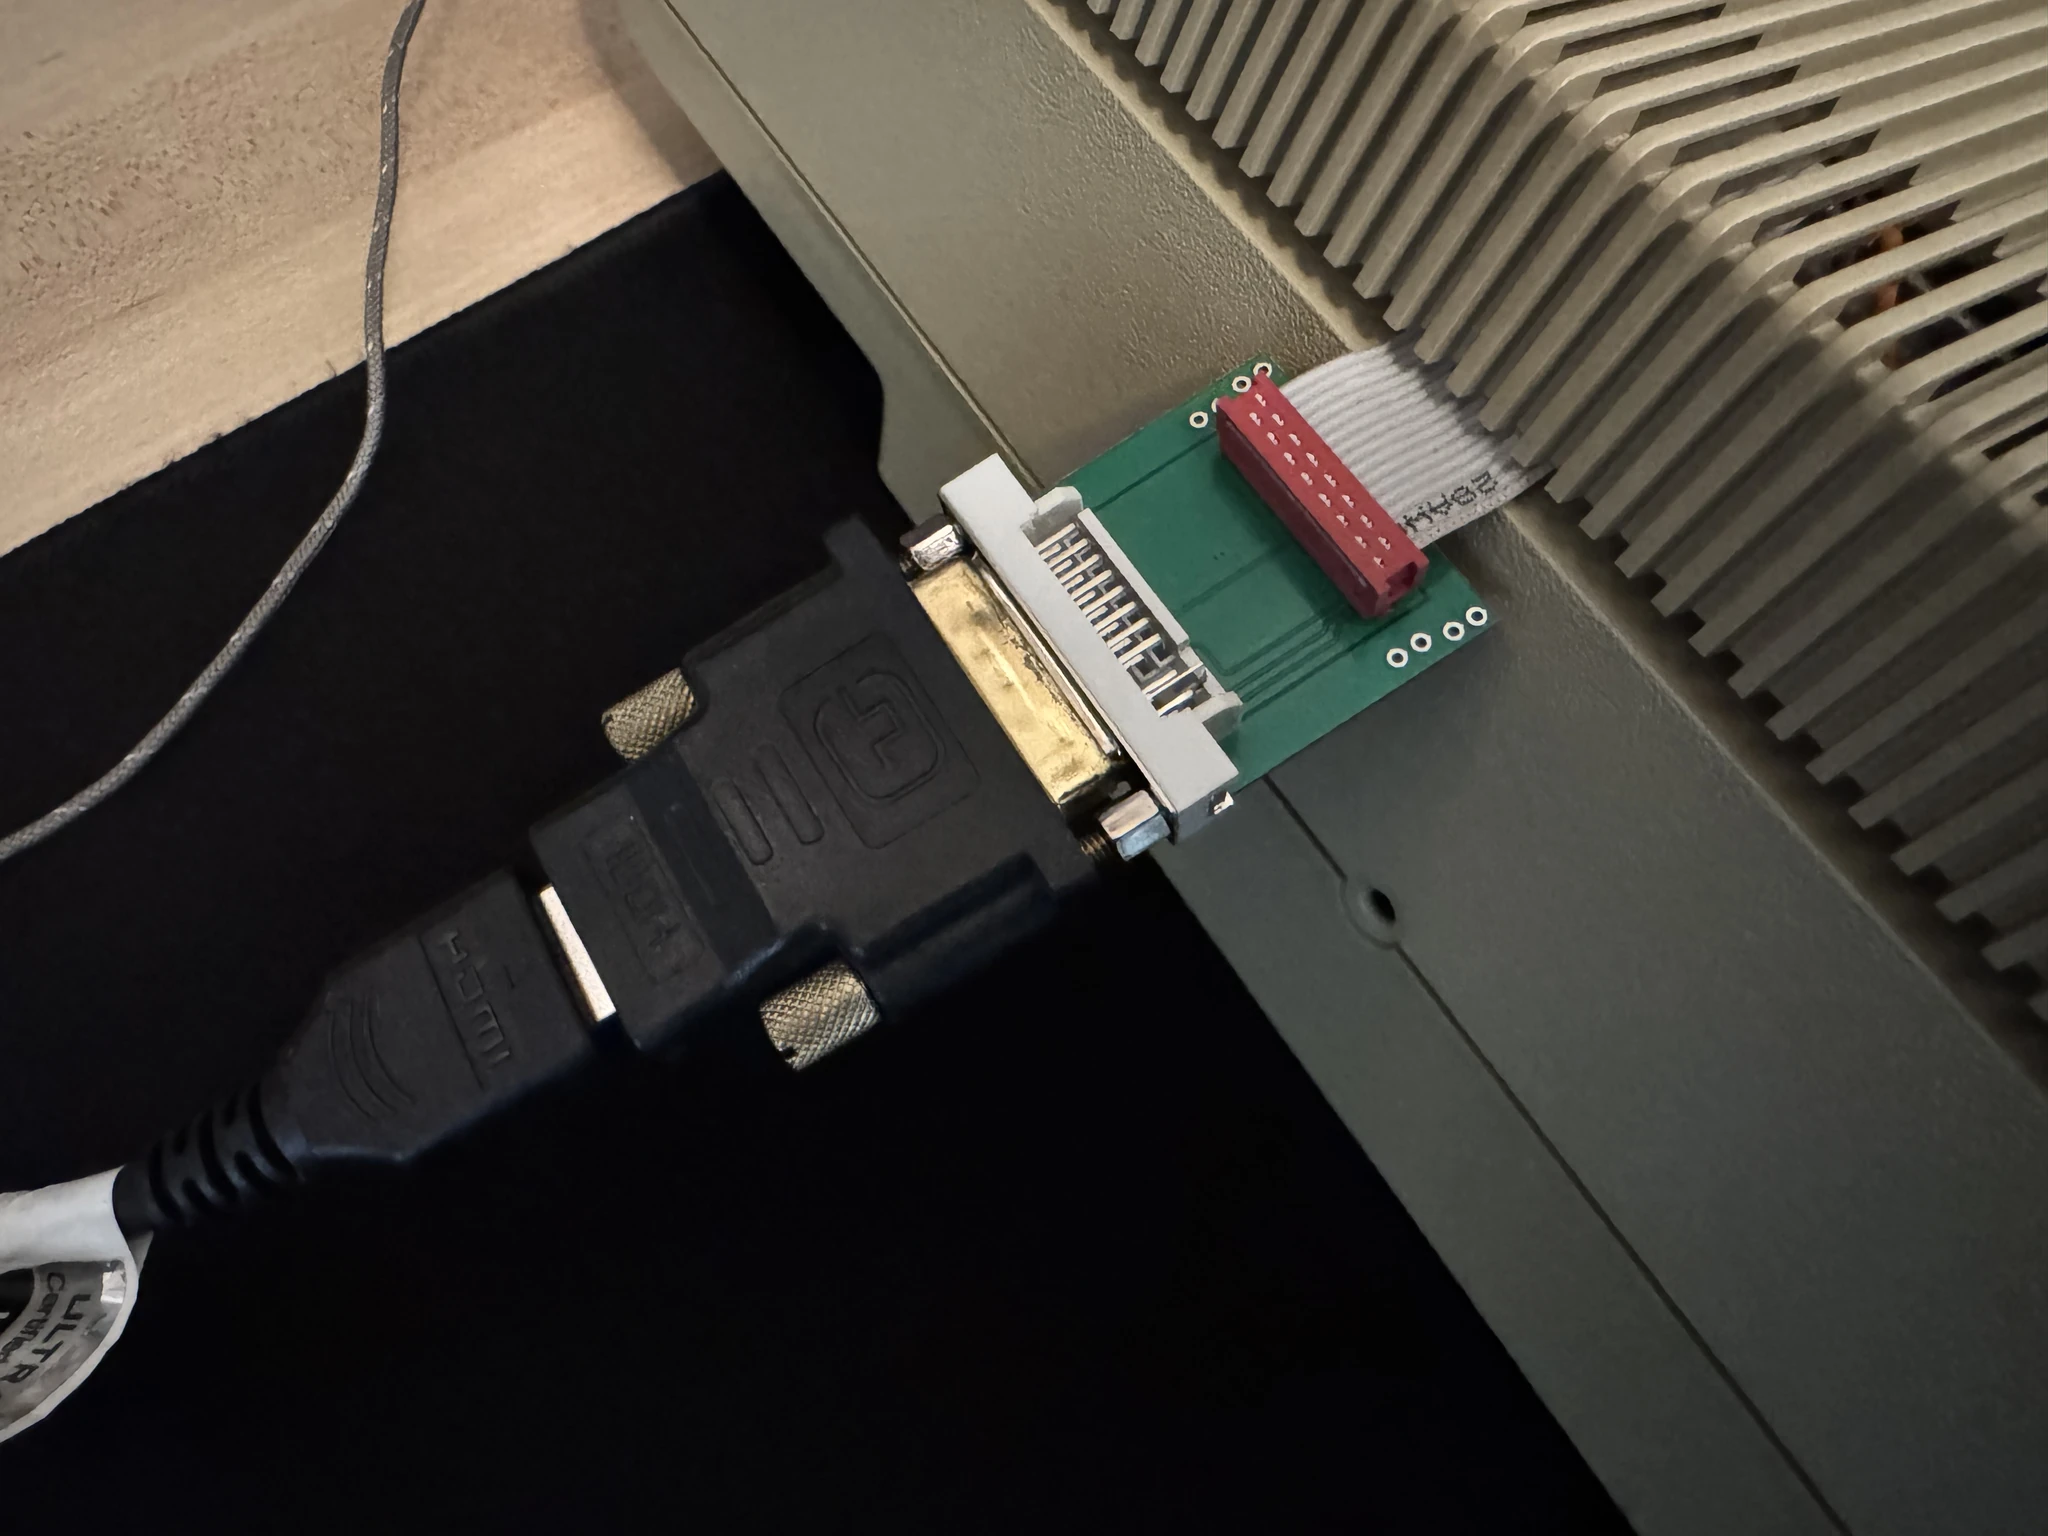
I didn’t want to cut a hole in the back of my Atari 800 case for the DVI connector so it sort of just hangs there in an ugly way. This connector allows me to use the computer with a modern monitor via an HDMI cable. Sound does not go through DVI however, so an audio jack is added to the panel on the side.
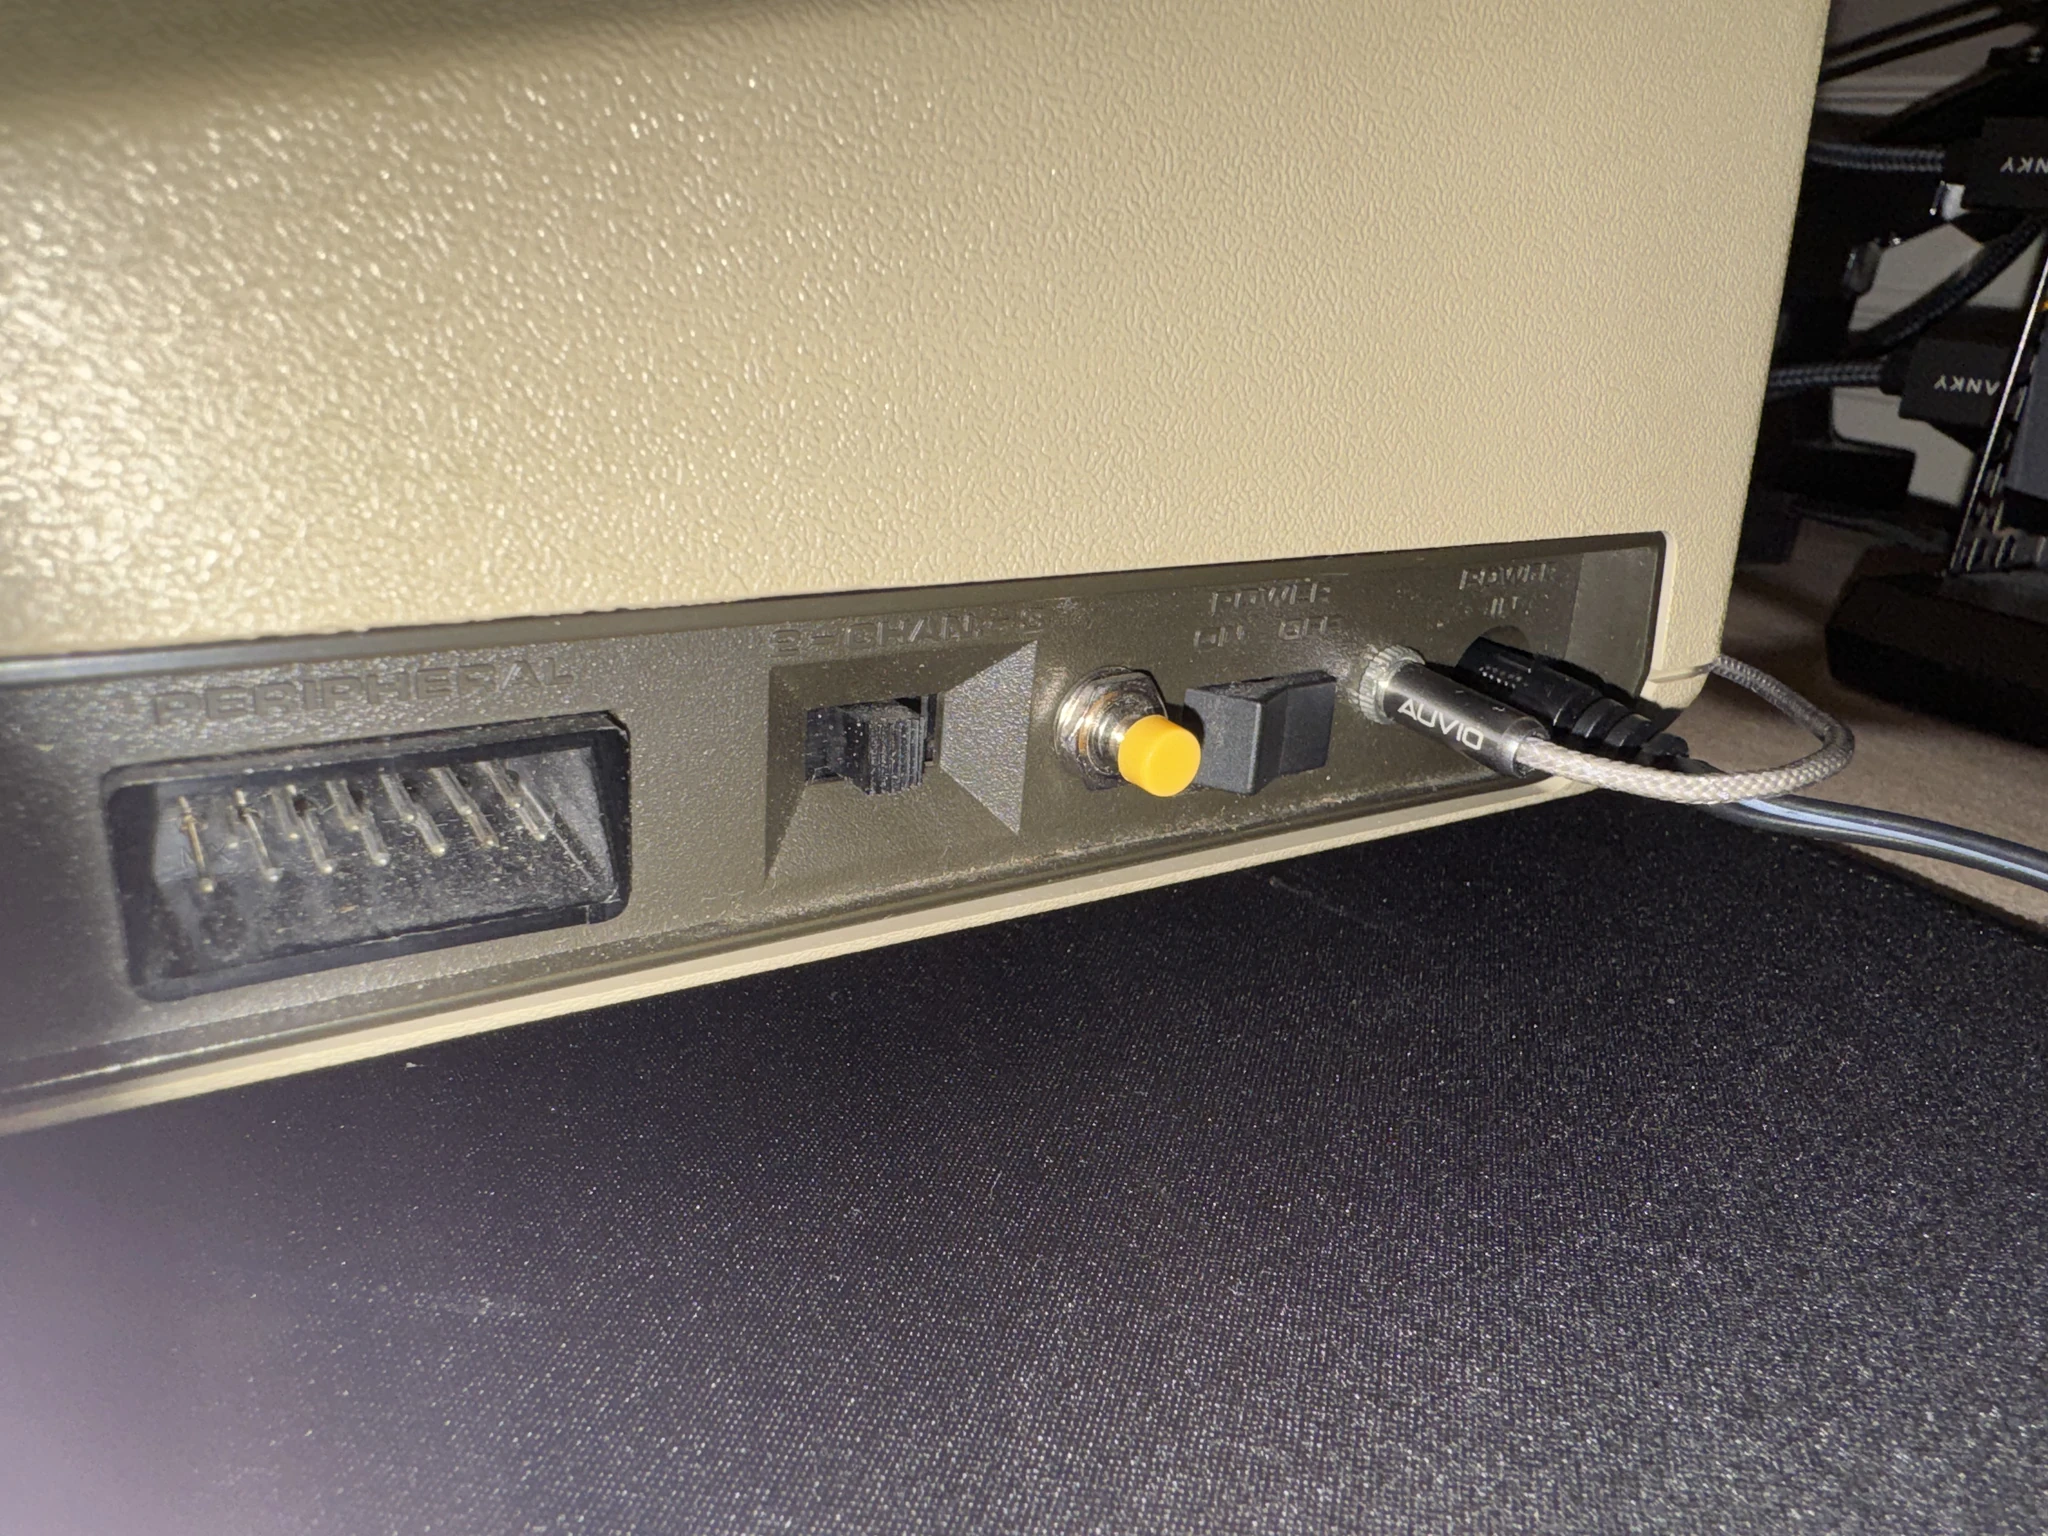
The yellow button was added too so that you can hold it down when turning the computer on. If I recall correctly, this is to run PAL mode. I’ll have to open it up to be sure if that’s what I did but that’s for another day.
Let’s look at the various ways you can load software on the computer without a floppy drive. I do have a working 1050 floppy drive now, but I don’t have a permanent place to have everything setup so its a hassle. Its also a requirement that you would have a lot of floppy disk media and those aren’t being created anymore so we only have our old stock.
Let’s look at these in sort of an order from oldest to newest. In some of the photos you will see my Atari 800 XL instead of the Atari 800.
My first solution to load programs without a floppy drive (or cassette tape) is an SIO2USB interface. Here is one I purchased years ago.
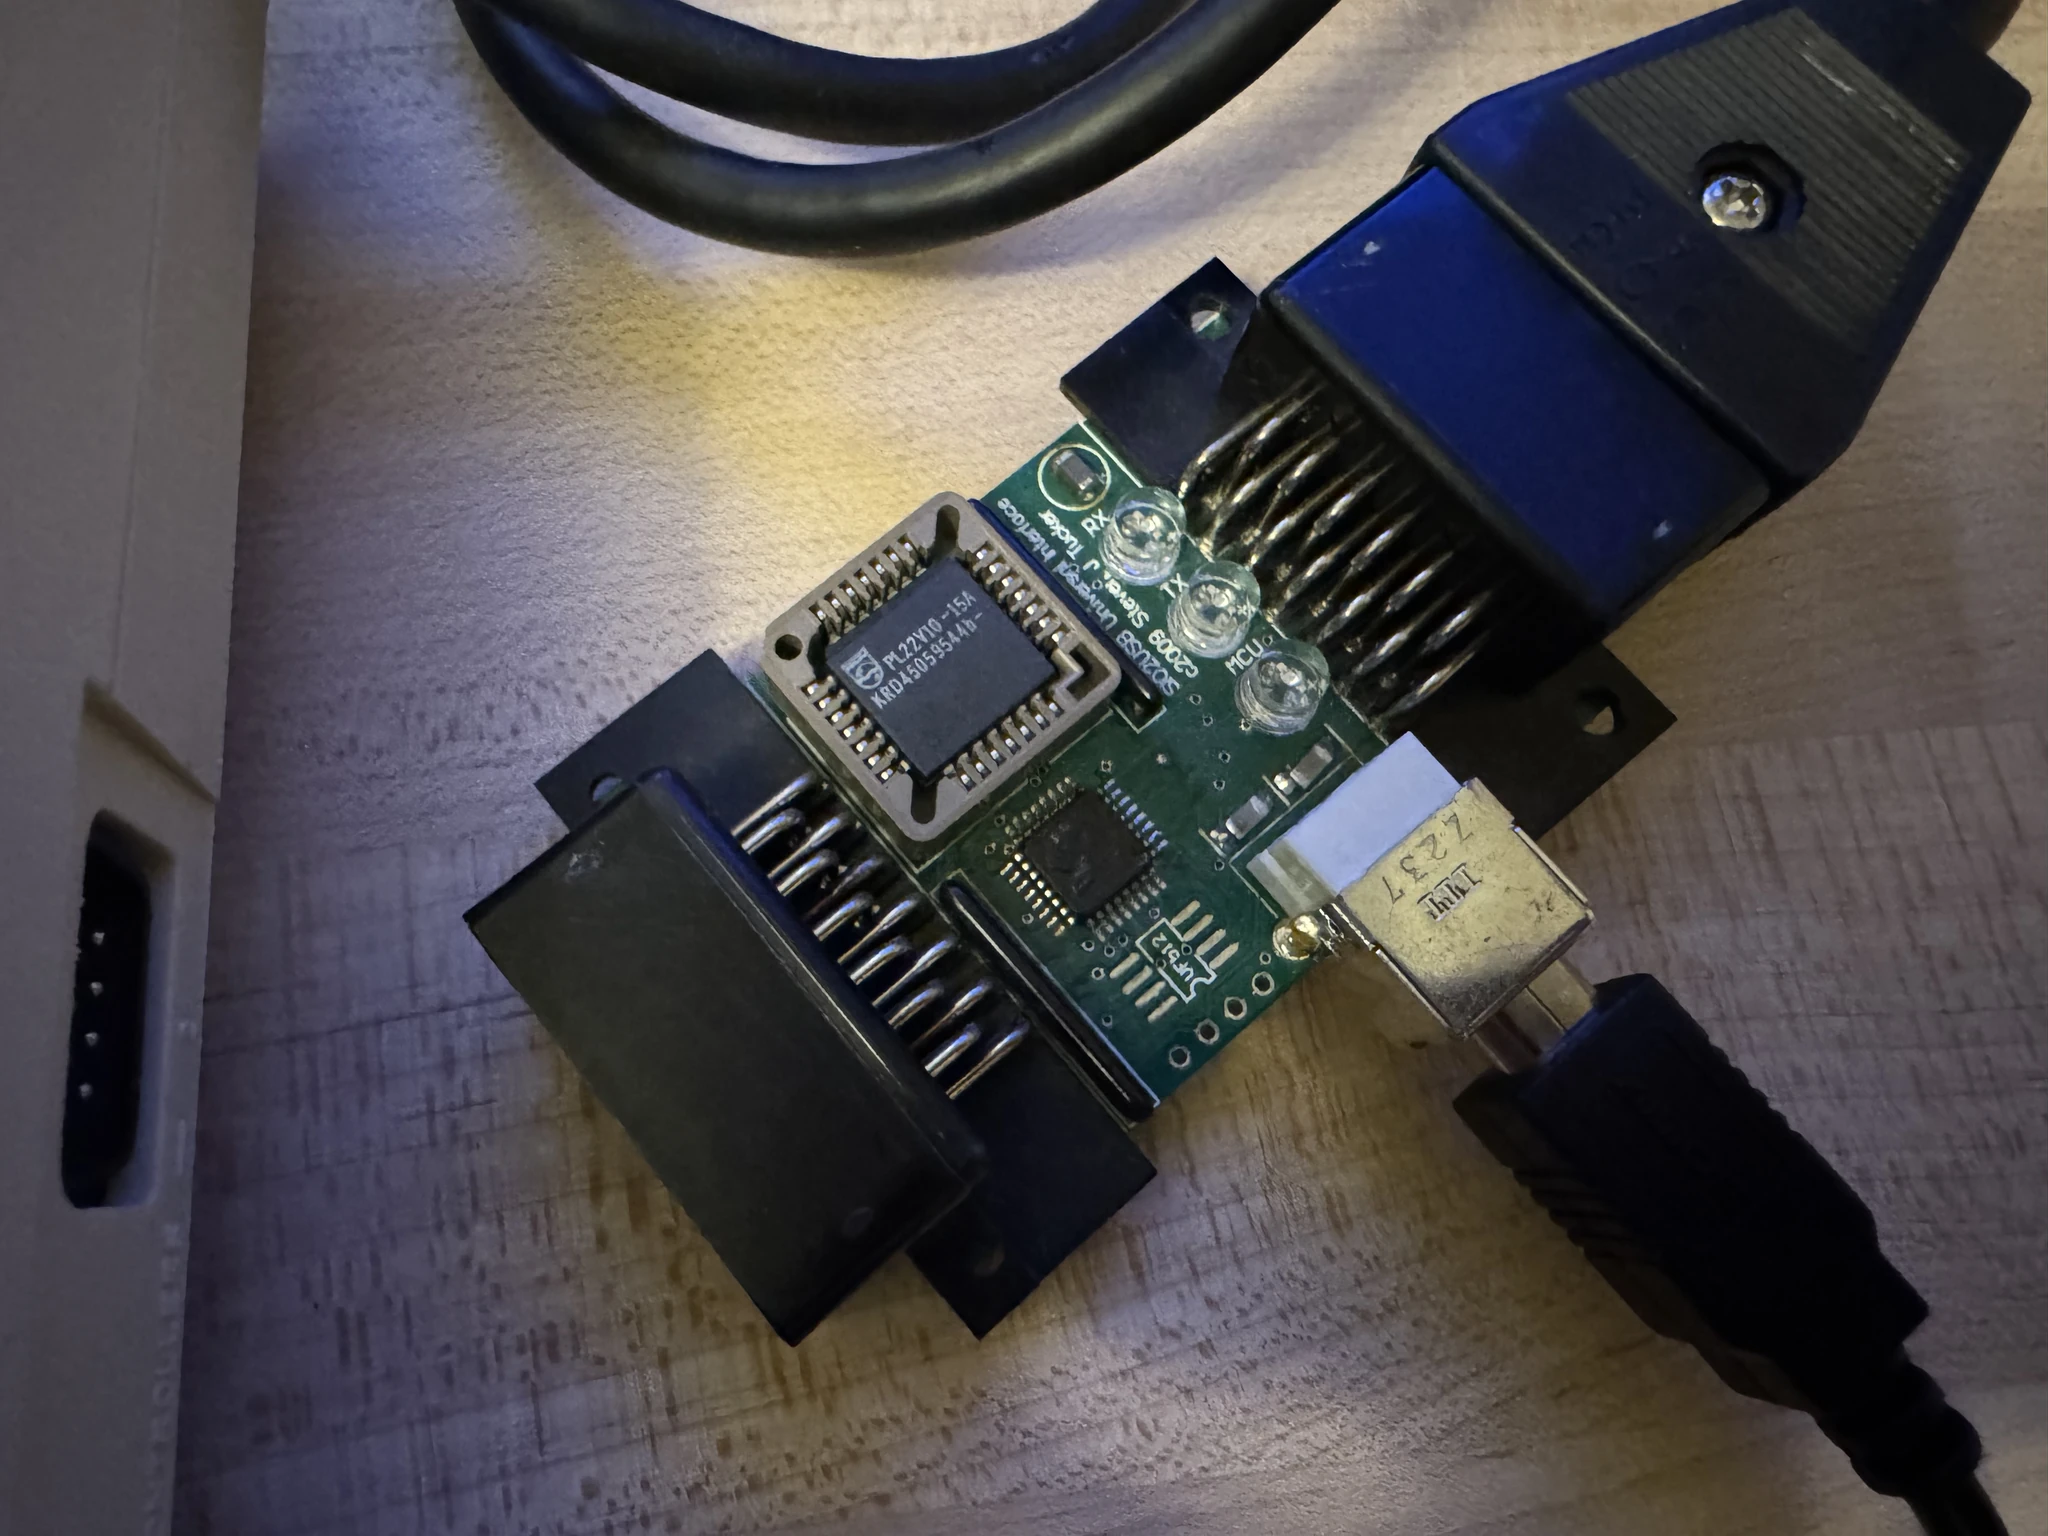
This device plugs into the SIO connector on the Atari, which is like a USB port except that it is a giant plug. You probably know that the Atari SIO port was the precursor to USB on modern computers.
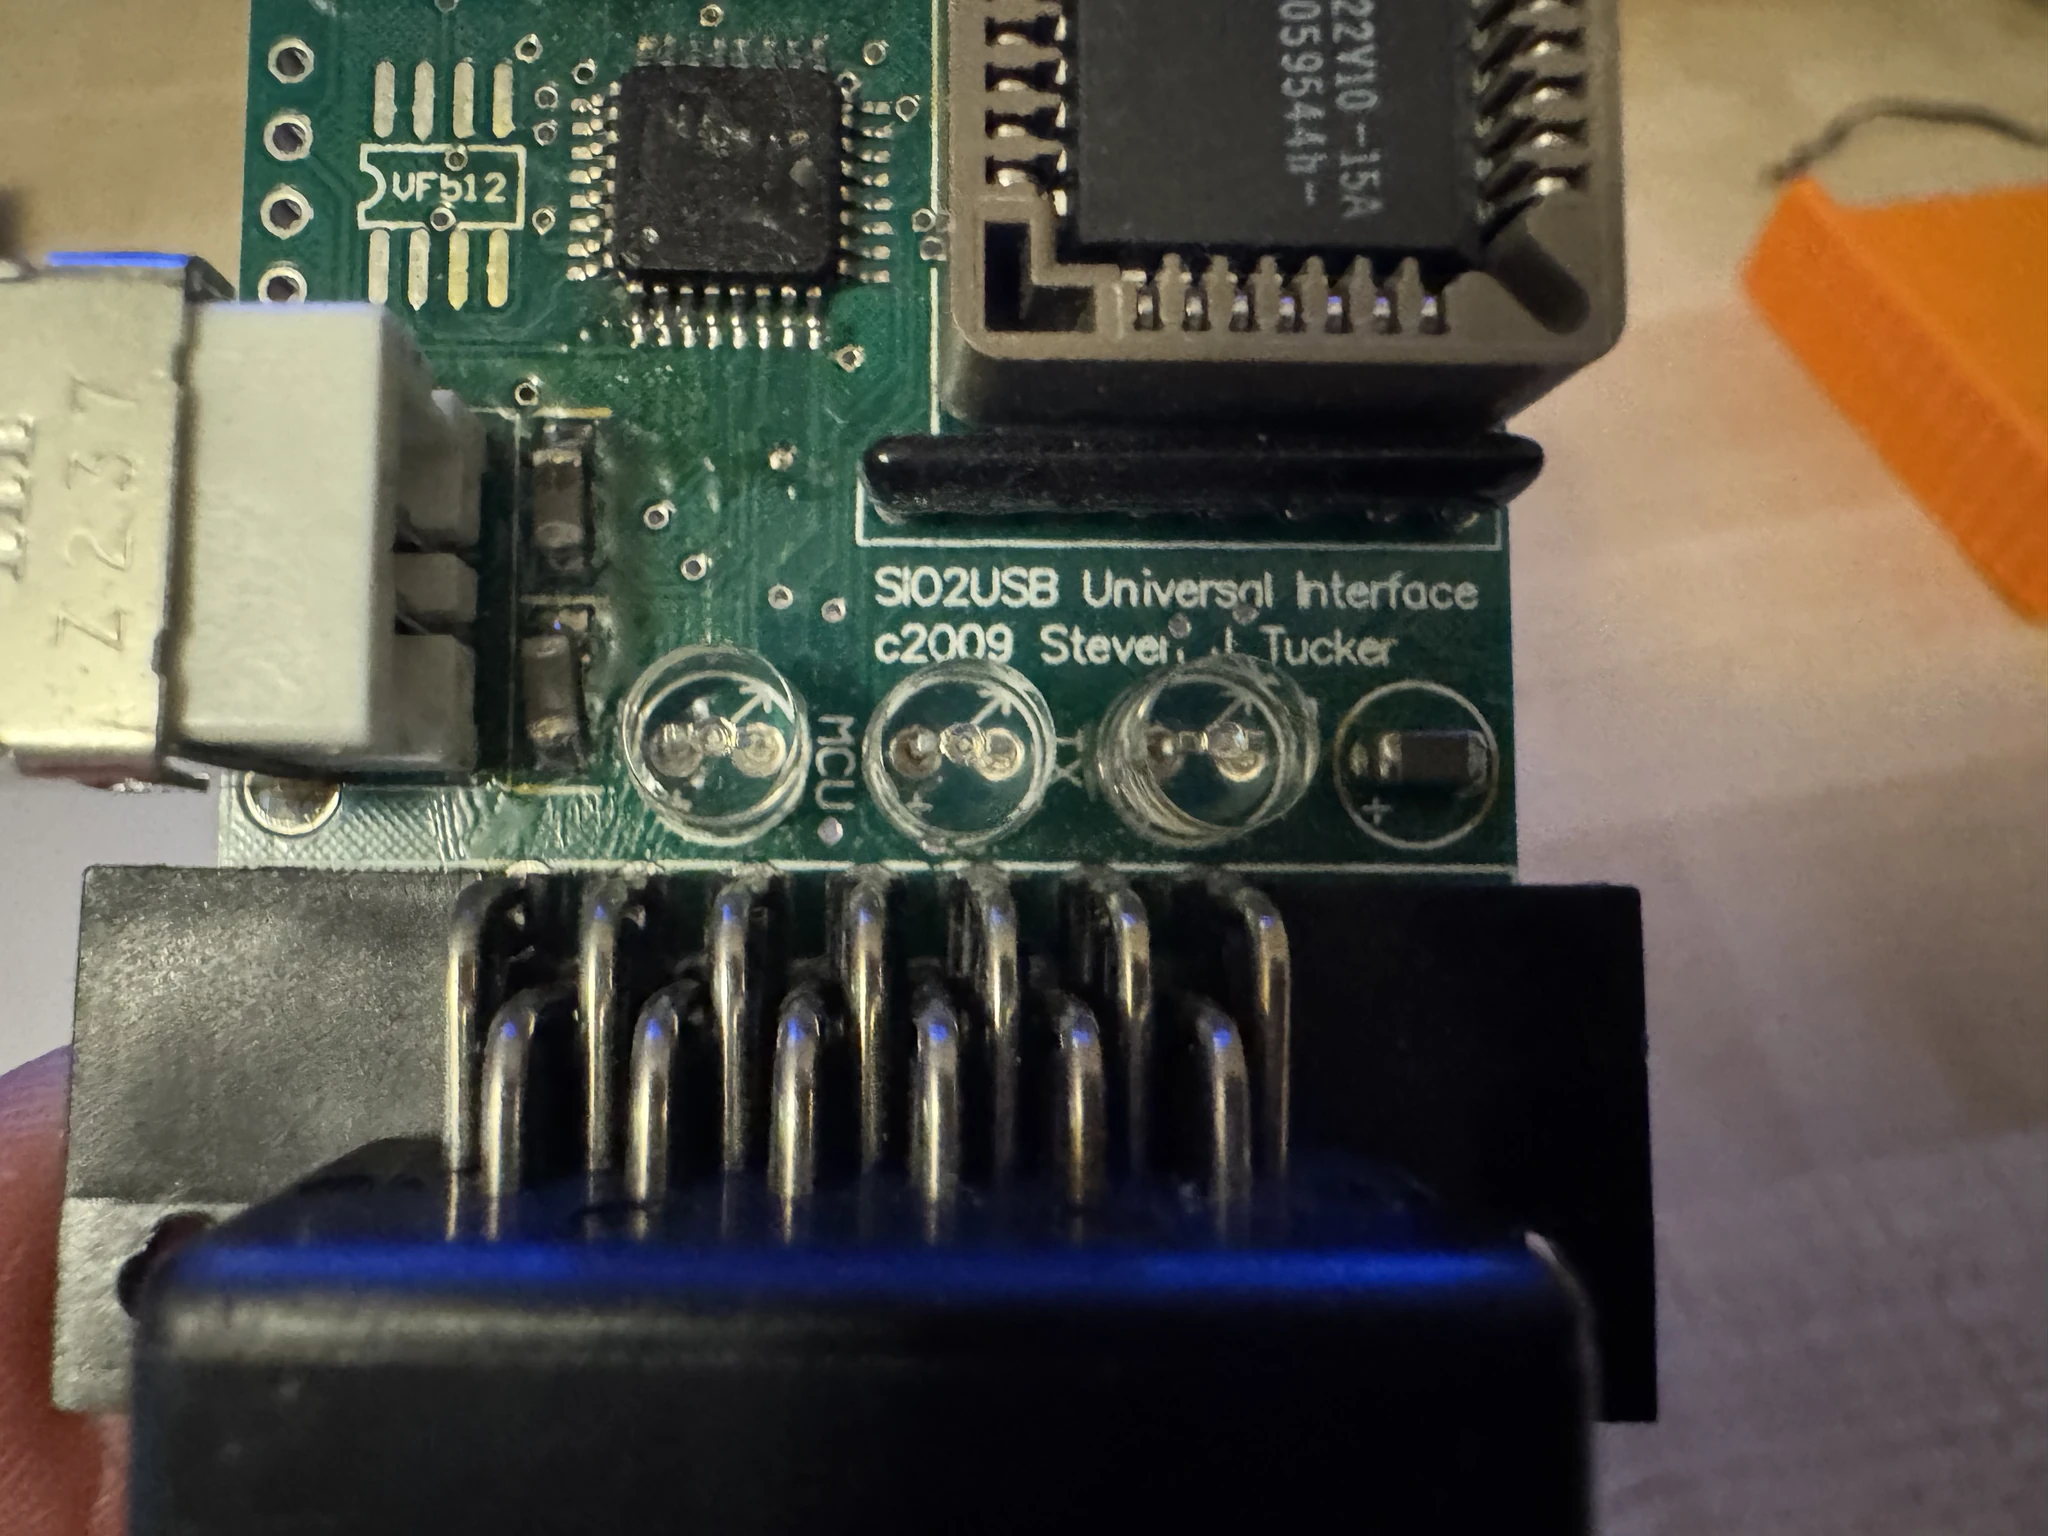
The SIO2USB has a type A USB port so you can plug it to your modern computer. I believe there is some software on Windows that you would use to communicate with the Atari this way. I haven’t used this in years but it was a good first solution as you can fetch program files off of your modern computer to load and run them on your Atari. It was easy and fast.
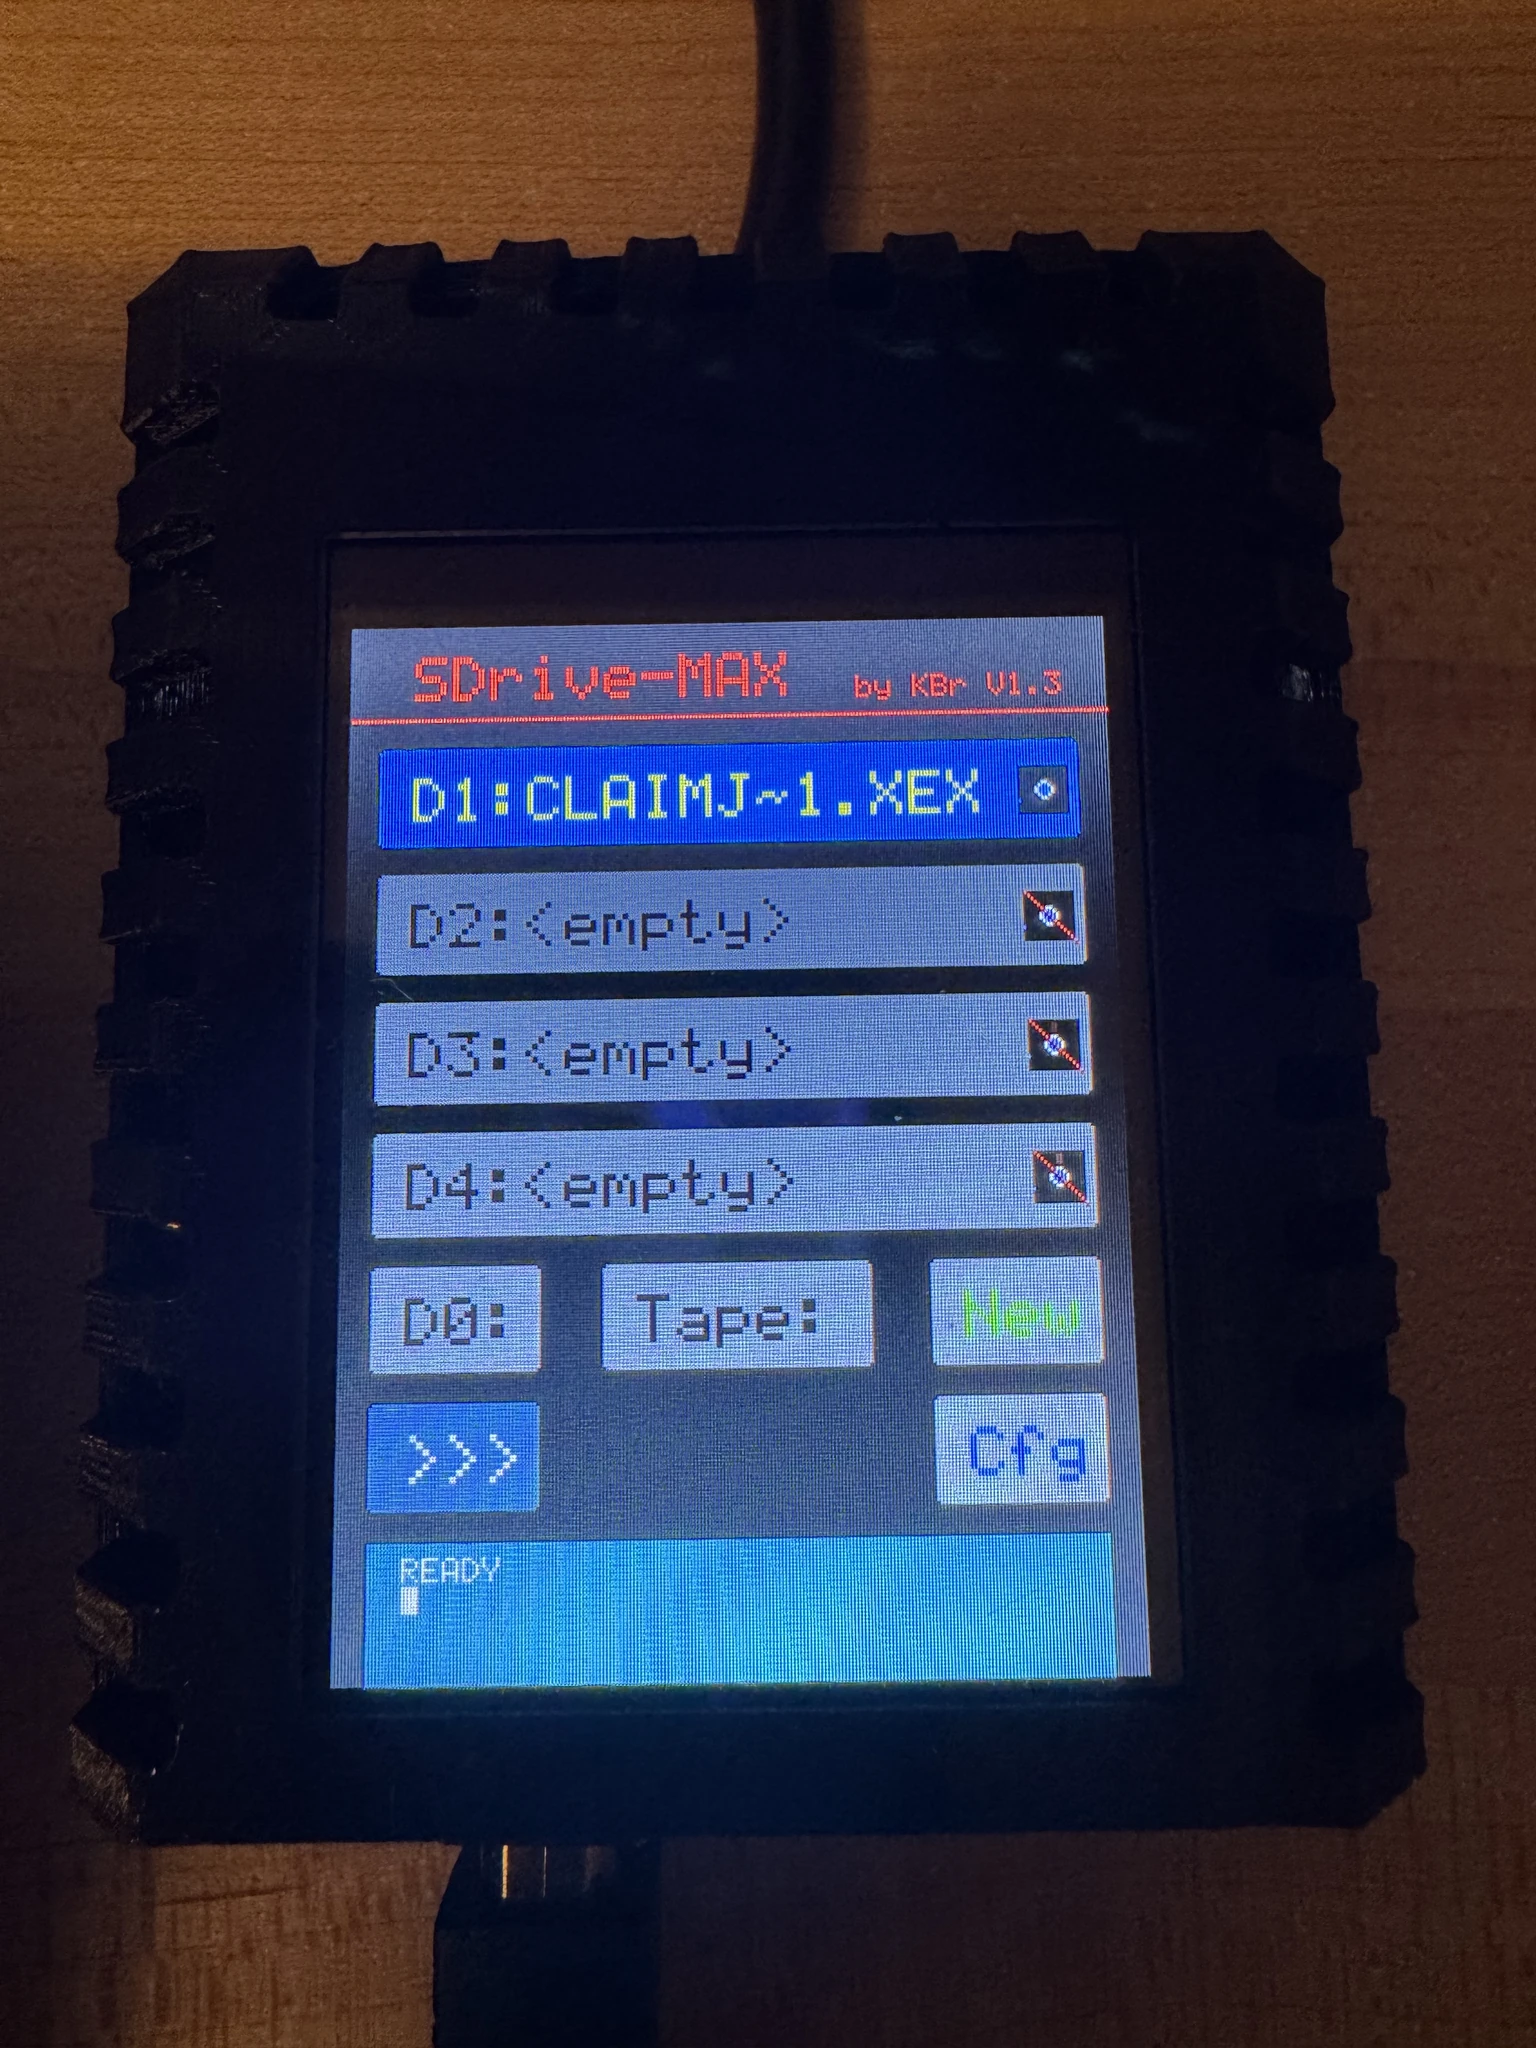
Another solution that is a bit more practical now is the SDrive-MAX. You copy your programs onto an SD card and can load them via the SDrive-MAX unit. This cool device is made from an Arduino board with a touch display screen hat on it.
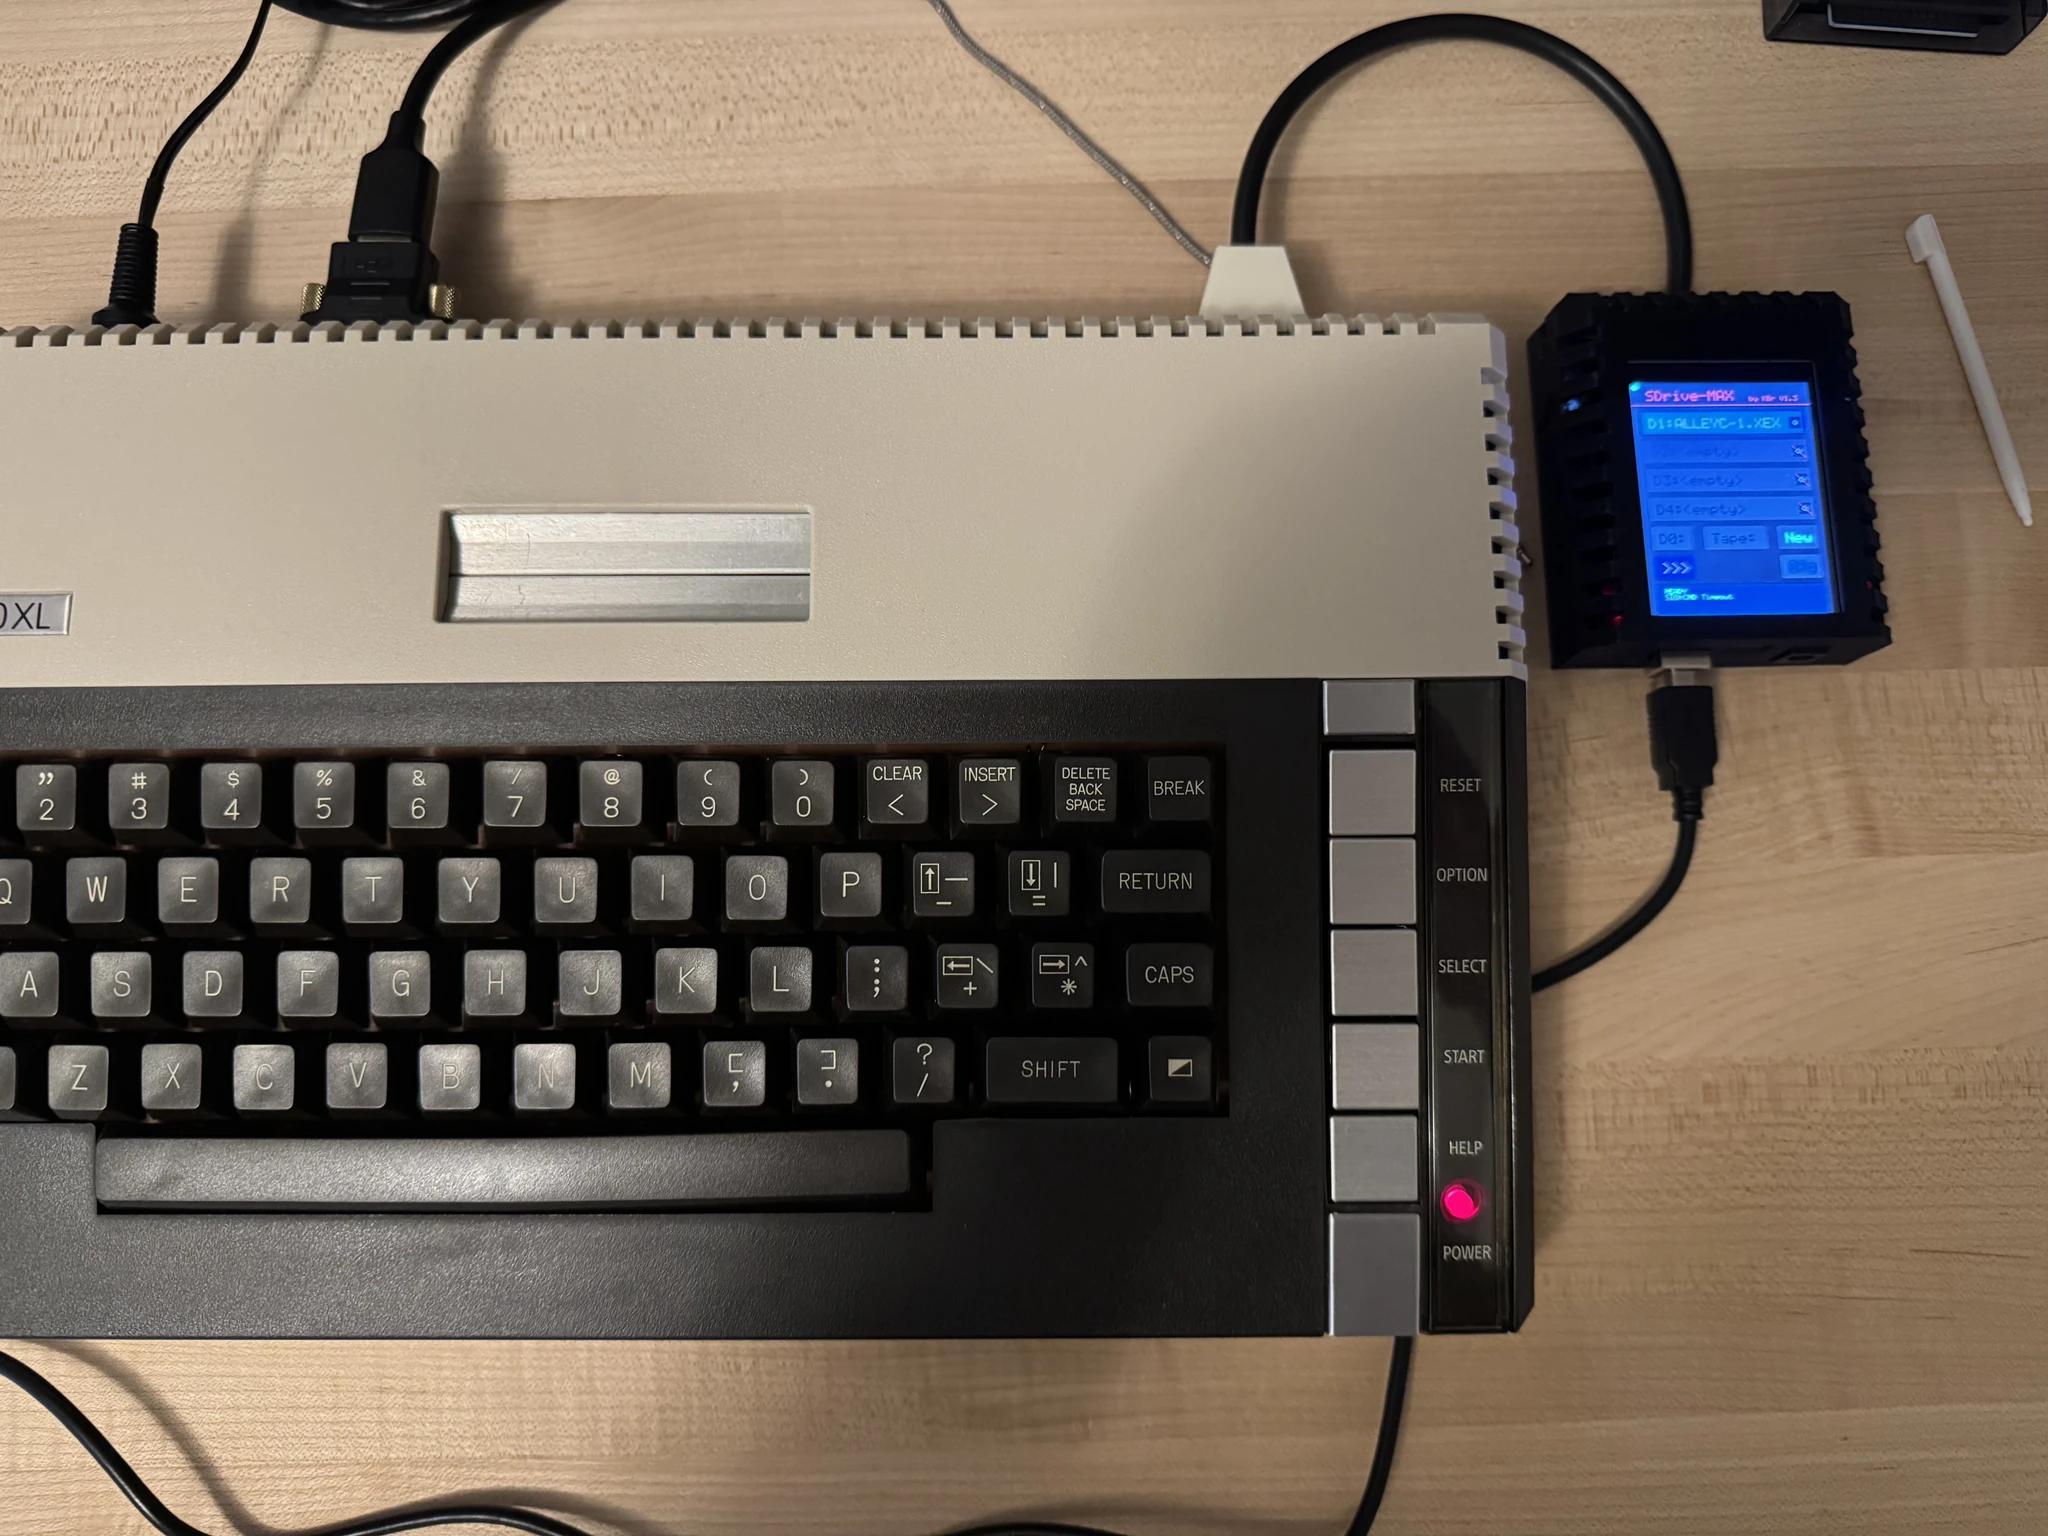
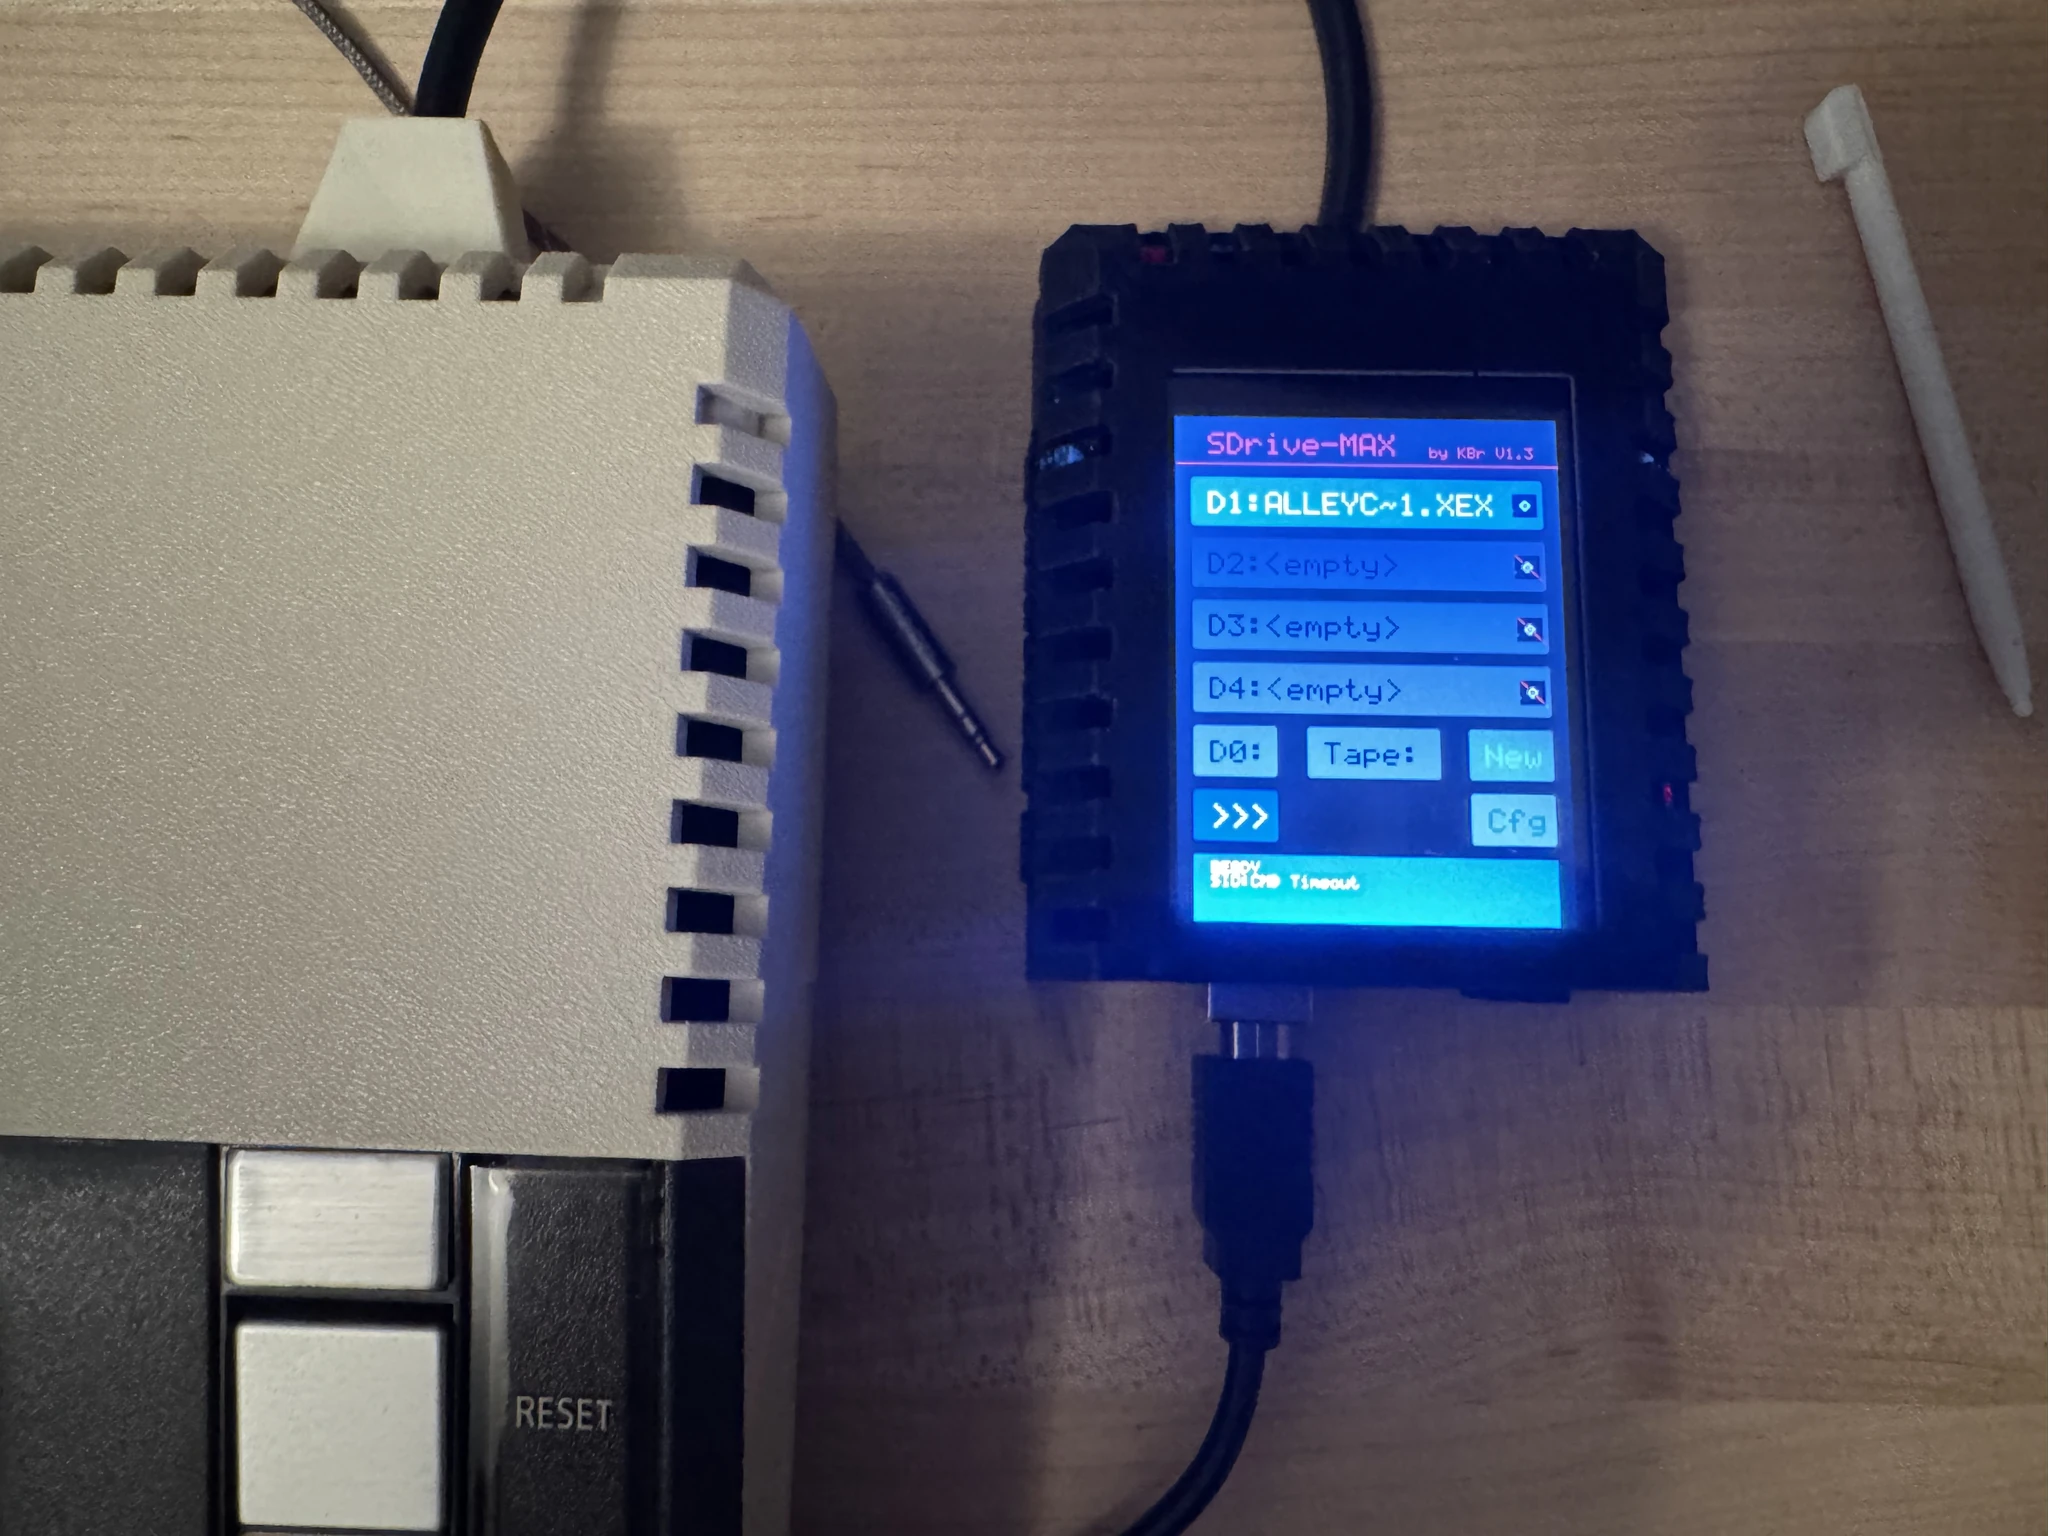
I opened mine so you can see what is inside. Mine was purchased from The Brewing Academy a long while back. If you can’t find a place to purchase one you also have the option of building it yourself.
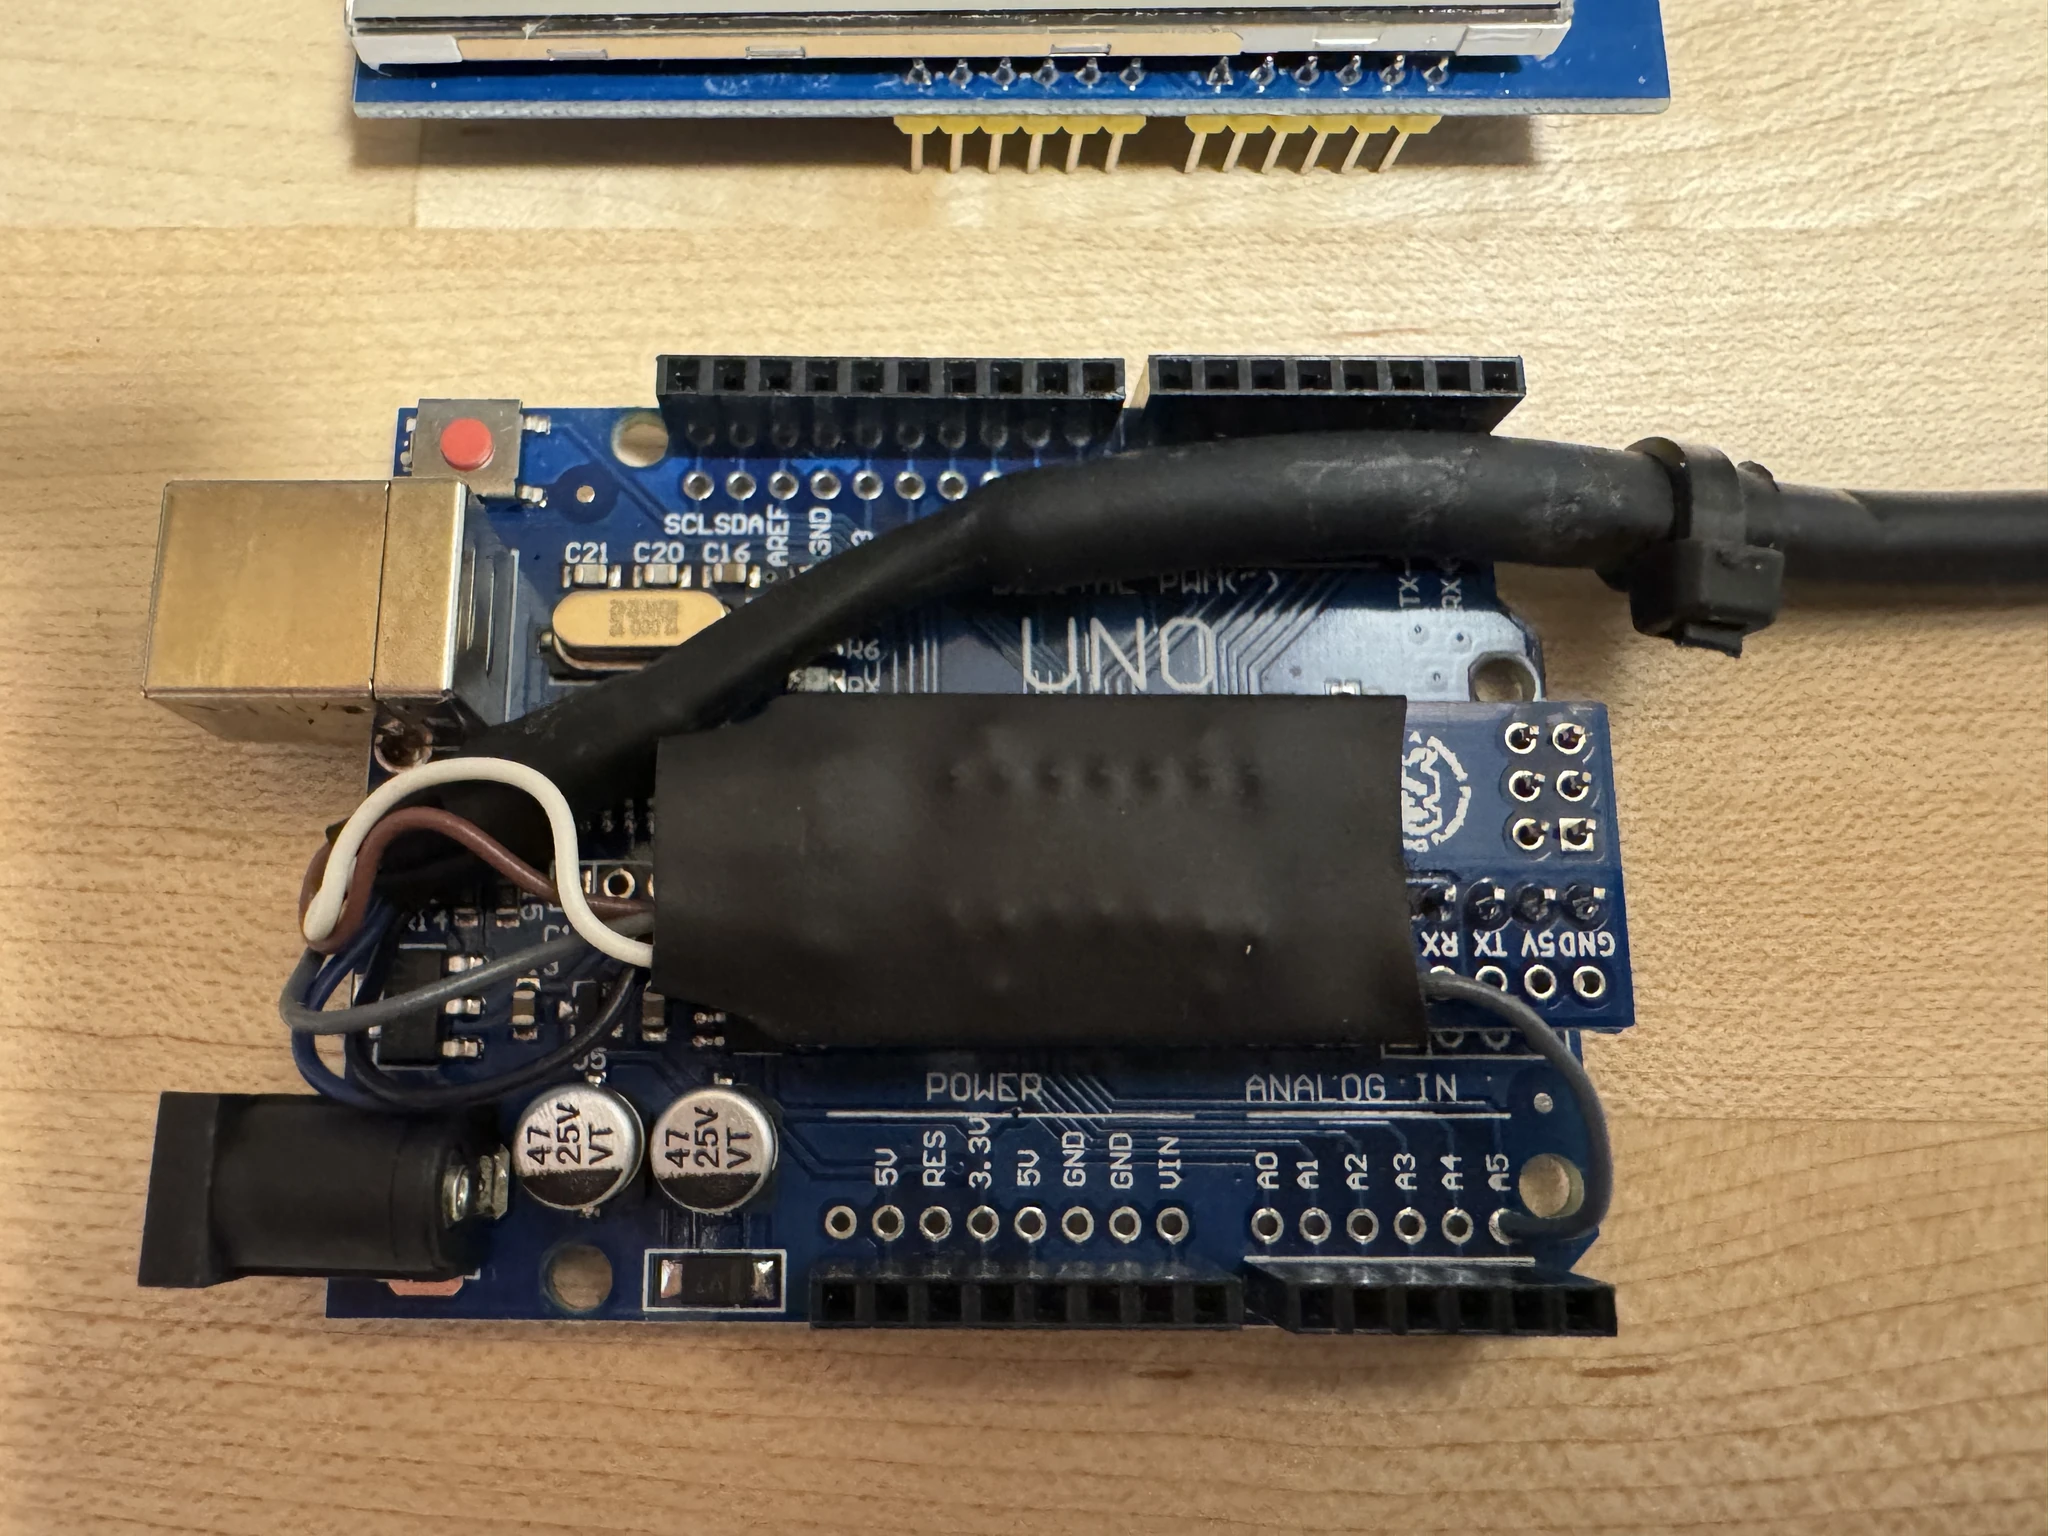
This is the Arduino UNO board.
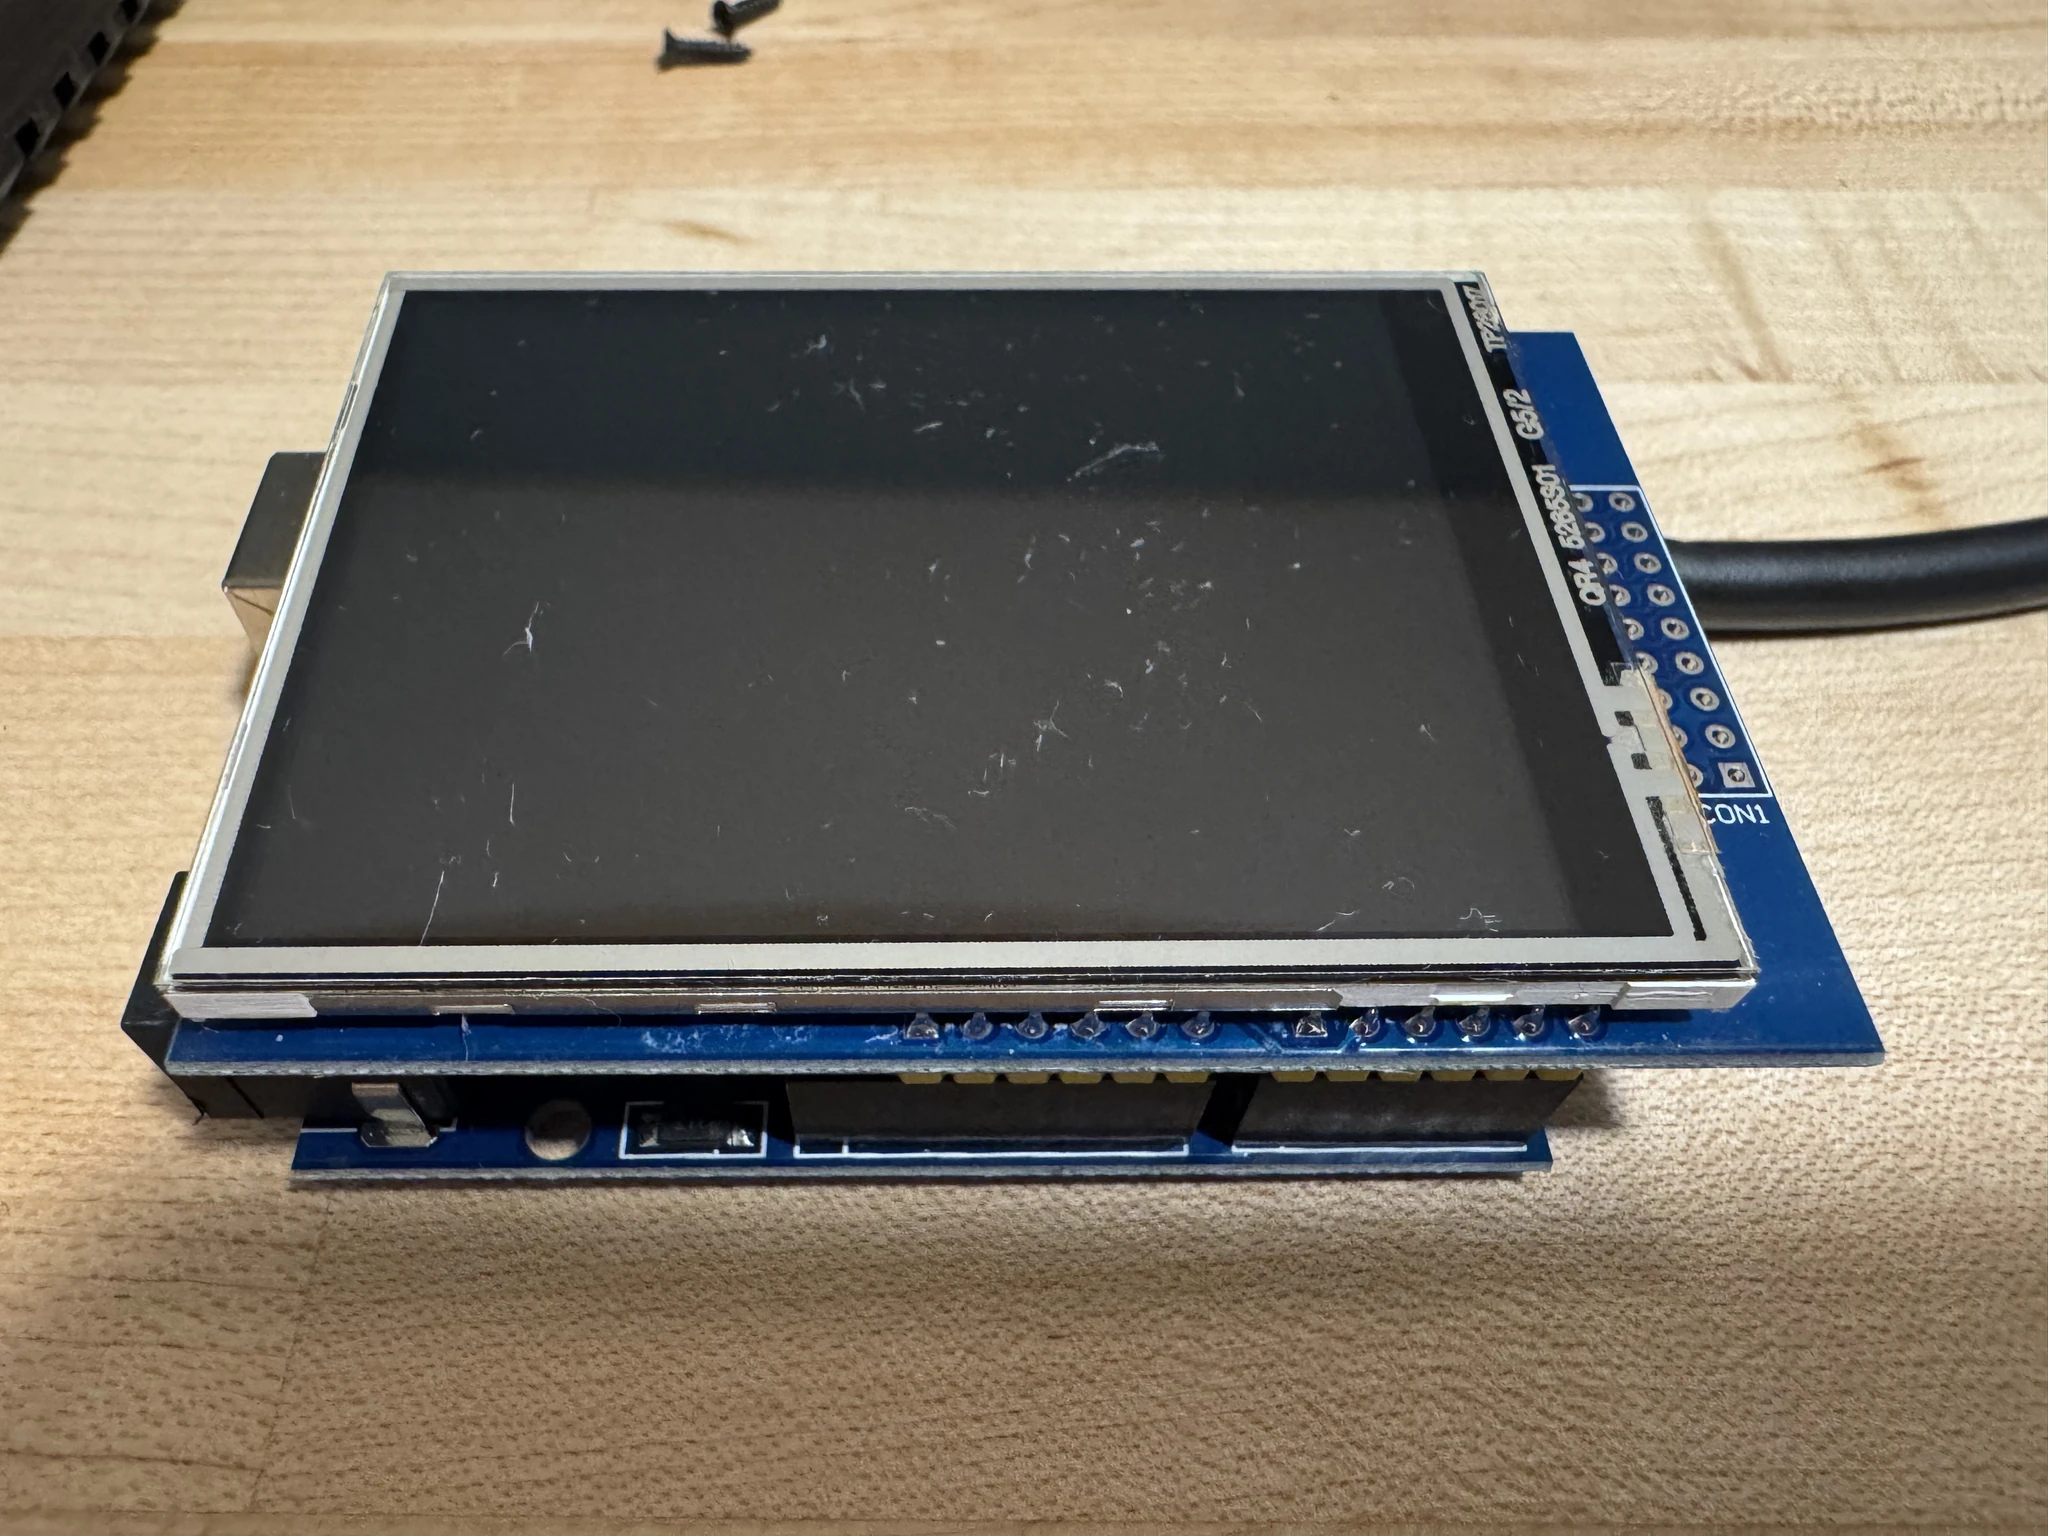
And the touch screen plugged in.
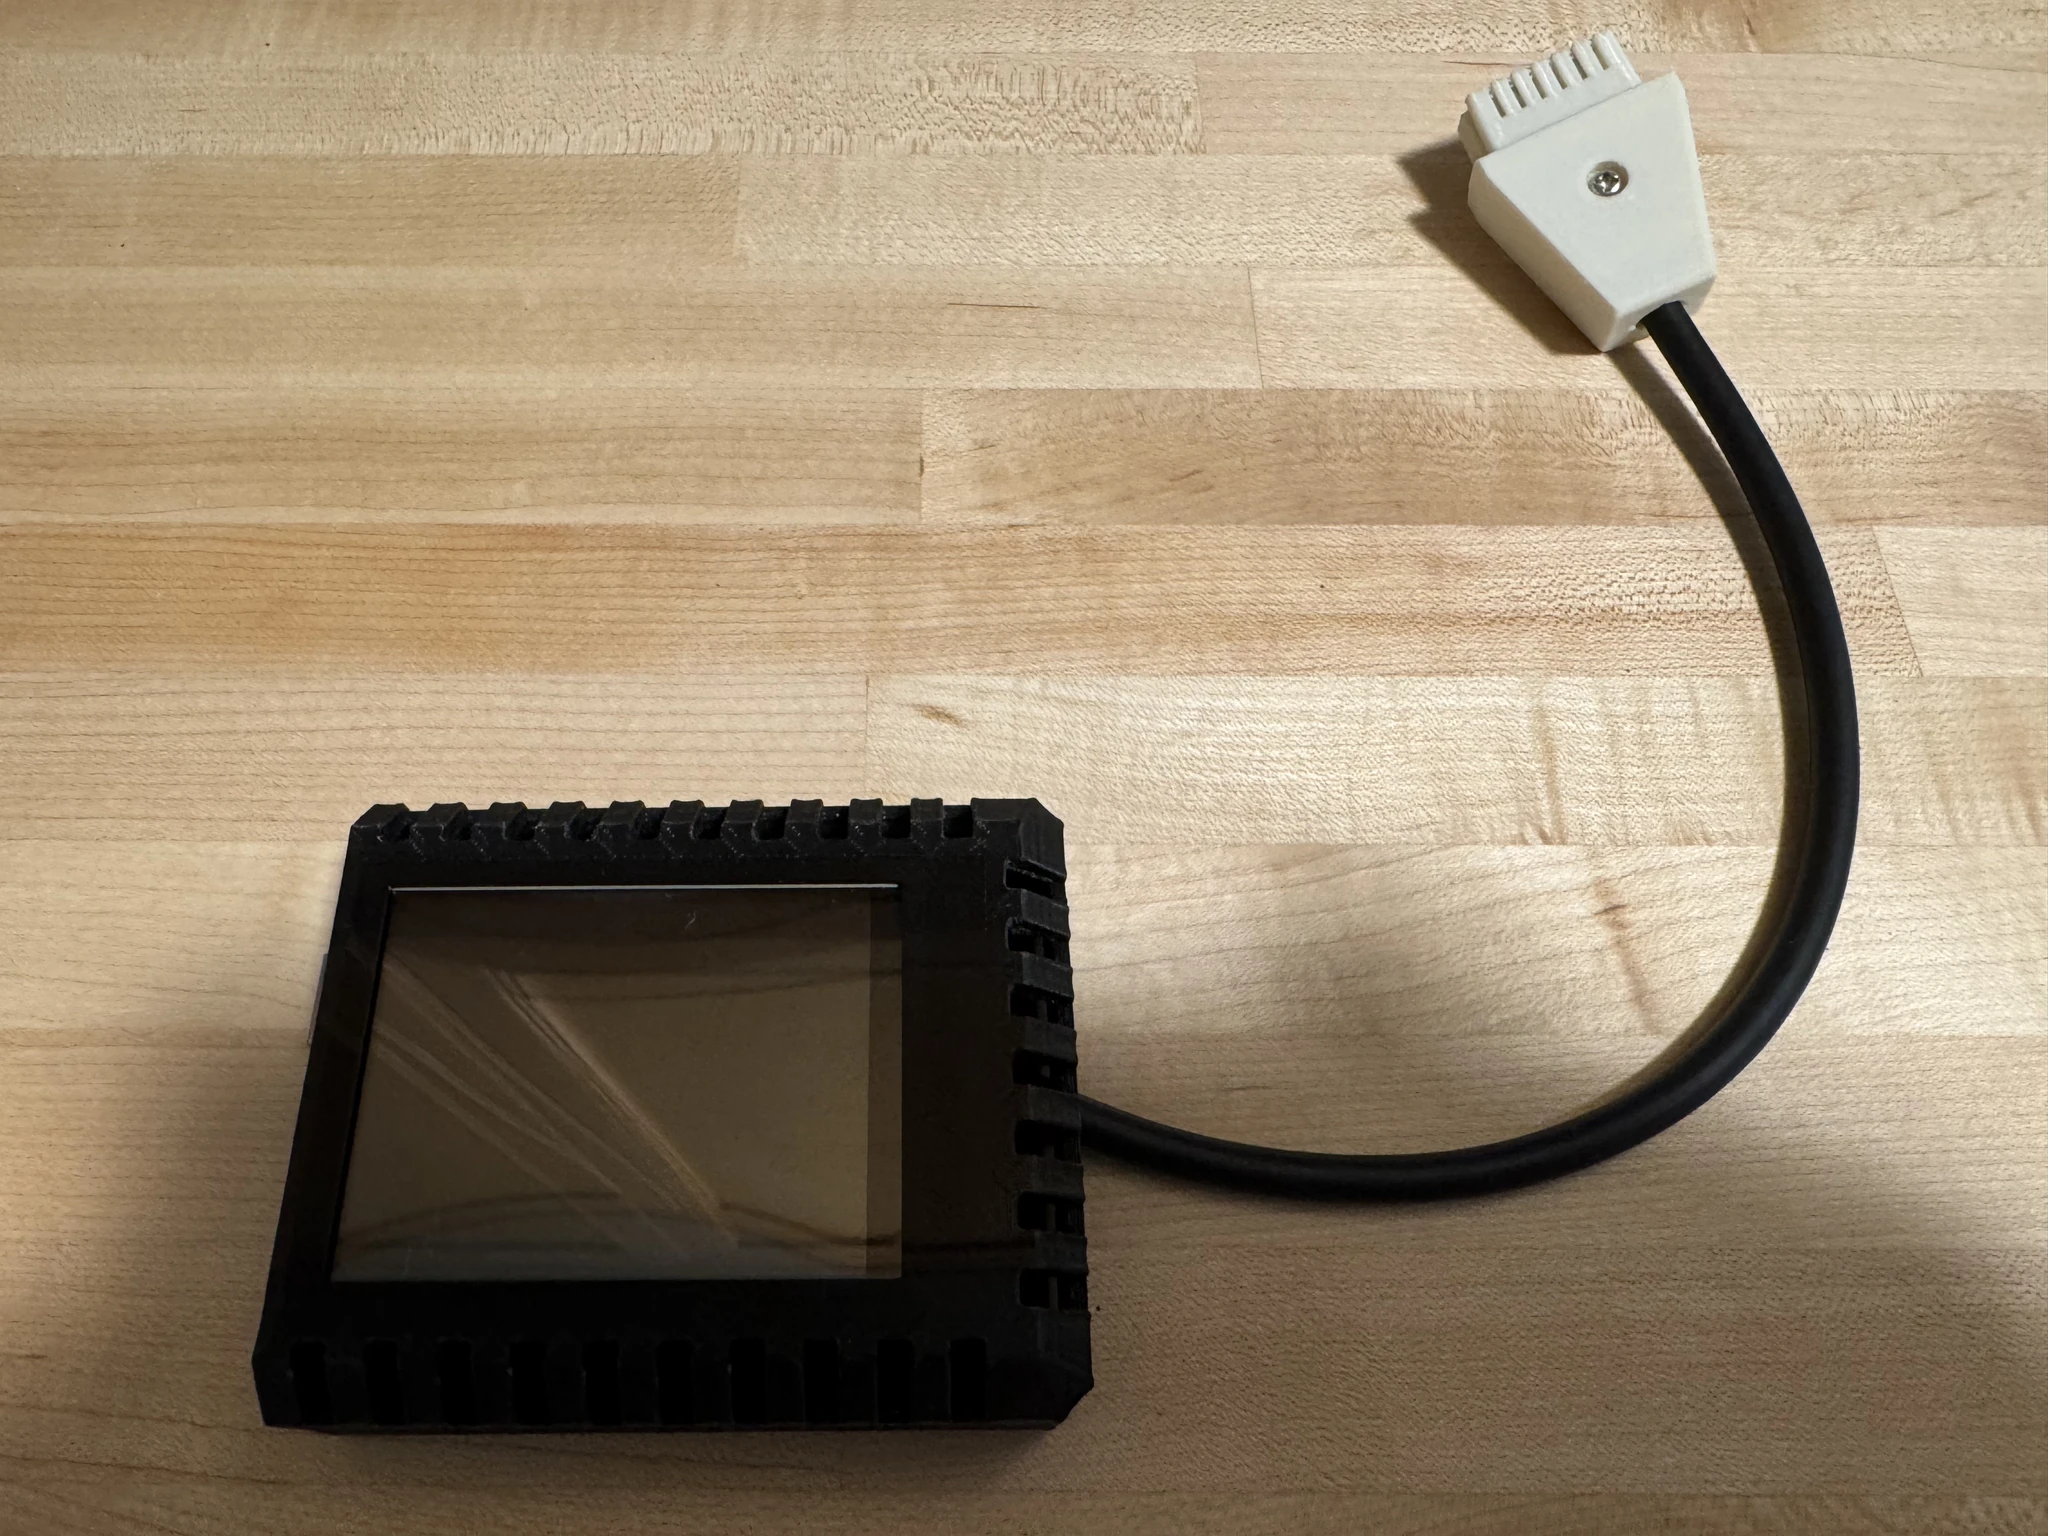
This is the 3D printed case made by The Brewing Academy.
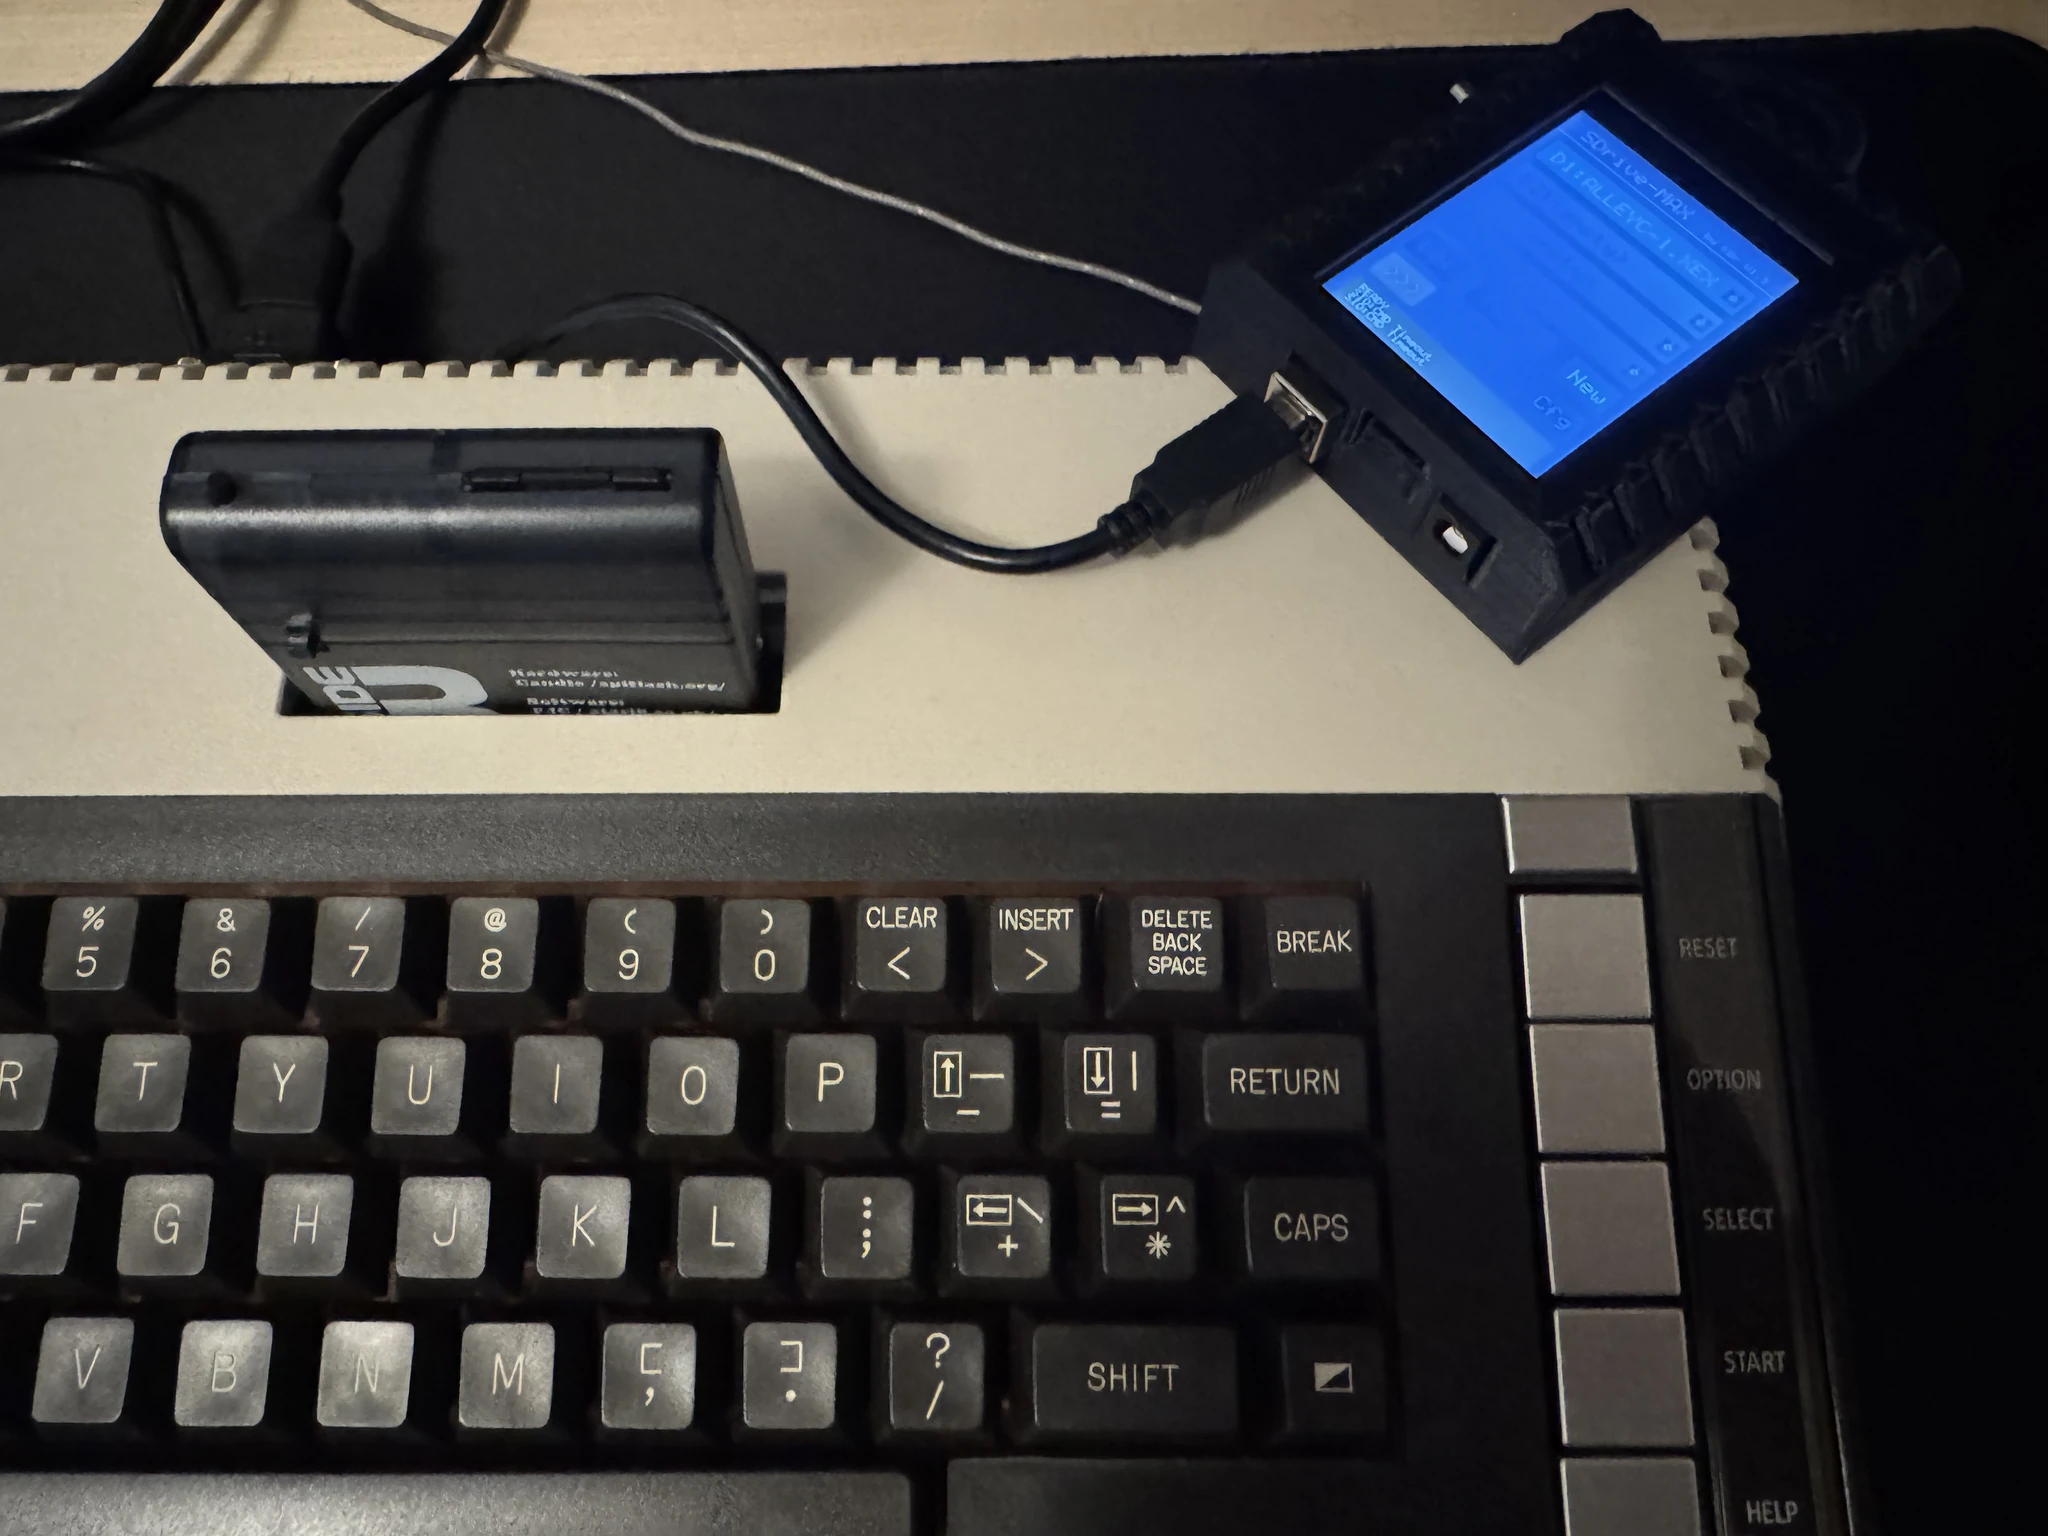
Here I’ve loaded Alley Cat from the SDrive-MAX.
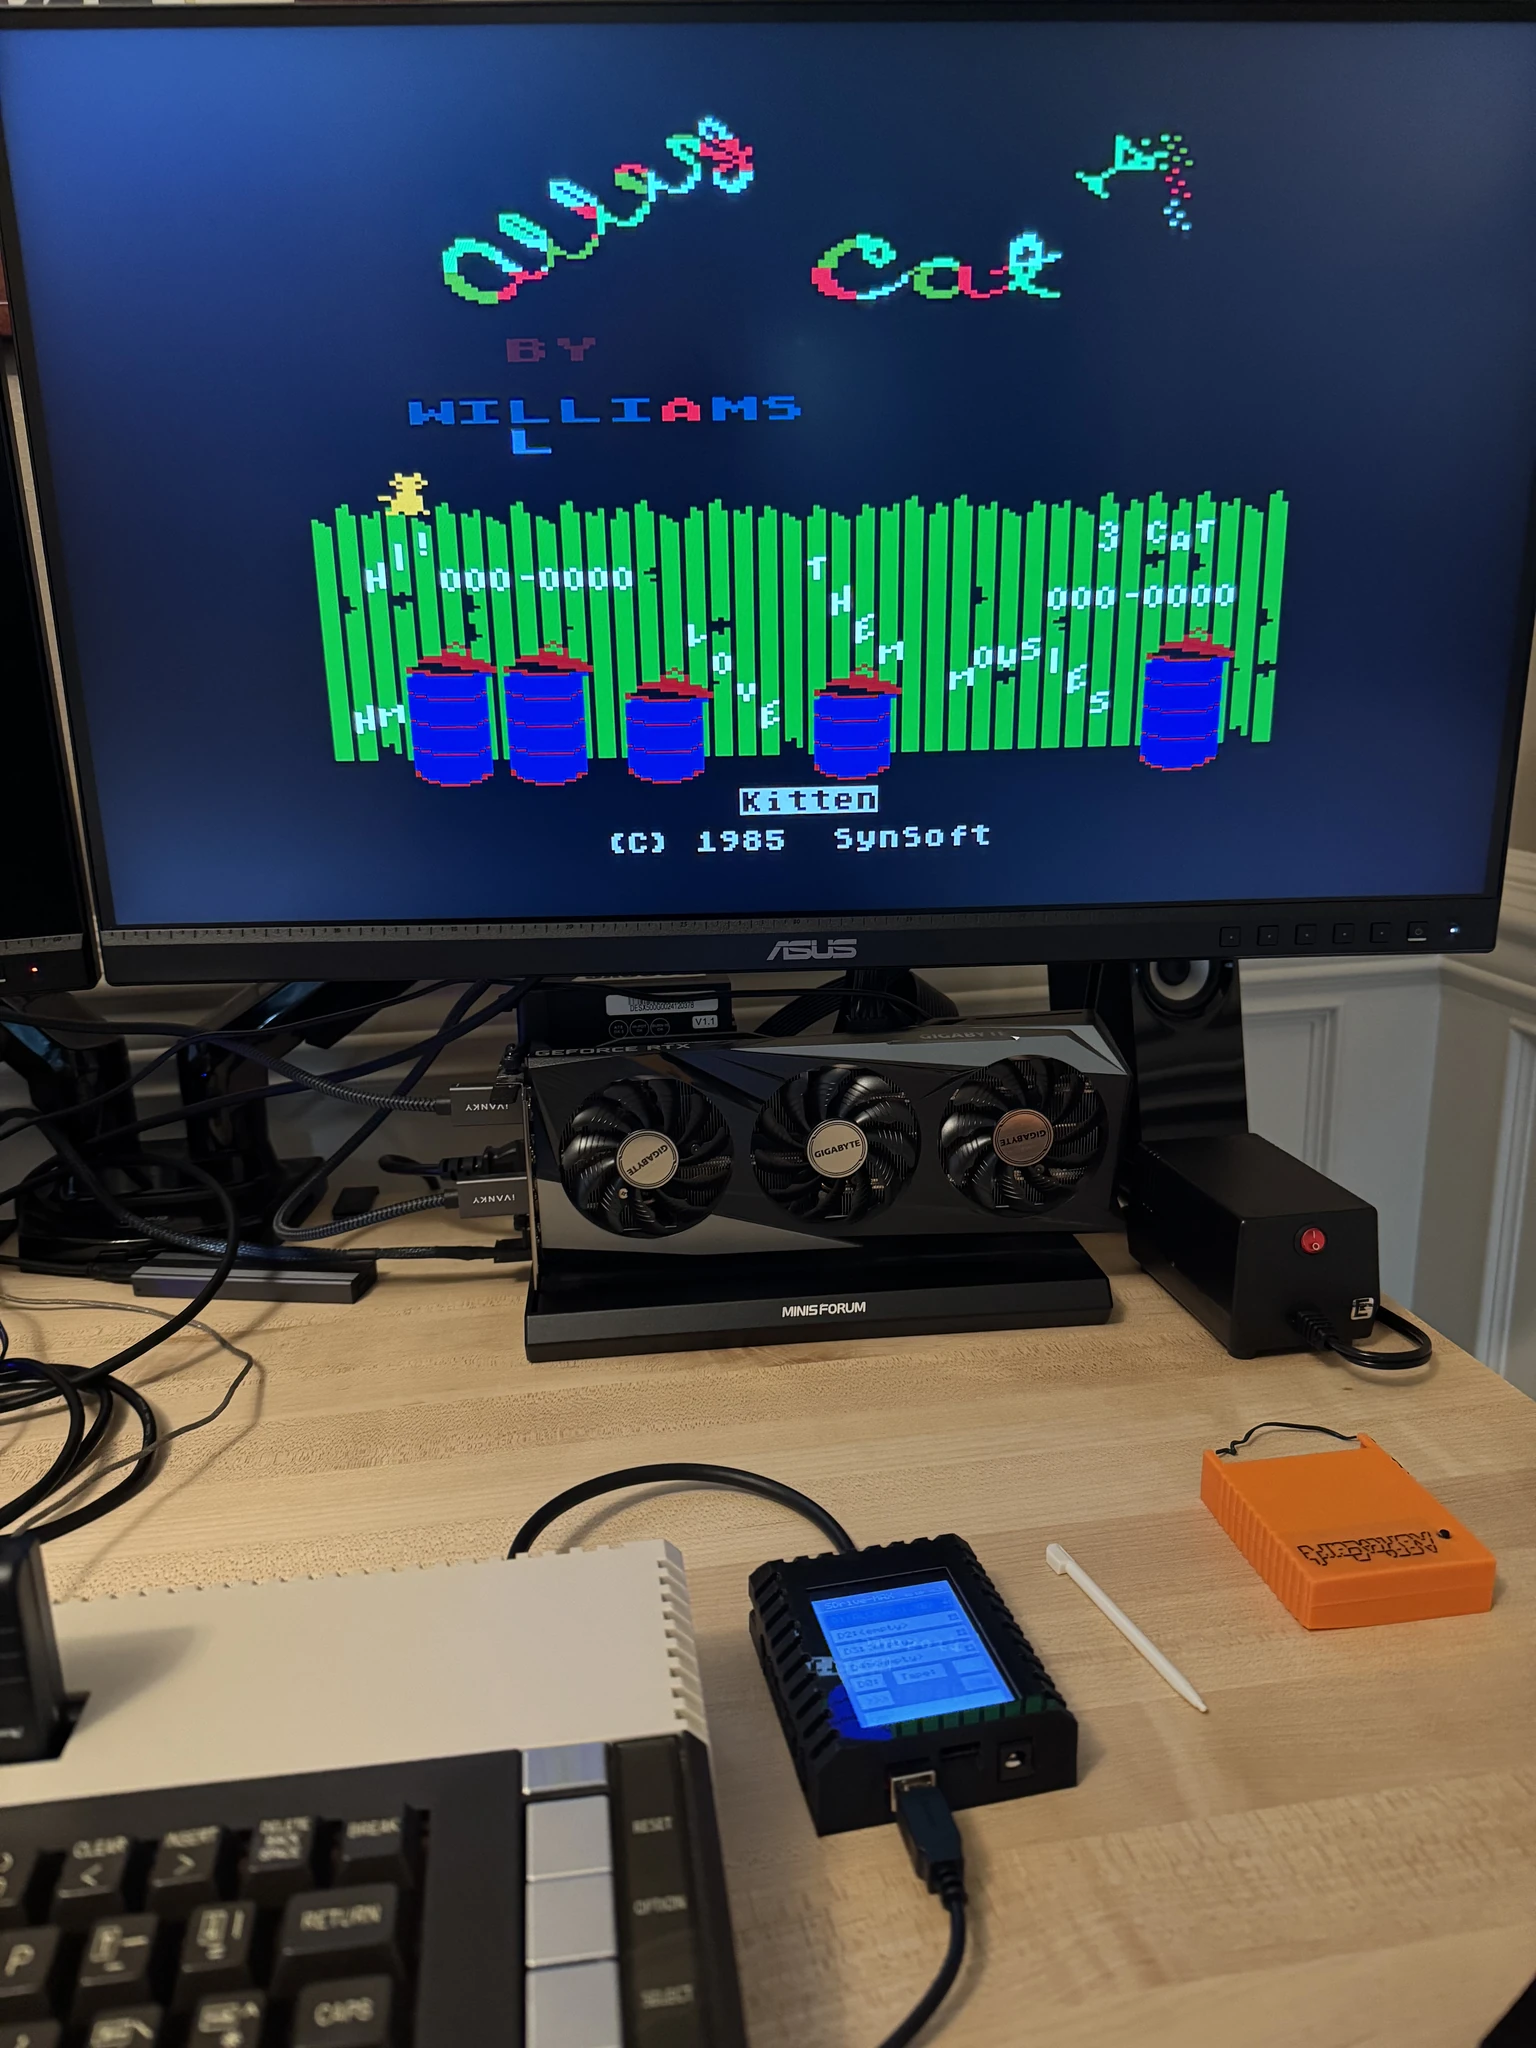
With the stylus, I can click the >>> button to cycle through games in the SD card. There are other things you can do with this device, such as mount multiple disks.
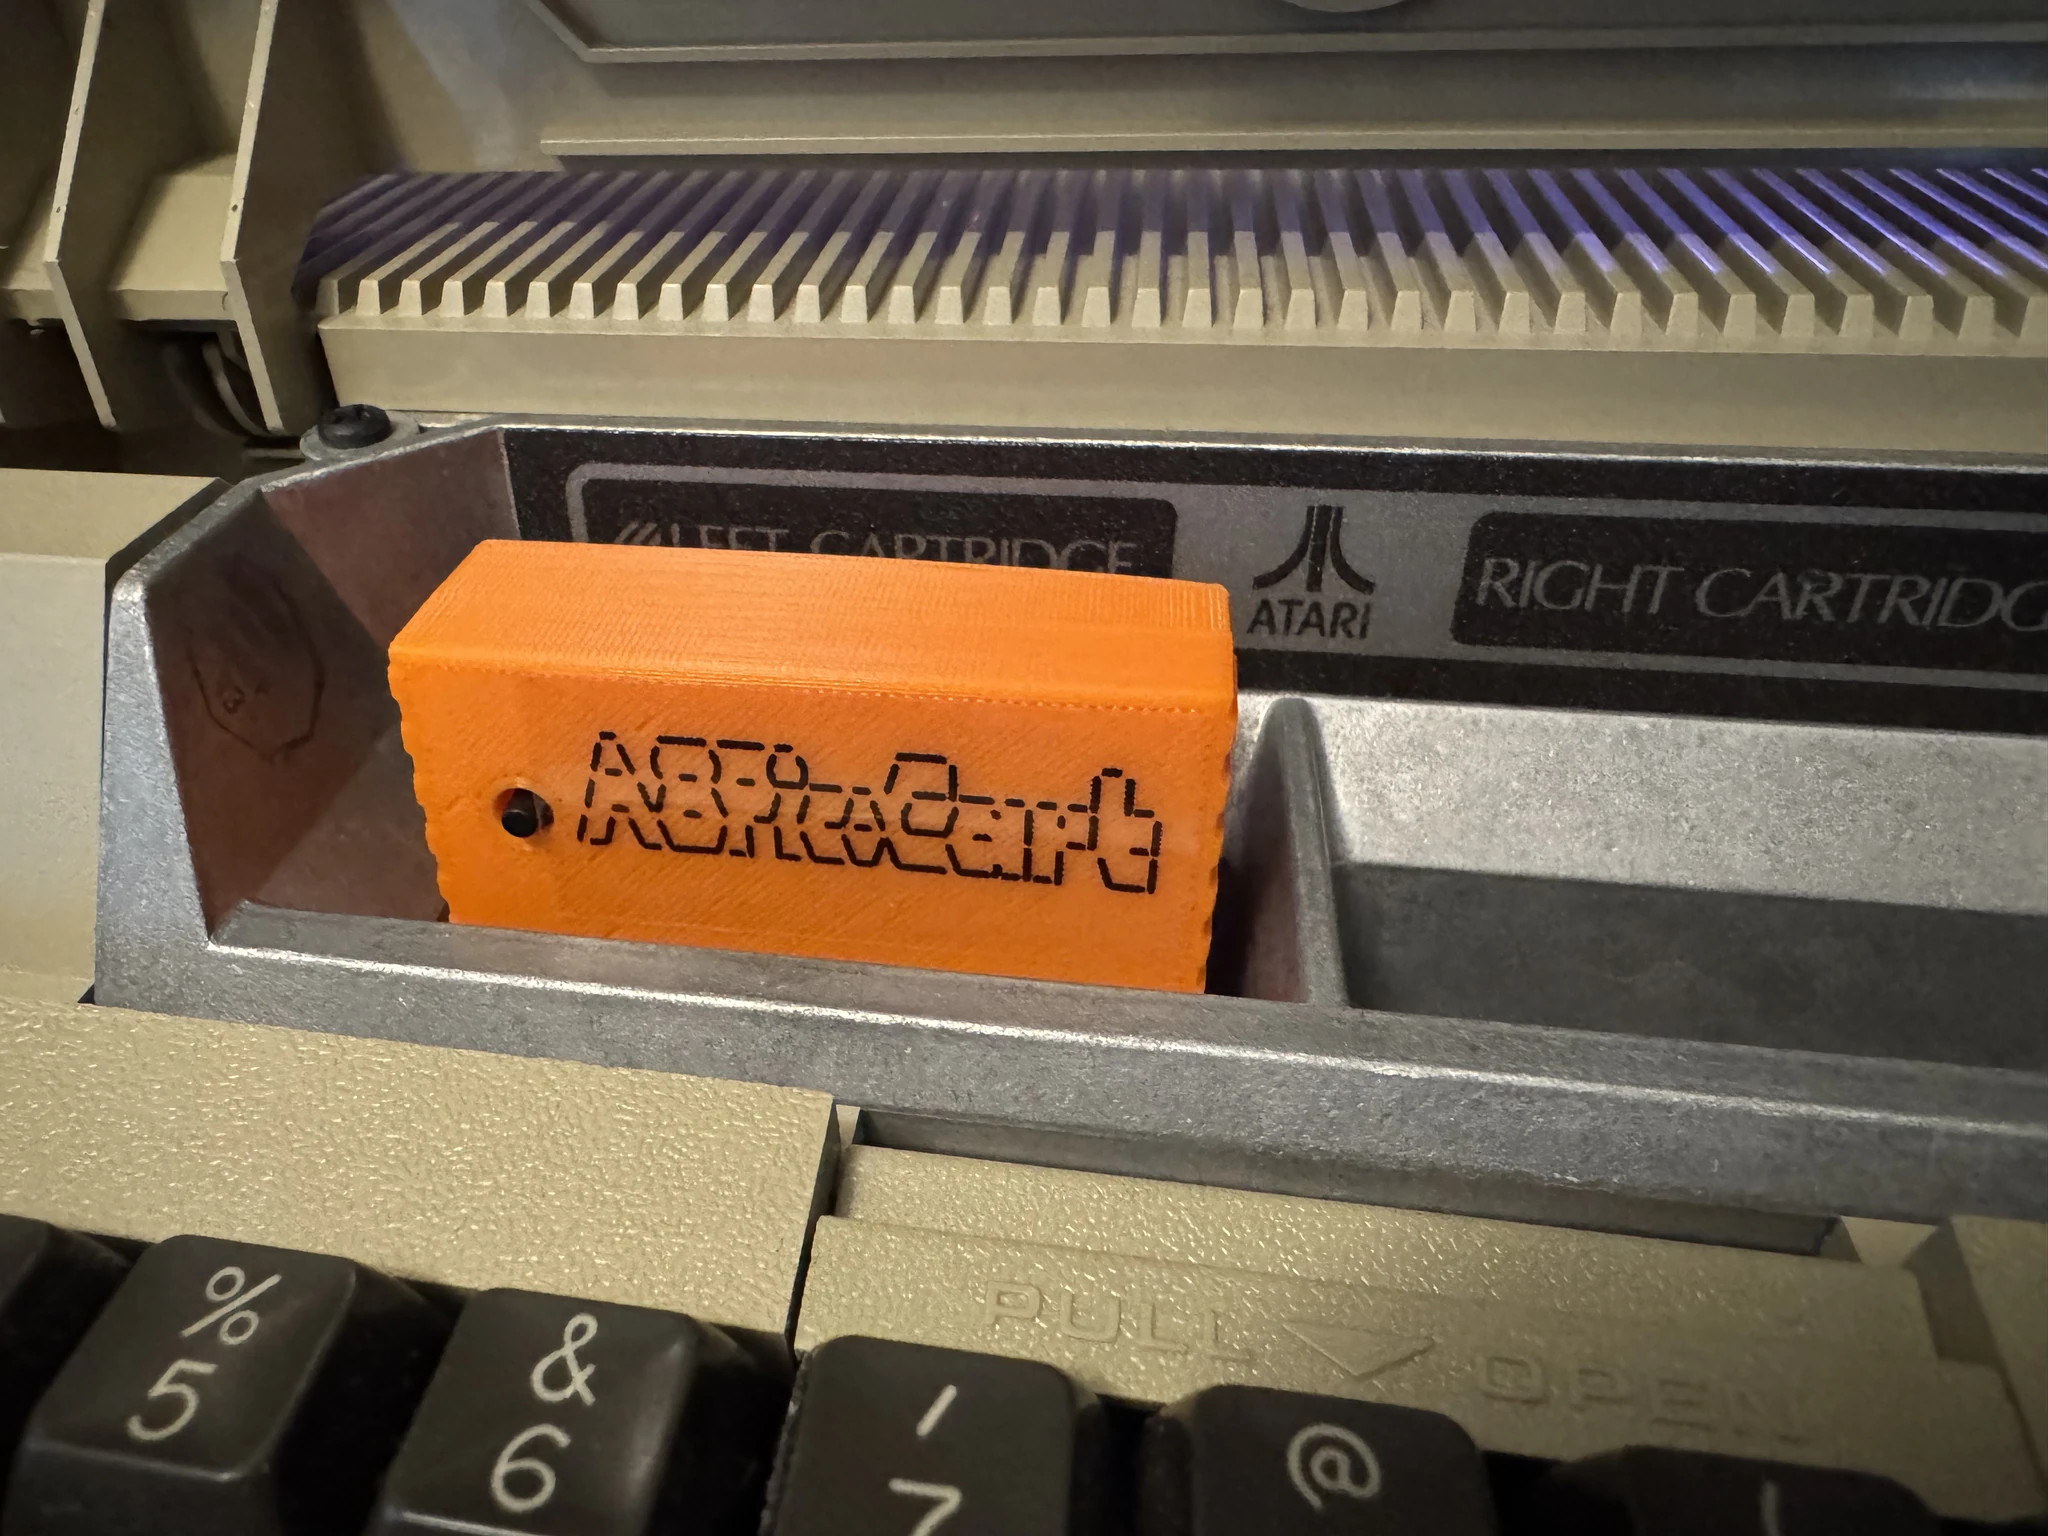
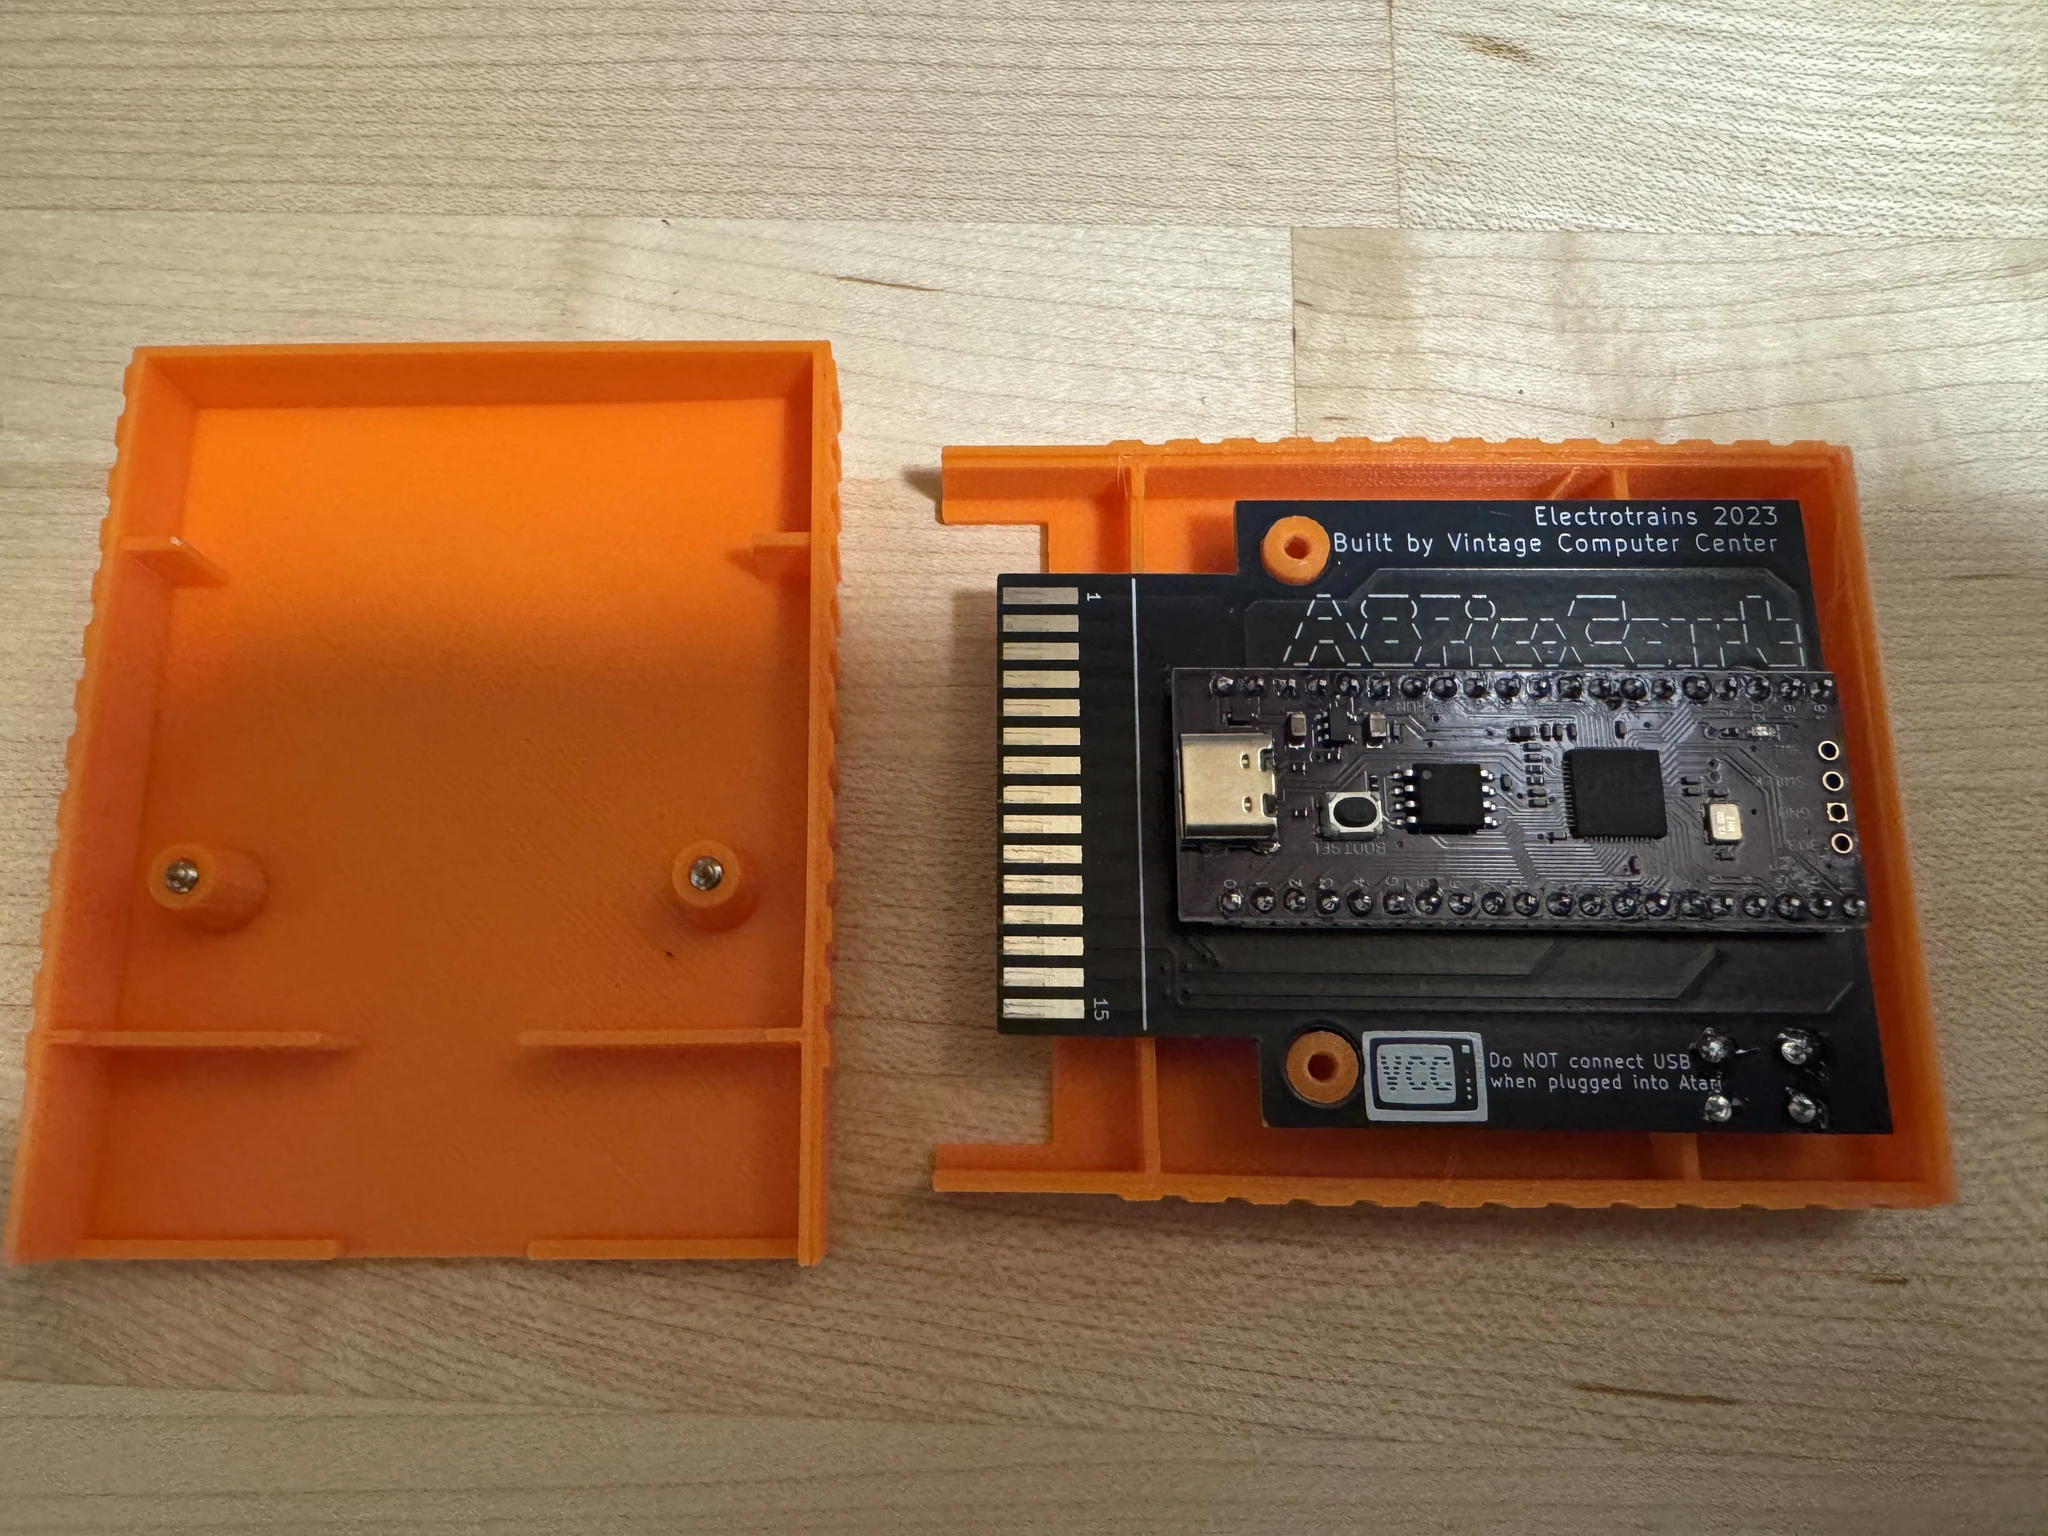
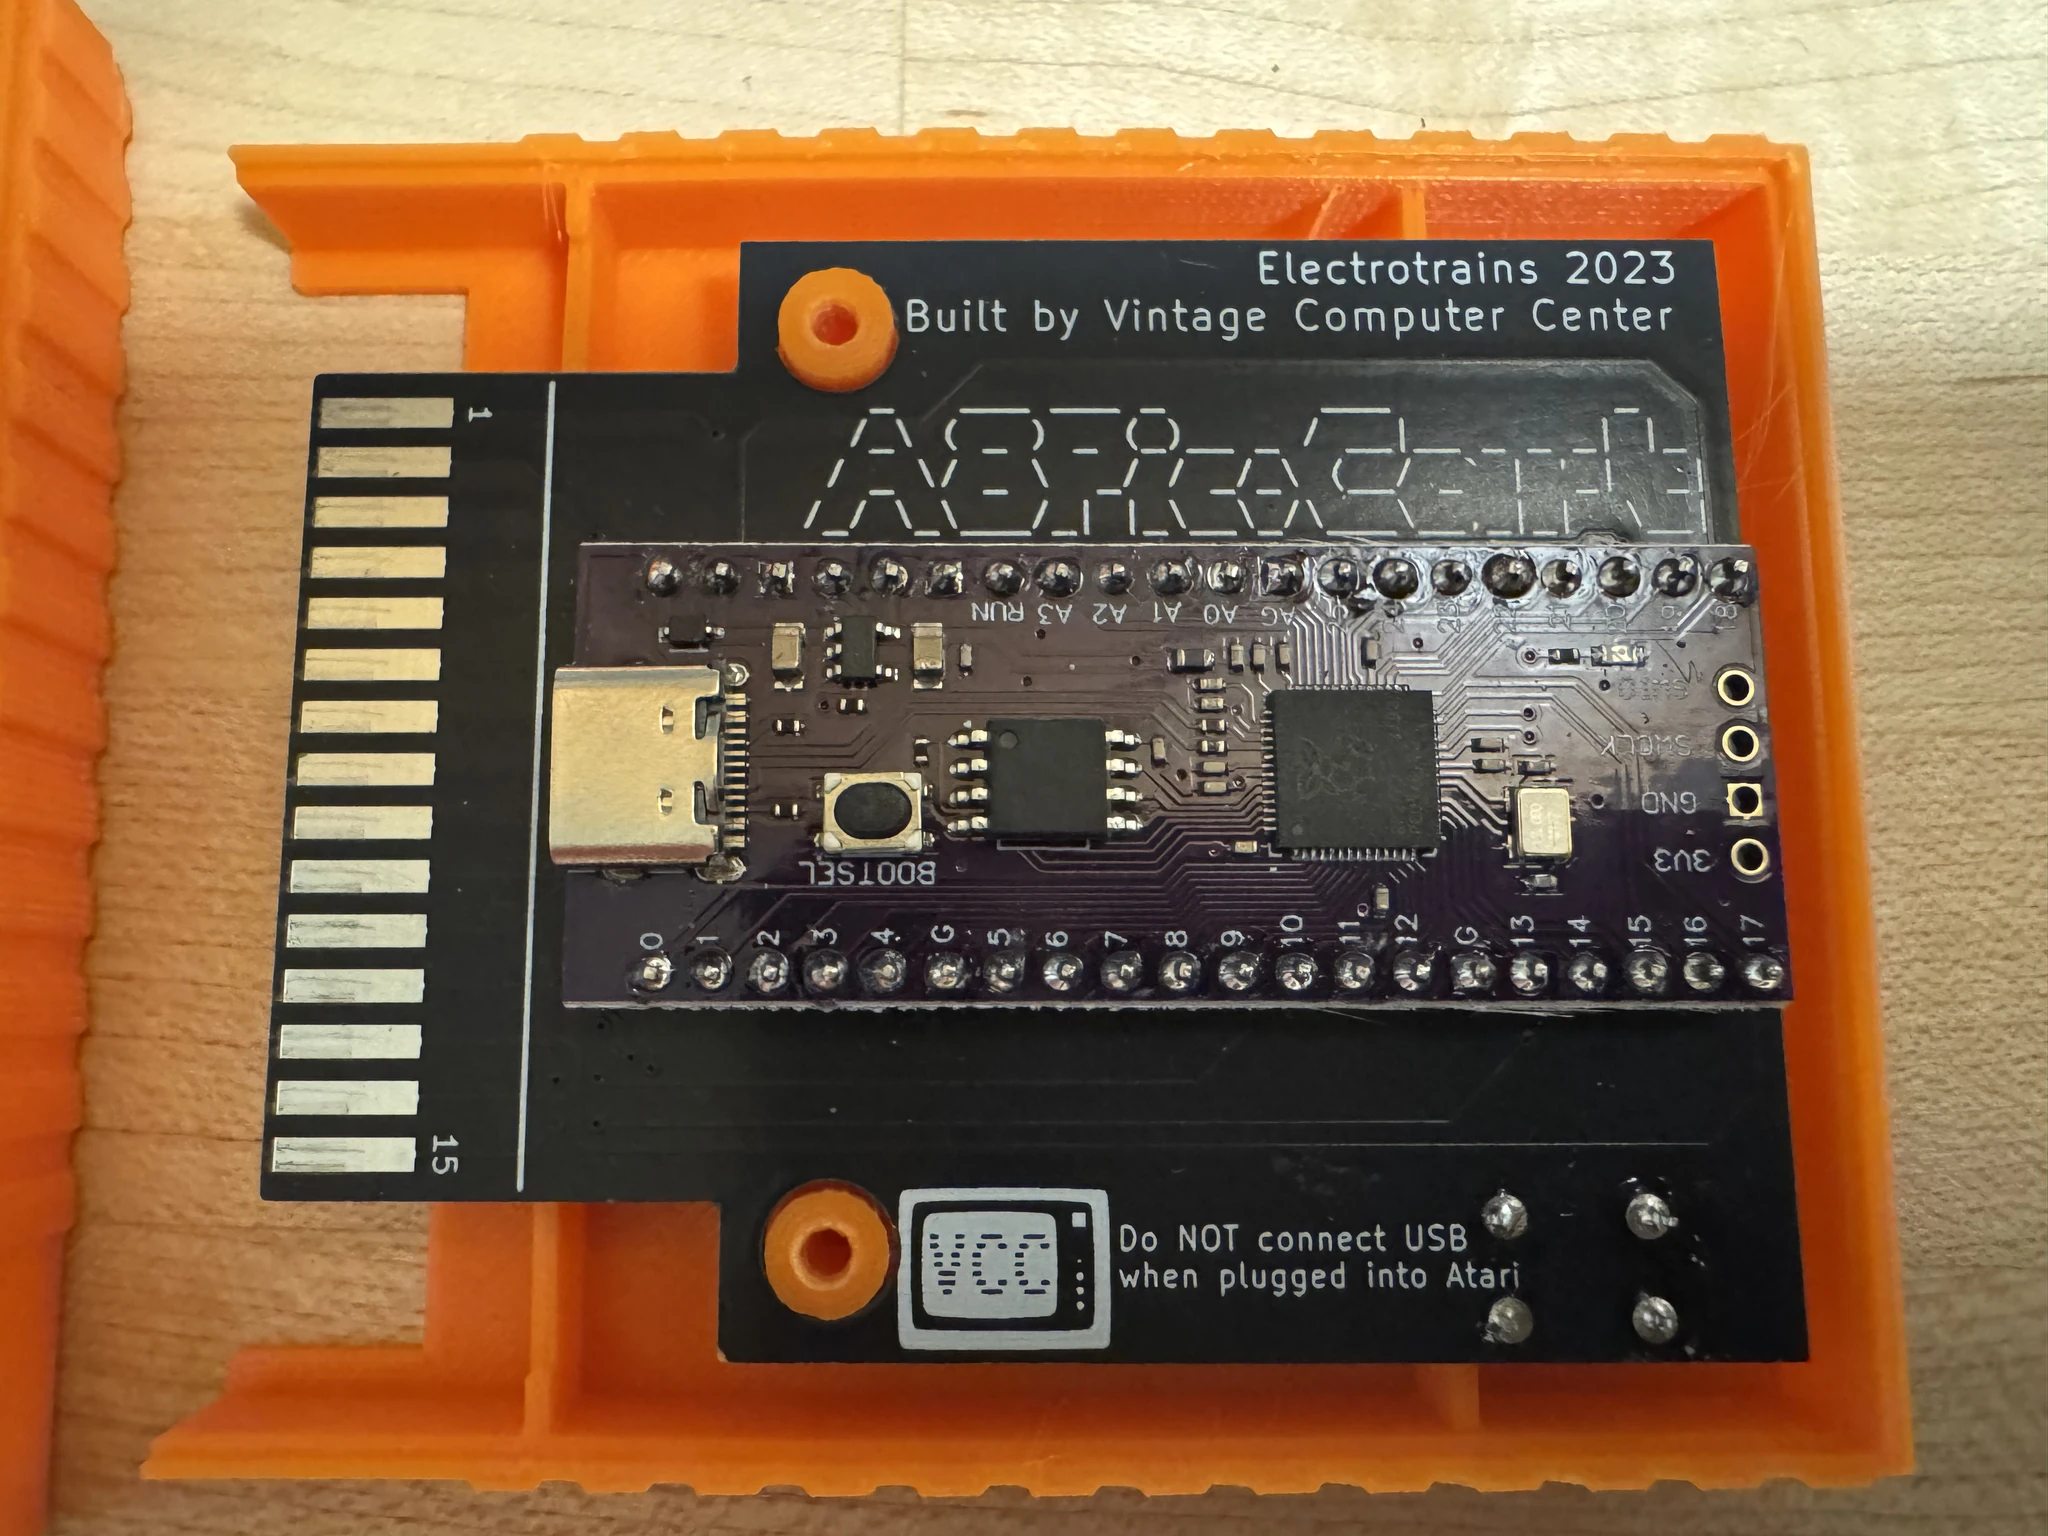
Another solution is the A8PicoCart, which is a cartridge with a Raspberry Pi Pico microcontroller in it. This has 16mb of flash on it for storing files. It boots a menu to allow you to select your program or game, much like my Side3 cart solution but smaller in scale.
I opened this so you can see it too.
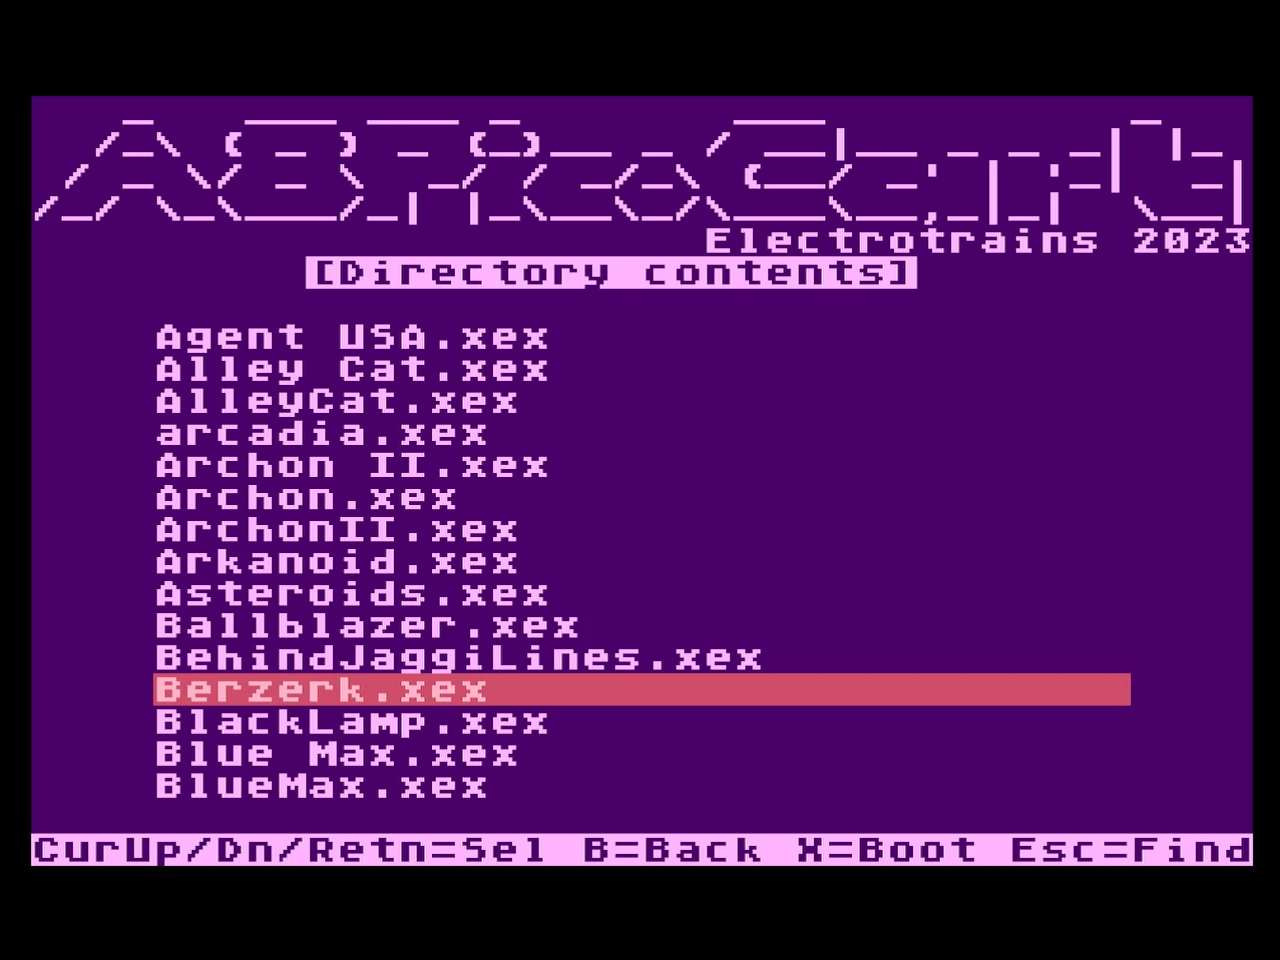
Here are some screen captures of the A8PicoCart menu.
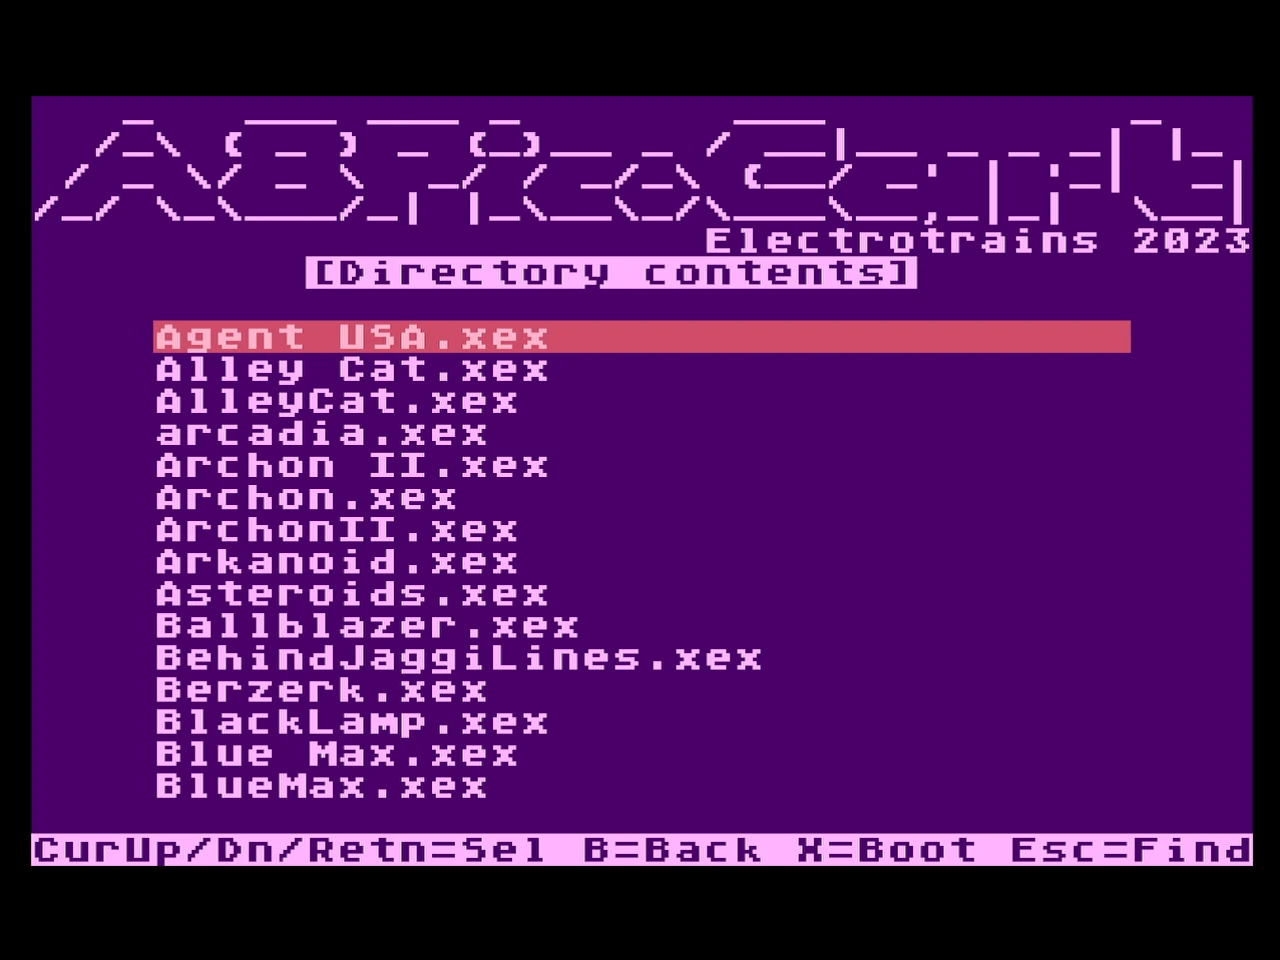
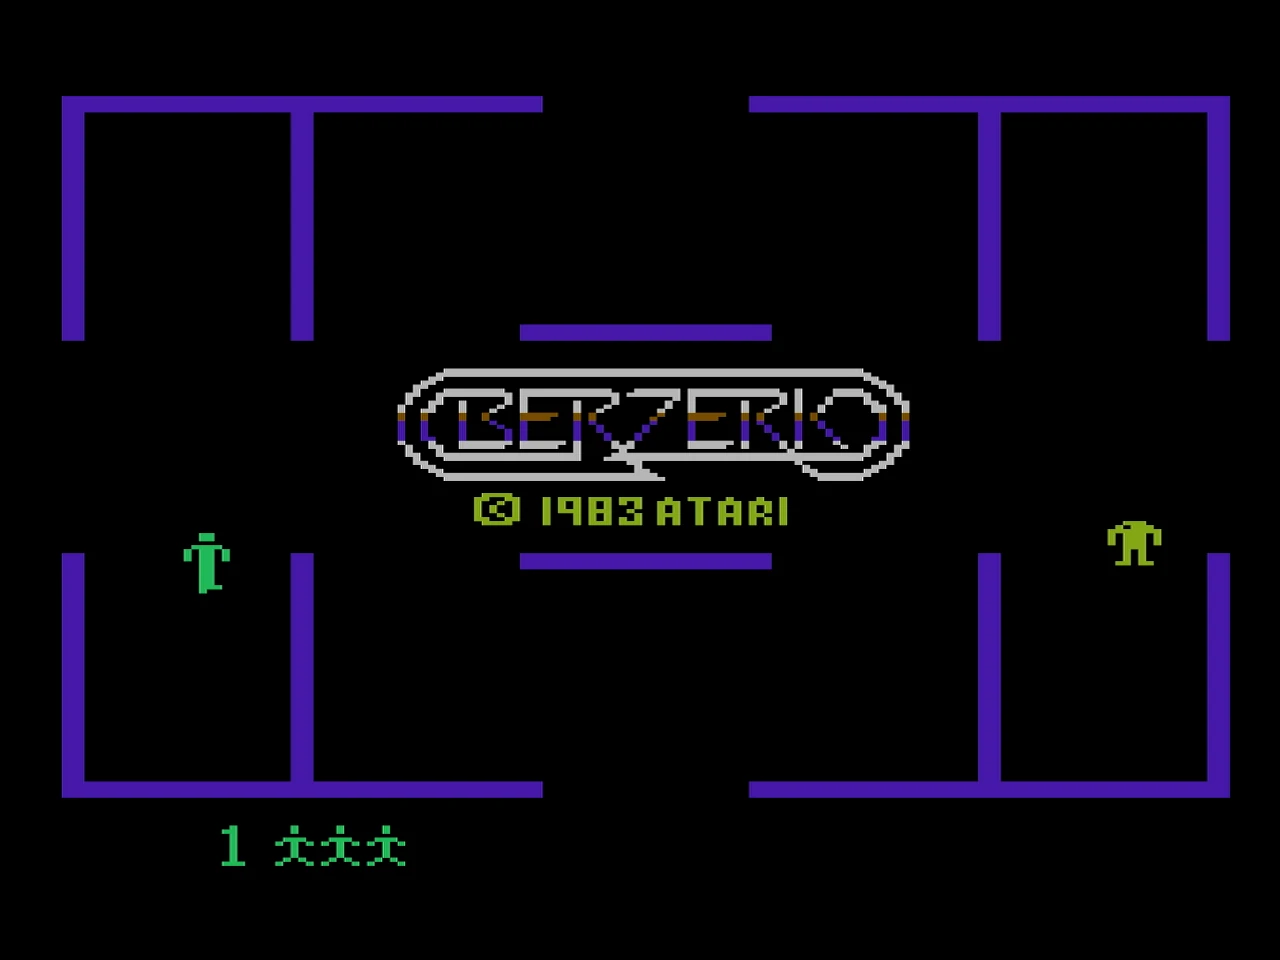
I cursor down to Berzerk.xex and load it.
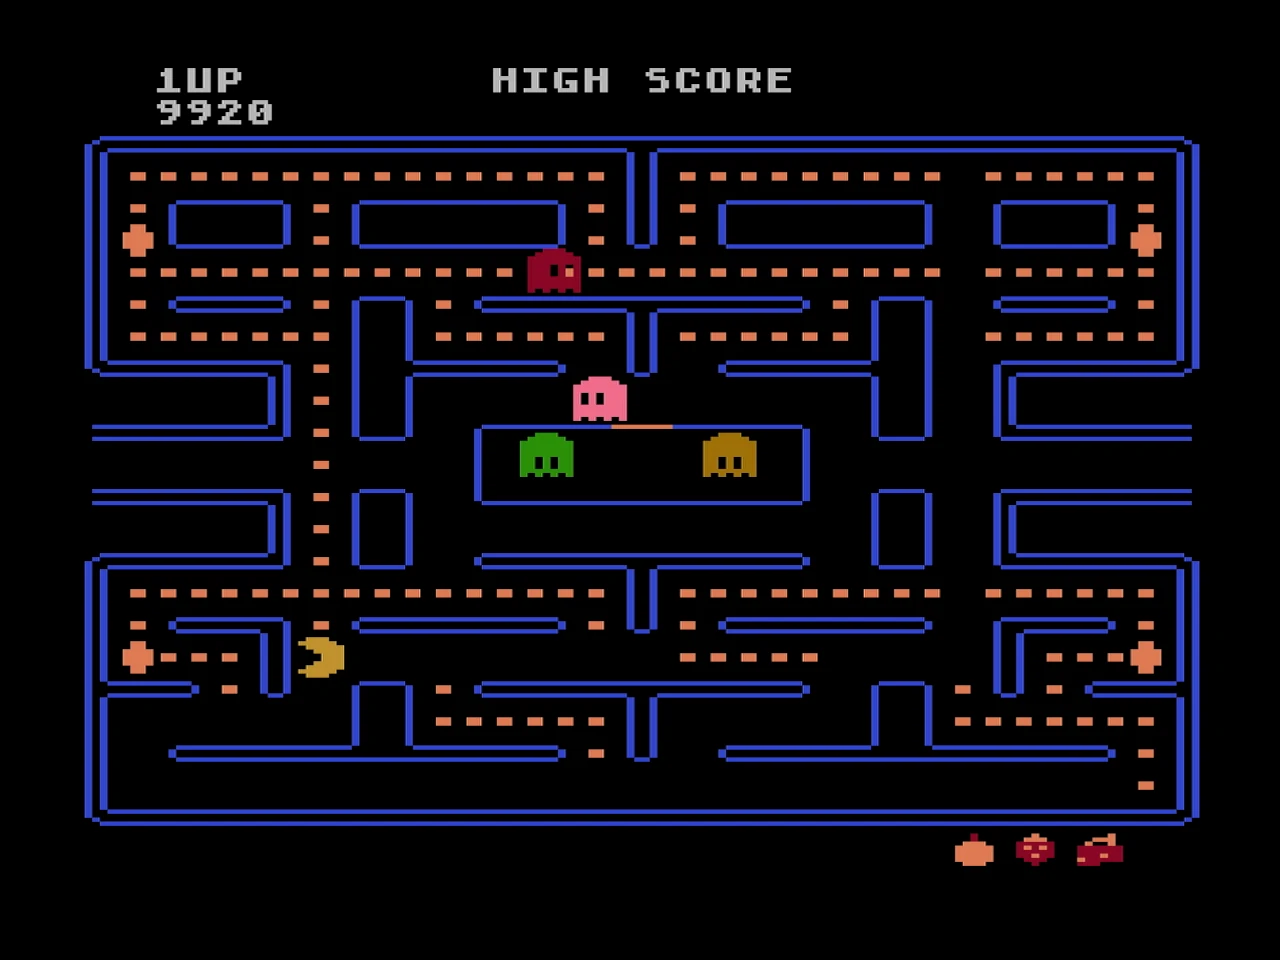
Here I load a pacman rom built from source.
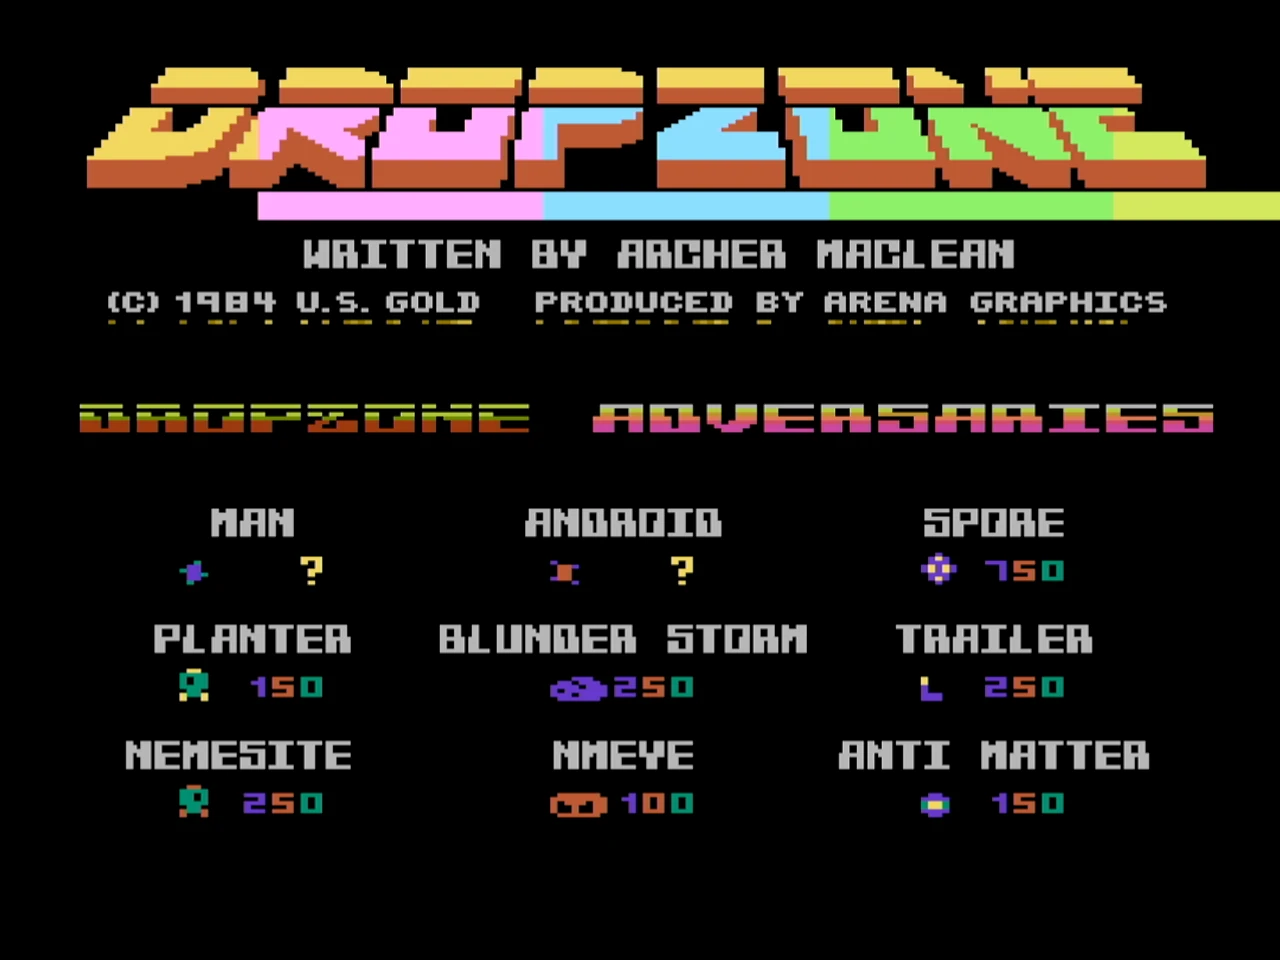
I also have an AtariMax MyIDE II cart (not pictured) and loaded DropZone from it off of a Compact Flash card.
To me, the best solution is something like the INCOGNITO (on the Atari 800) or the 1mb Ultimate and Side3 cart combination I have on the Atari 800 XL. Those are the ones I use.
However, those are relativelyexpensive and require modifying your computer. The community’s favorite solution is this next device, the FujiNet.
If you follow that link to the FujiNet site, you will see it is a very active platform.
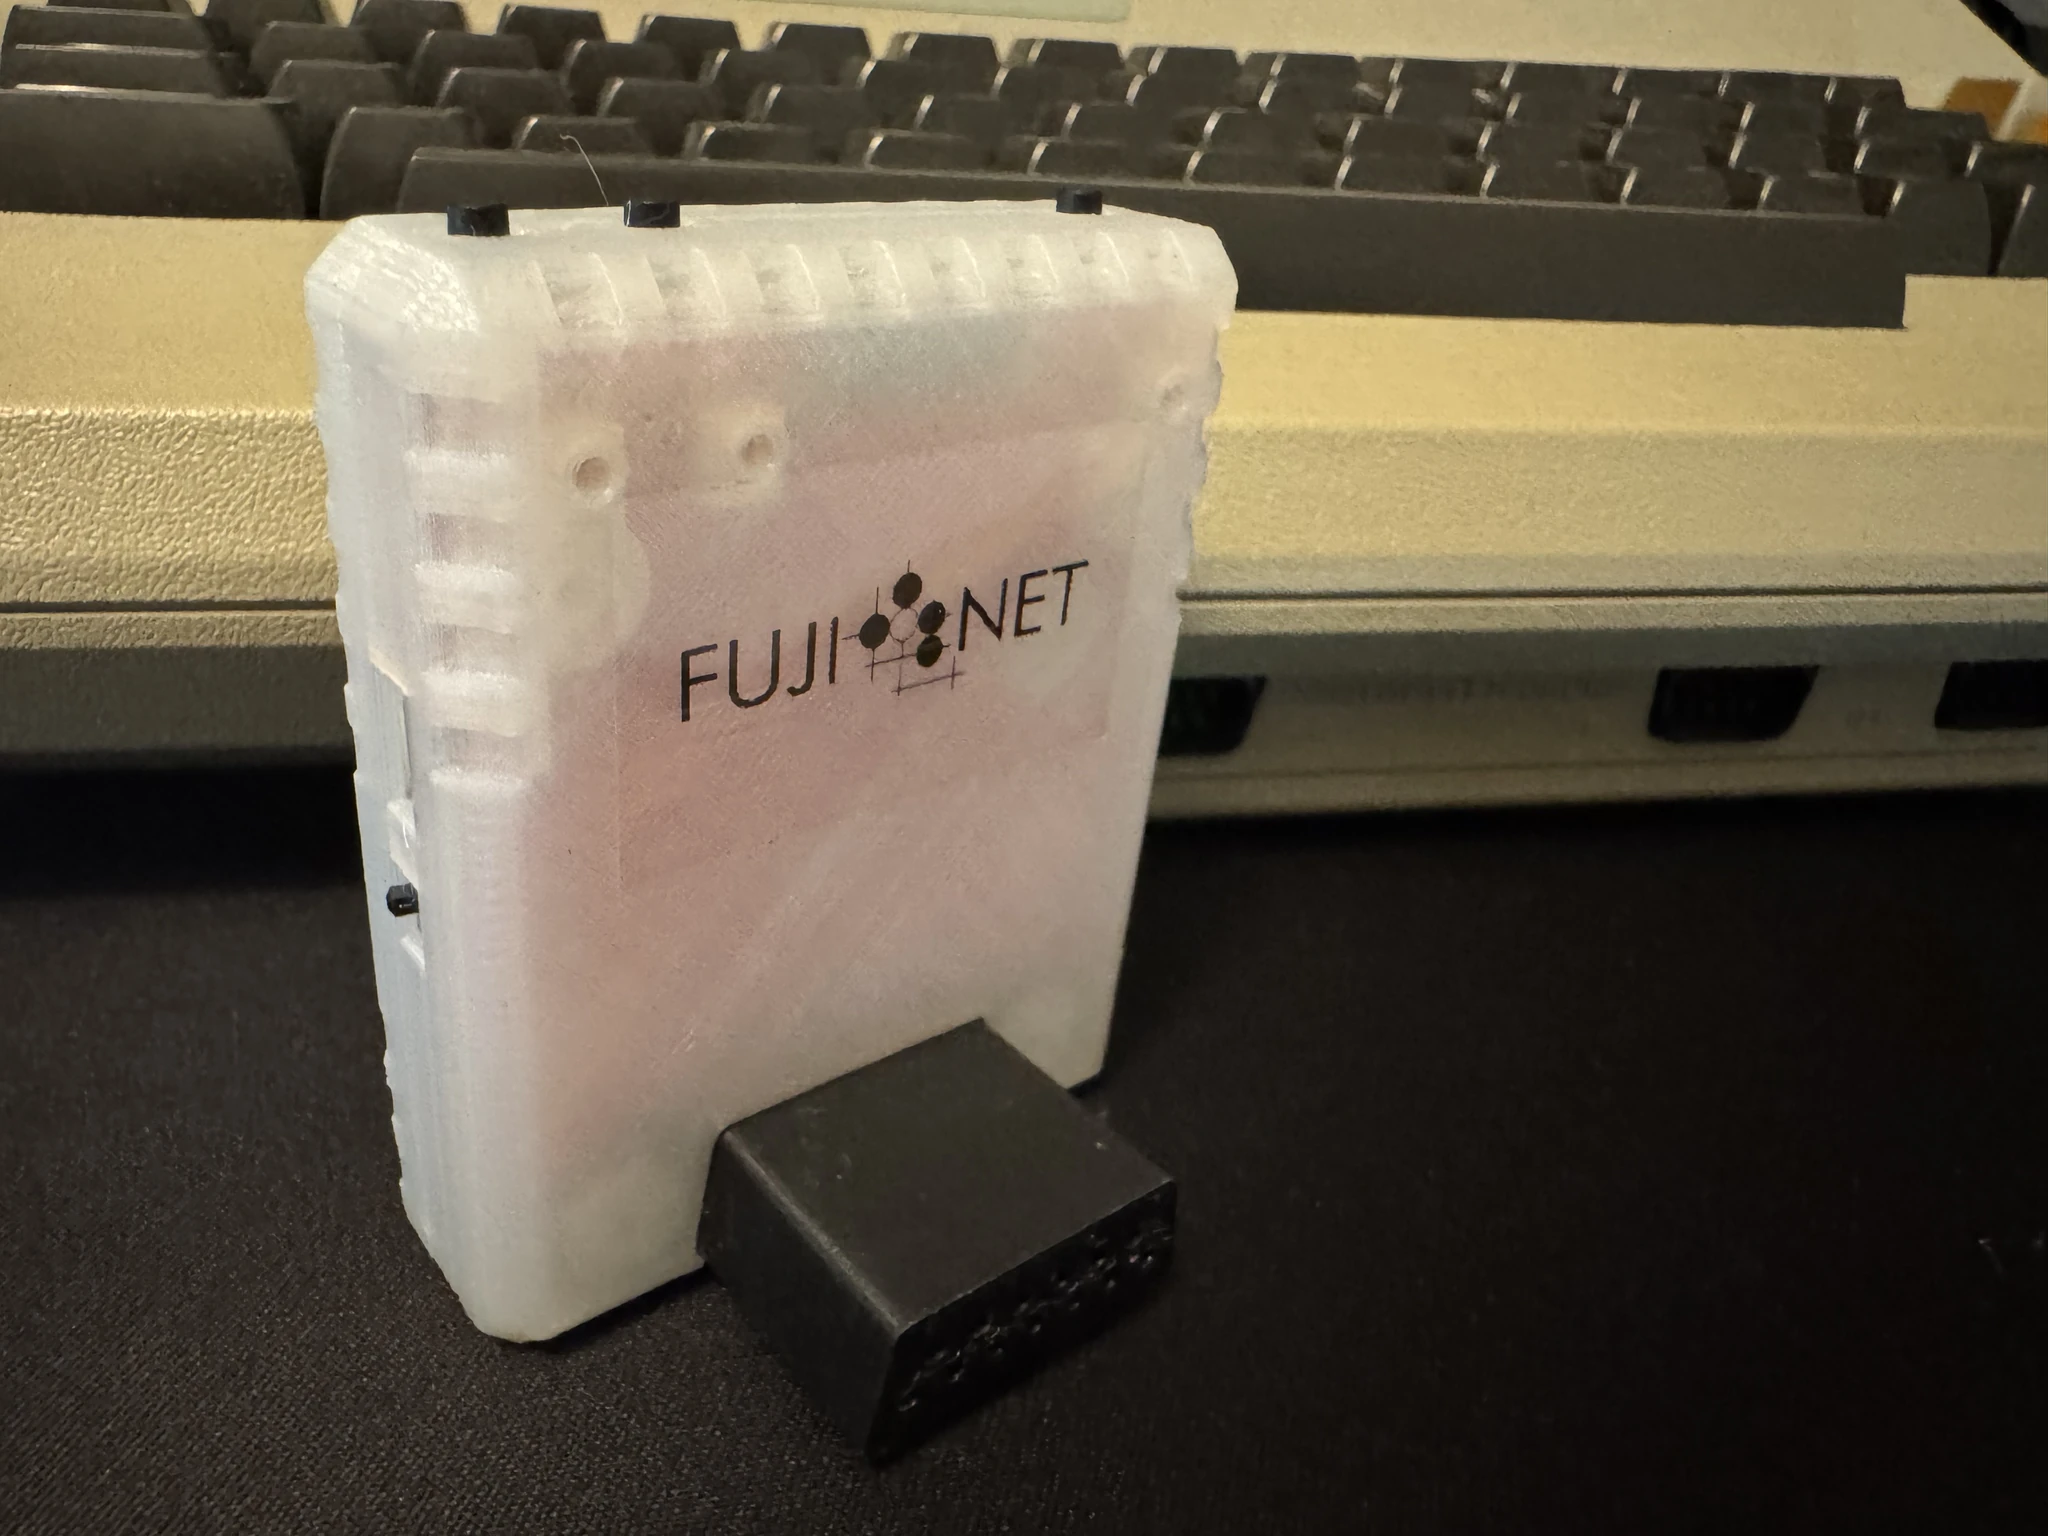
The FujiNet connects also via the SIO port. Since the SIO port can be chained to connect additional devices, it has a female connector on the back.
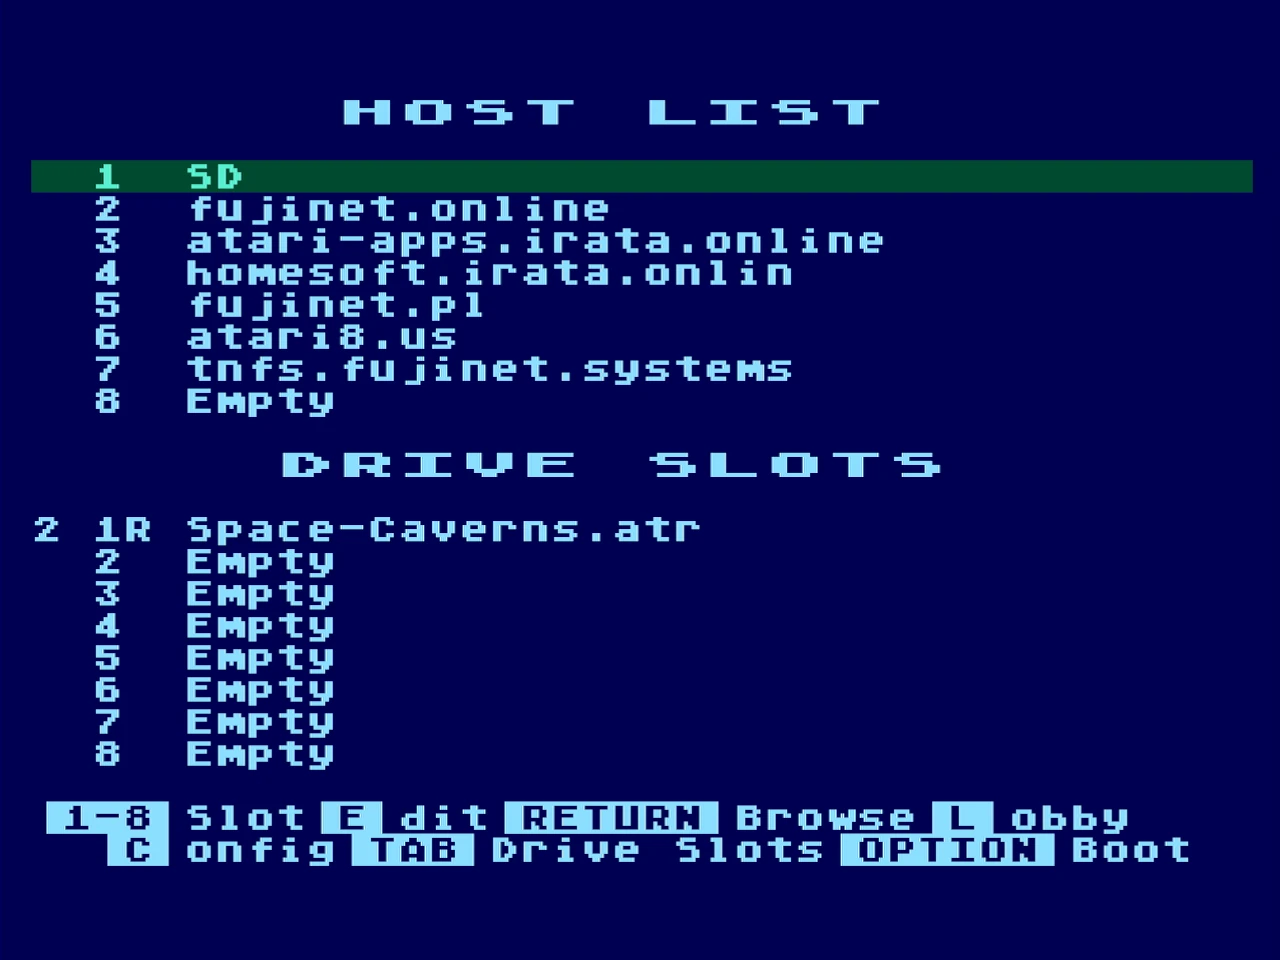
When you boot the computer off of the FujiNet you get a menu like this. The host includes your SD card inserted into the FujiNet and online resources. The FujiNet is using your wifi to access the internet.
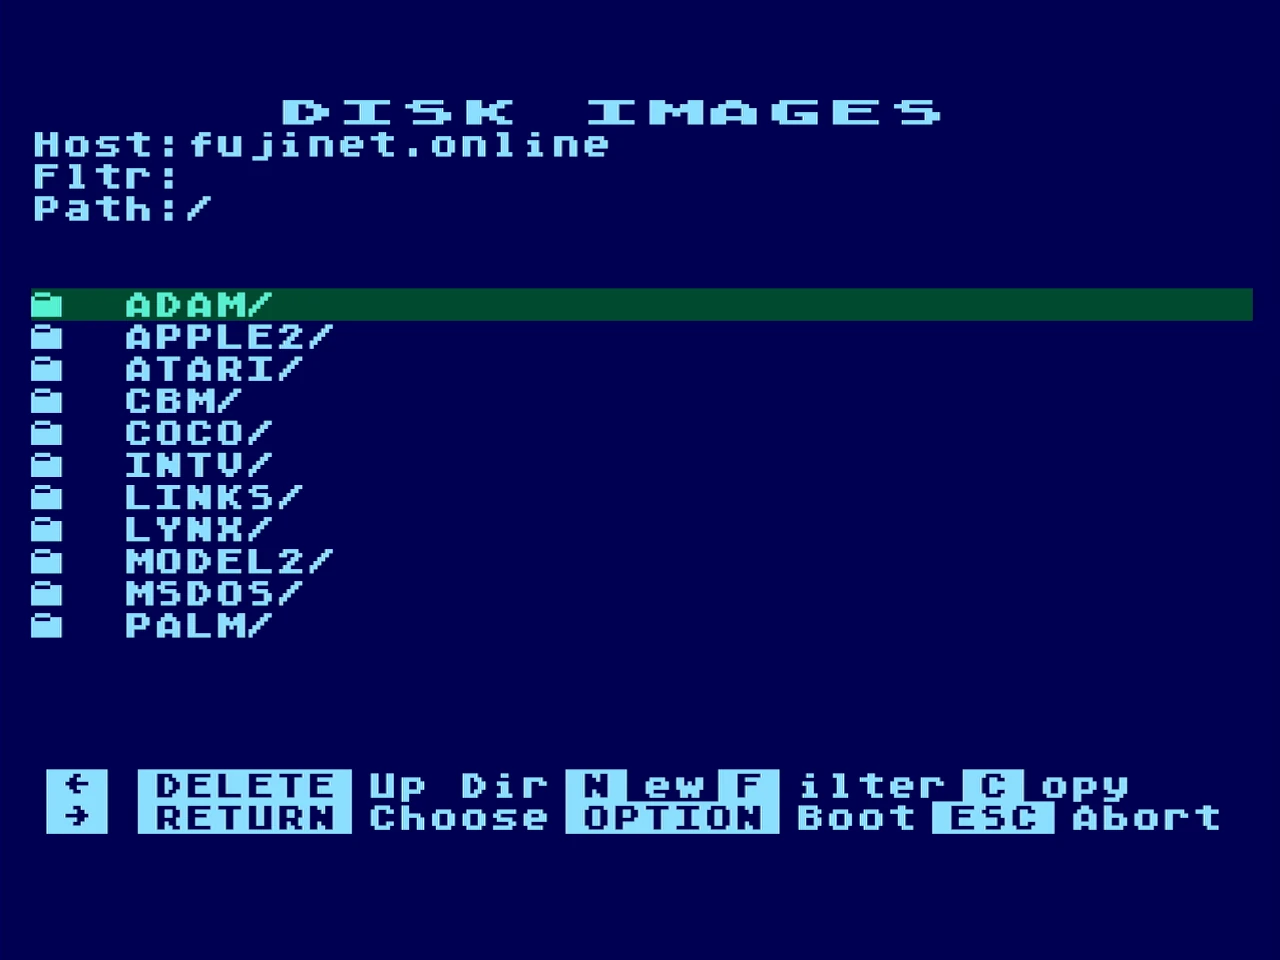
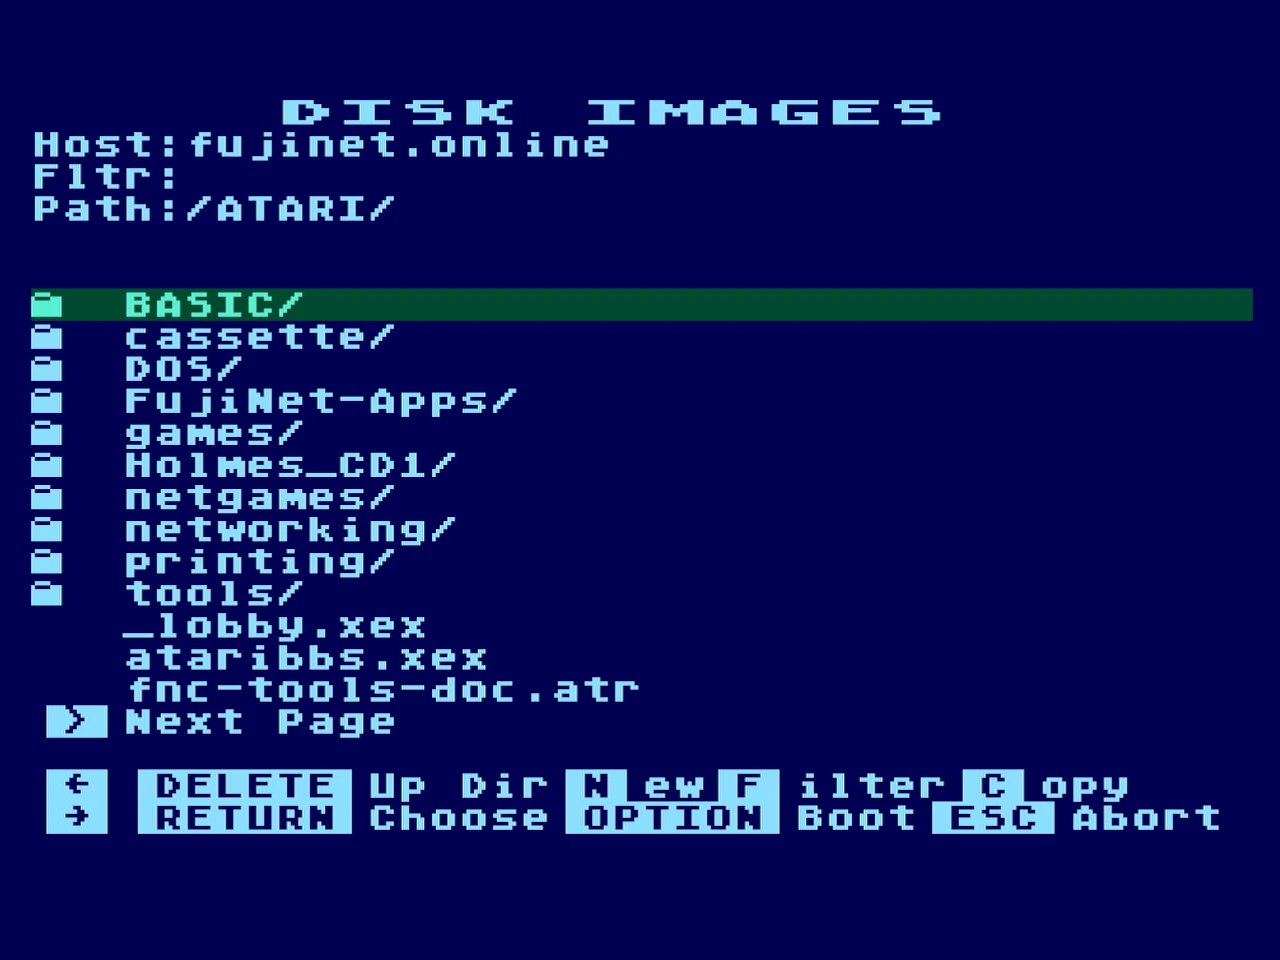
Here I connect to fujinet.online from the second item on the menu. The FujiNet is supported on multiple hardware, we can cursor down and select the Atari disk images.
Here I navigate to the BASIC folder to see what’s in it.
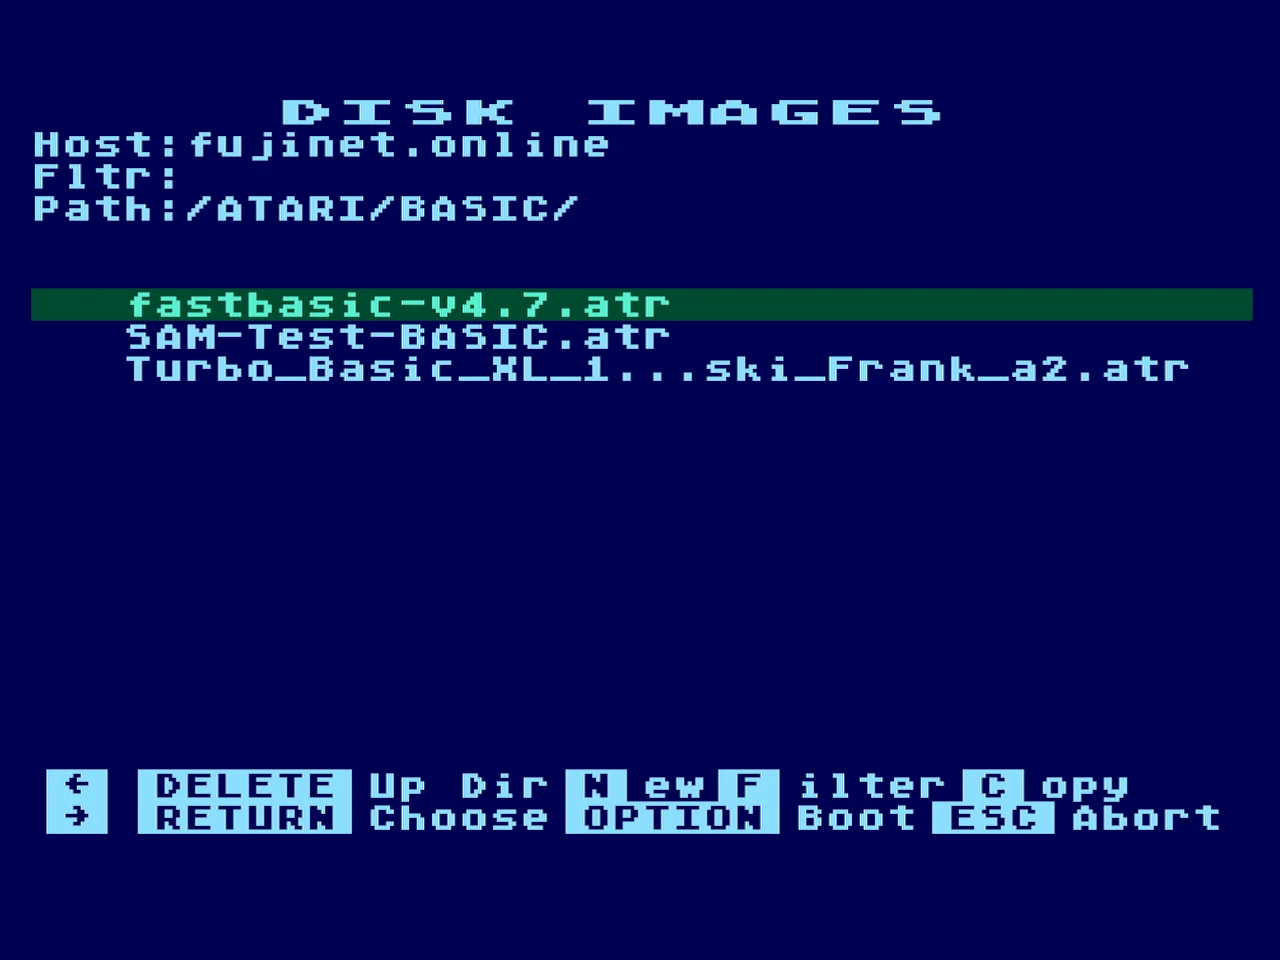
There are three BASIC variants here.
You can select a drive slot to mount to. The FujiNet is allowing you to insert images into up to 8 drives. Then you press OPTION to reboot with the drives attached.
Here I can put fastbasic on drive 2 if I want to.
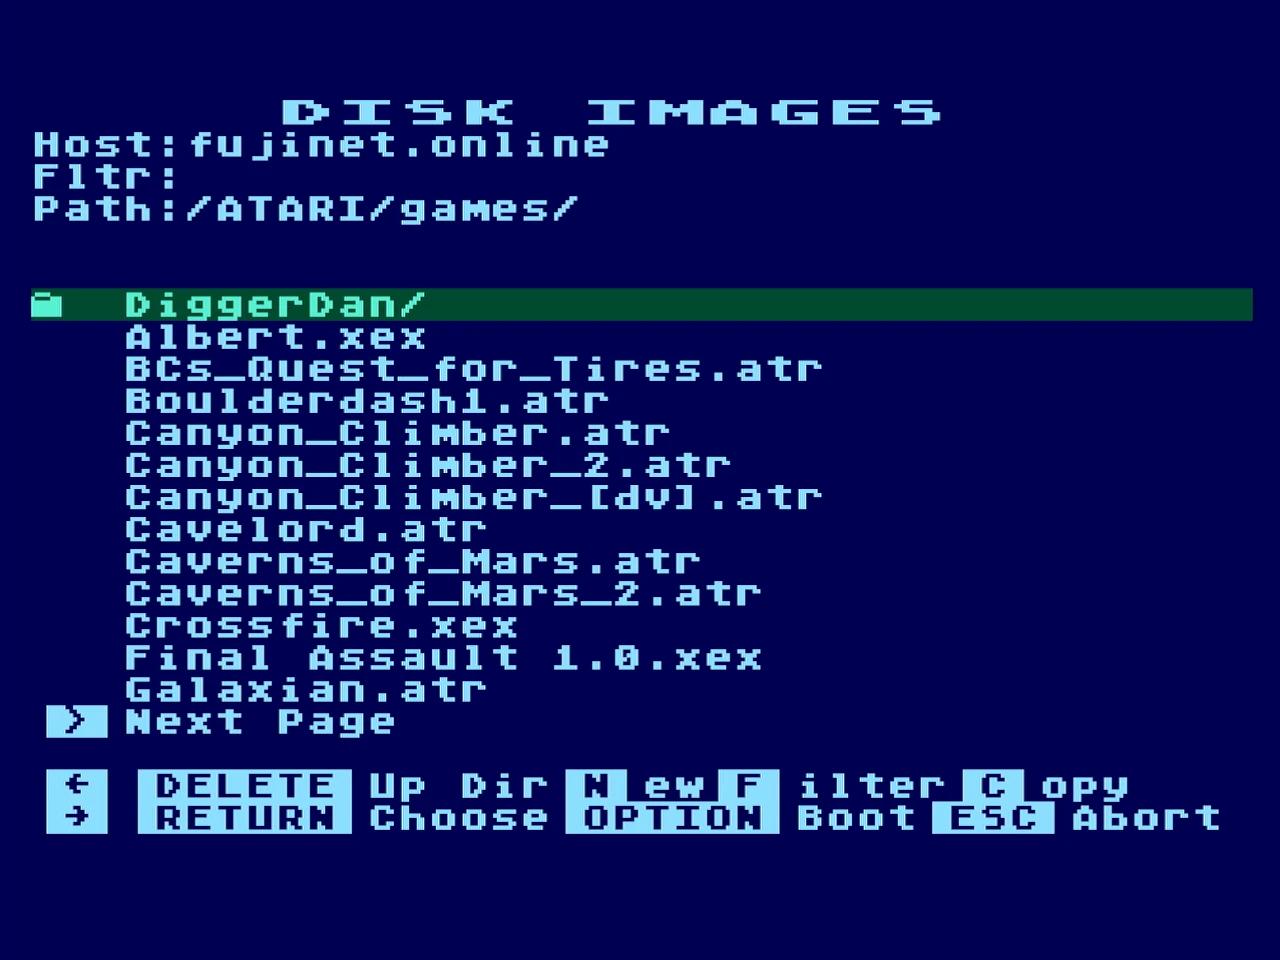
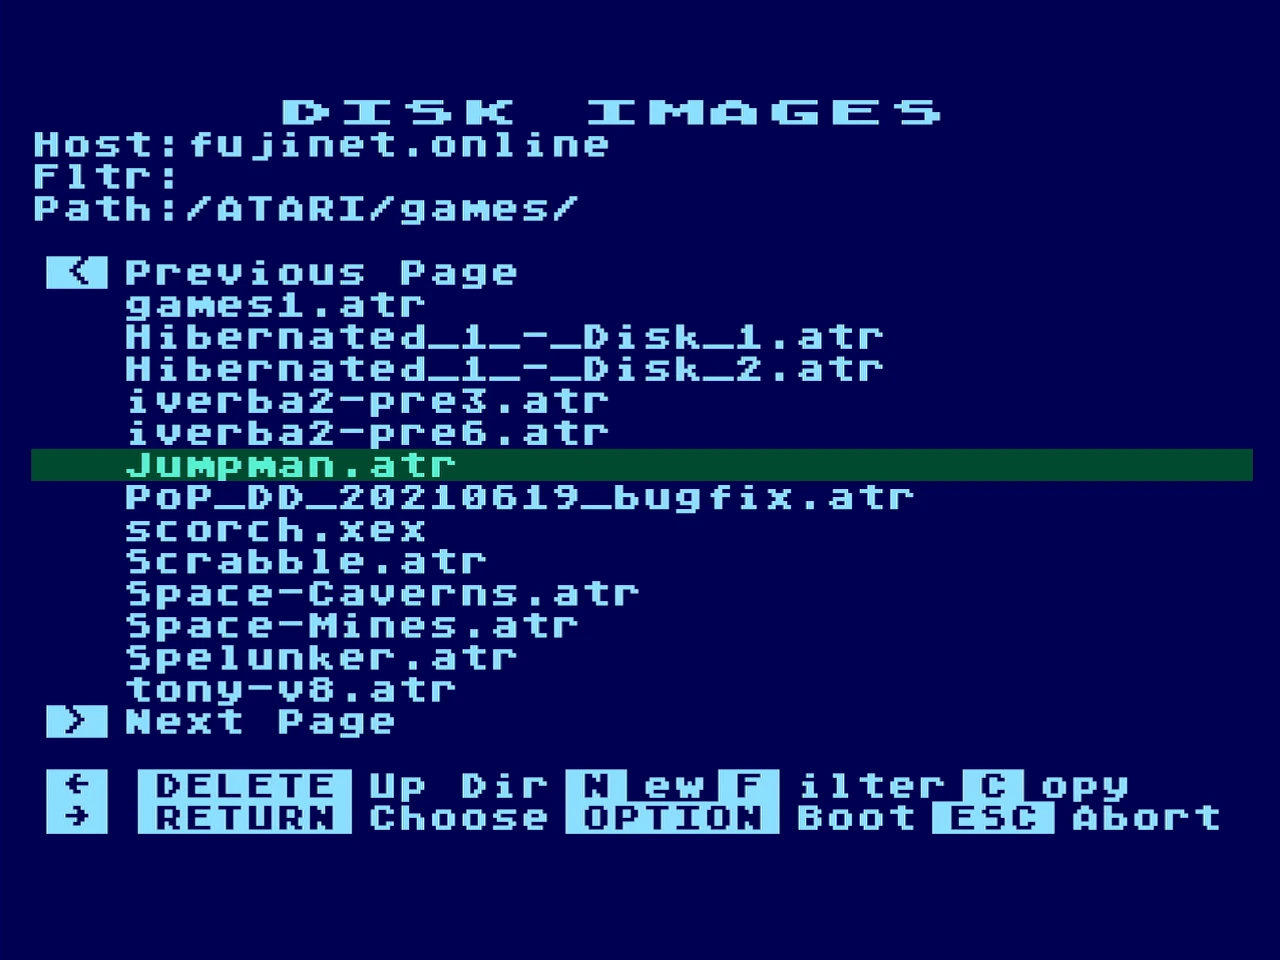
You can also browse the available game images.
I setup 4 drives. You choose if the drive is read only or read/write.
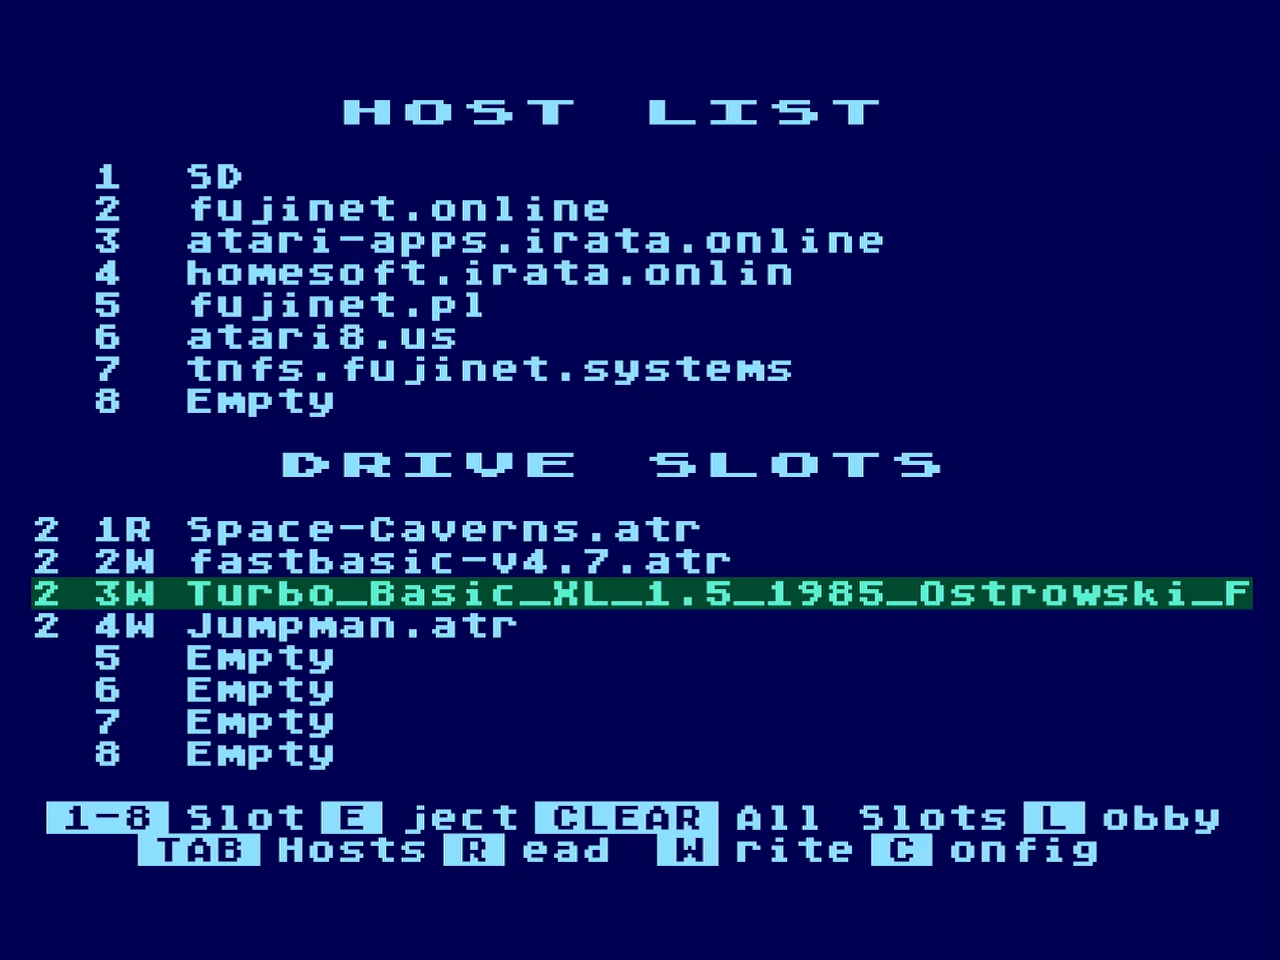
There are online games and high score lists. So FujiNet is a nice way to get connected with the community in addition to using the Atari online forums in your browser.
Here is a sneak peek on a vibe coding effort I’m working on. I’ve built a BASIC interpreter that emulates the Atari pretty thoroughly and has fantasy features.
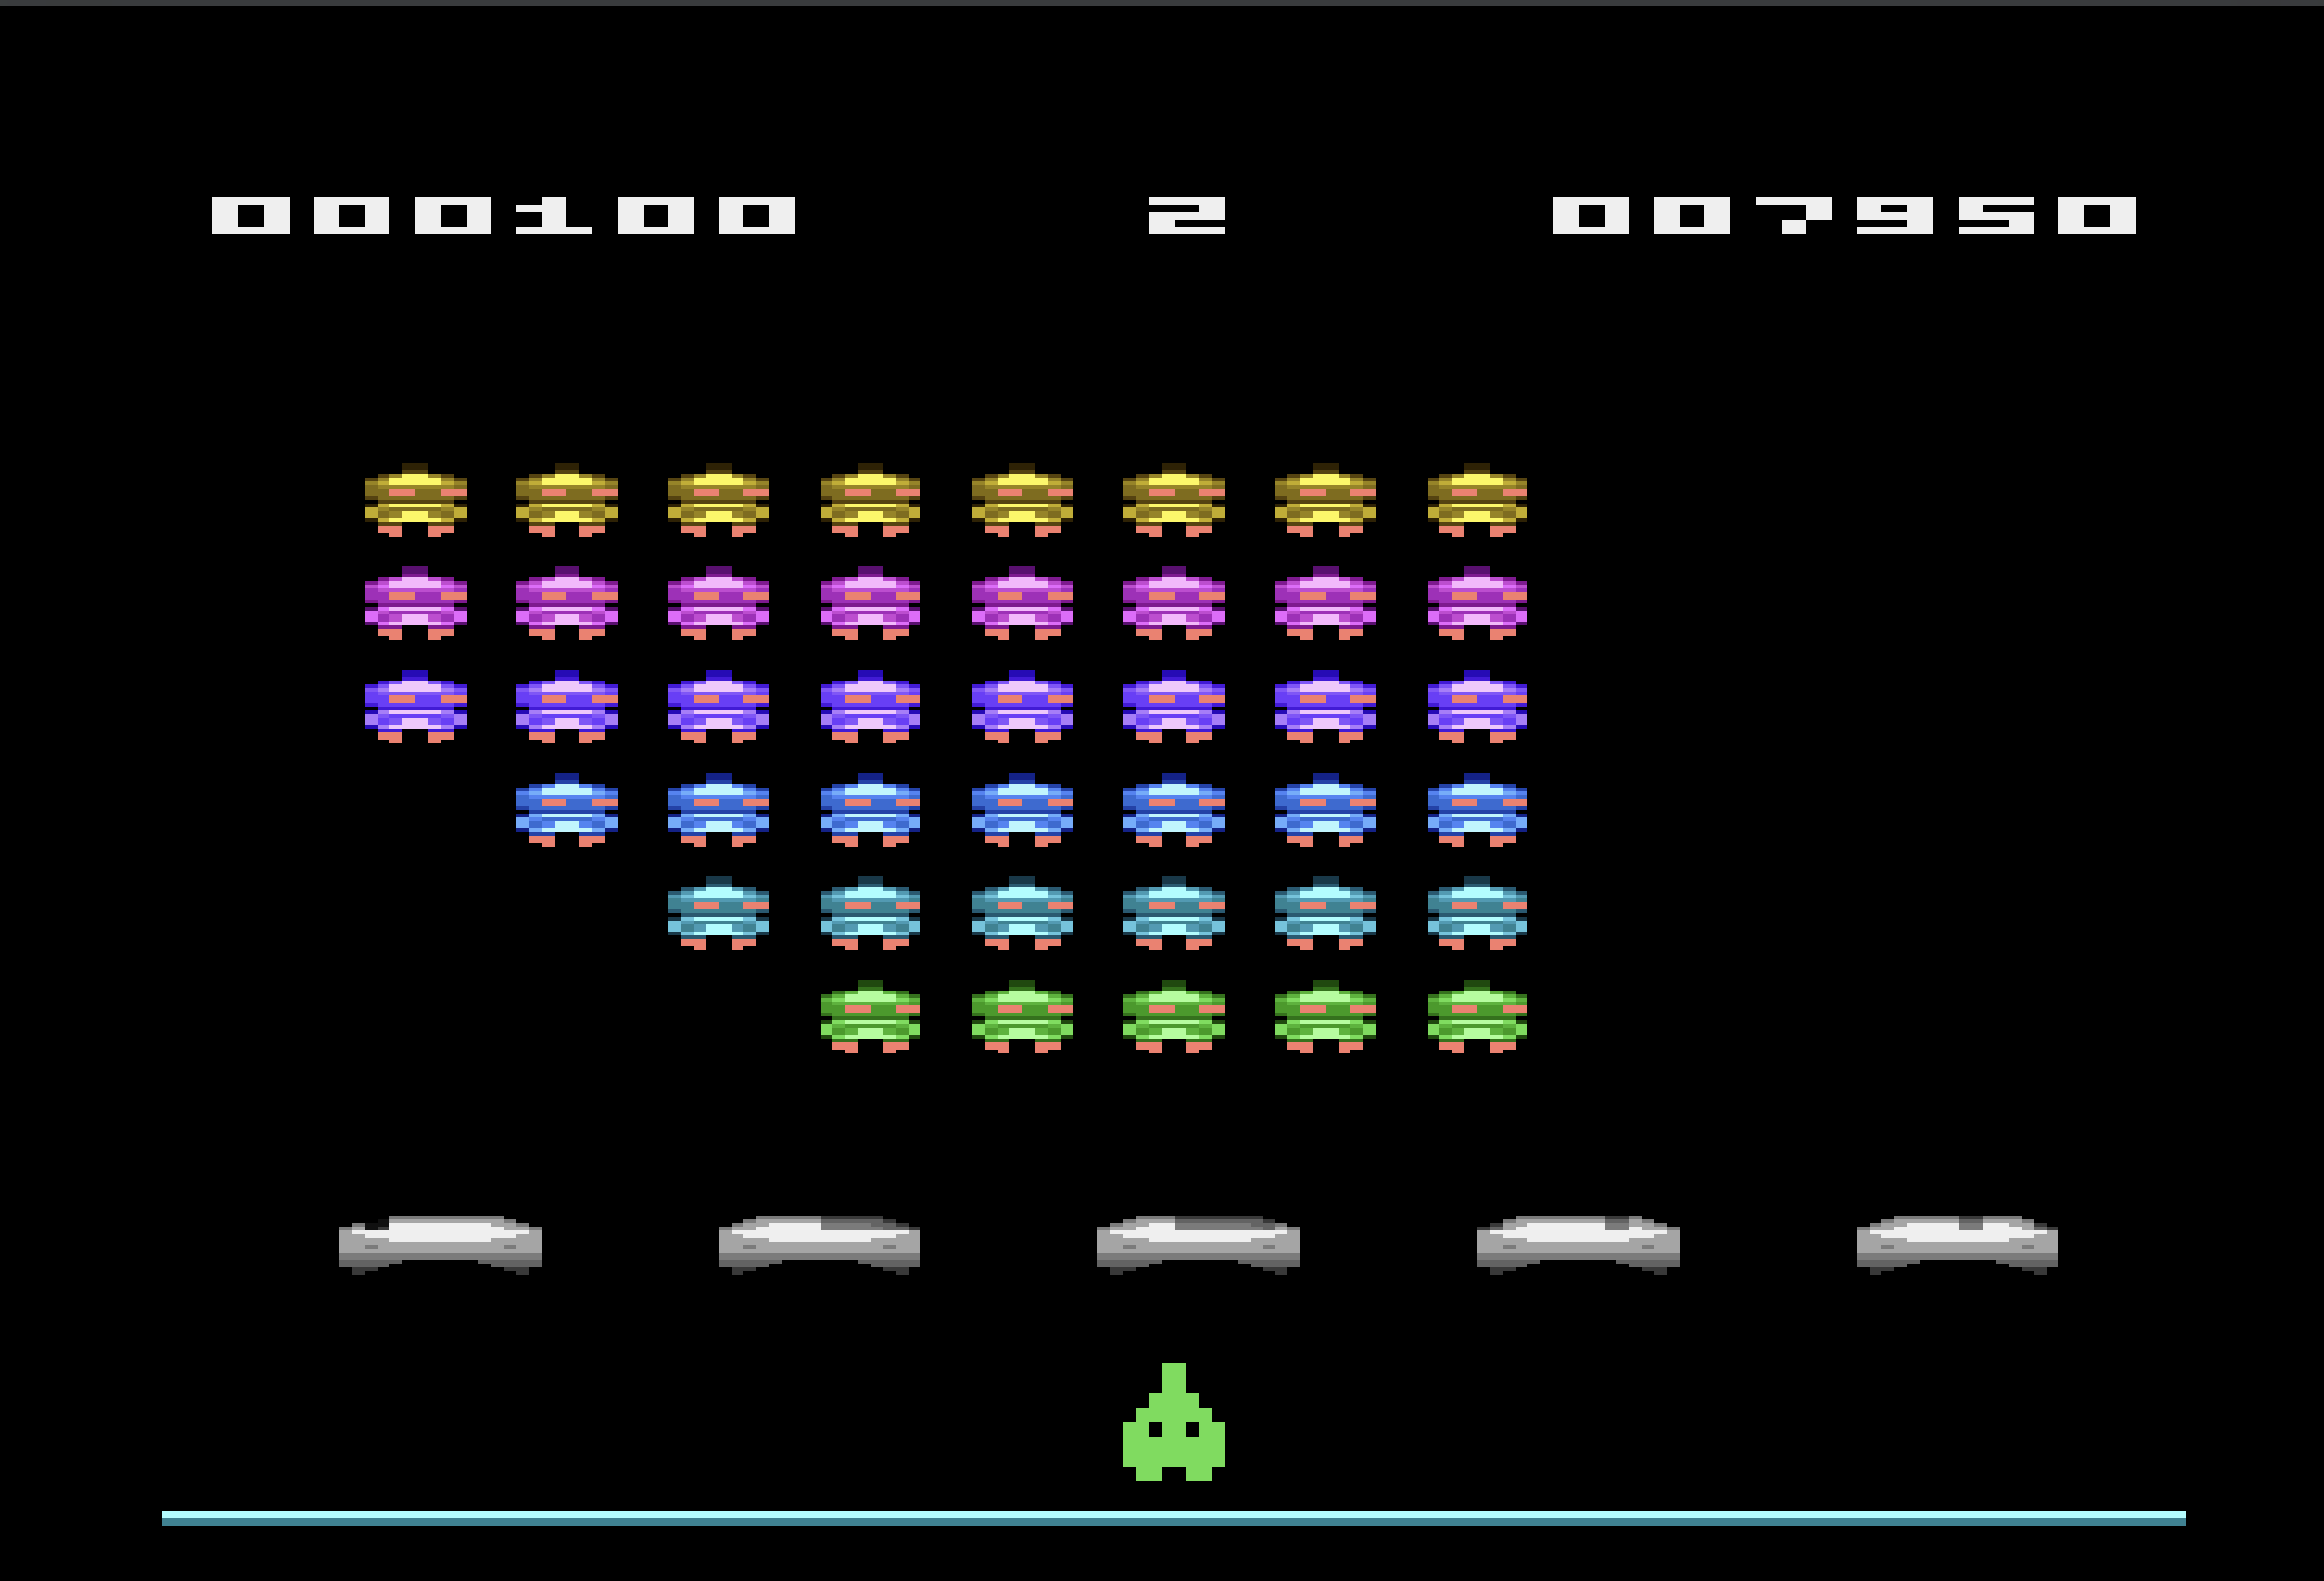
The interpreter is quite sophisticated but this Space Invaders clone example is pure AI slop. Its still interesting though (and plays just as well as the original). It uses a fantasy graphics mode that is double the standard resolution.
The colorful ships are implemented with a display list that the hardware environment implements. The ship at the bottom is a standard atari sprite.
The interpreter implements multiple computers. Each computer has standard features including a “modern” editor, debugger and assembler. Below is shown the BASIC program that implements the Space Invaders clone. Line numbers are optional in this version of Atari BASIC. It implements the Turbo BASIC XL extensions as well as some commands that were added to the Altirra BASIC dialect.
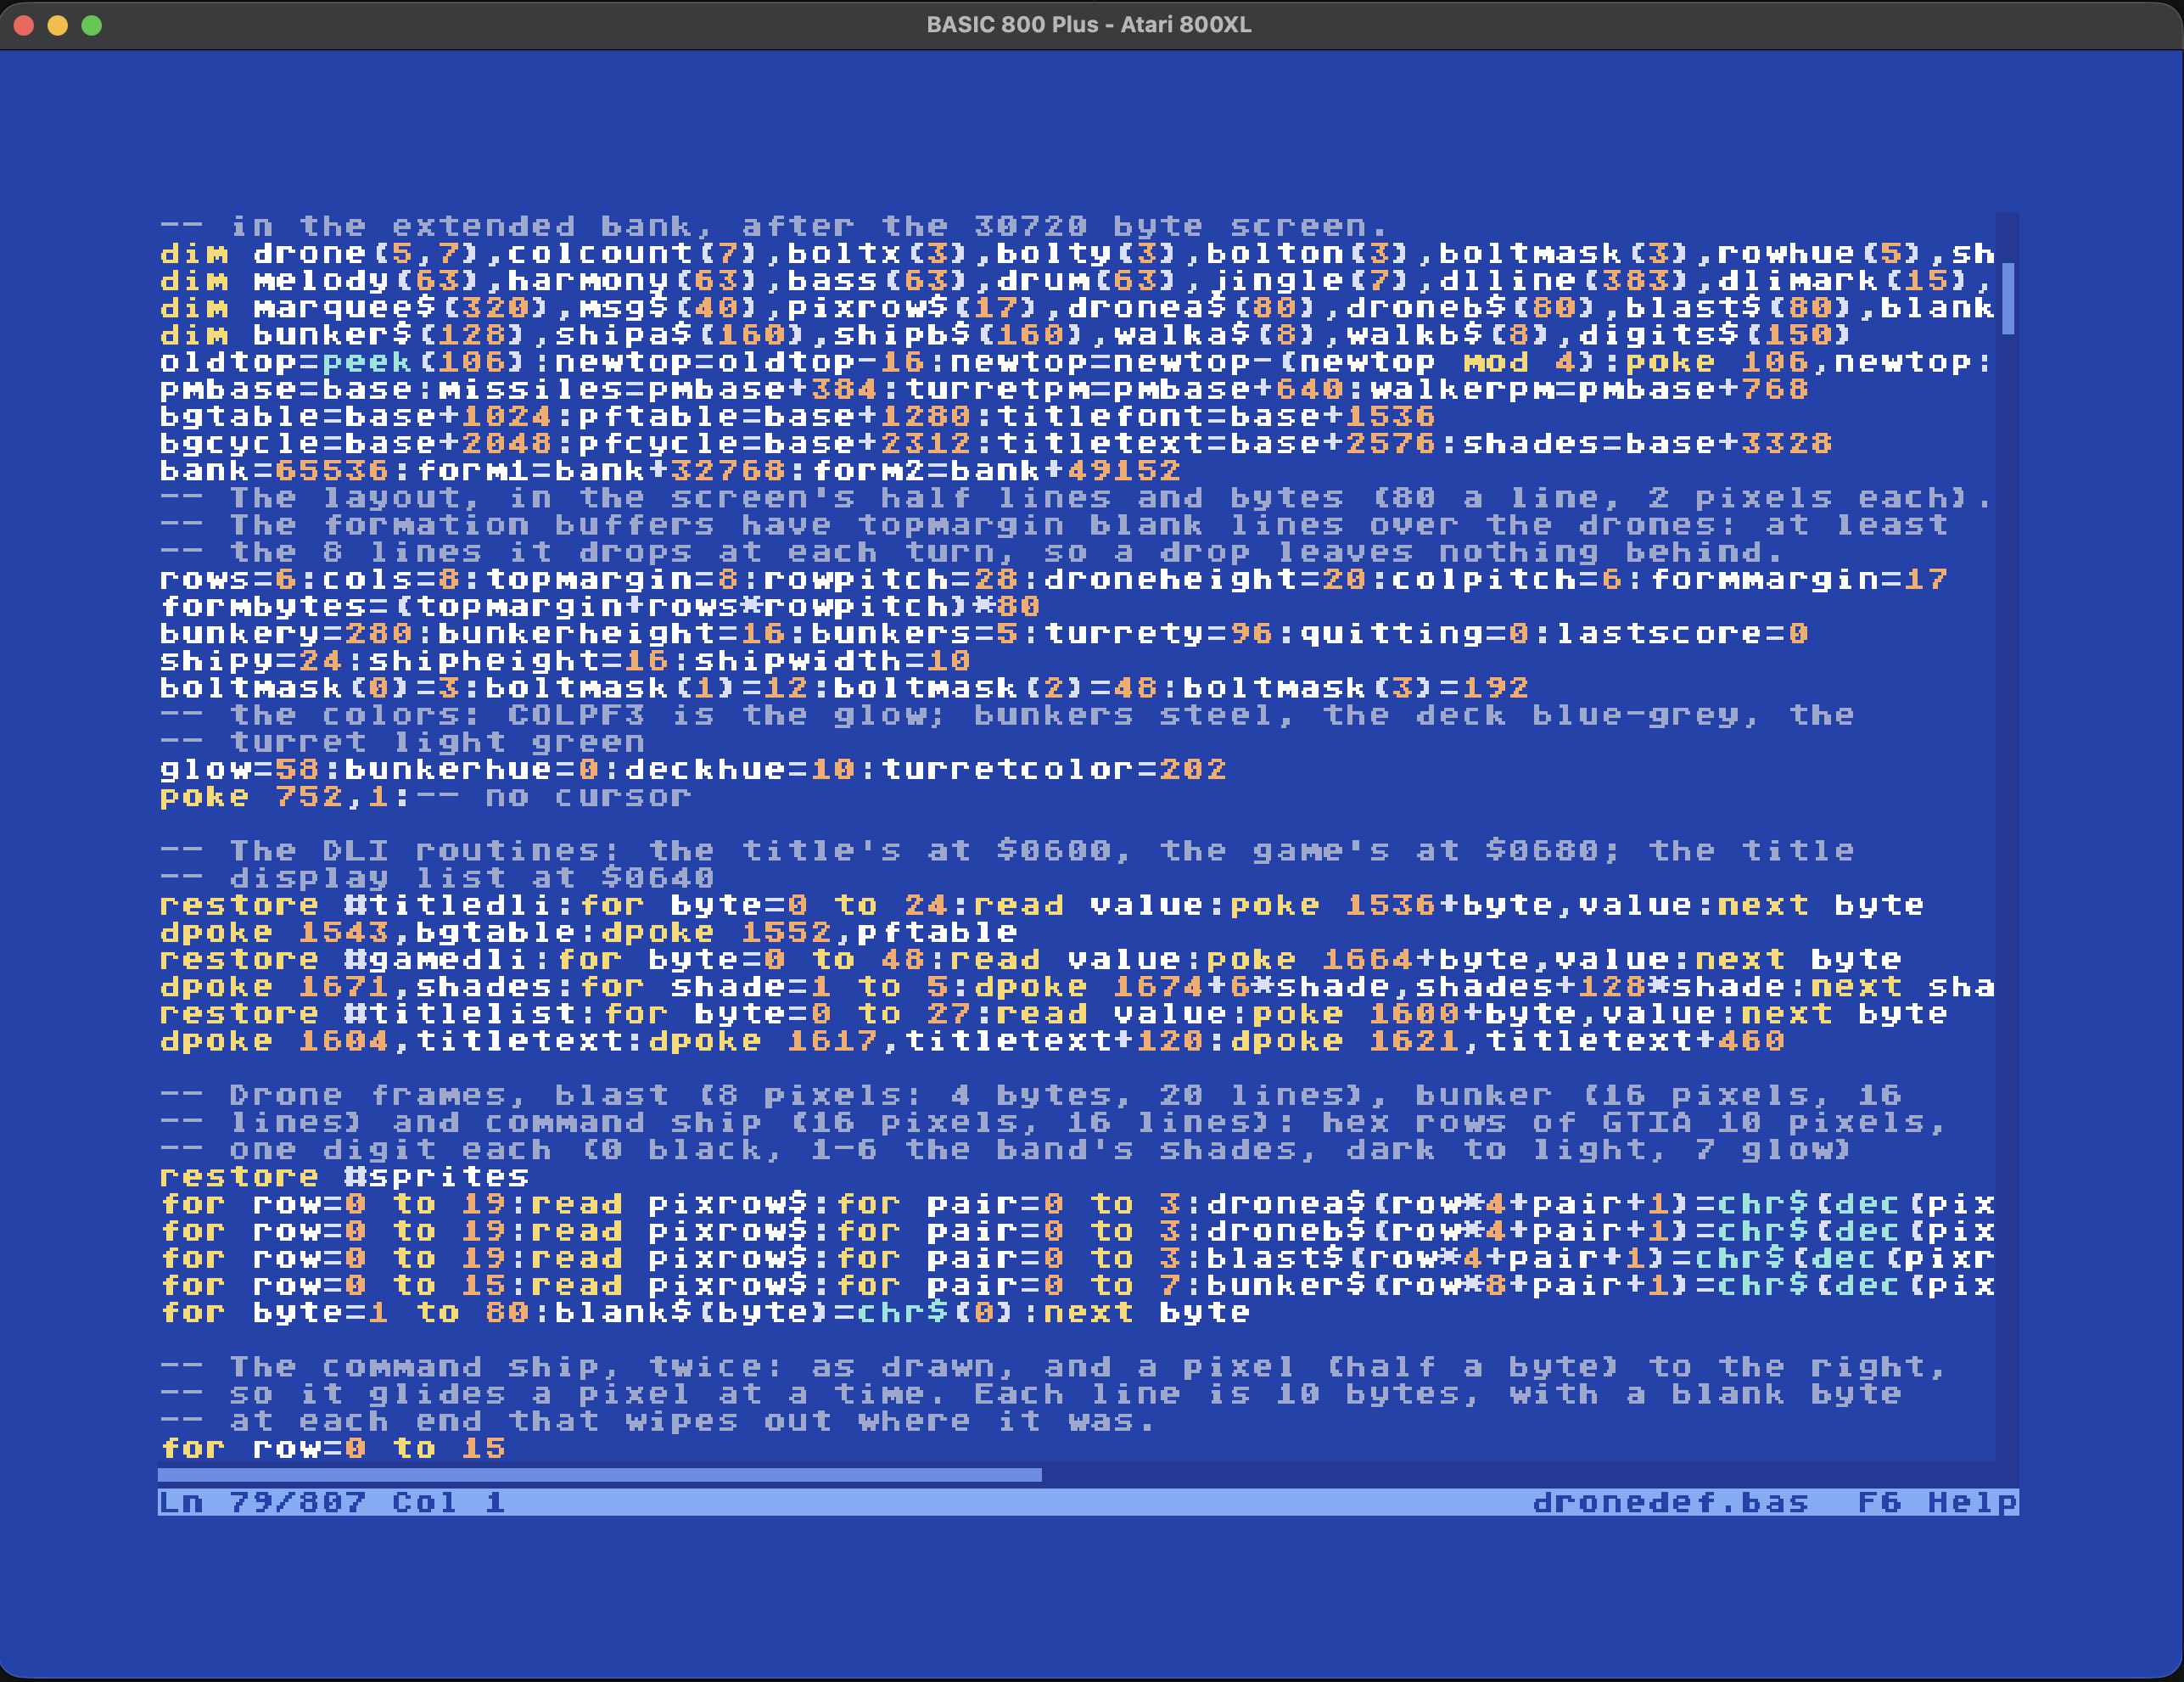
Not surprisingly given modern day hardware, with my BASIC you can write games that in the old days would require assembly and still be slow. More coming on this soon.