Atari 800XL
July 15, 2026
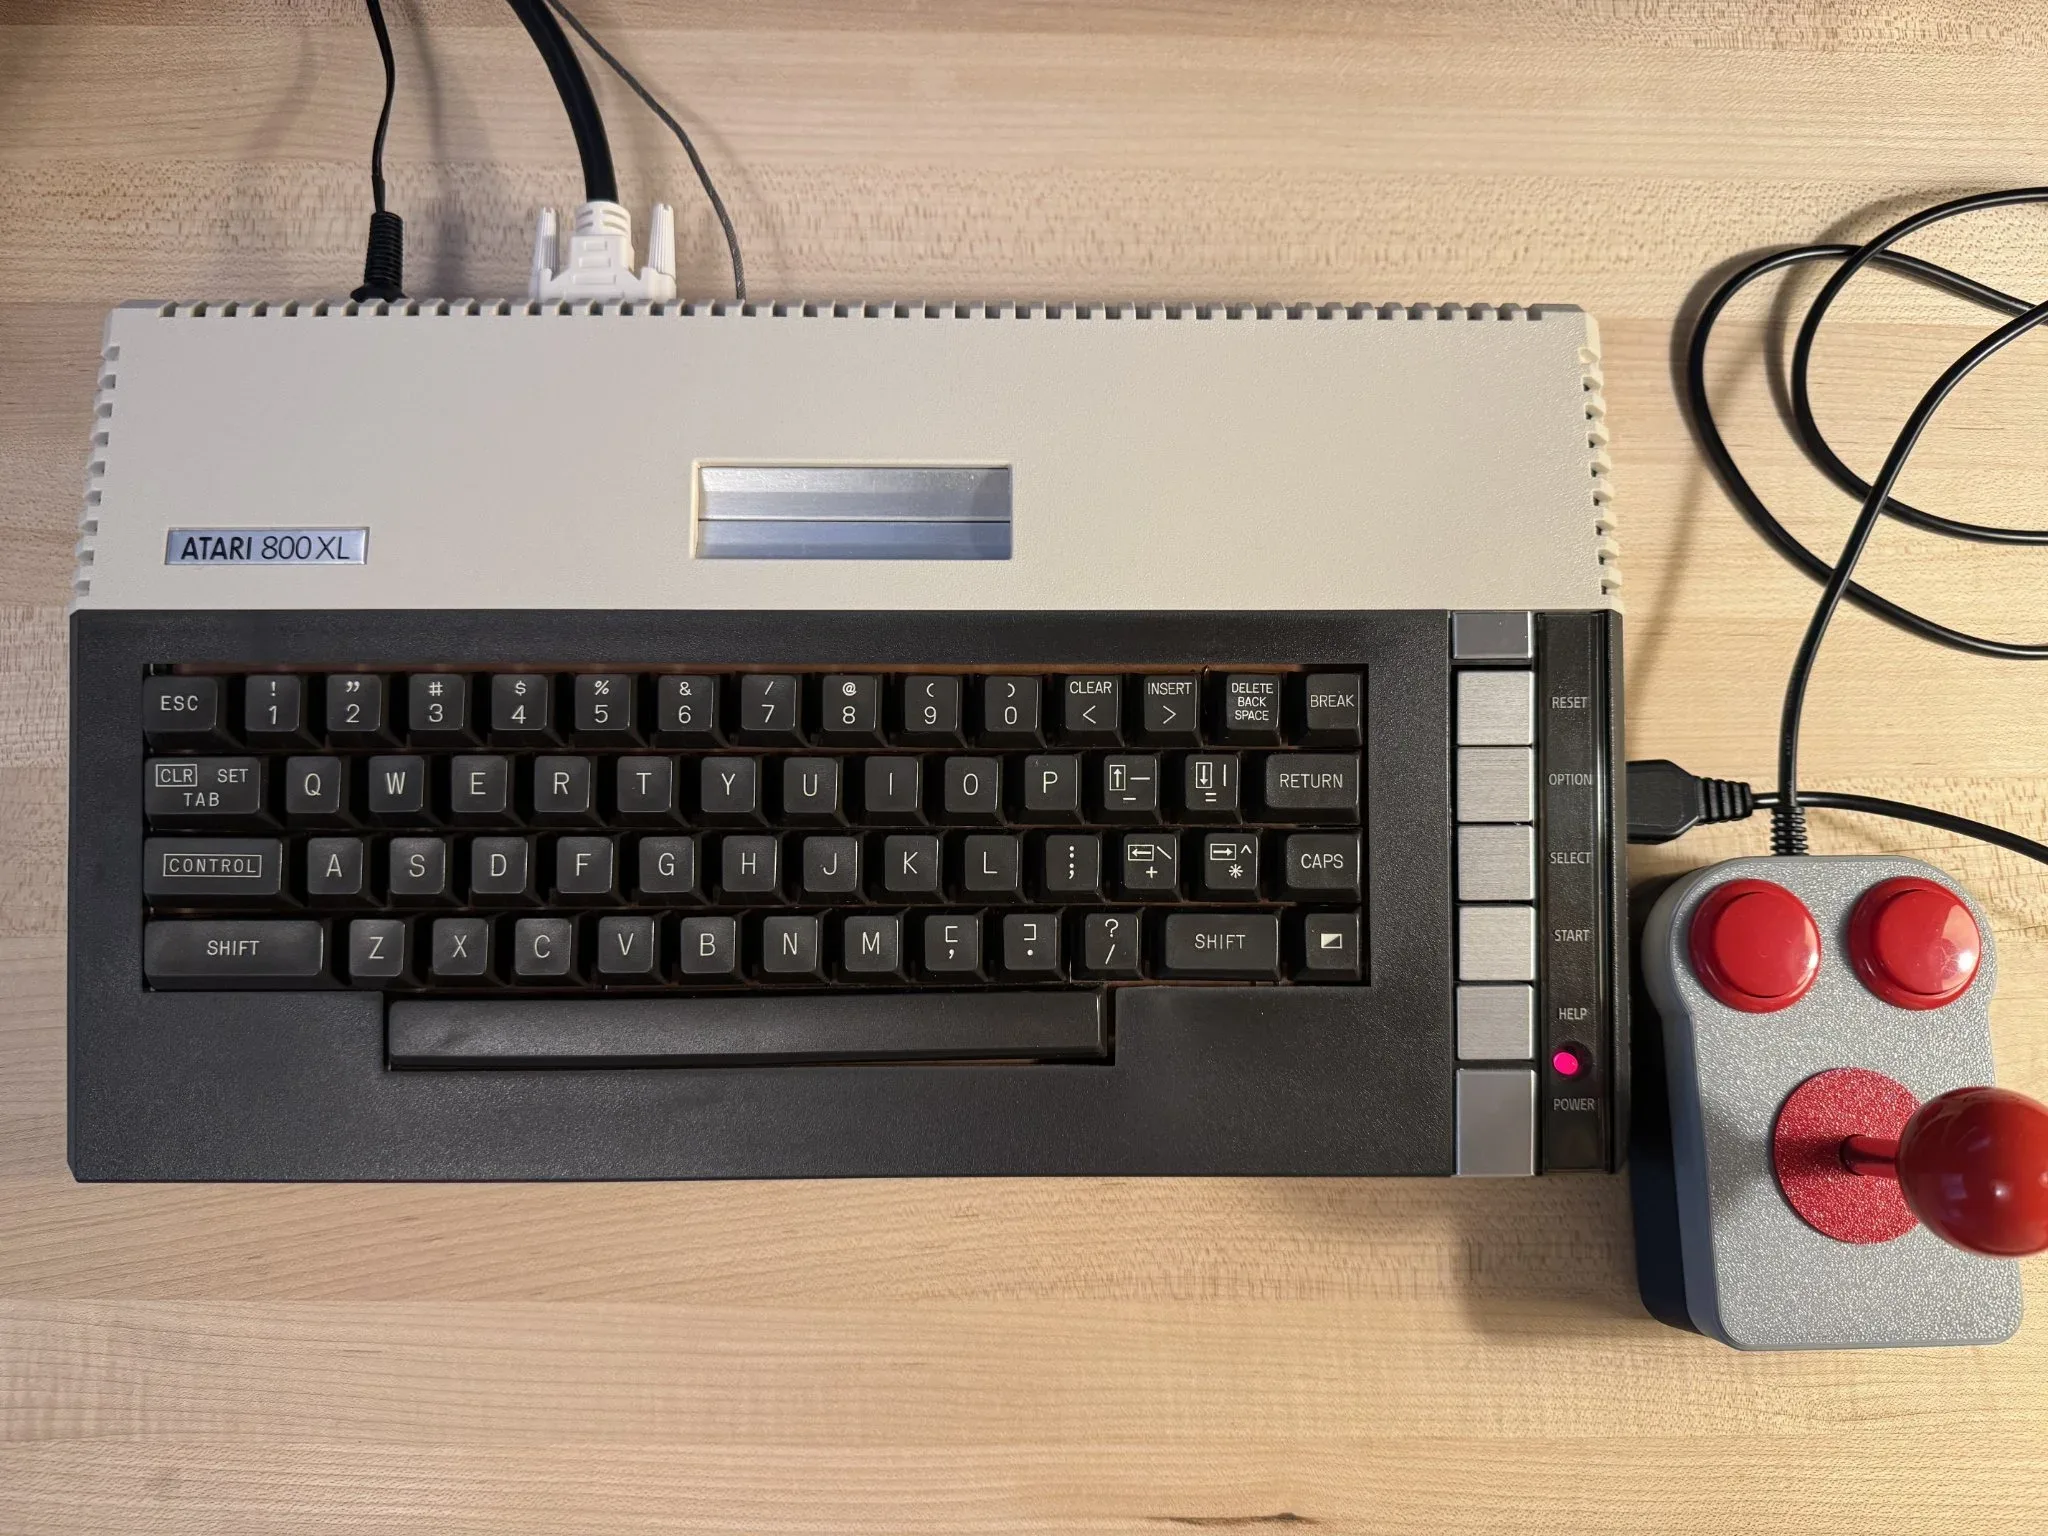
The Atari 800XL was my first computer and remains to this day one of my favorite computers I have owned. It was pure raw fun both for the games and for the many hours learning how to write programs on it in the built in BASIC language. I purchased mine in 1983, when I was 21 years old and in the U.S. Air Force, stationed in Ramstein, Germany. I made many Atari friends on base and in the local community.
The Atari 800XL that I have now I have owned for about 12 years. I found a seller that had some in a warehouse that had never been opened. It was super exciting to get one again as I had given my old one away many years ago when it felt obsolete and impractical compared to newer things.
Now I have a hobby of collecting, restoring and modernizing old computers. I have made some modifications to this one that allow me to use it in modern days without some of the limitations of the past. Primarily, I don’t have to use cassette or floppy storage as I have a cartridge that stores a library of programs on a modern SD card. I also have modified it so that it can be used with a modern monitor instead of with an old television or CRT. These two things, fast load time and a modern screen, make 8-bit computing enjoyable again without regard to how obsolete the computers are compared to computers today.
Like other retro computers, you don’t really need to own an actual Atari 800 or 800XL to enjoy the computer’s software library. All popular retro computers have emulation software. For the Atari 8-bit line, the Altirra emulator is exceptional. For most people, I would recommend checking out emulation before going through the trouble of acquiring the original hardware.
However, I believe that using the original hardware on 8-bit systems is better because of the individual characteristics of the computers at the time. Each computer had its own special keyboard character set and function/console buttons. An emulator can map these keys to other keys on a modern keyboard, but for me it just isn’t the same nostalgic experience.
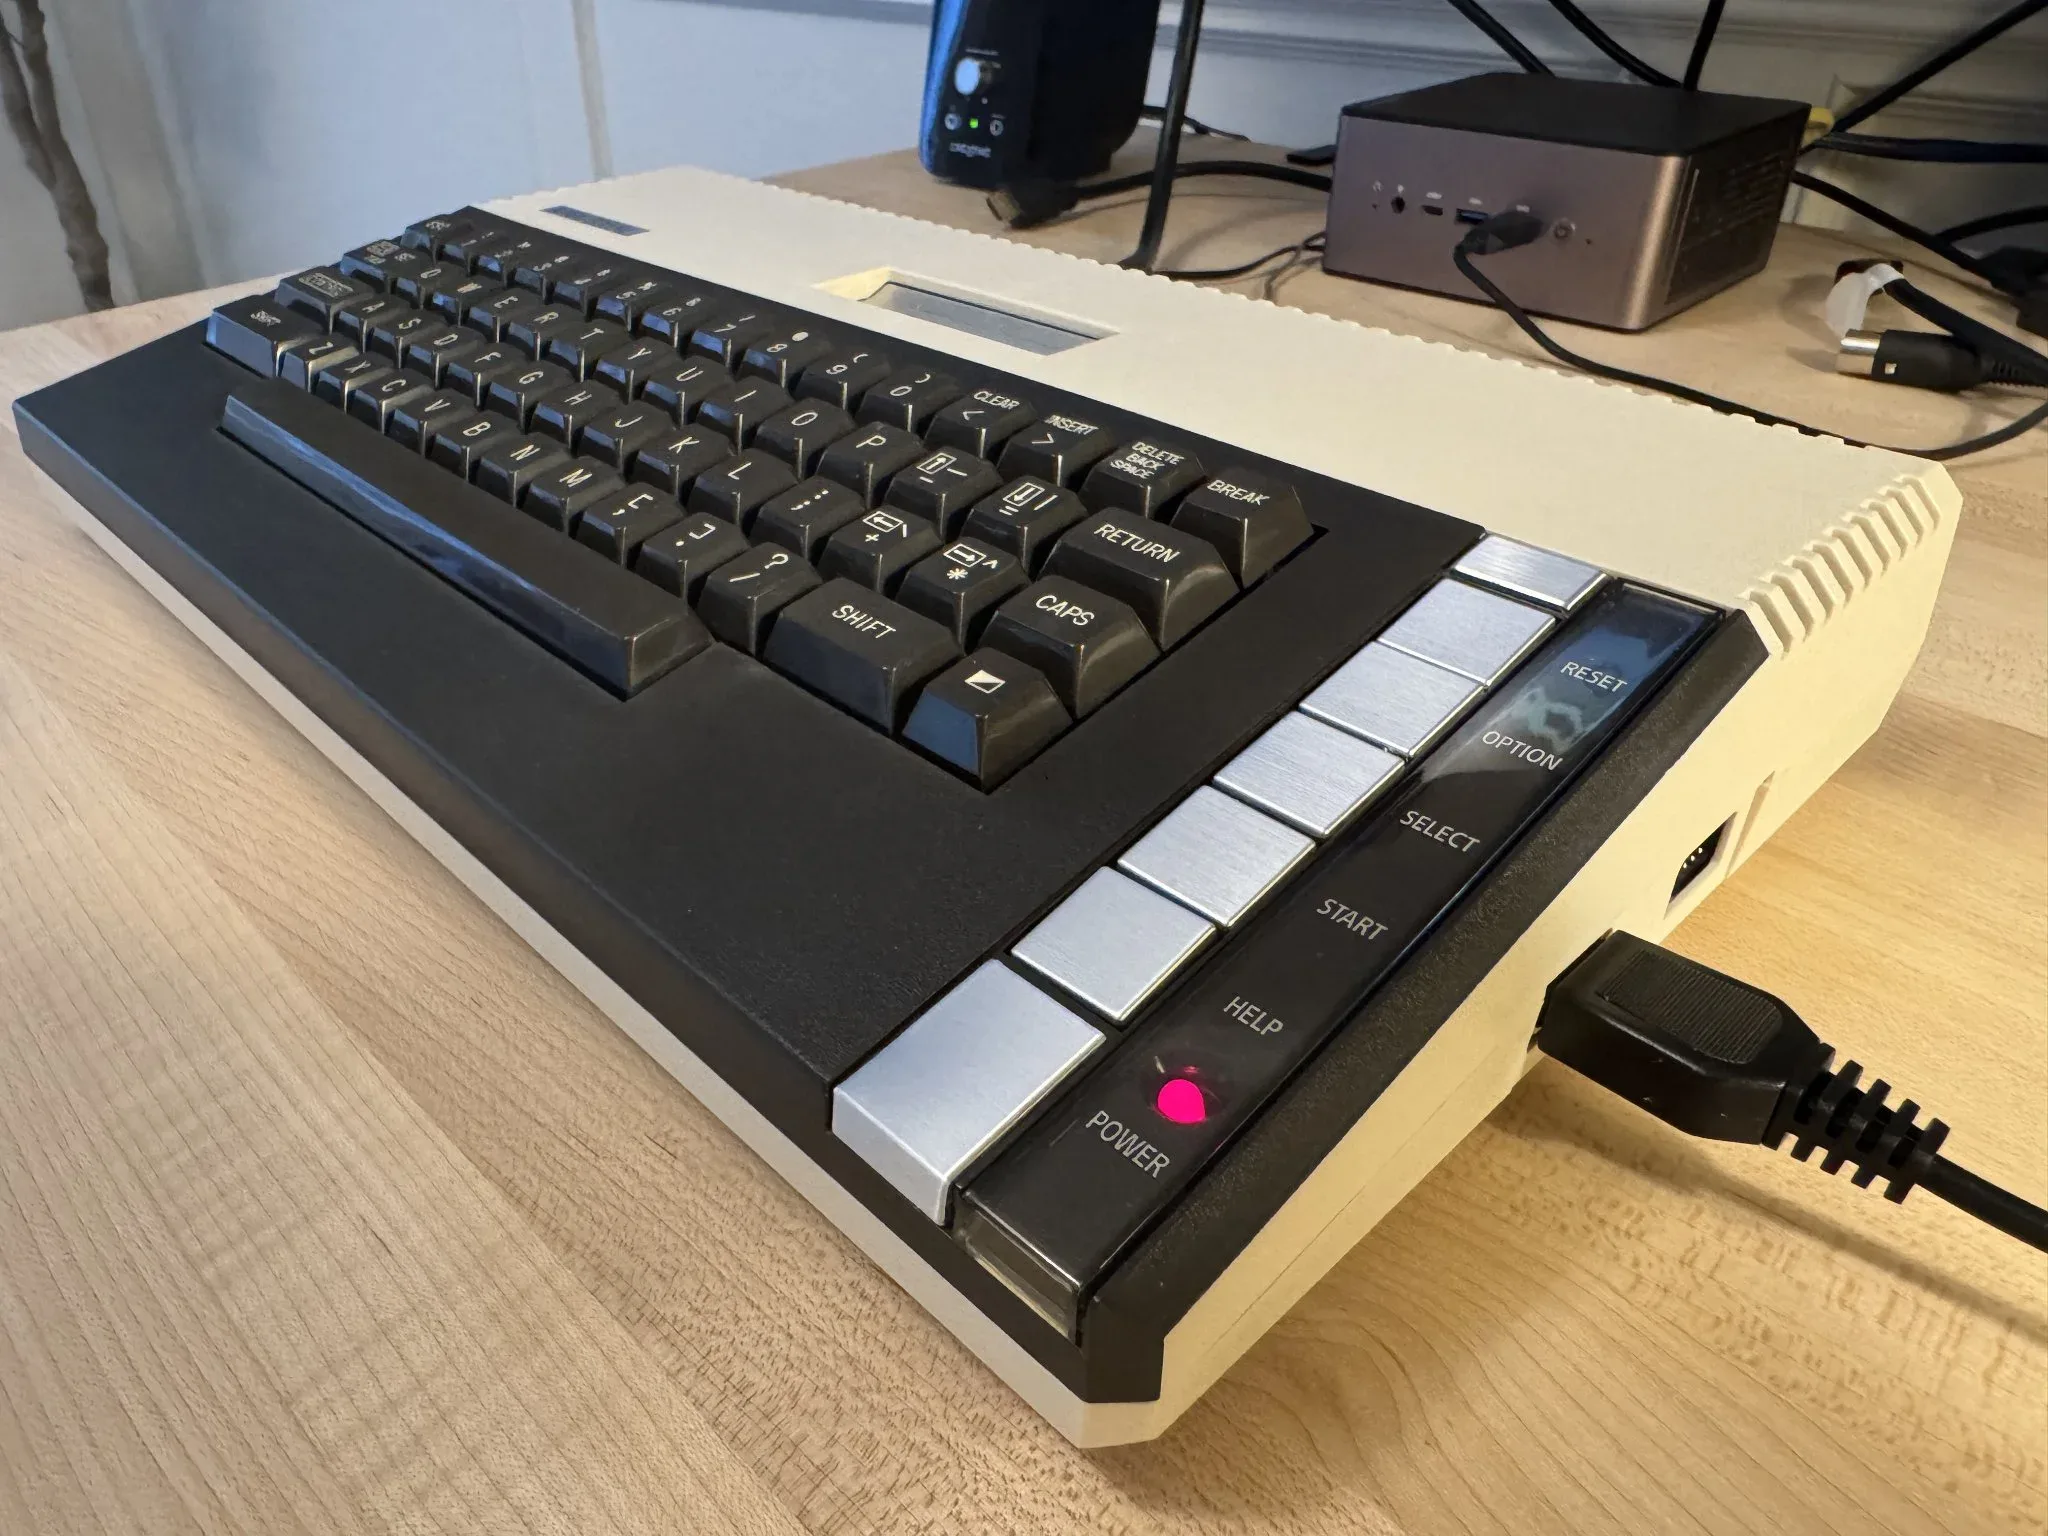
As pictured, you can see that the Atari computers had a set of “console” buttons, “RESET, OPTION, SELECT, START and HELP”. RESET would re-initialize whatever was running to a beginning state. OPTION and SELECT keys would often be used to change program or game defaults, such as difficulty, level or number of players. START would be used to proceed after options were selected. I don’t think the HELP button was used commonly but the running software could detect a HELP button press like the others.
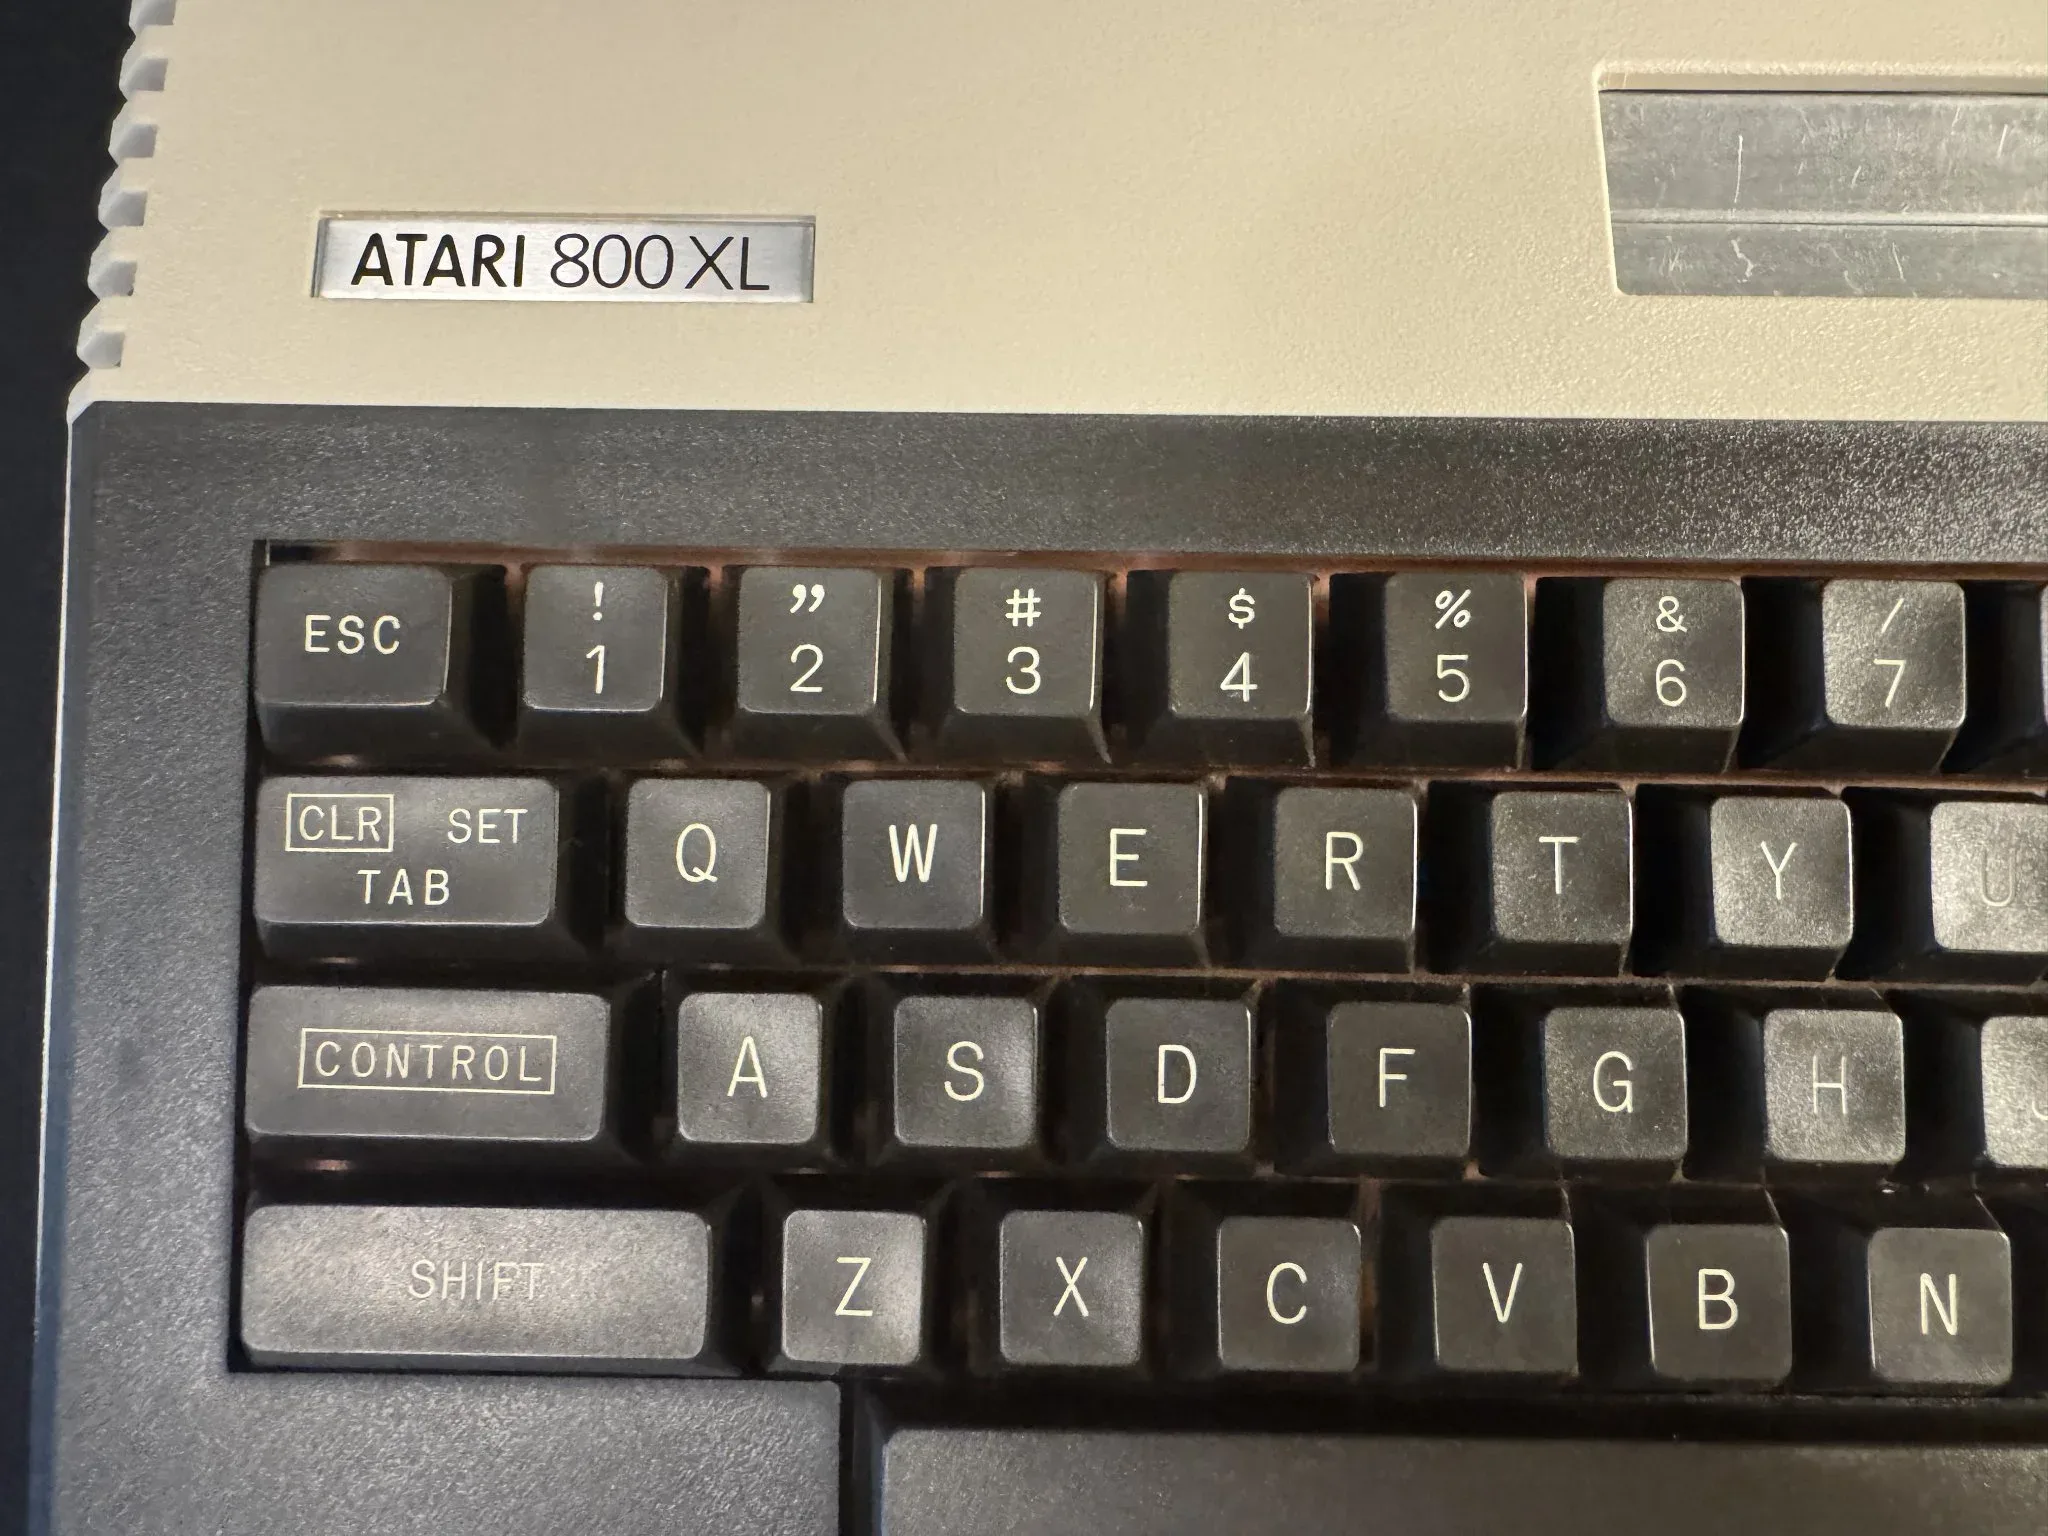
As keyboard layouts were not standardized you will see what might be now considered odd choices. The “quote” character is Shift-2 for instance. Trips me up anytime I’m typing on it now. There is a key for setting and using tab stops. I wrote many papers on AtariWriter when I was taking night time classes while in the Air Force. At the time, the keyboard felt very natural and I was efficient at using it.
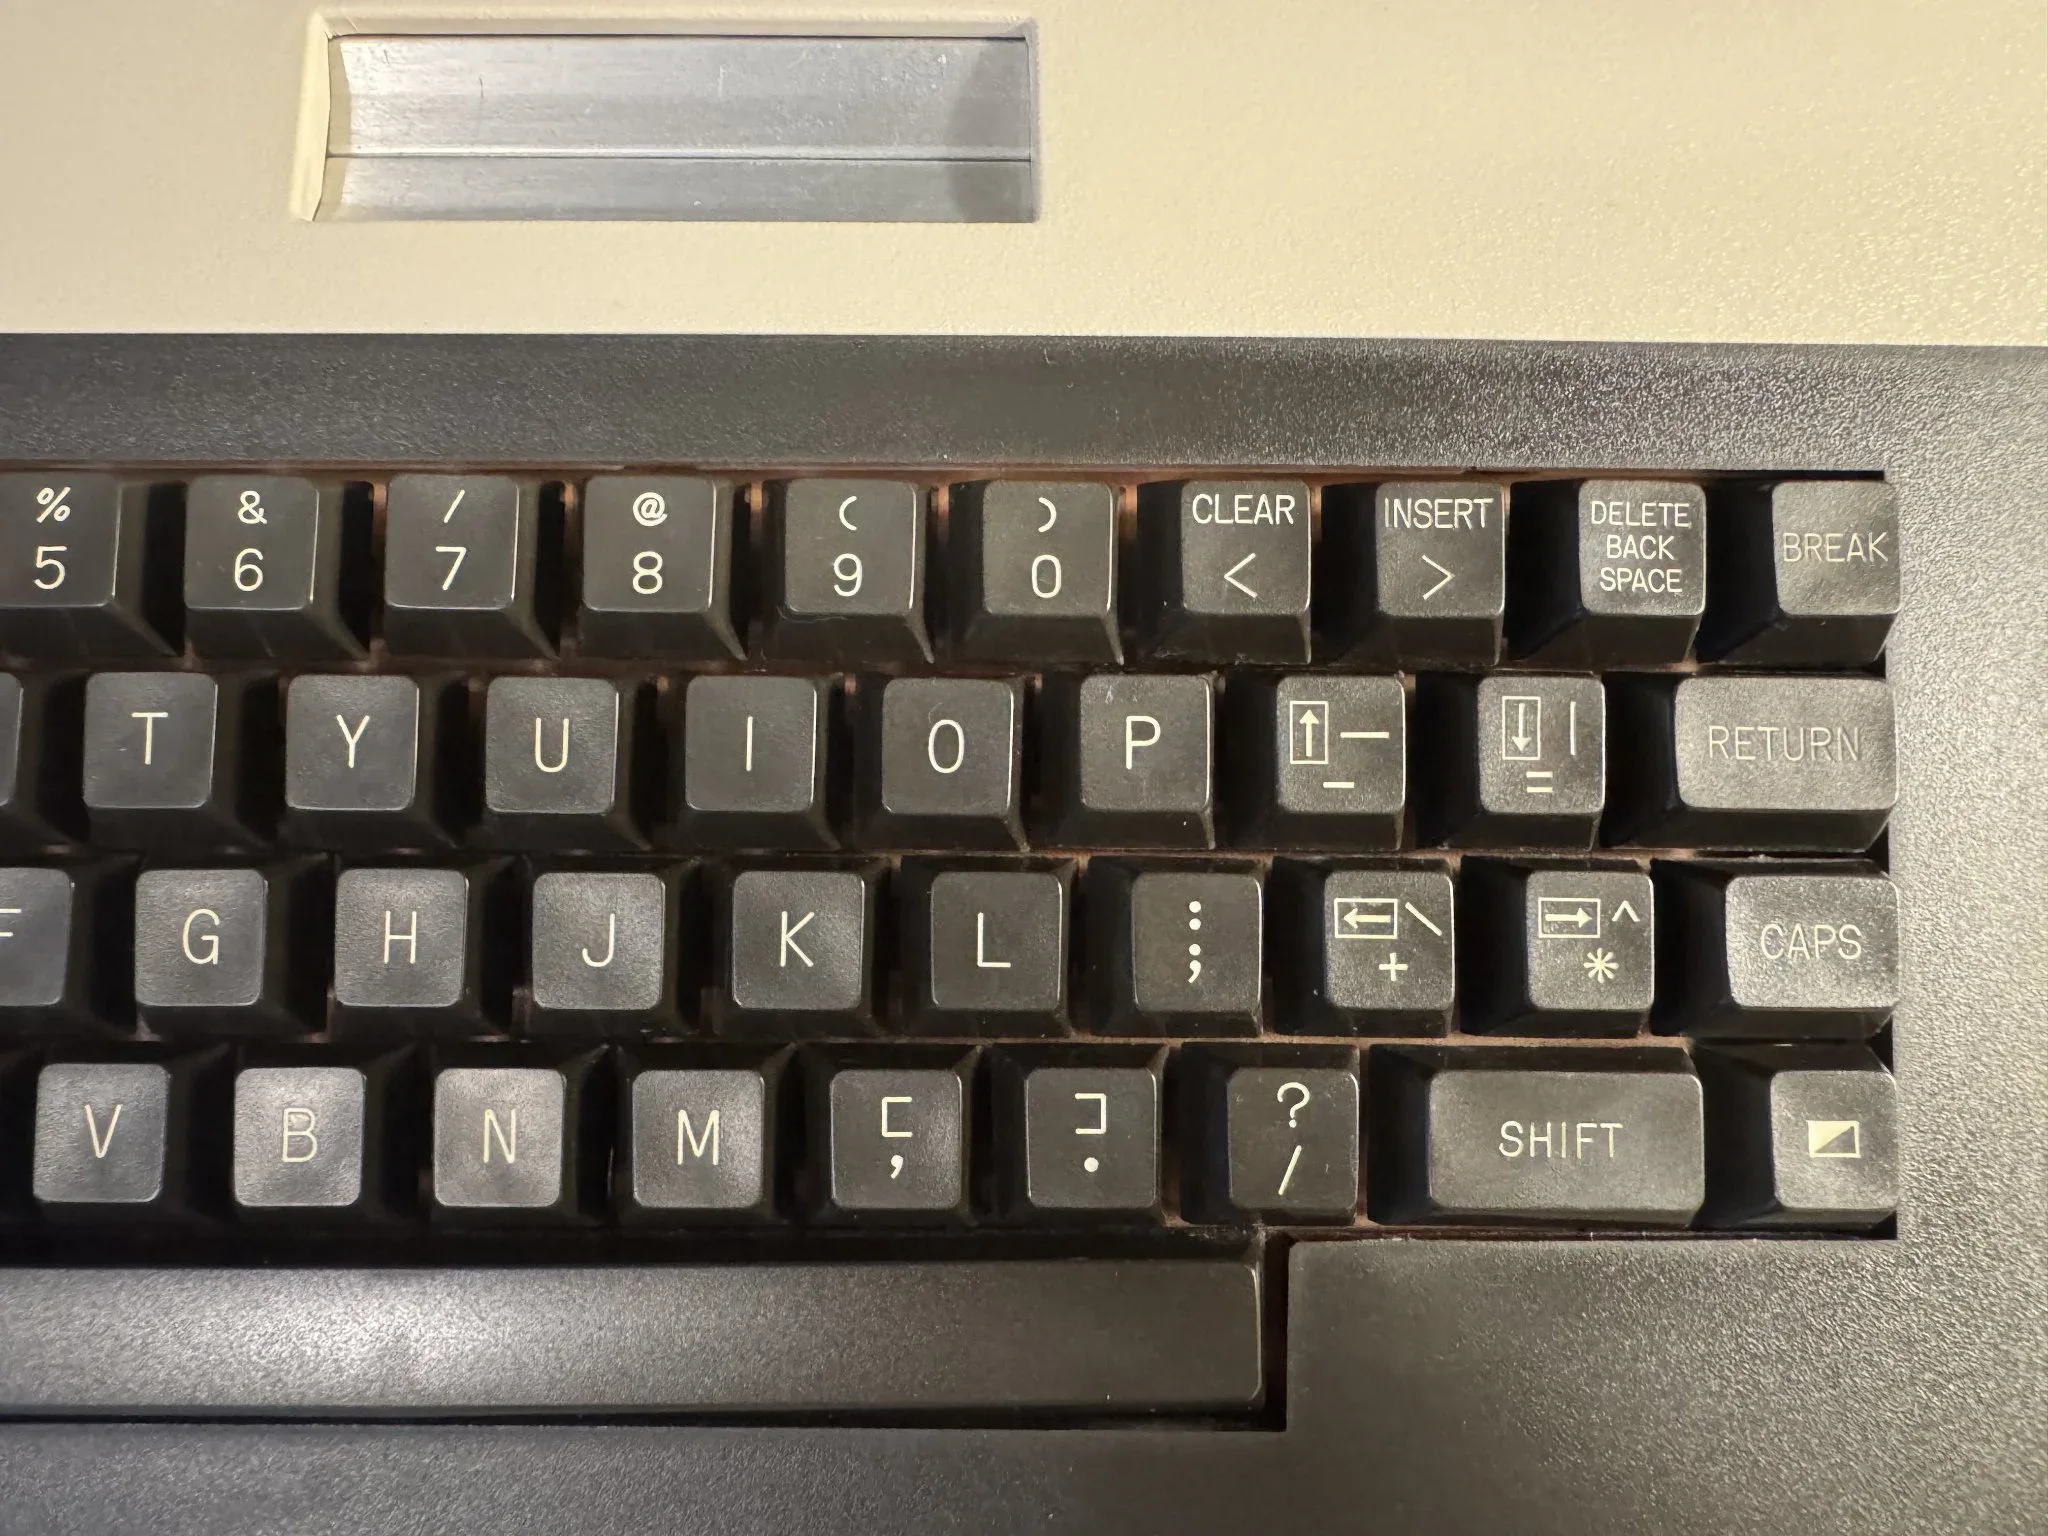
On the right side of the keyboard you can see there was no dedicated arrow keys. The Control key was used to enable four keys as the arrow keys. (The Commodore 64 had an alternative solution for arrow keys that was equally cumbersome.) There is an “inverse” key that would allow you to alternate the foreground and background key colors. The Break key would be used to stop a BASIC program at the current instruction.
The Atari 8 bit computers had a limited character set of 127 characters. This page has a page from COMPUTE! magazine’s 3rd book of Atari that lists the different characters. Programmers could remap the character set to other graphics as was common for some video games.
Atari Archives is one of may great resources for literature about the Atari 8-bit computers. Also, the Atari Projects site has been a great source of inspiration to me when getting back into the Atari 8-bit world.
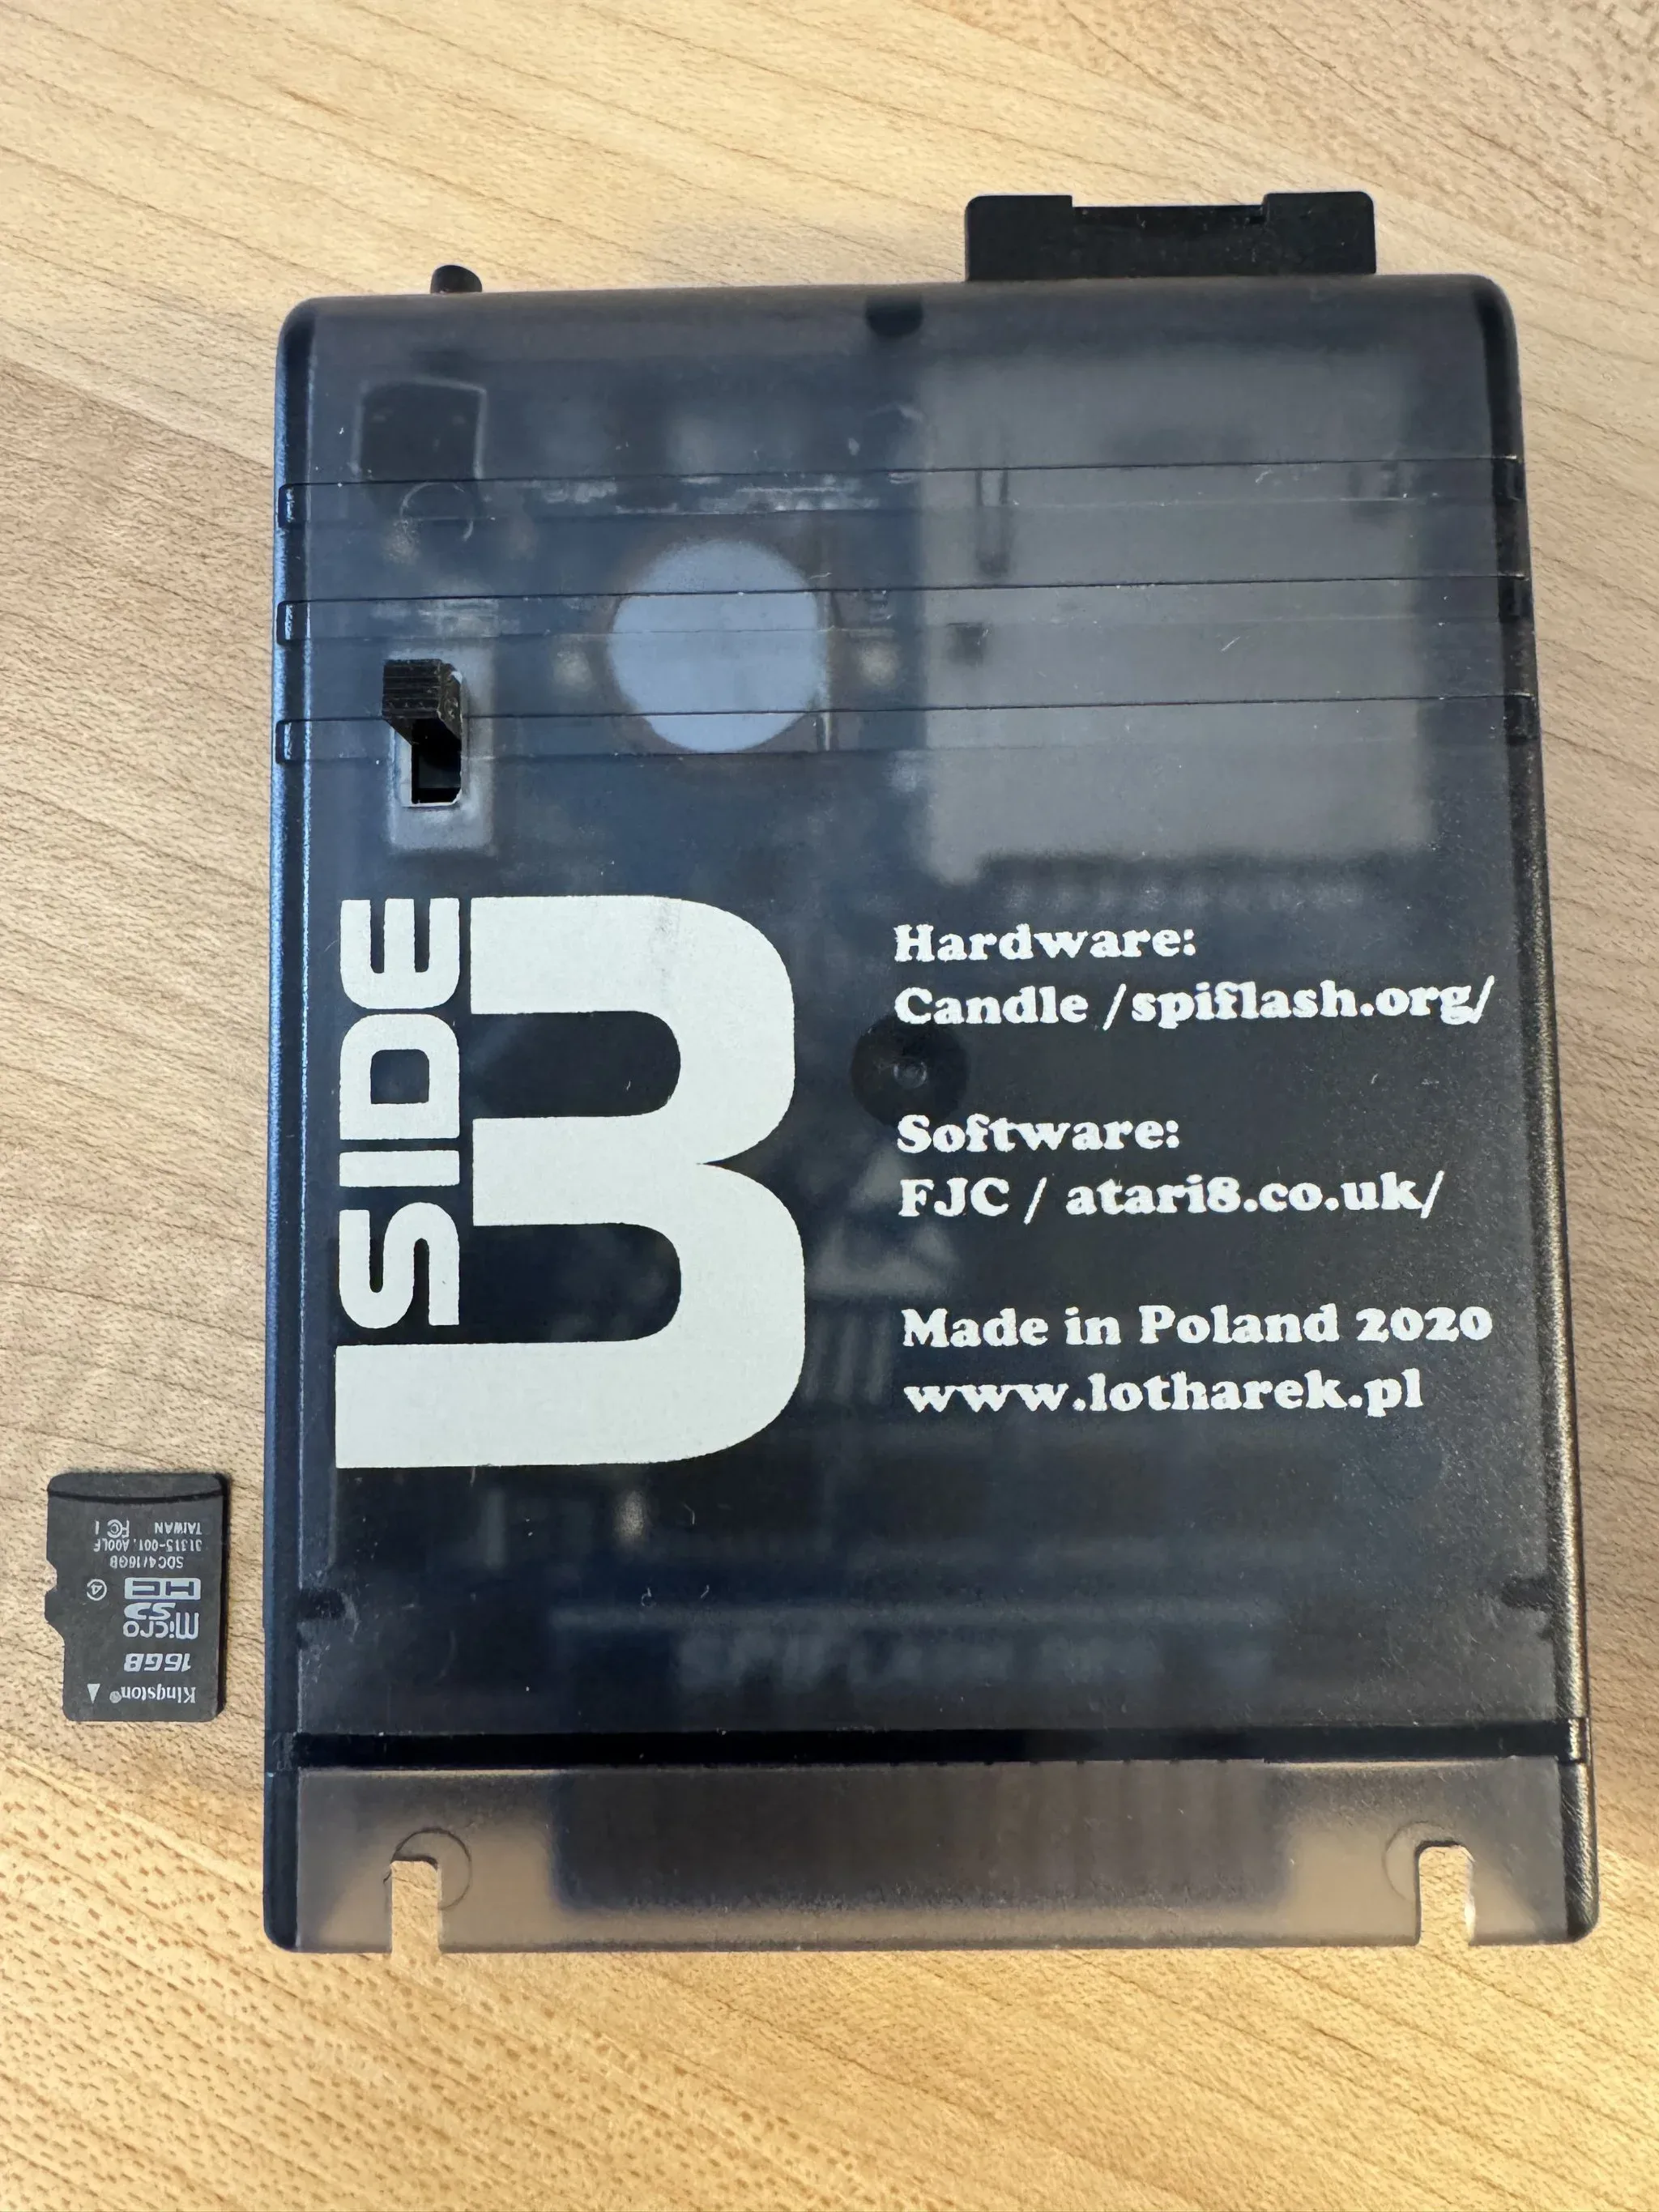
To load software, I use the Side 3 cartridge. Atari Projects documents that here.
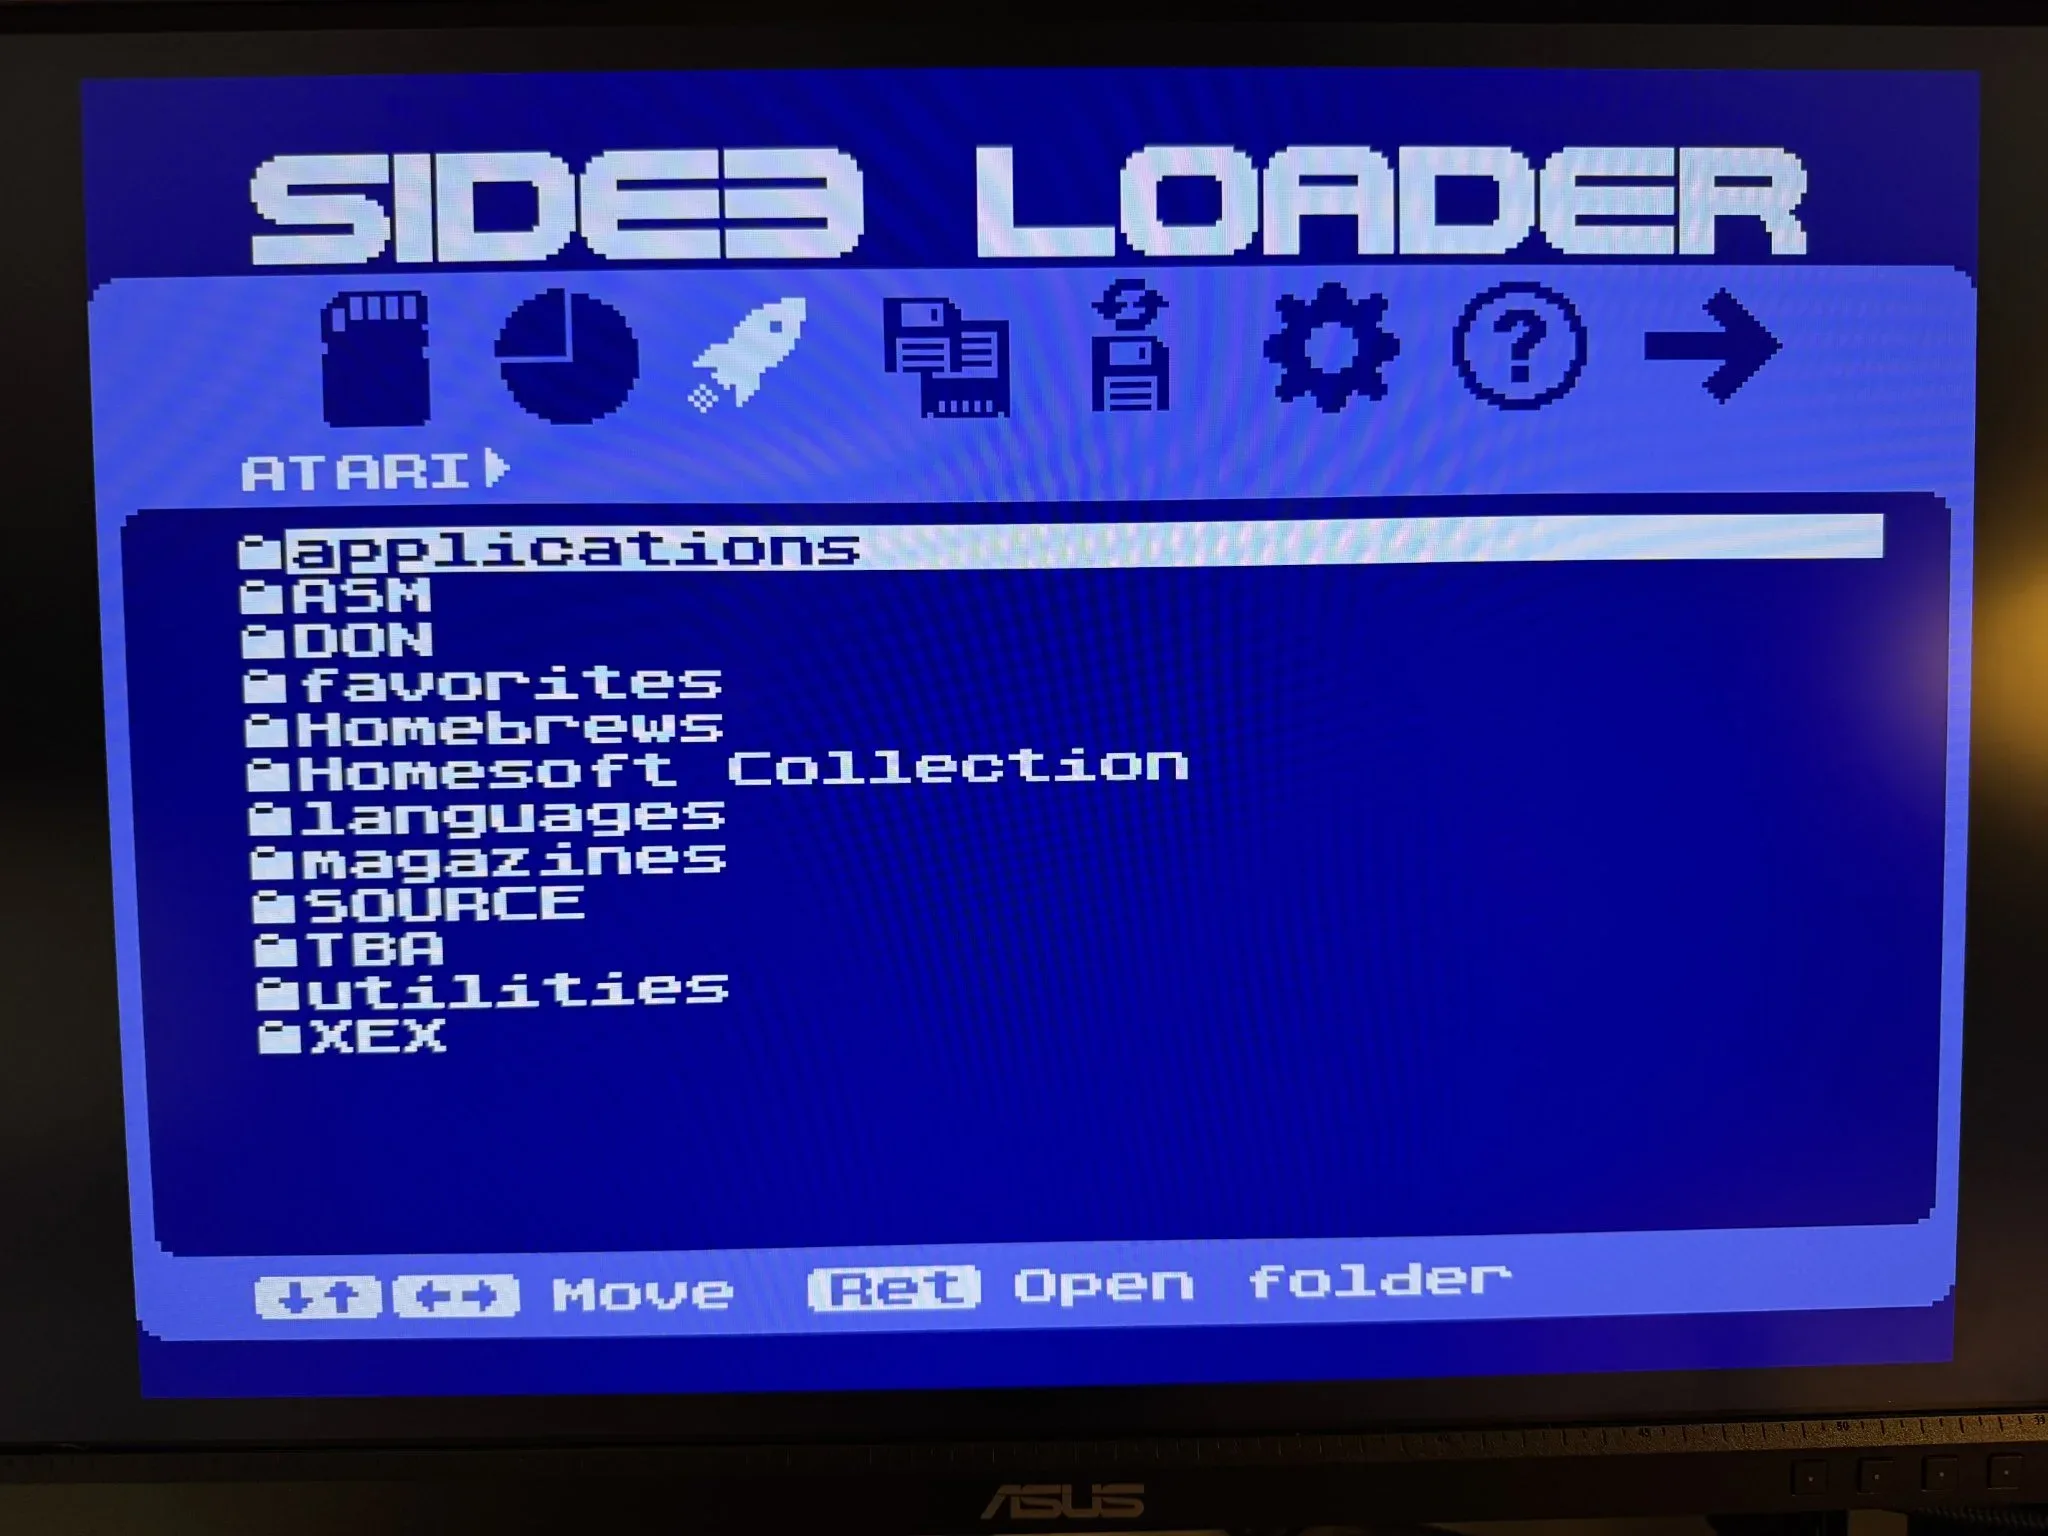
The cartridge renders a menu folders containing files that I can select and run when loading an application or game.
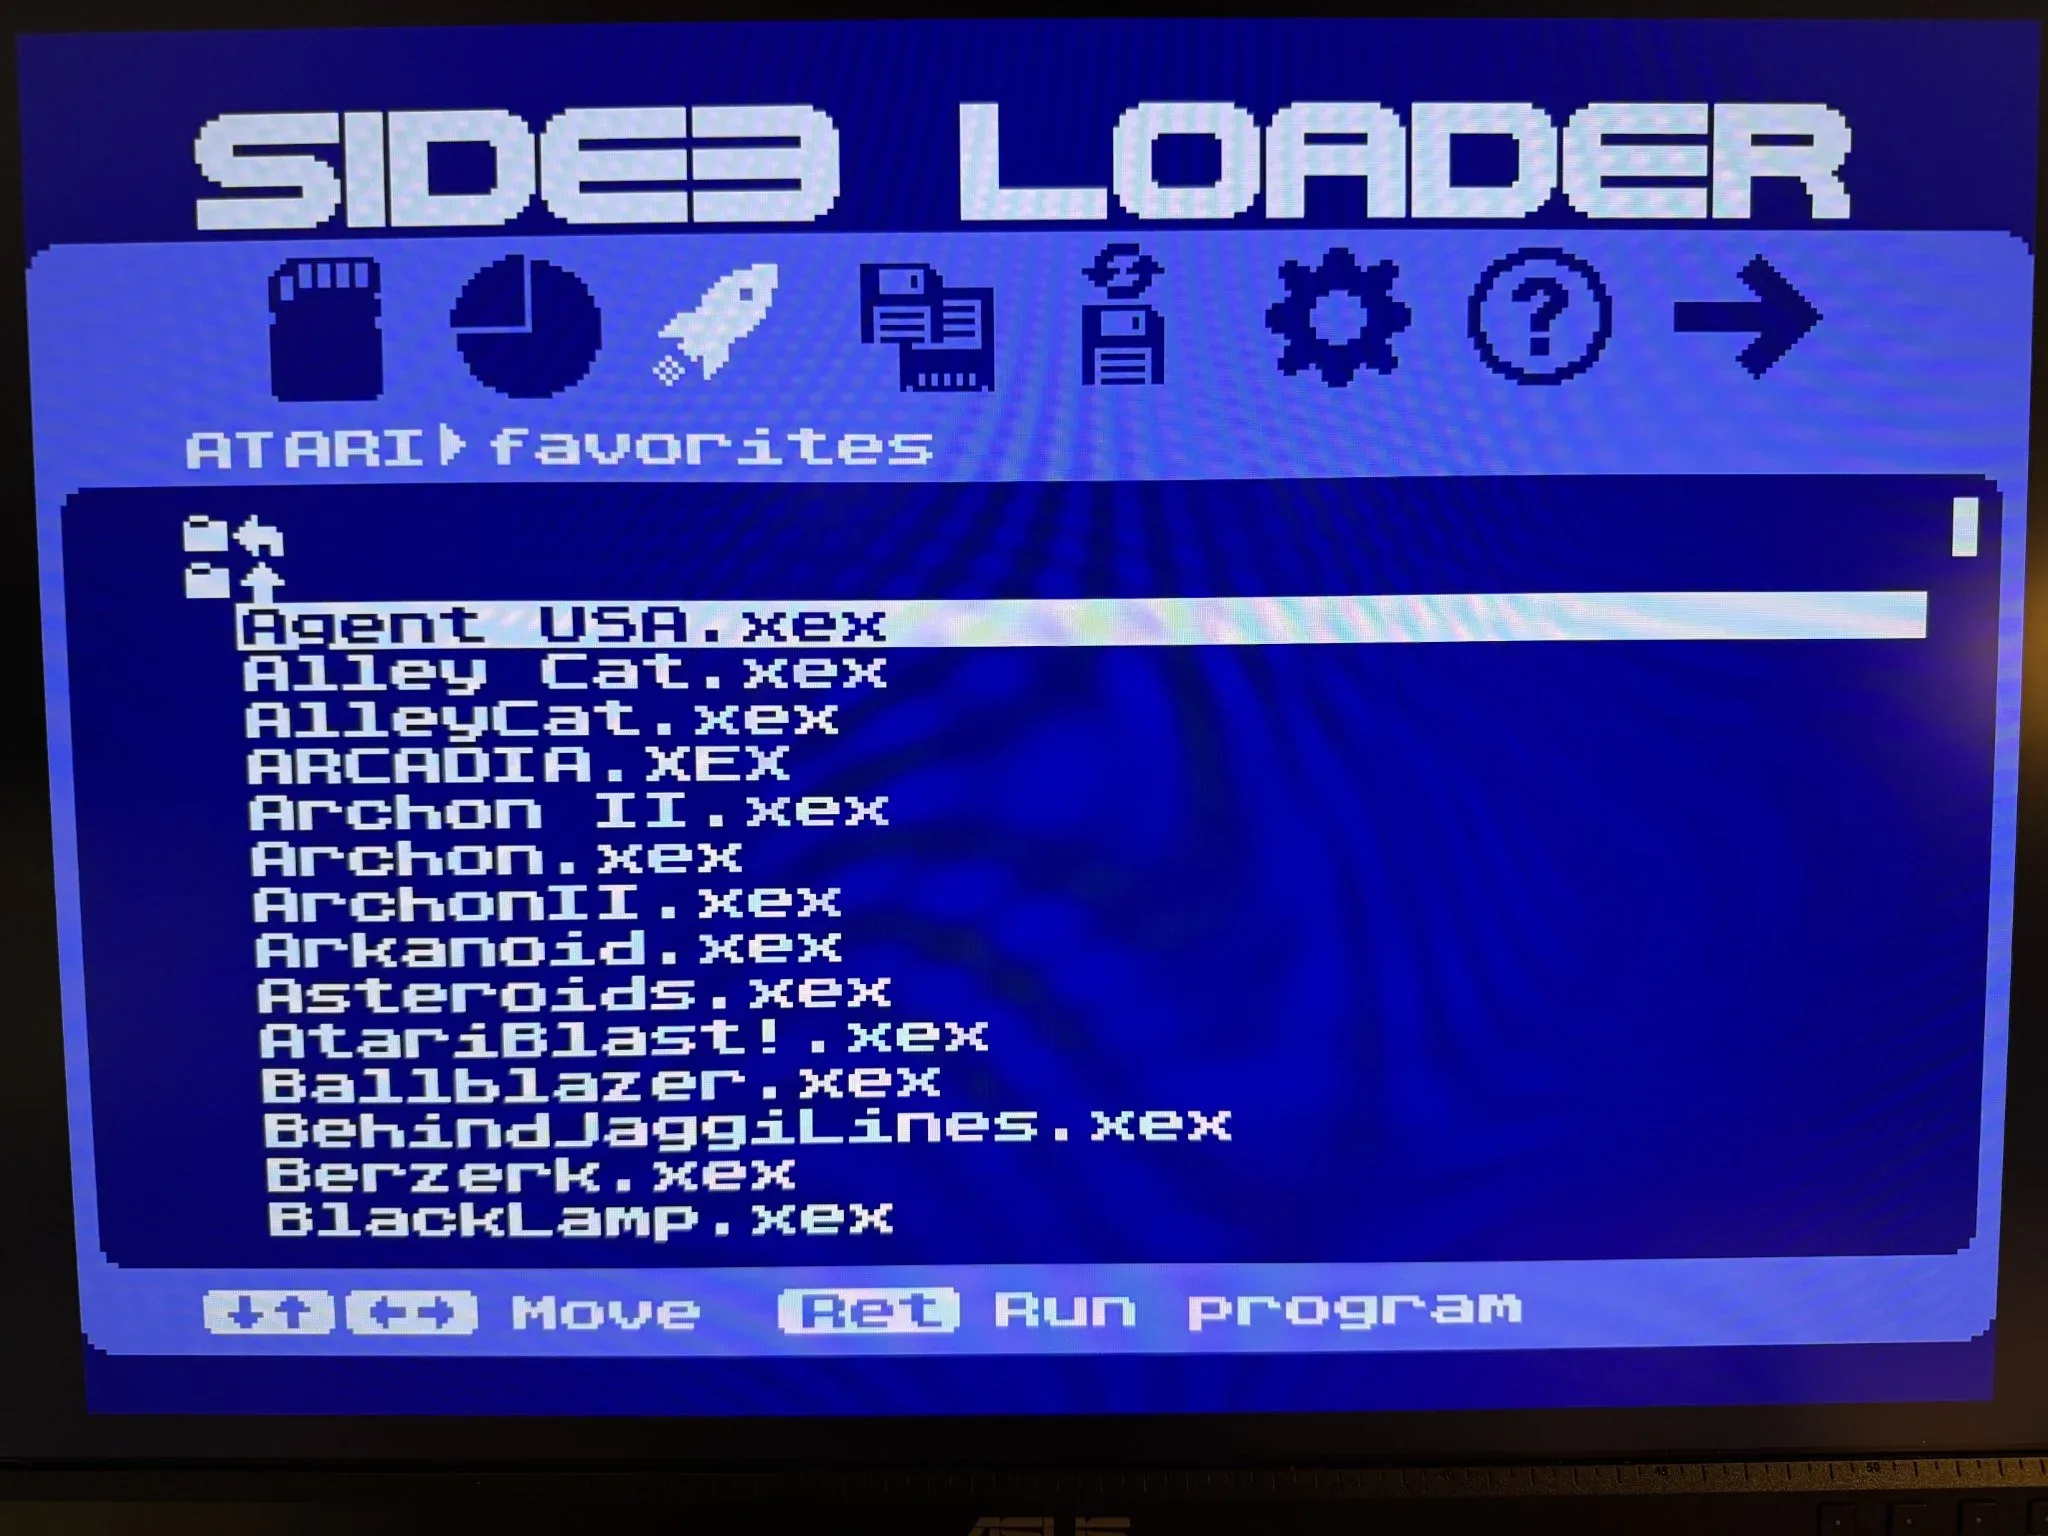
The cartridge also works nicely with a 1mb Ultimate internal upgrade we will see in a moment.
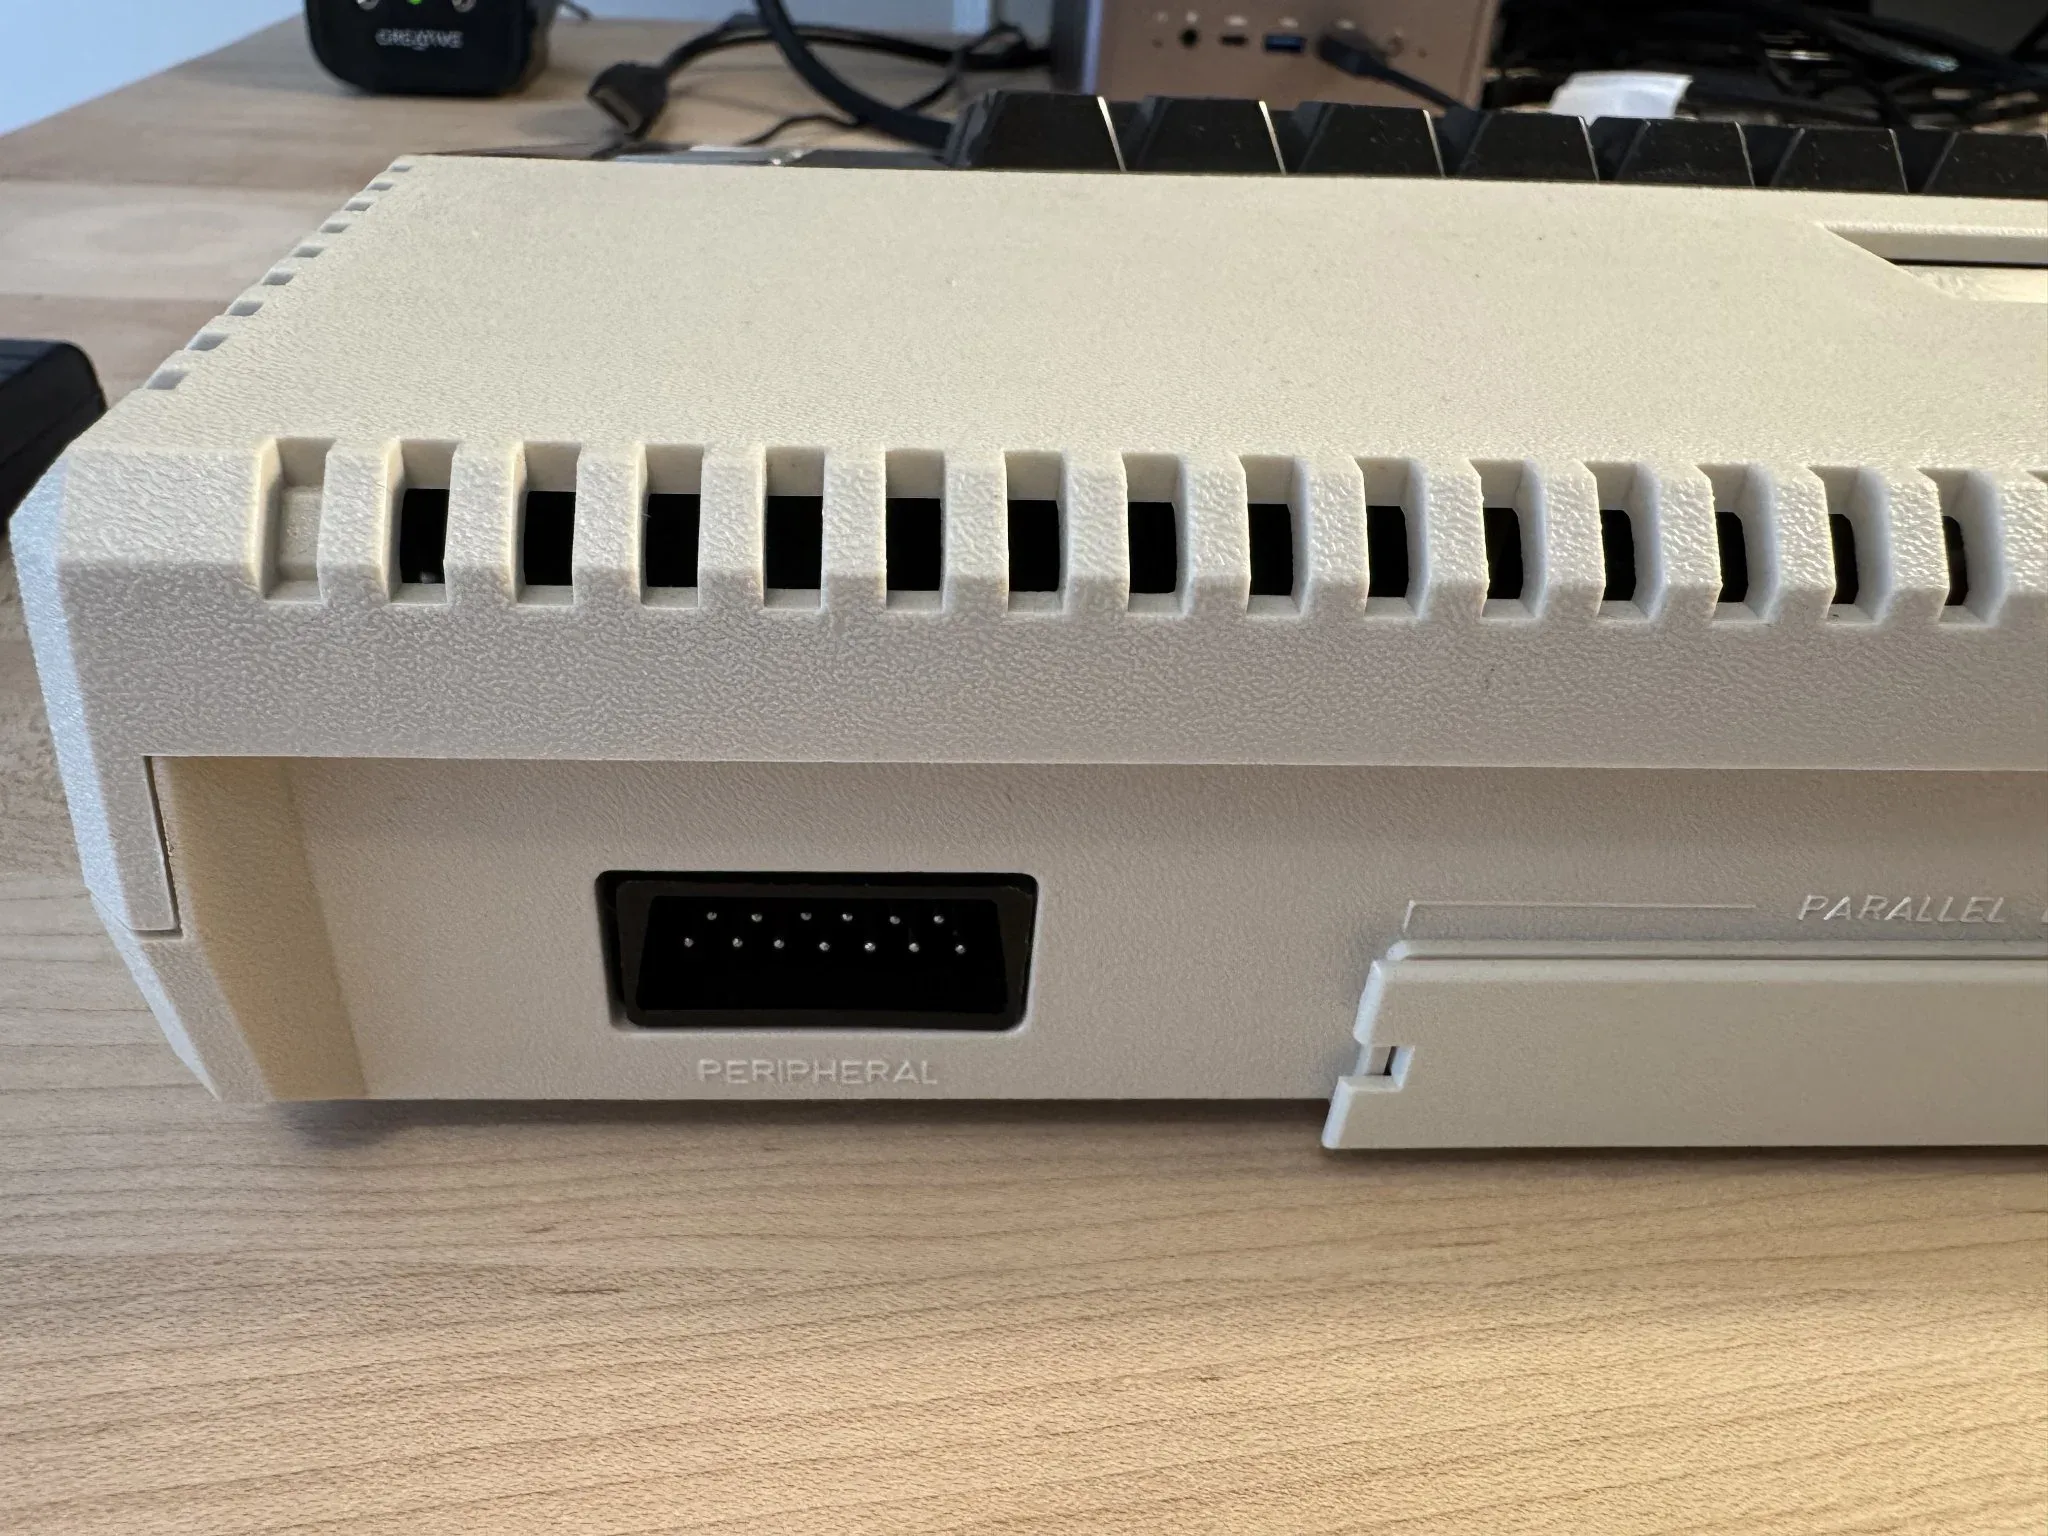
Turning the computer around to the back we see an SIO peripheral port, which by today’s standards is a ridiculously sized interface port for floppy drives, printers, modems etc. The devices plugged into this could “daisy chain” so that if you plugged a floppy drive into it, the floppy drive would have an additional SIO port to plug your printer or other device into it. This required each accessory to have two SIO ports to support the daisy chain.
Also on the back is a plastic cover that can be removed to expose a parallel bus interface for high speed direct access to computer memory. I never had a device that plugged into this.
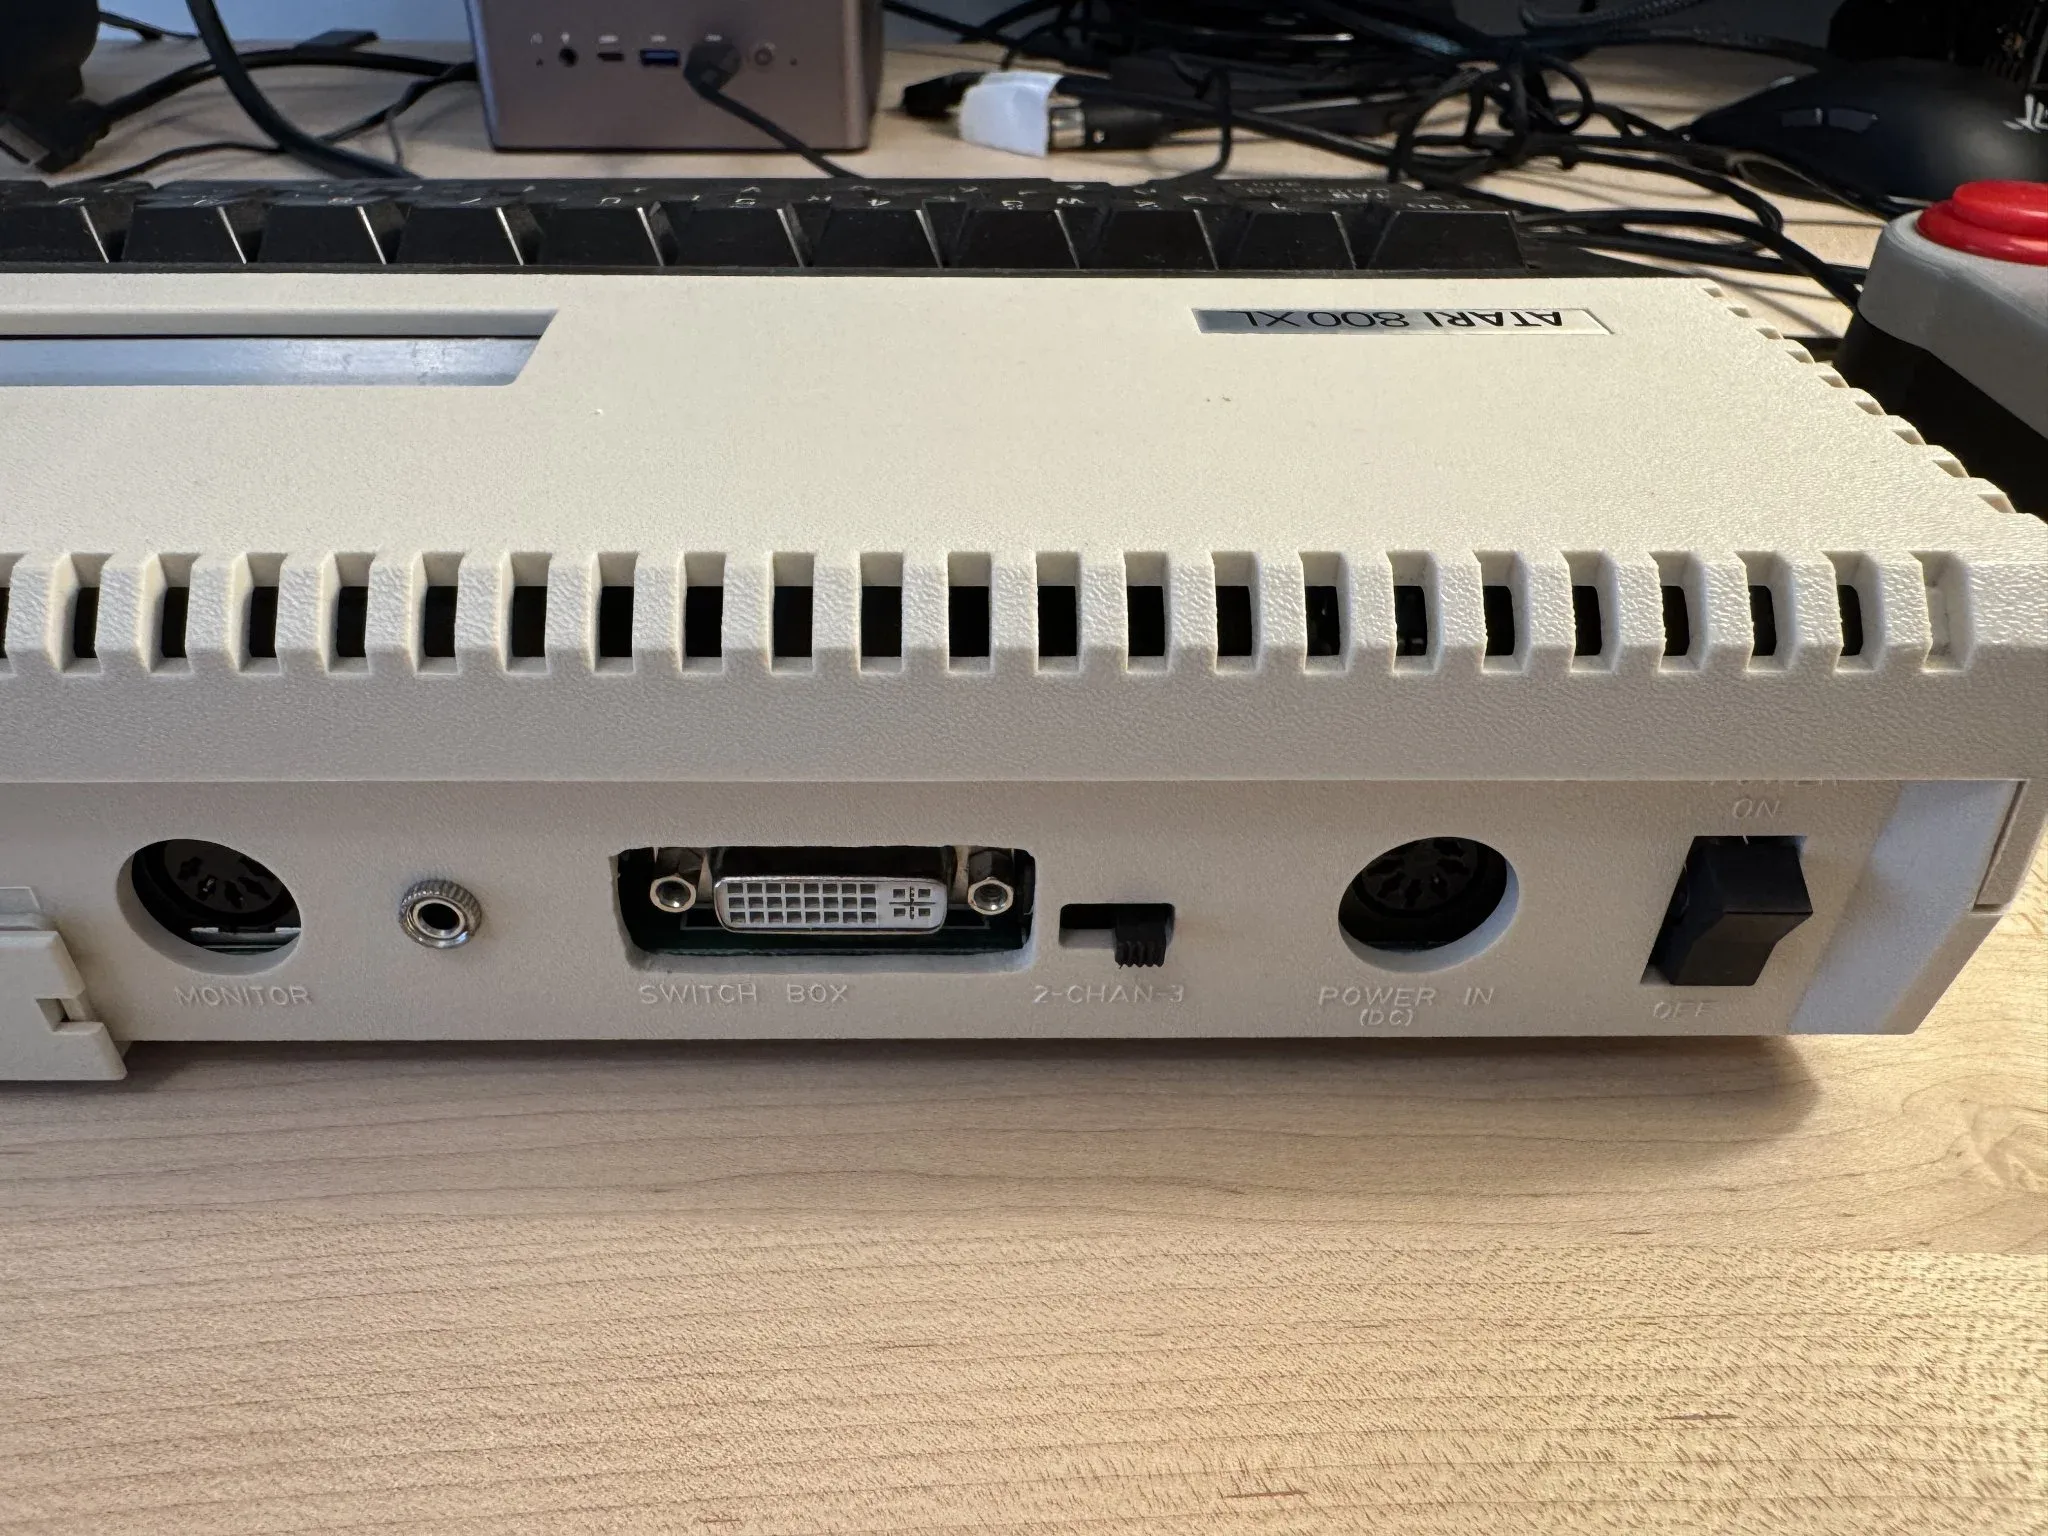
Also on the back is a monitor port. Where there used to be an RC jack (for connecting a TV) you see that I have added an audio jack and a DVI connector so that my Atari 800XL can be connected to a speaker and a modern monitor. A channel 2-3 selector switch used when connecting to a television is still there but does nothing now. There is also a DIN connector for power and an on/off switch.
The Monitor and power connectors are similar so I remember that the power connector is next to the power switch.
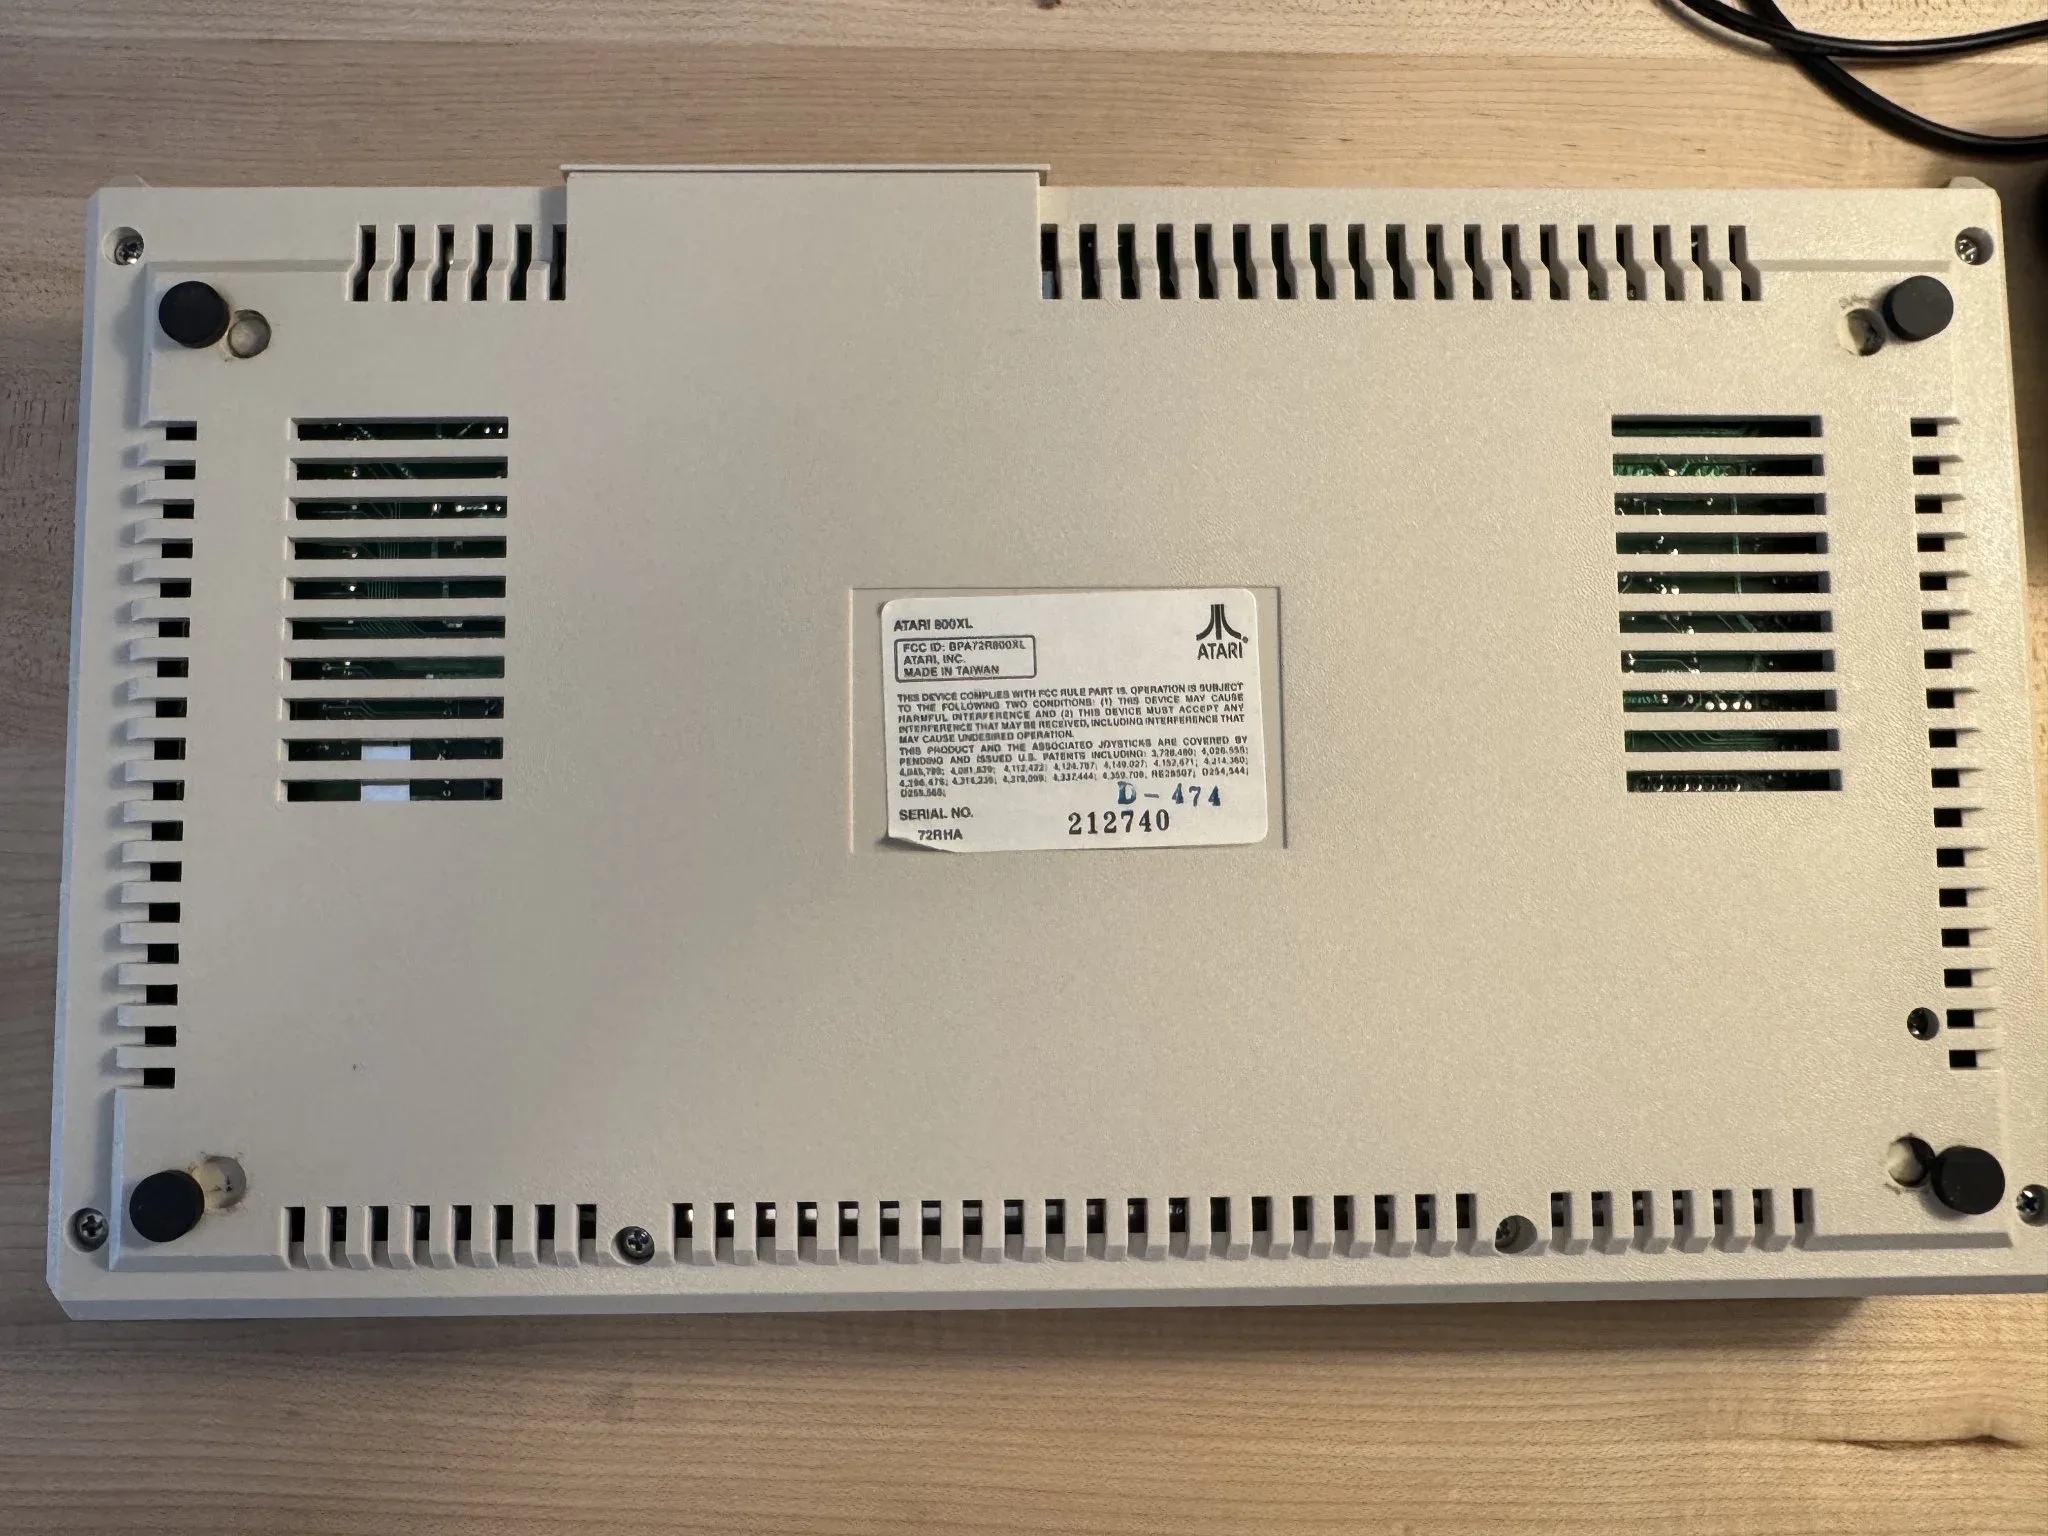
On the underside of the computer is a serial number sticker. I lost the rubber feet and have sloppy alternatives stuck on so the computer doesn’t slide on the table.
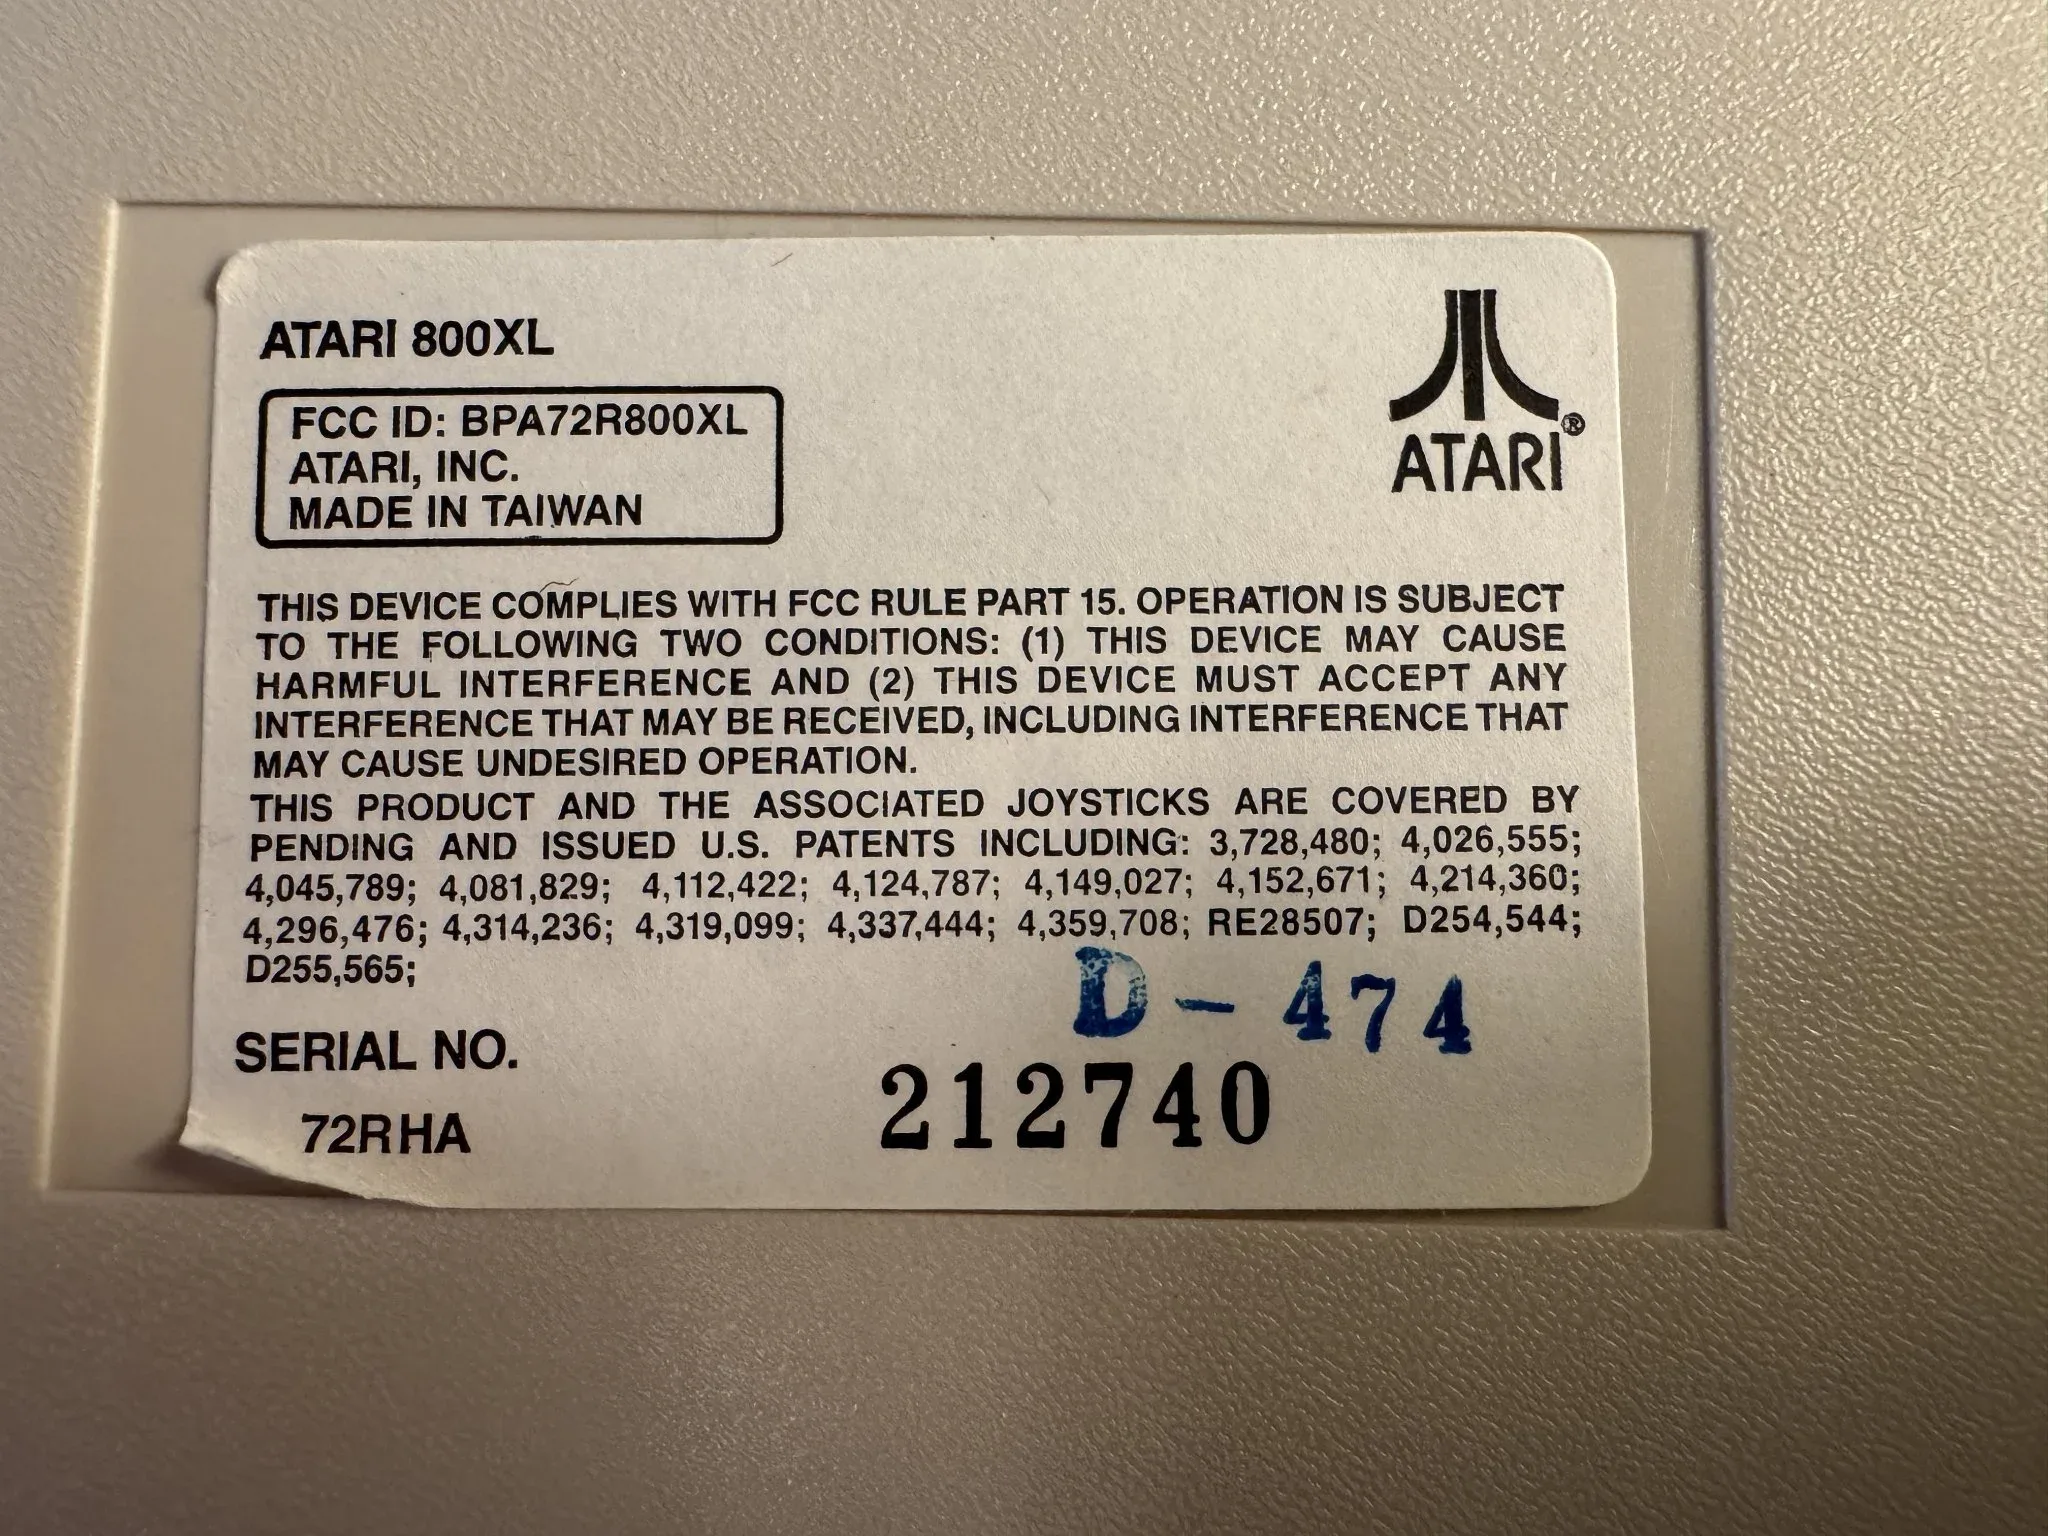
Here is a close-up of that serial number sticker. I don’t know why, but some people find these fascinating.
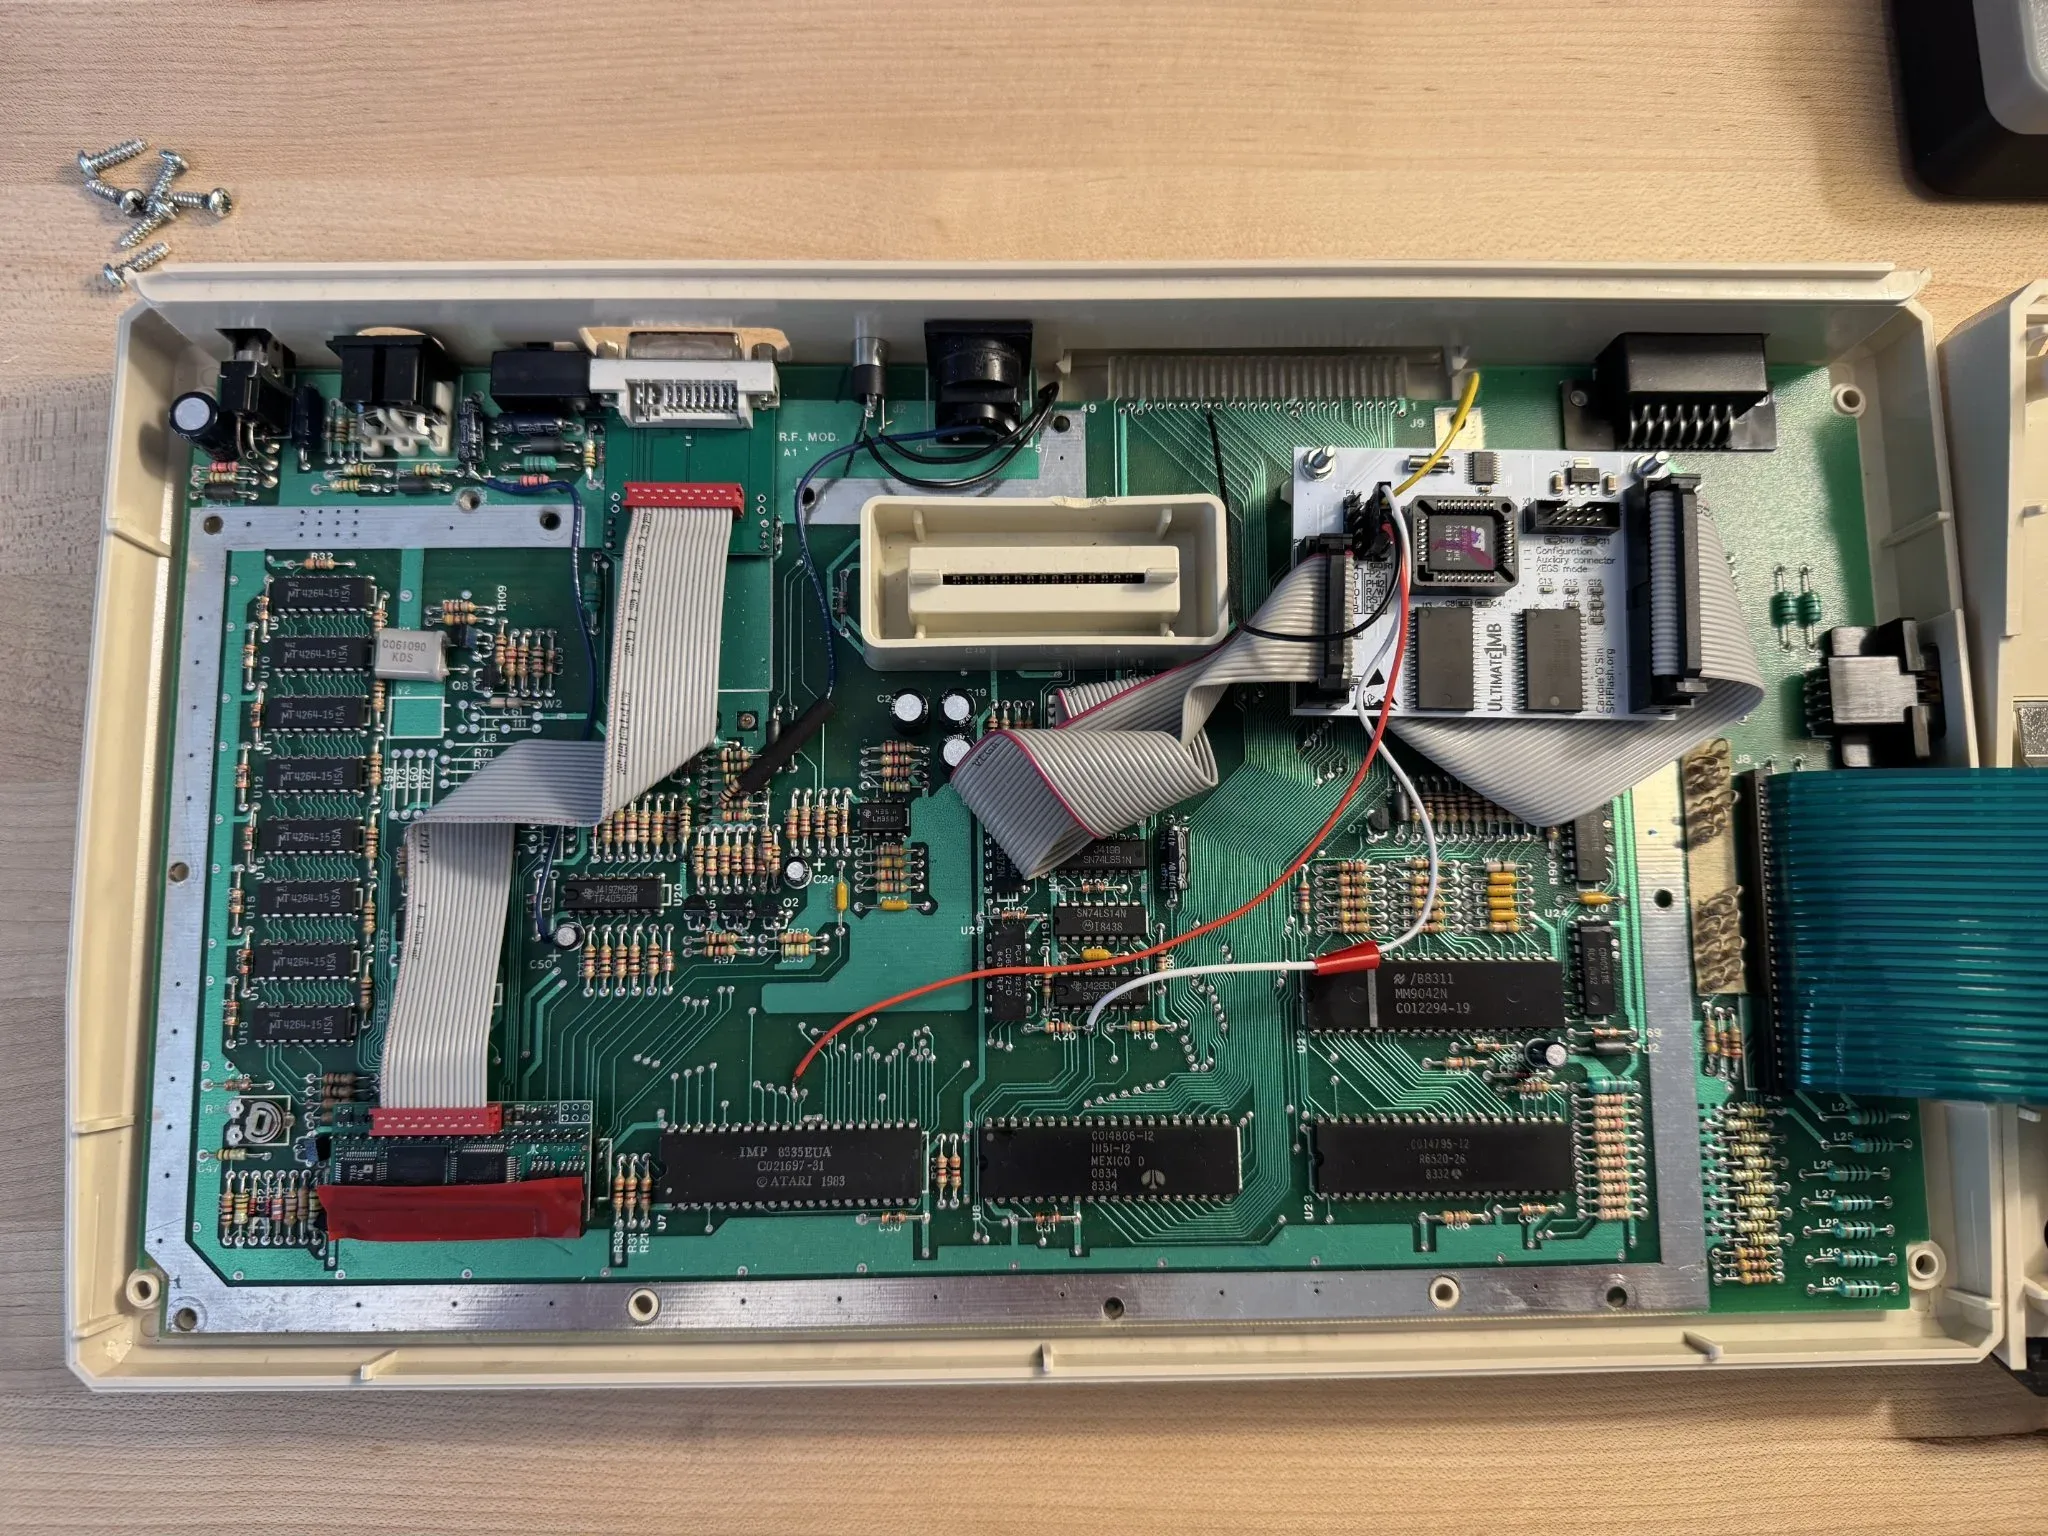
If I remove the six screws on the back, I can take the cover off and here is the inside. I have added the Ultimate 1mb upgrade and a “Sophia 2” video enhancement that outputs via the DVI connector.
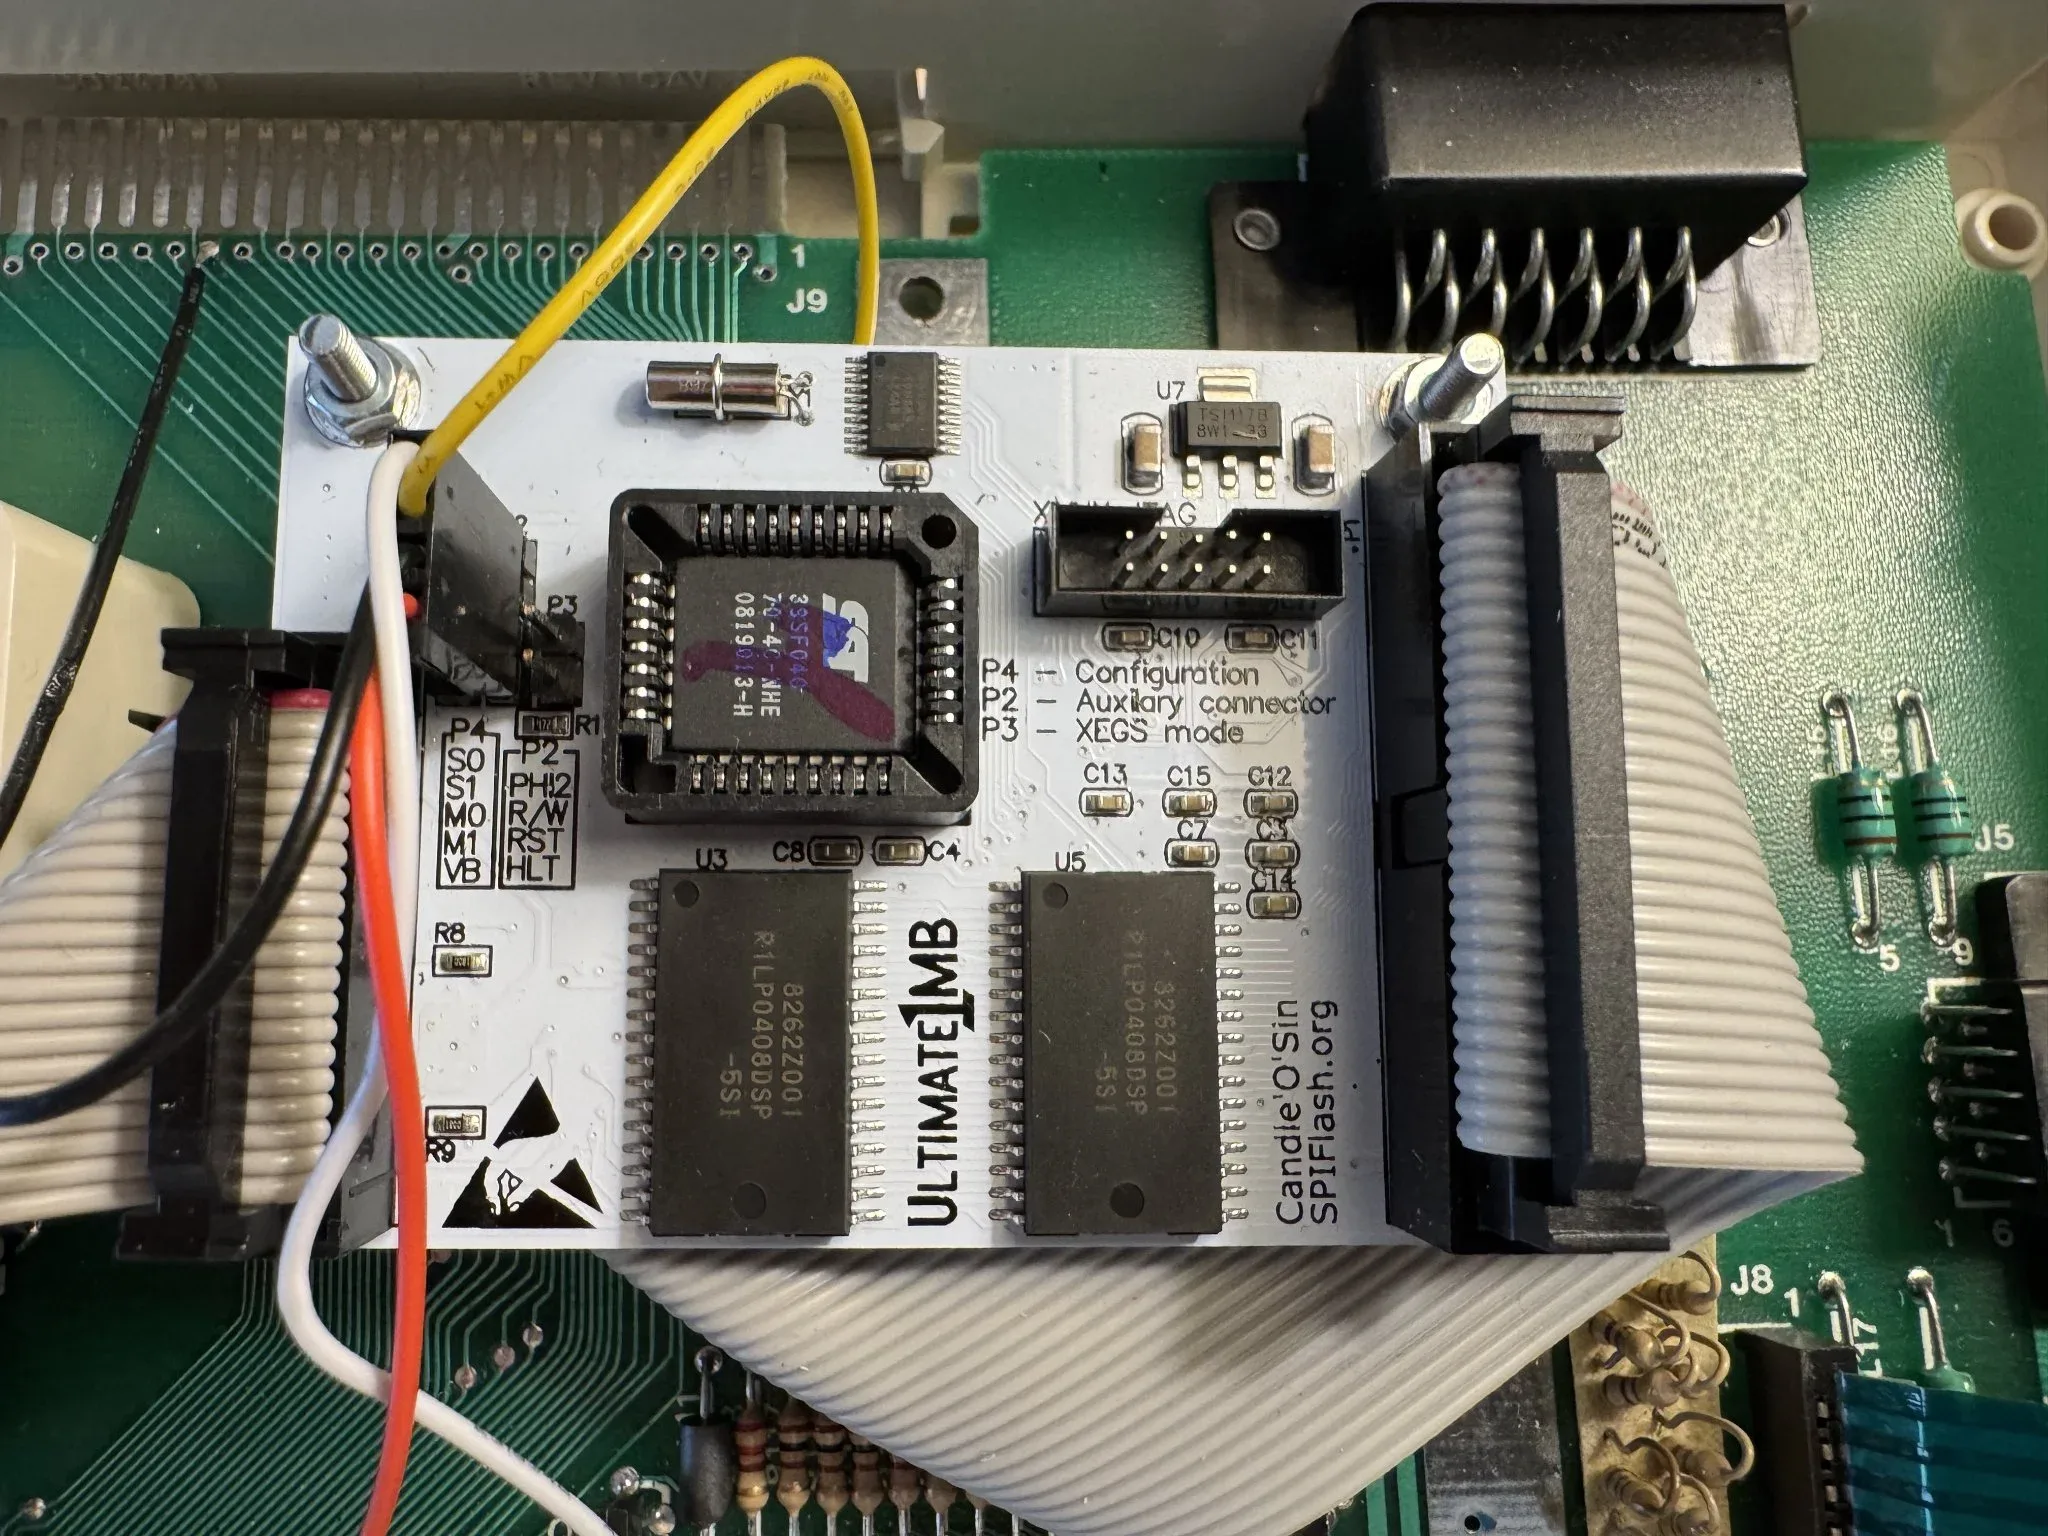
Here is a close-up of my Ultimate 1mb board. This board expands ram and allows booting alternative operating systems including SpartaDOS and BASICs. The Atari Projects site has an overview here and official firmware docs are on the flashjazzcat page here.
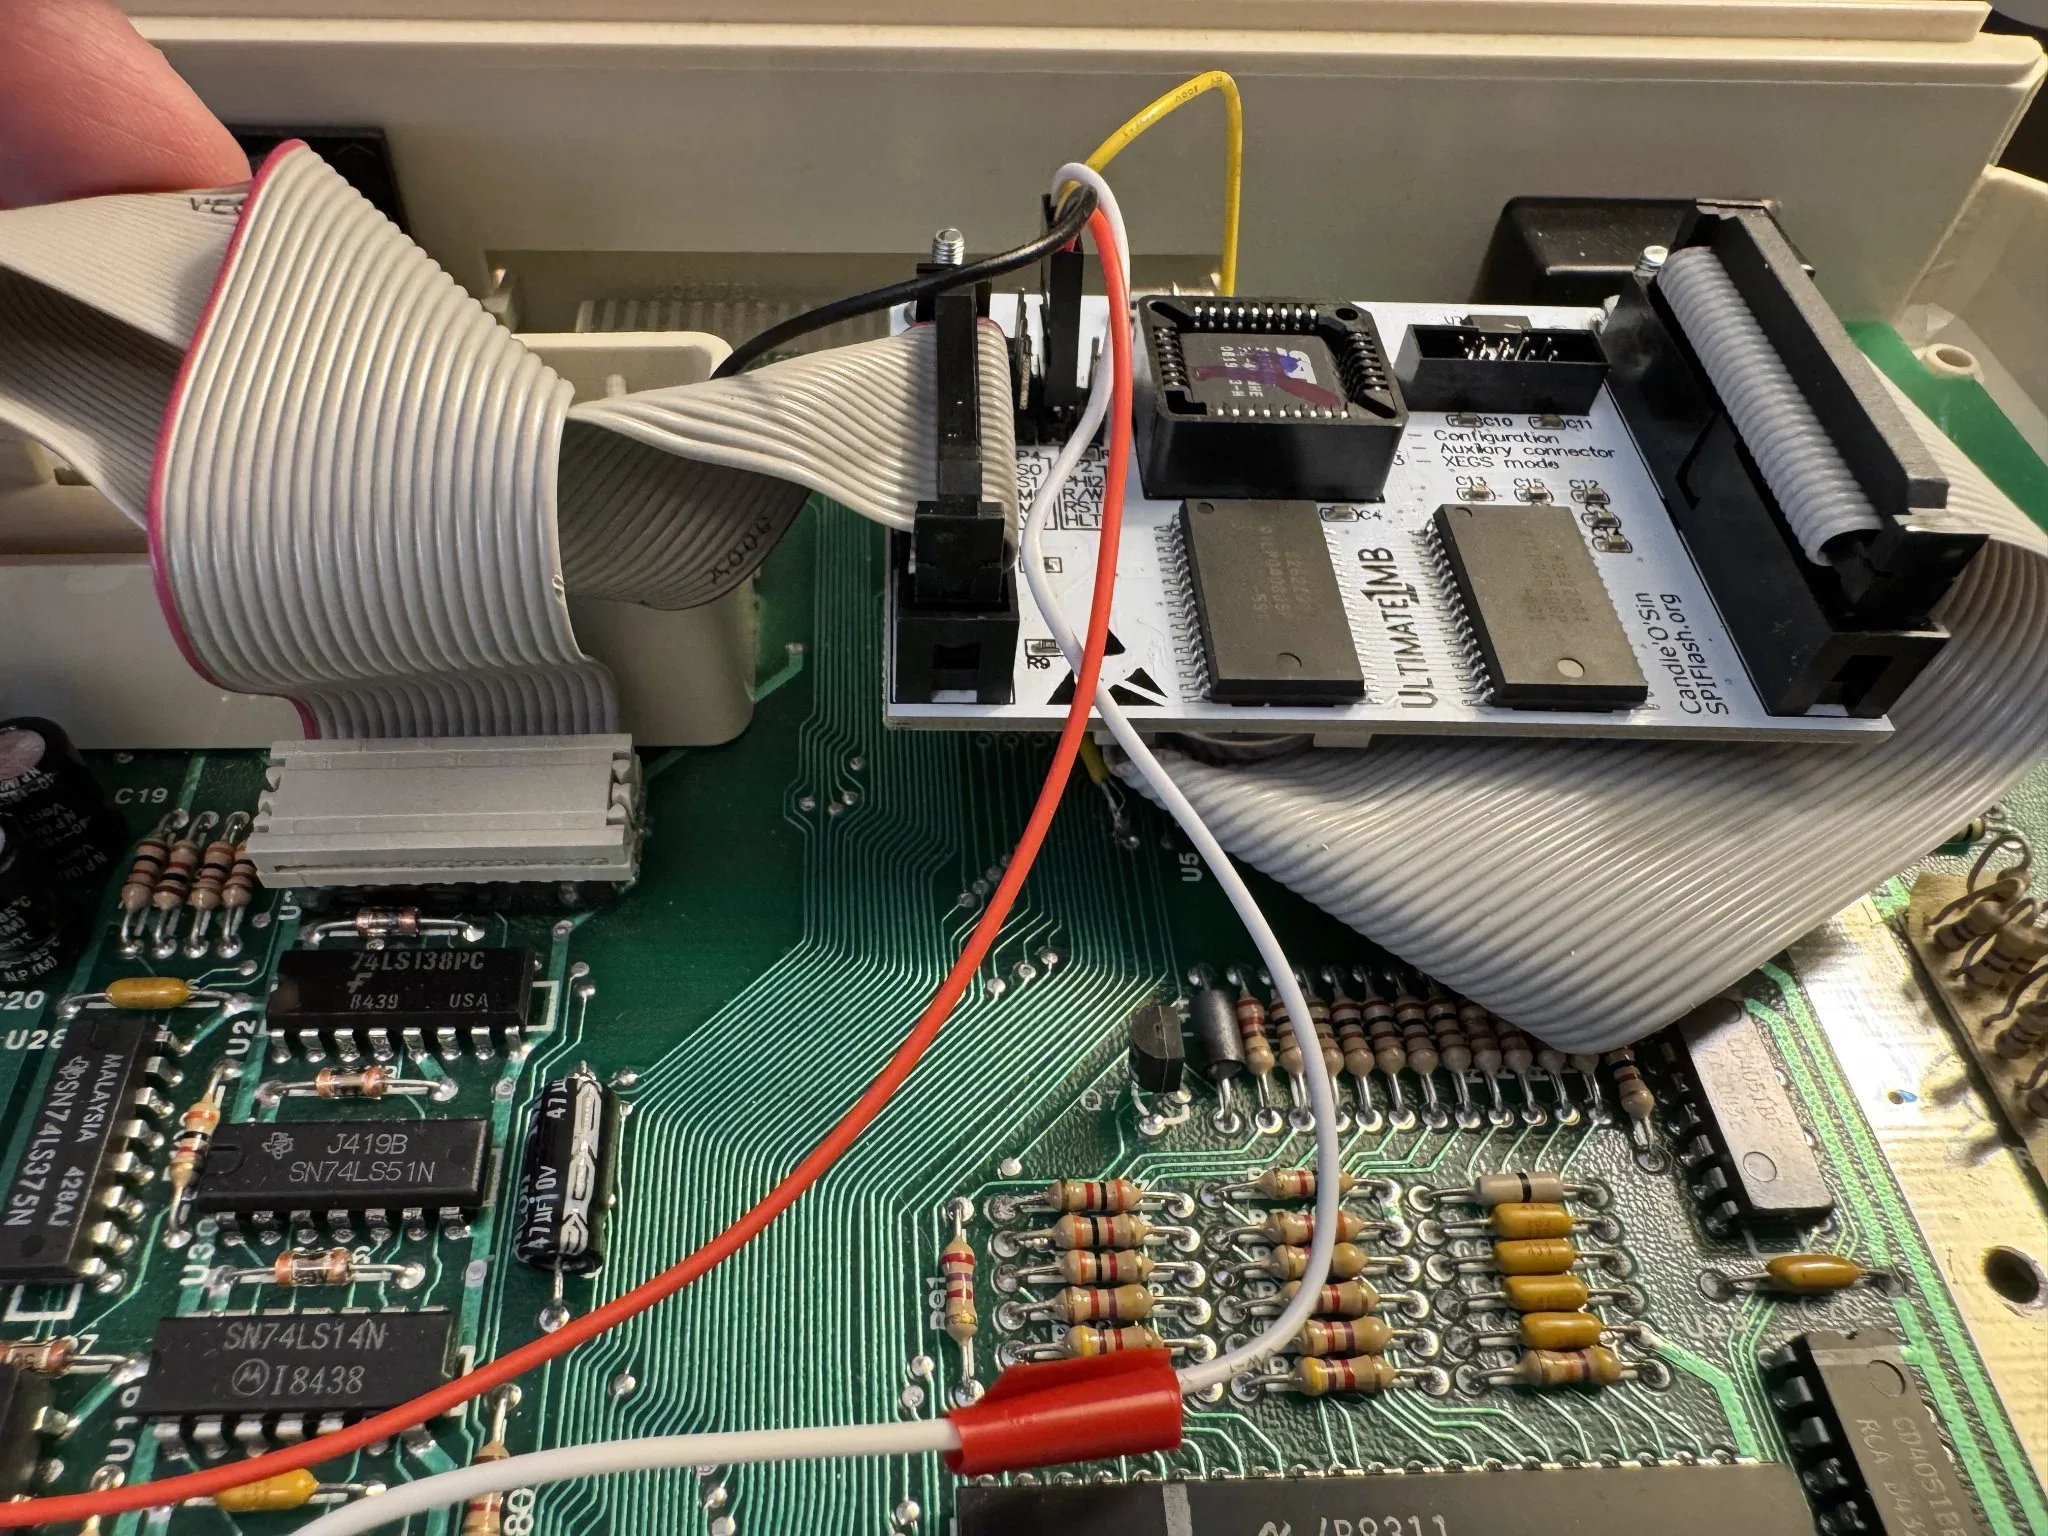
My cable routing is a mess but it works.
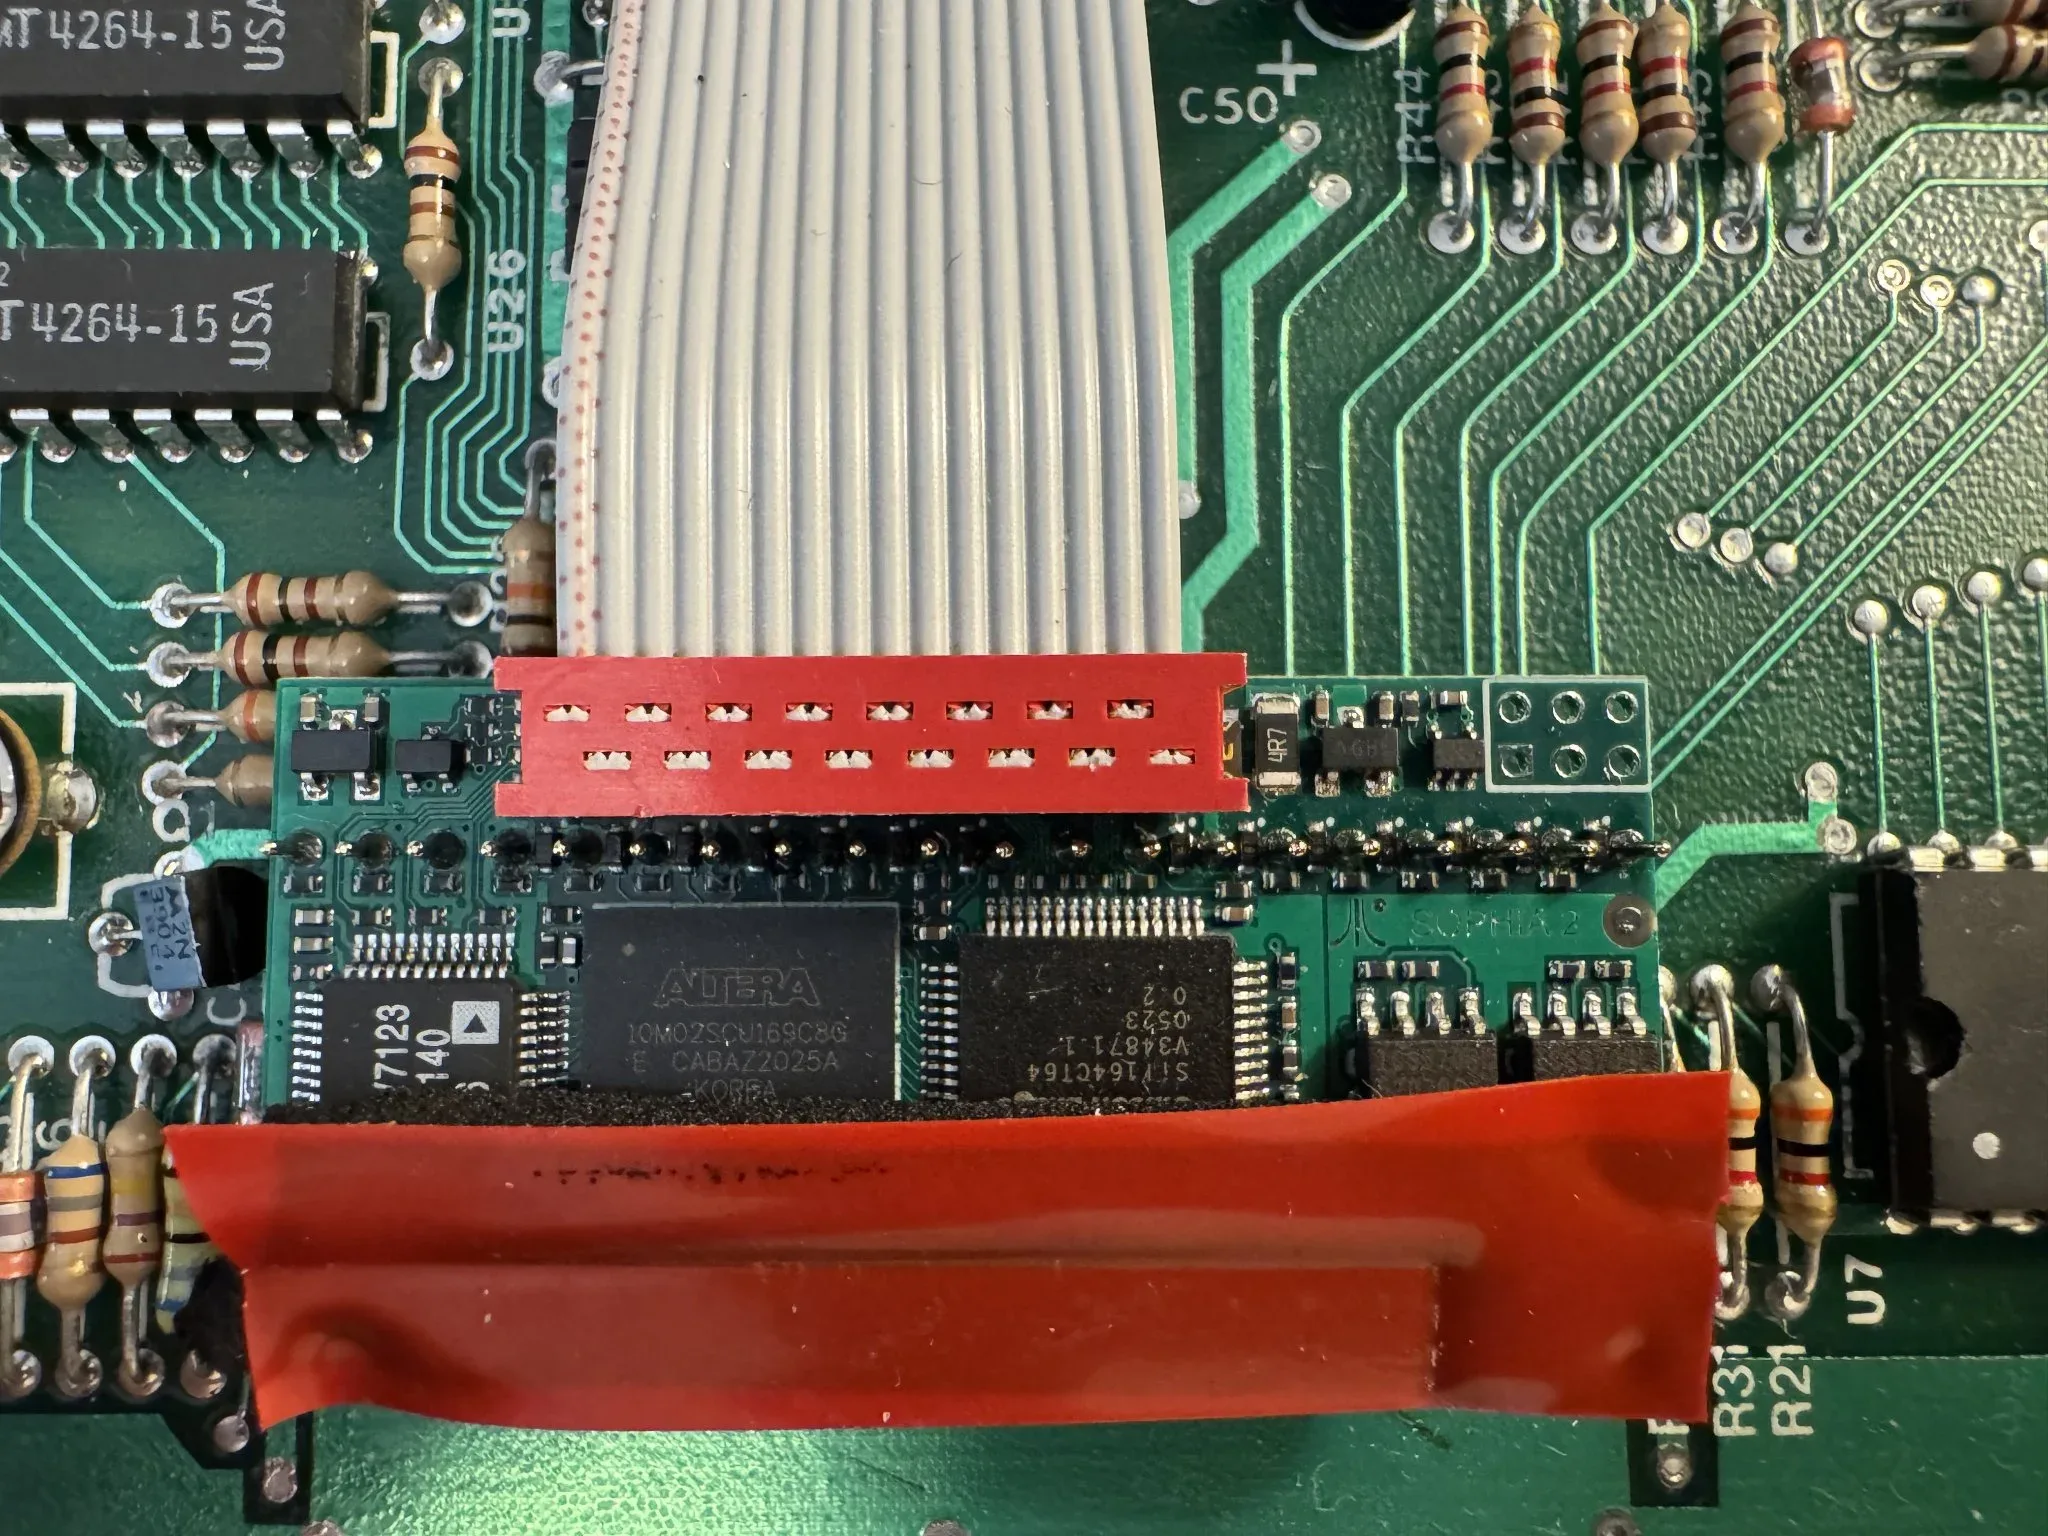
This is the Sophia 2 board that replaces the “GTIA” chip for DVI output. I see that a new Sophia 3 version is available from The Brewing Academy. When I post the details about my restored Atari 800 computer, you will see that I installed a Sophia 2 on it also. I consider these upgrades as must haves in order to fully enjoy an Atari 8 bit computer today.
The electrical tape is present because I was using it to avoid an intermittent electrical short. My upgrade work is functional but not elegant.
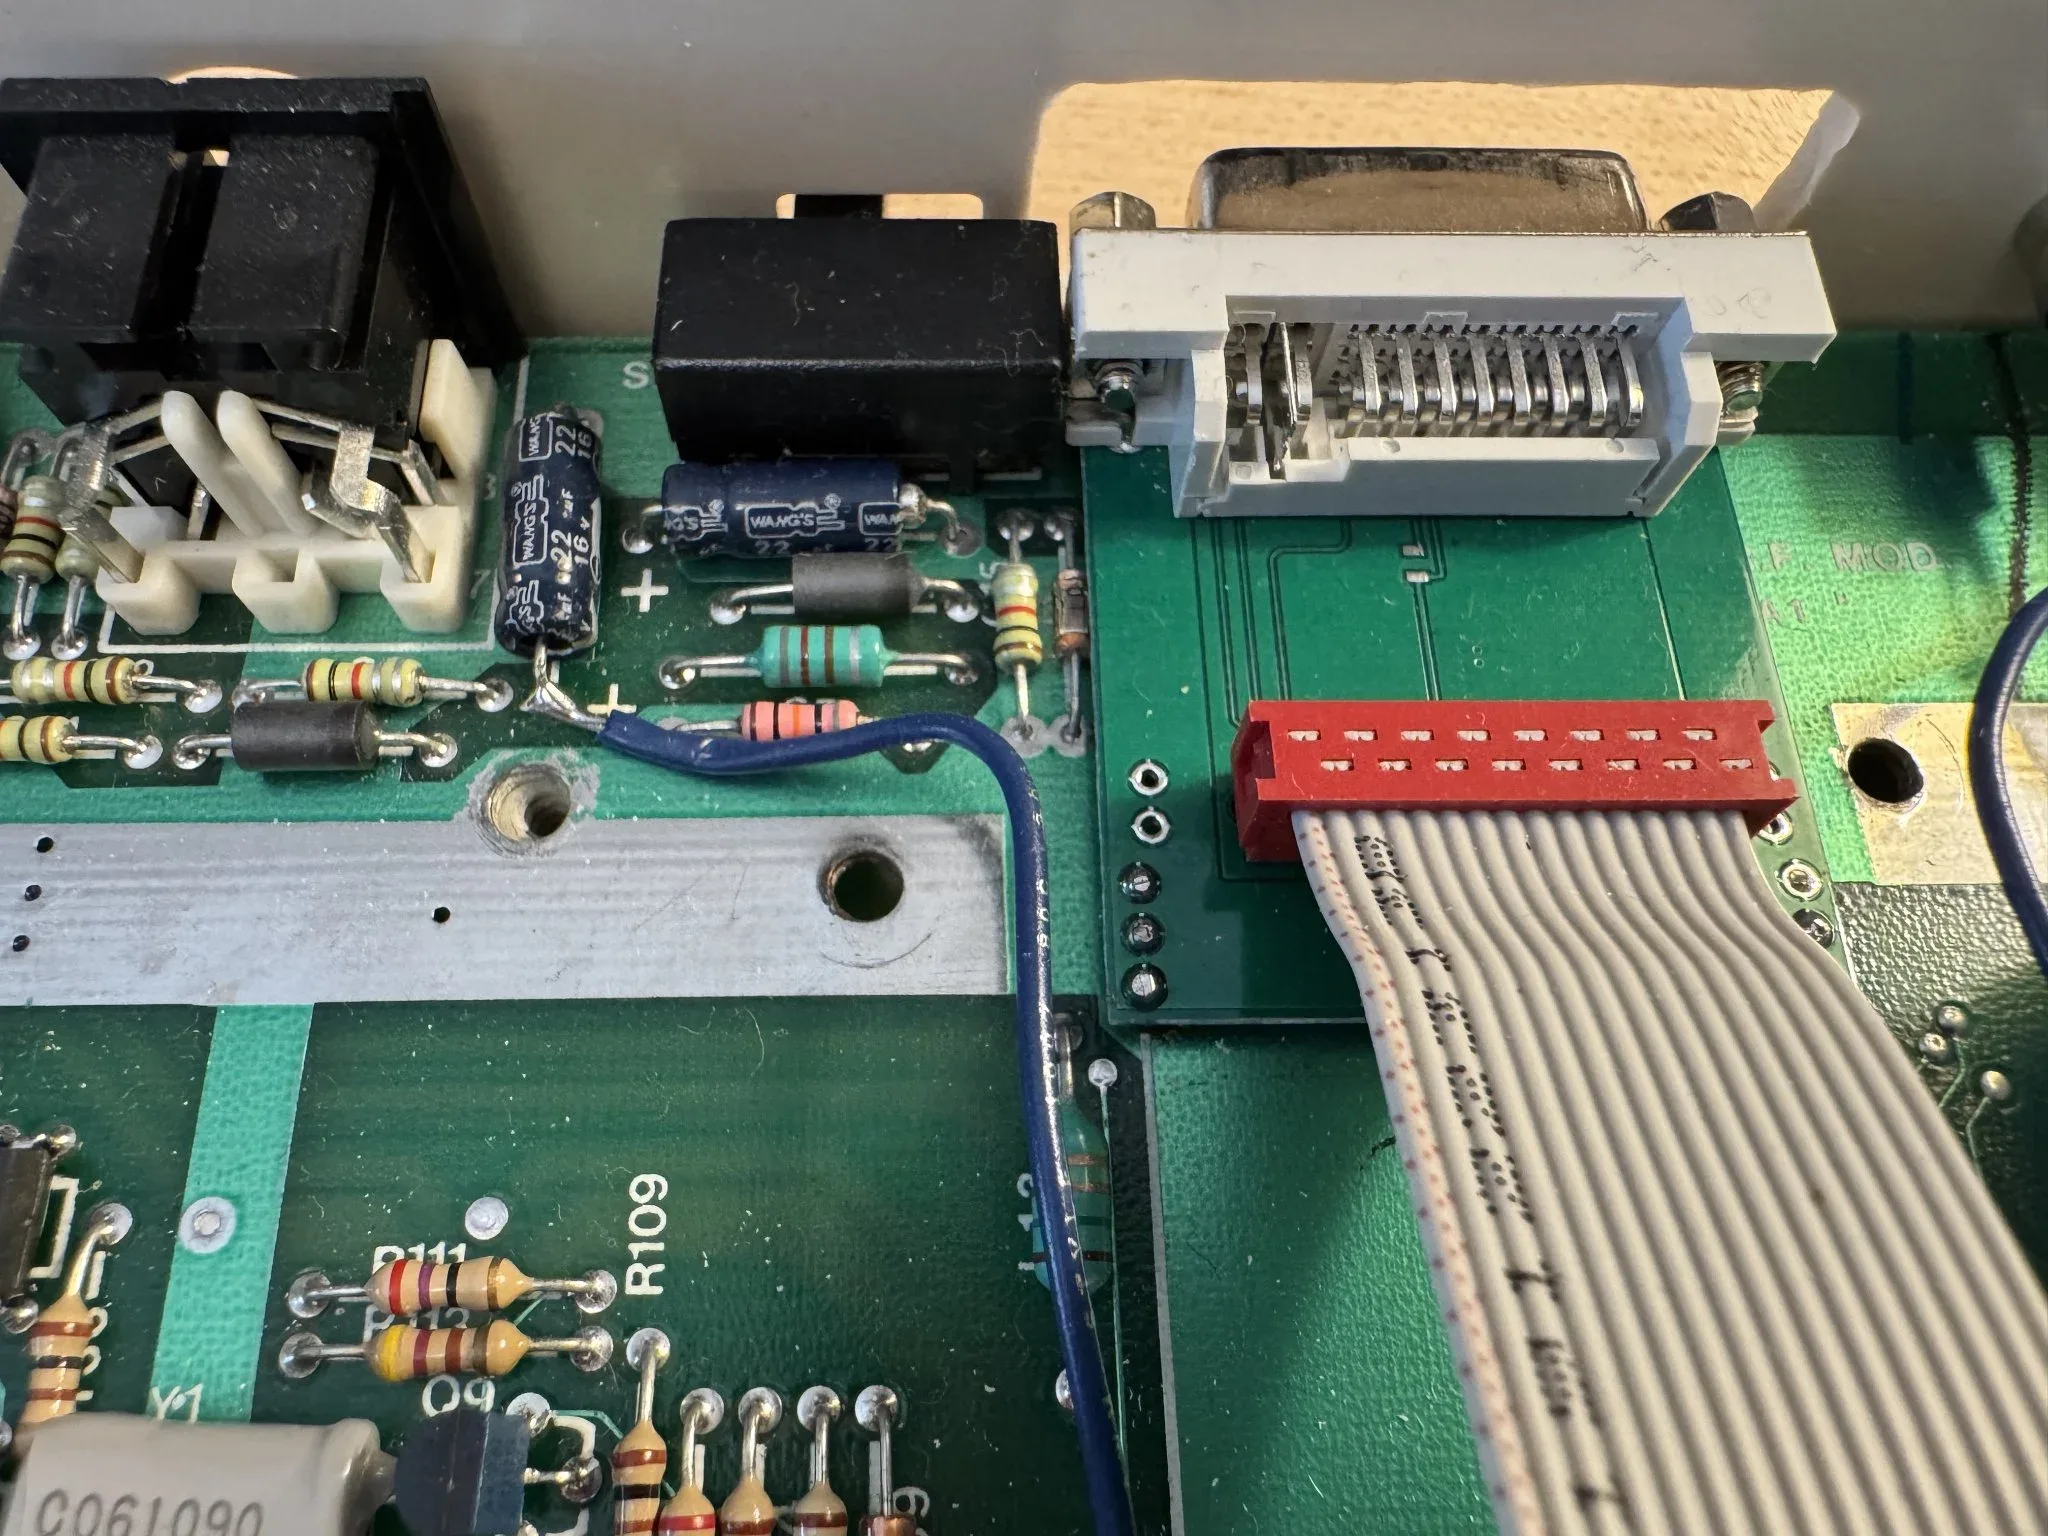
Here is the installation of the DVI output plug.
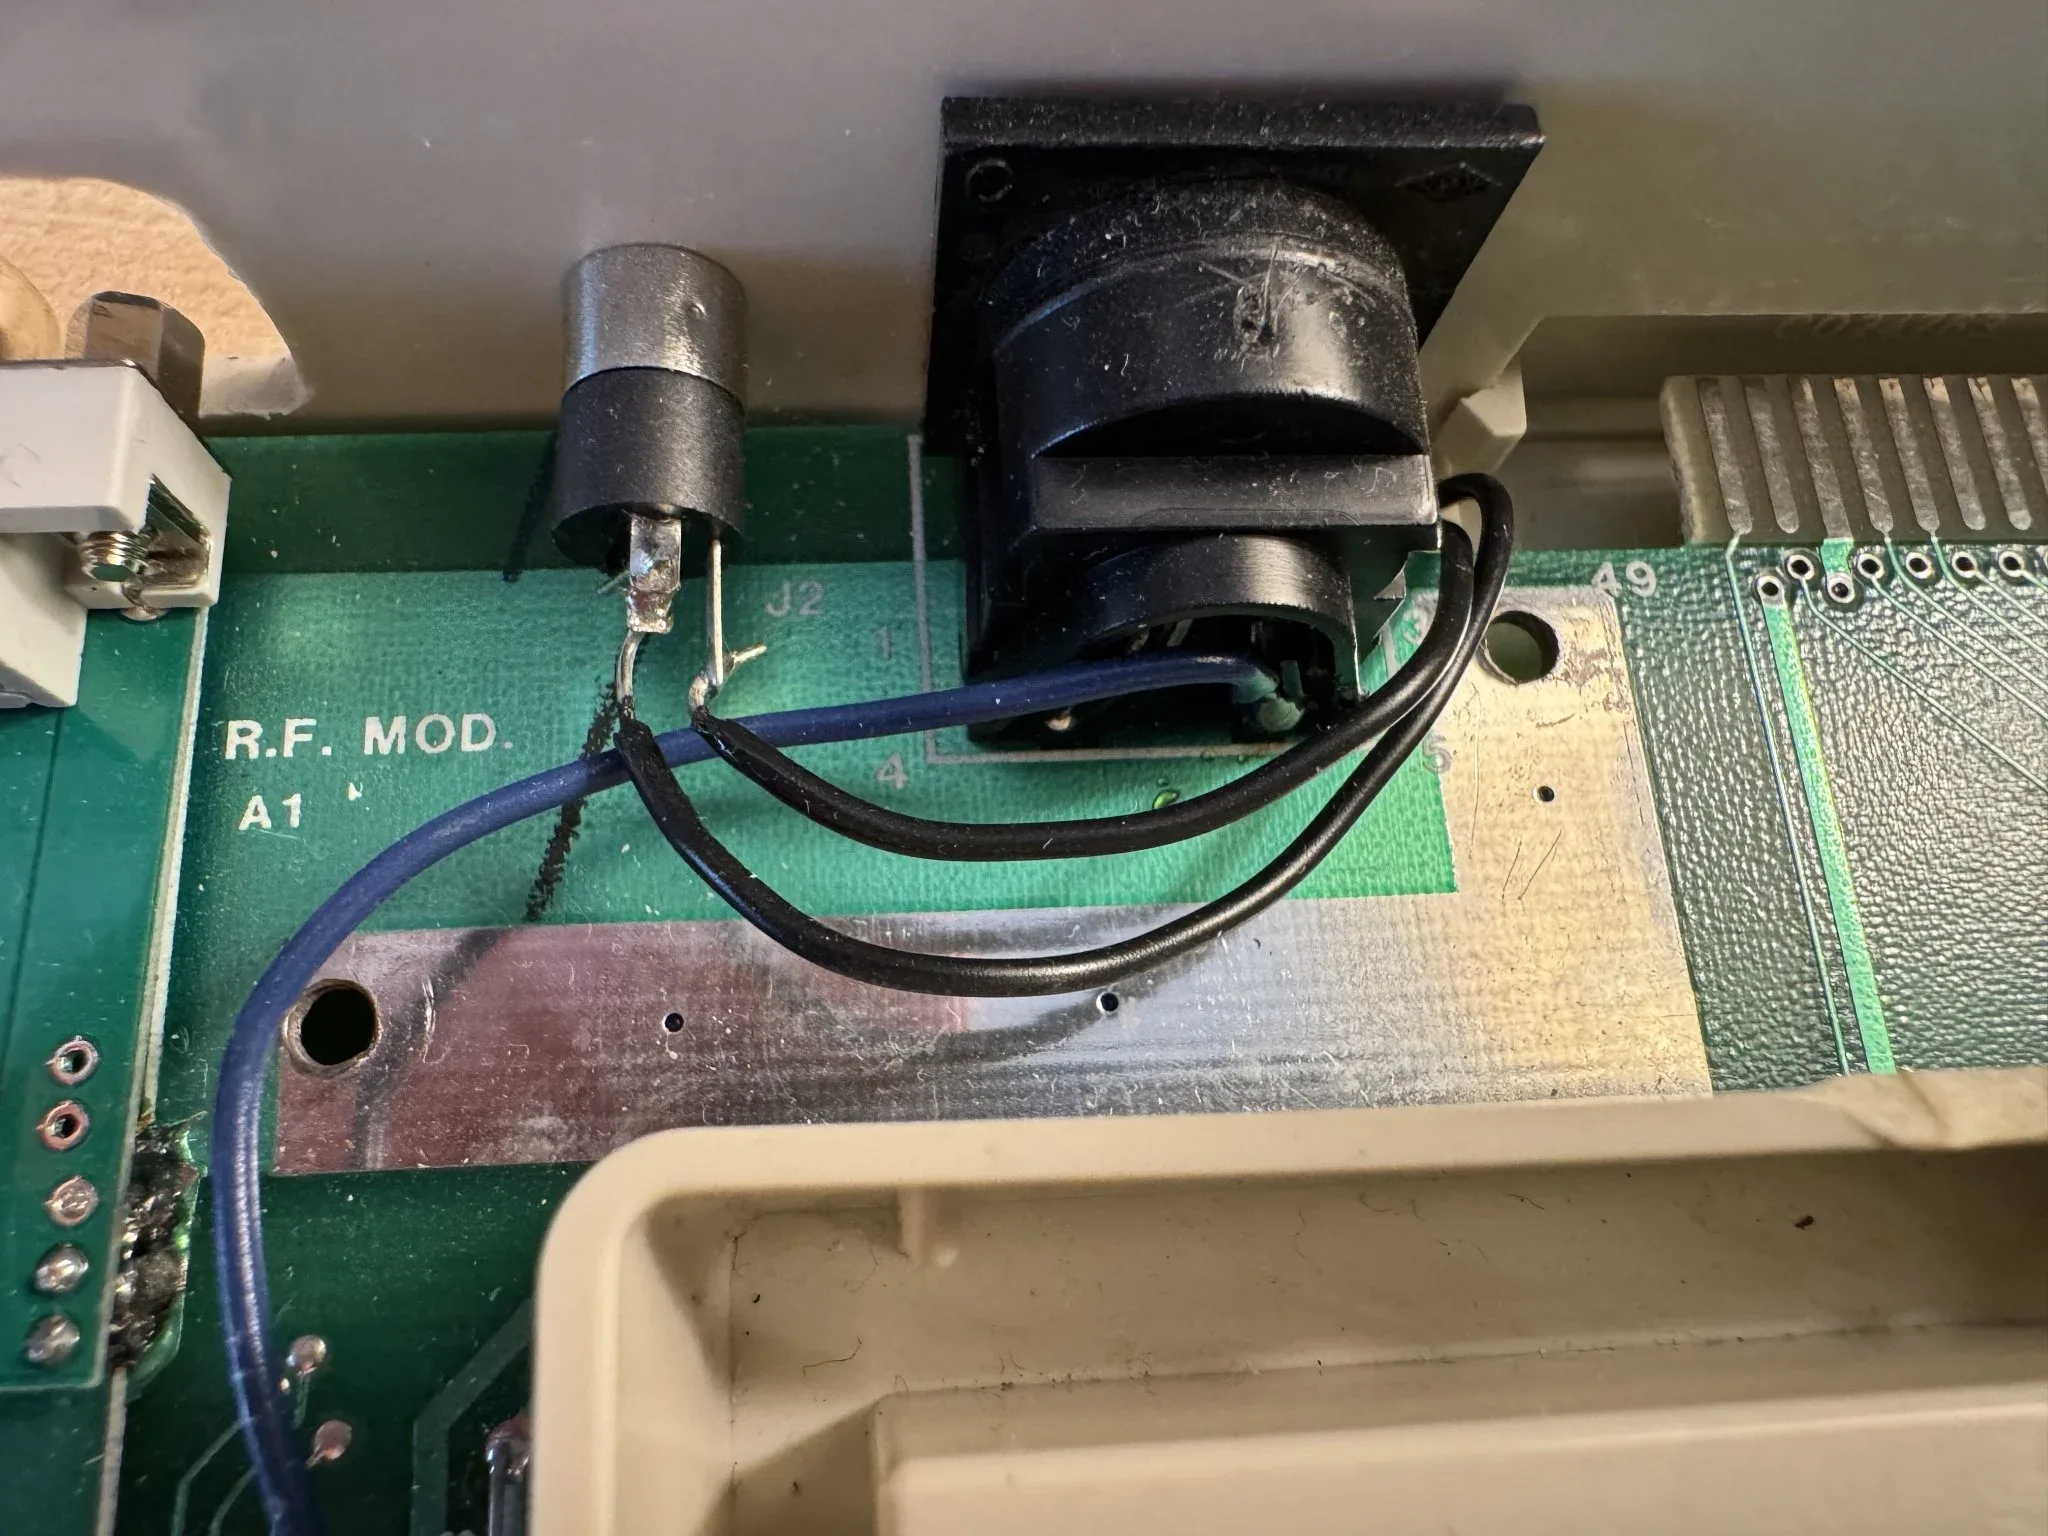
Also the installation of an audio jack.
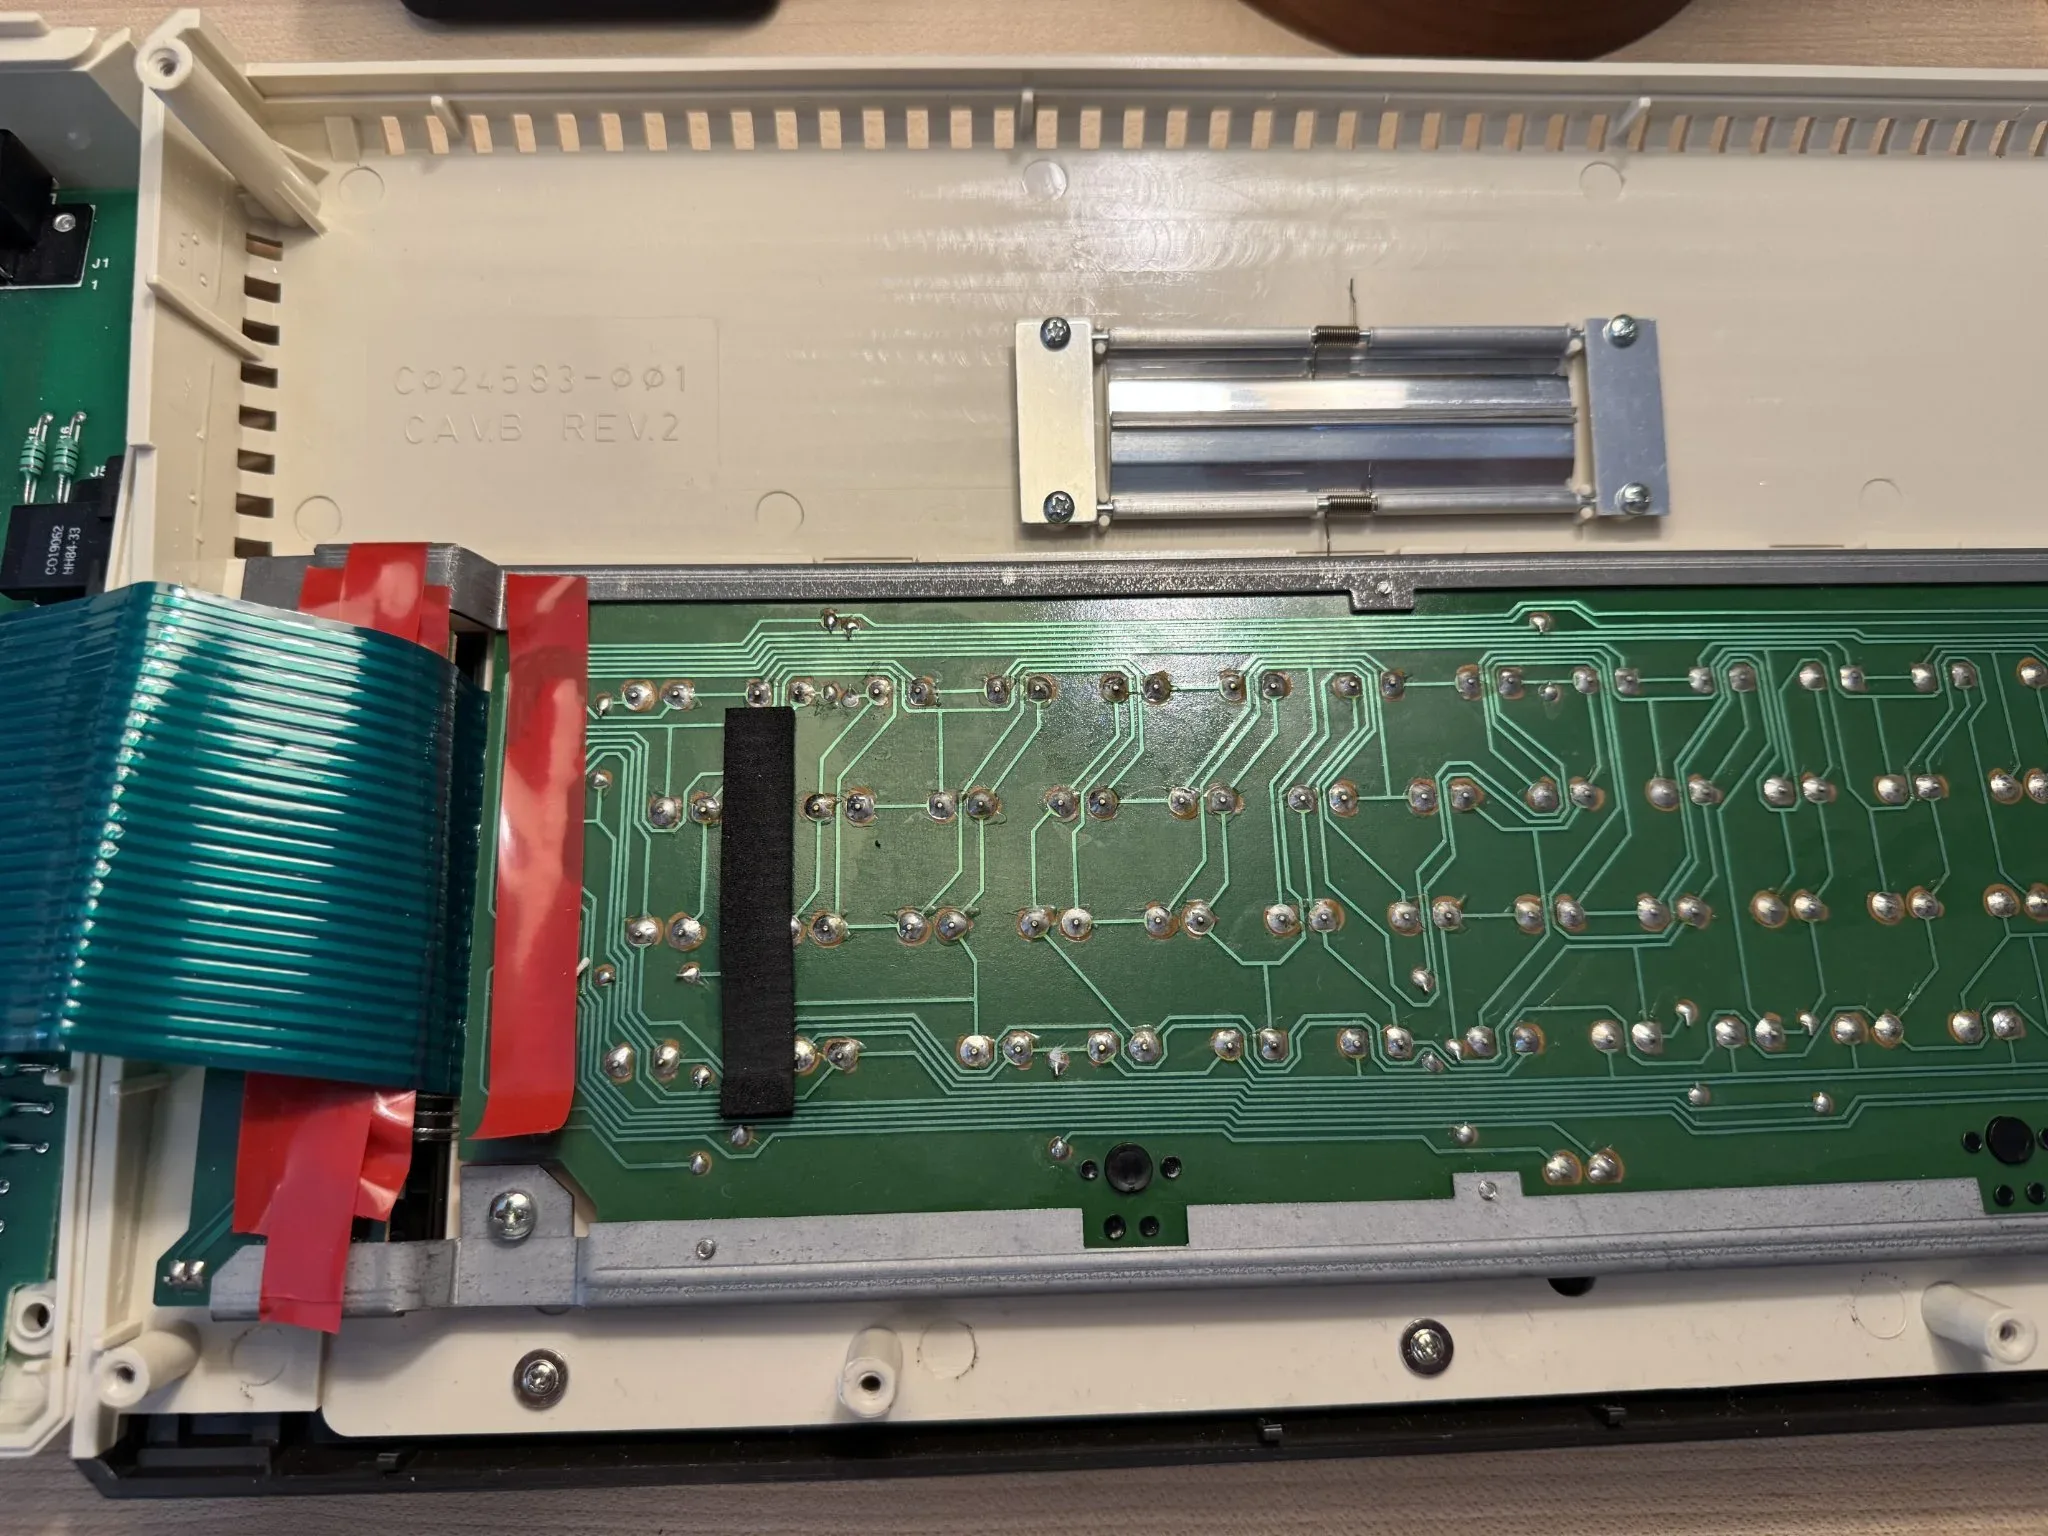
Likewise, I added electrical tape here on the keyboard PCB to avoid the intermittent electrical short that was occurring.
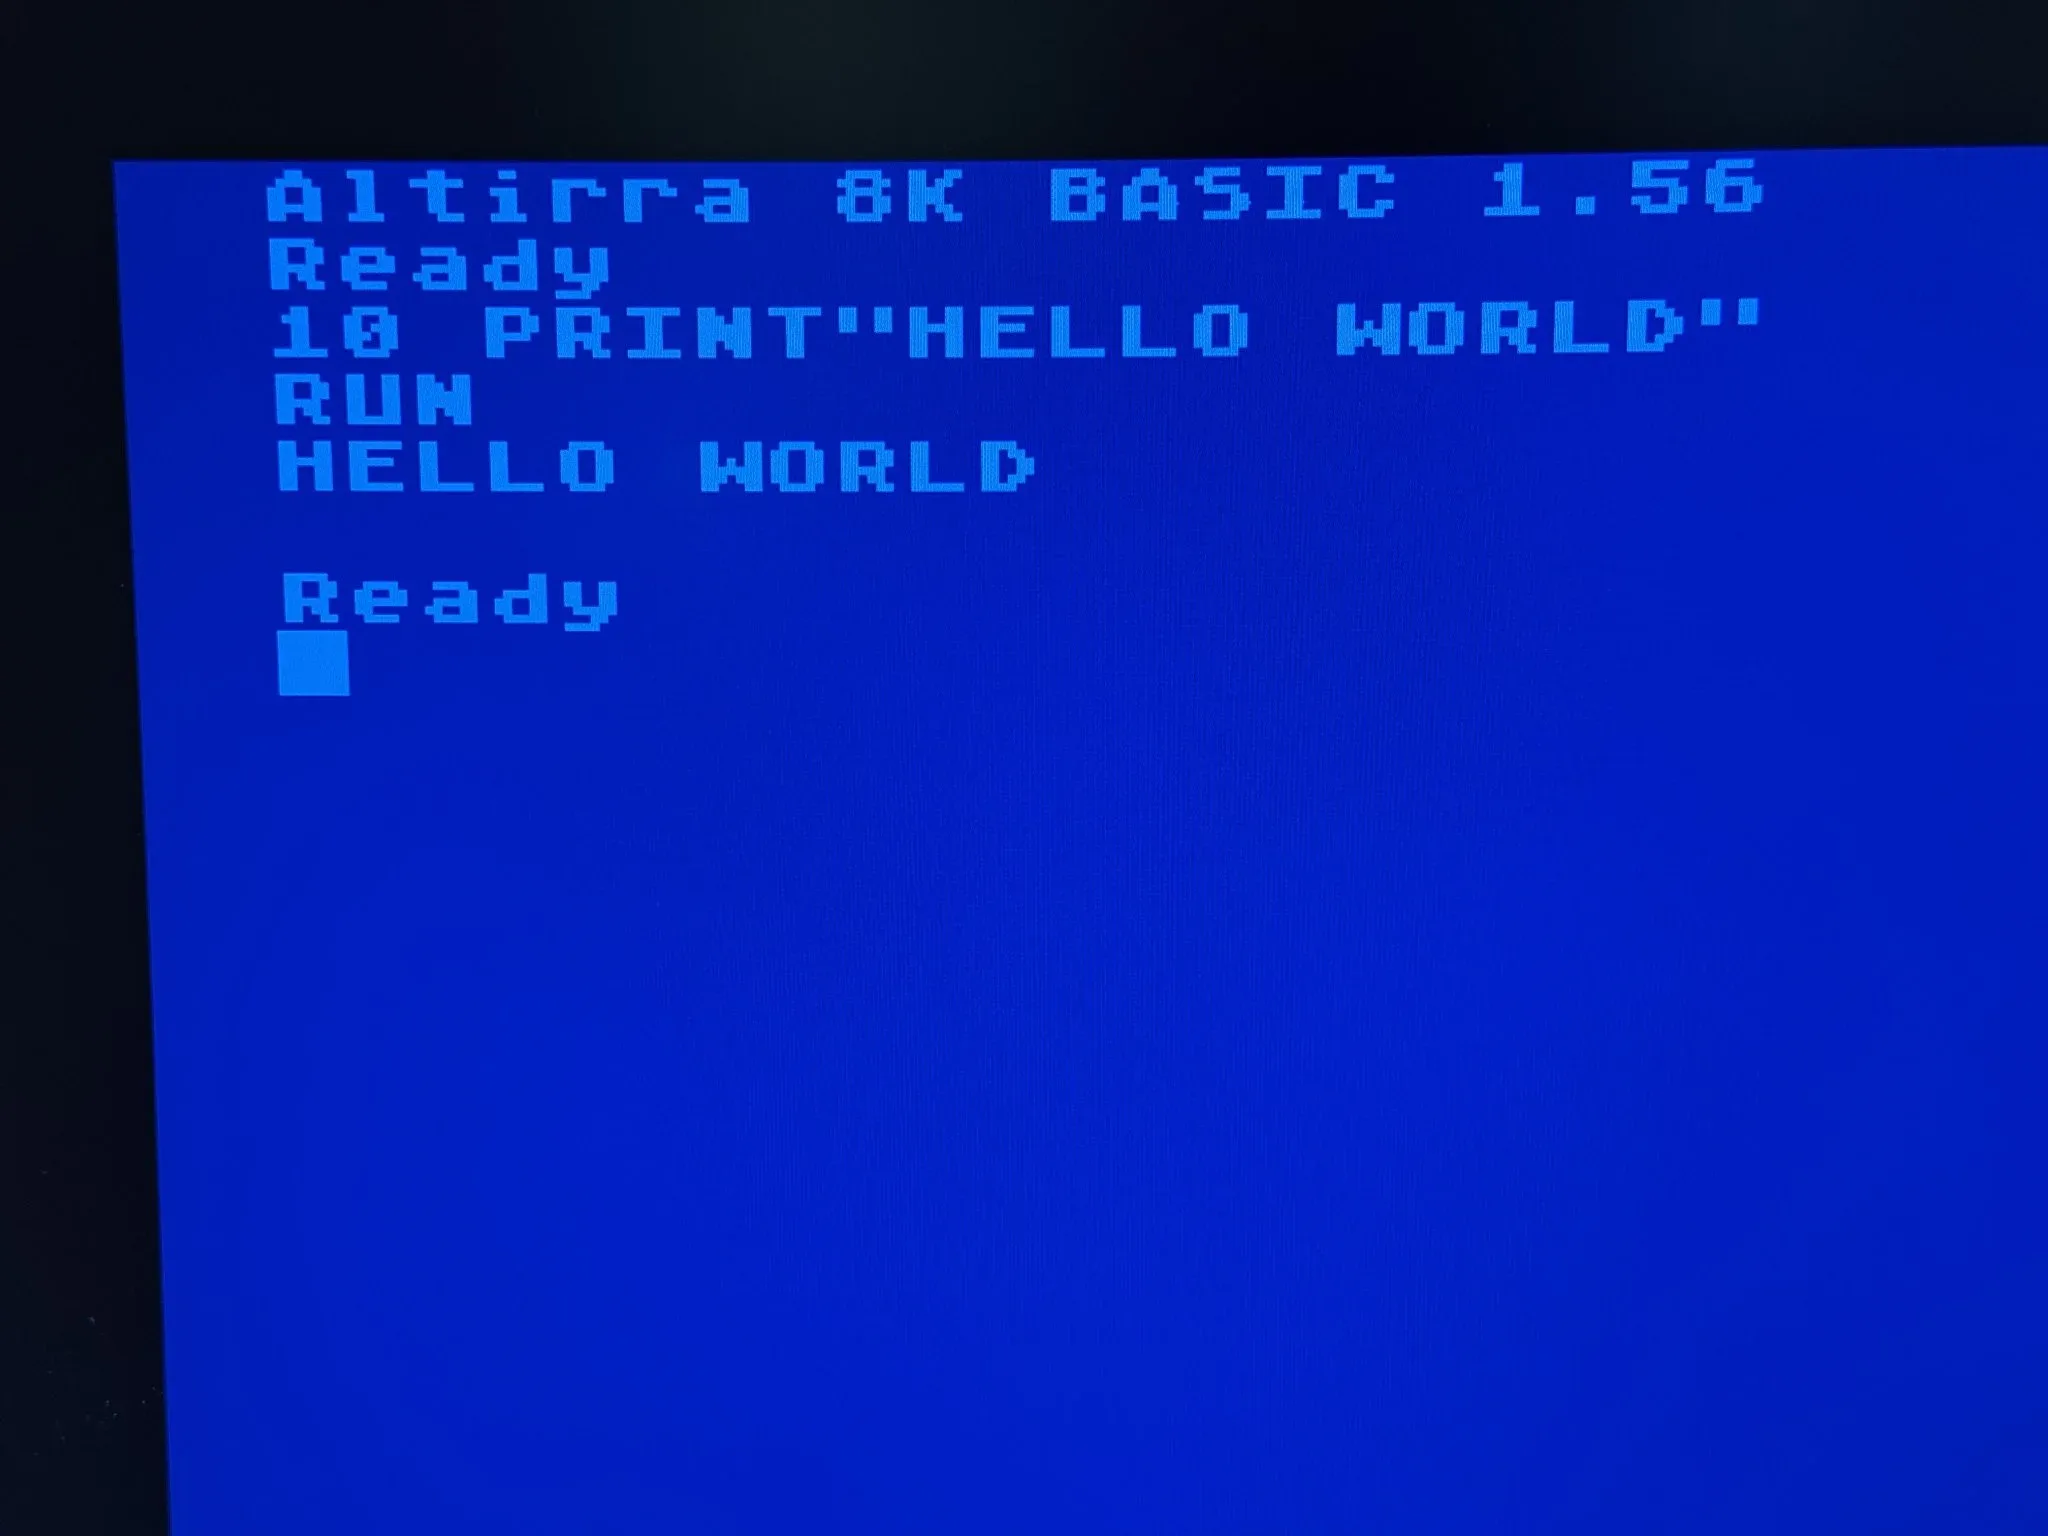
Here I have booted the computer to Altirra BASIC, the same BASIC variant made available with the great Altirra emulator. The Ultimate 1mb board and firmware allow you to alternate different versions of BASIC from a menu option in the firmware settings.
Let’s look at some games. My screen shots aren’t the best because I’m taking photos of my monitor. I need to get a screen capture solution.
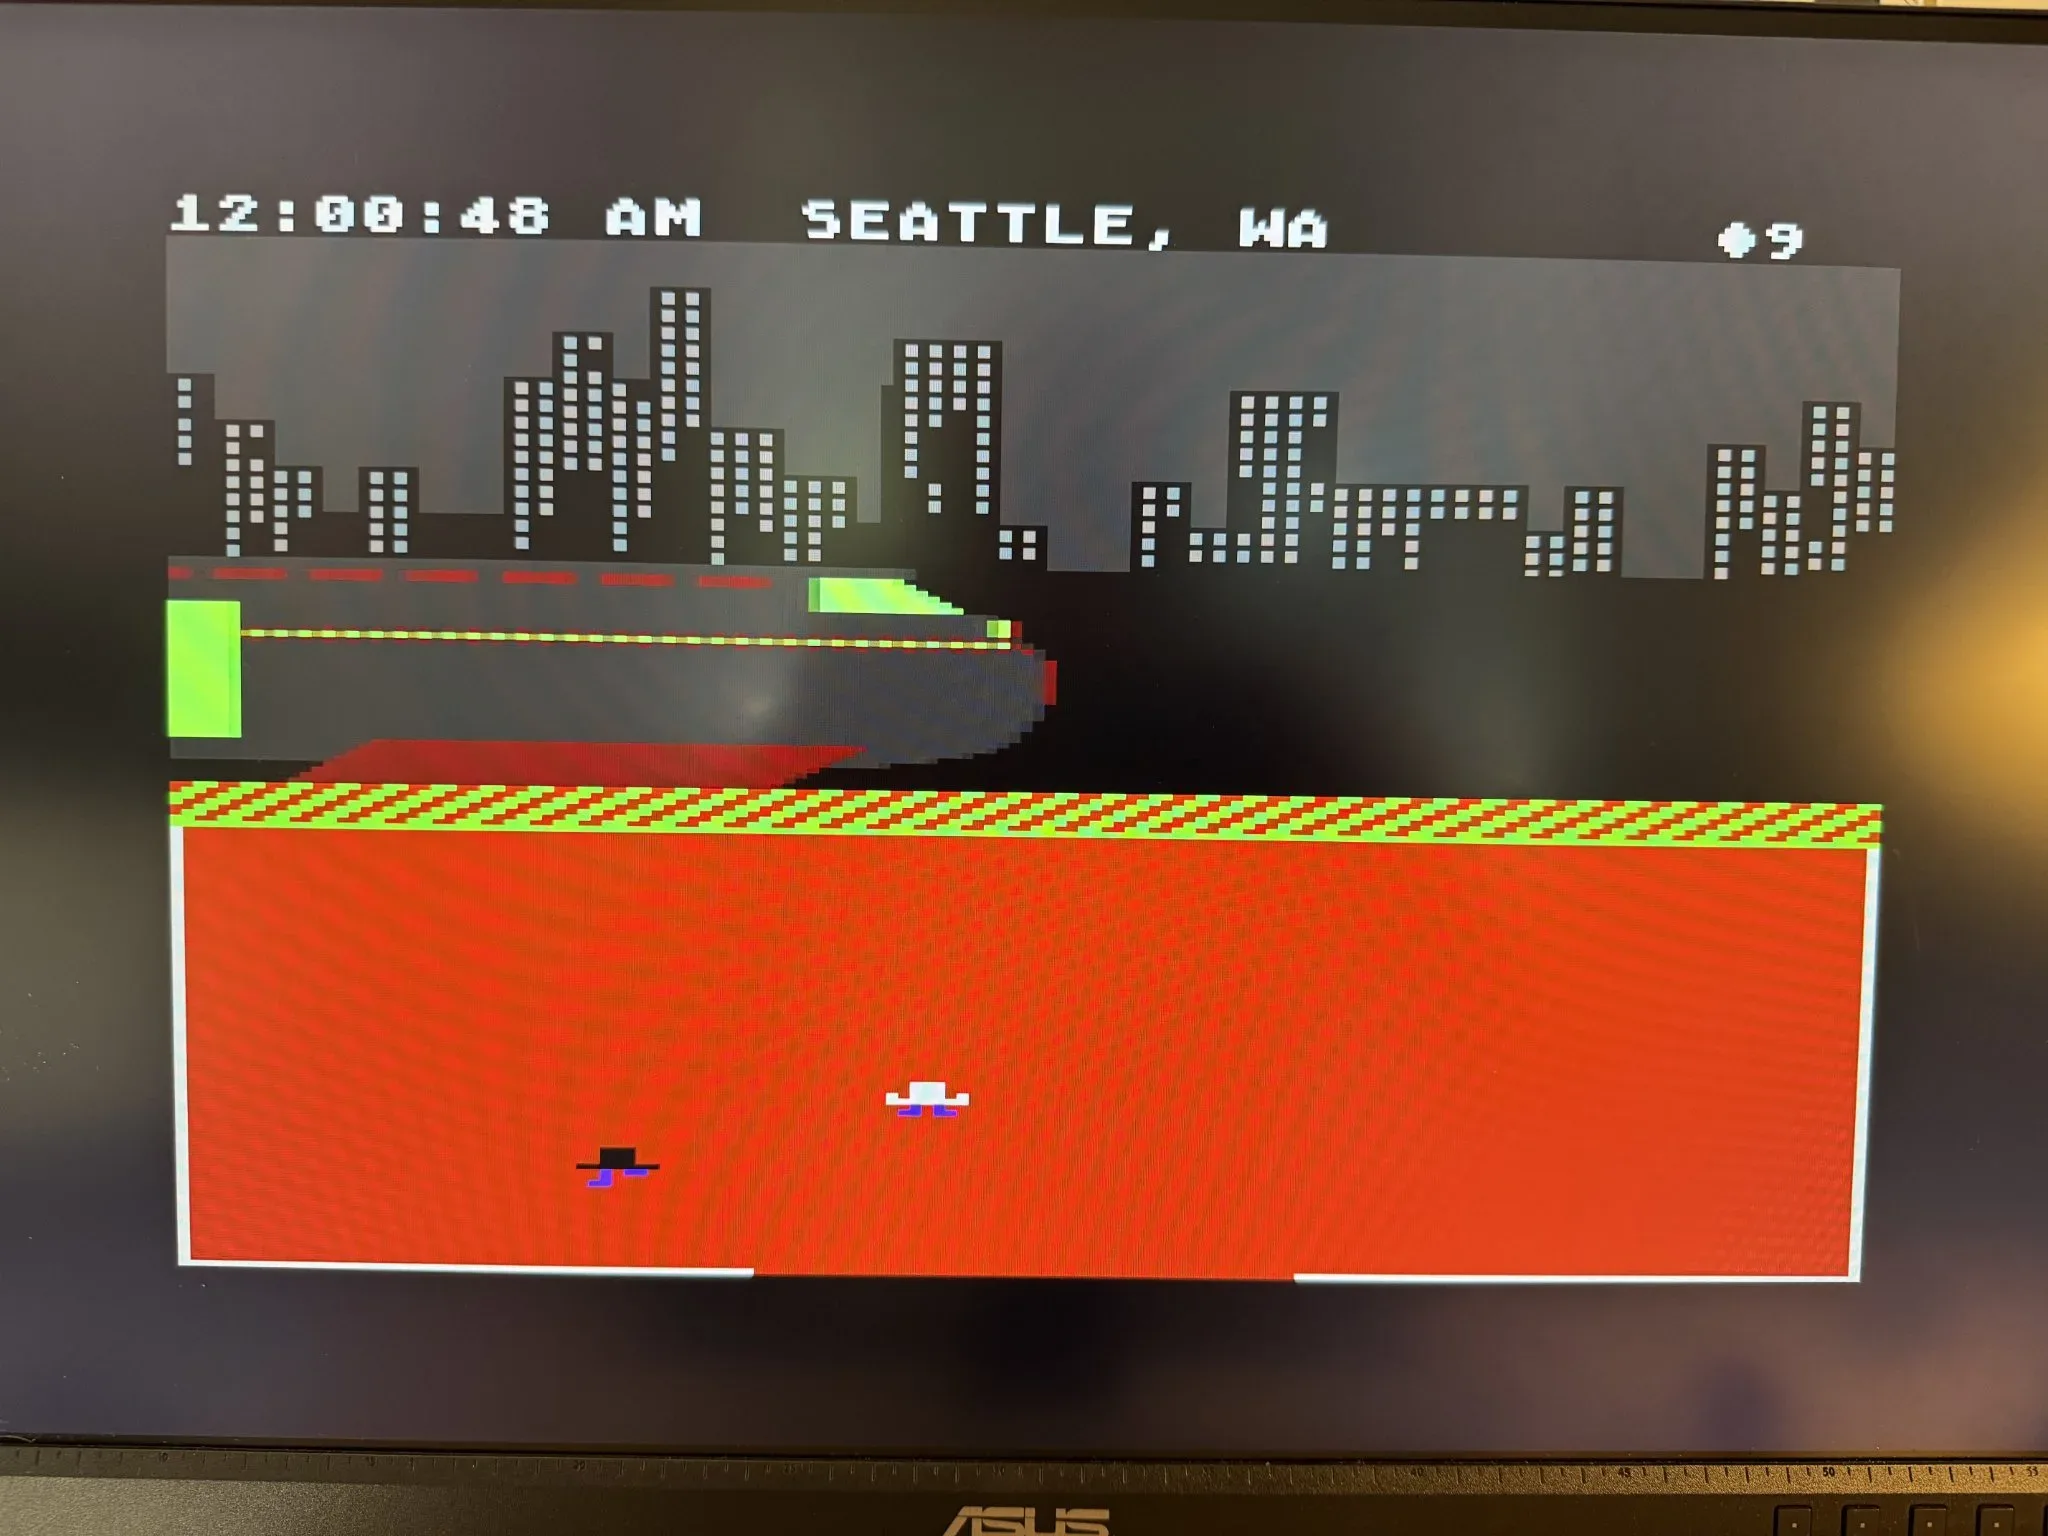
This screen is from Agent USA. This is a clever learning game where you need to travel across the country to convert fuzzed people back to normal and save the country.
I’ve never had the patience to finish this game, but I did have an extended play with a friend where we made a lot of progress before quiting.
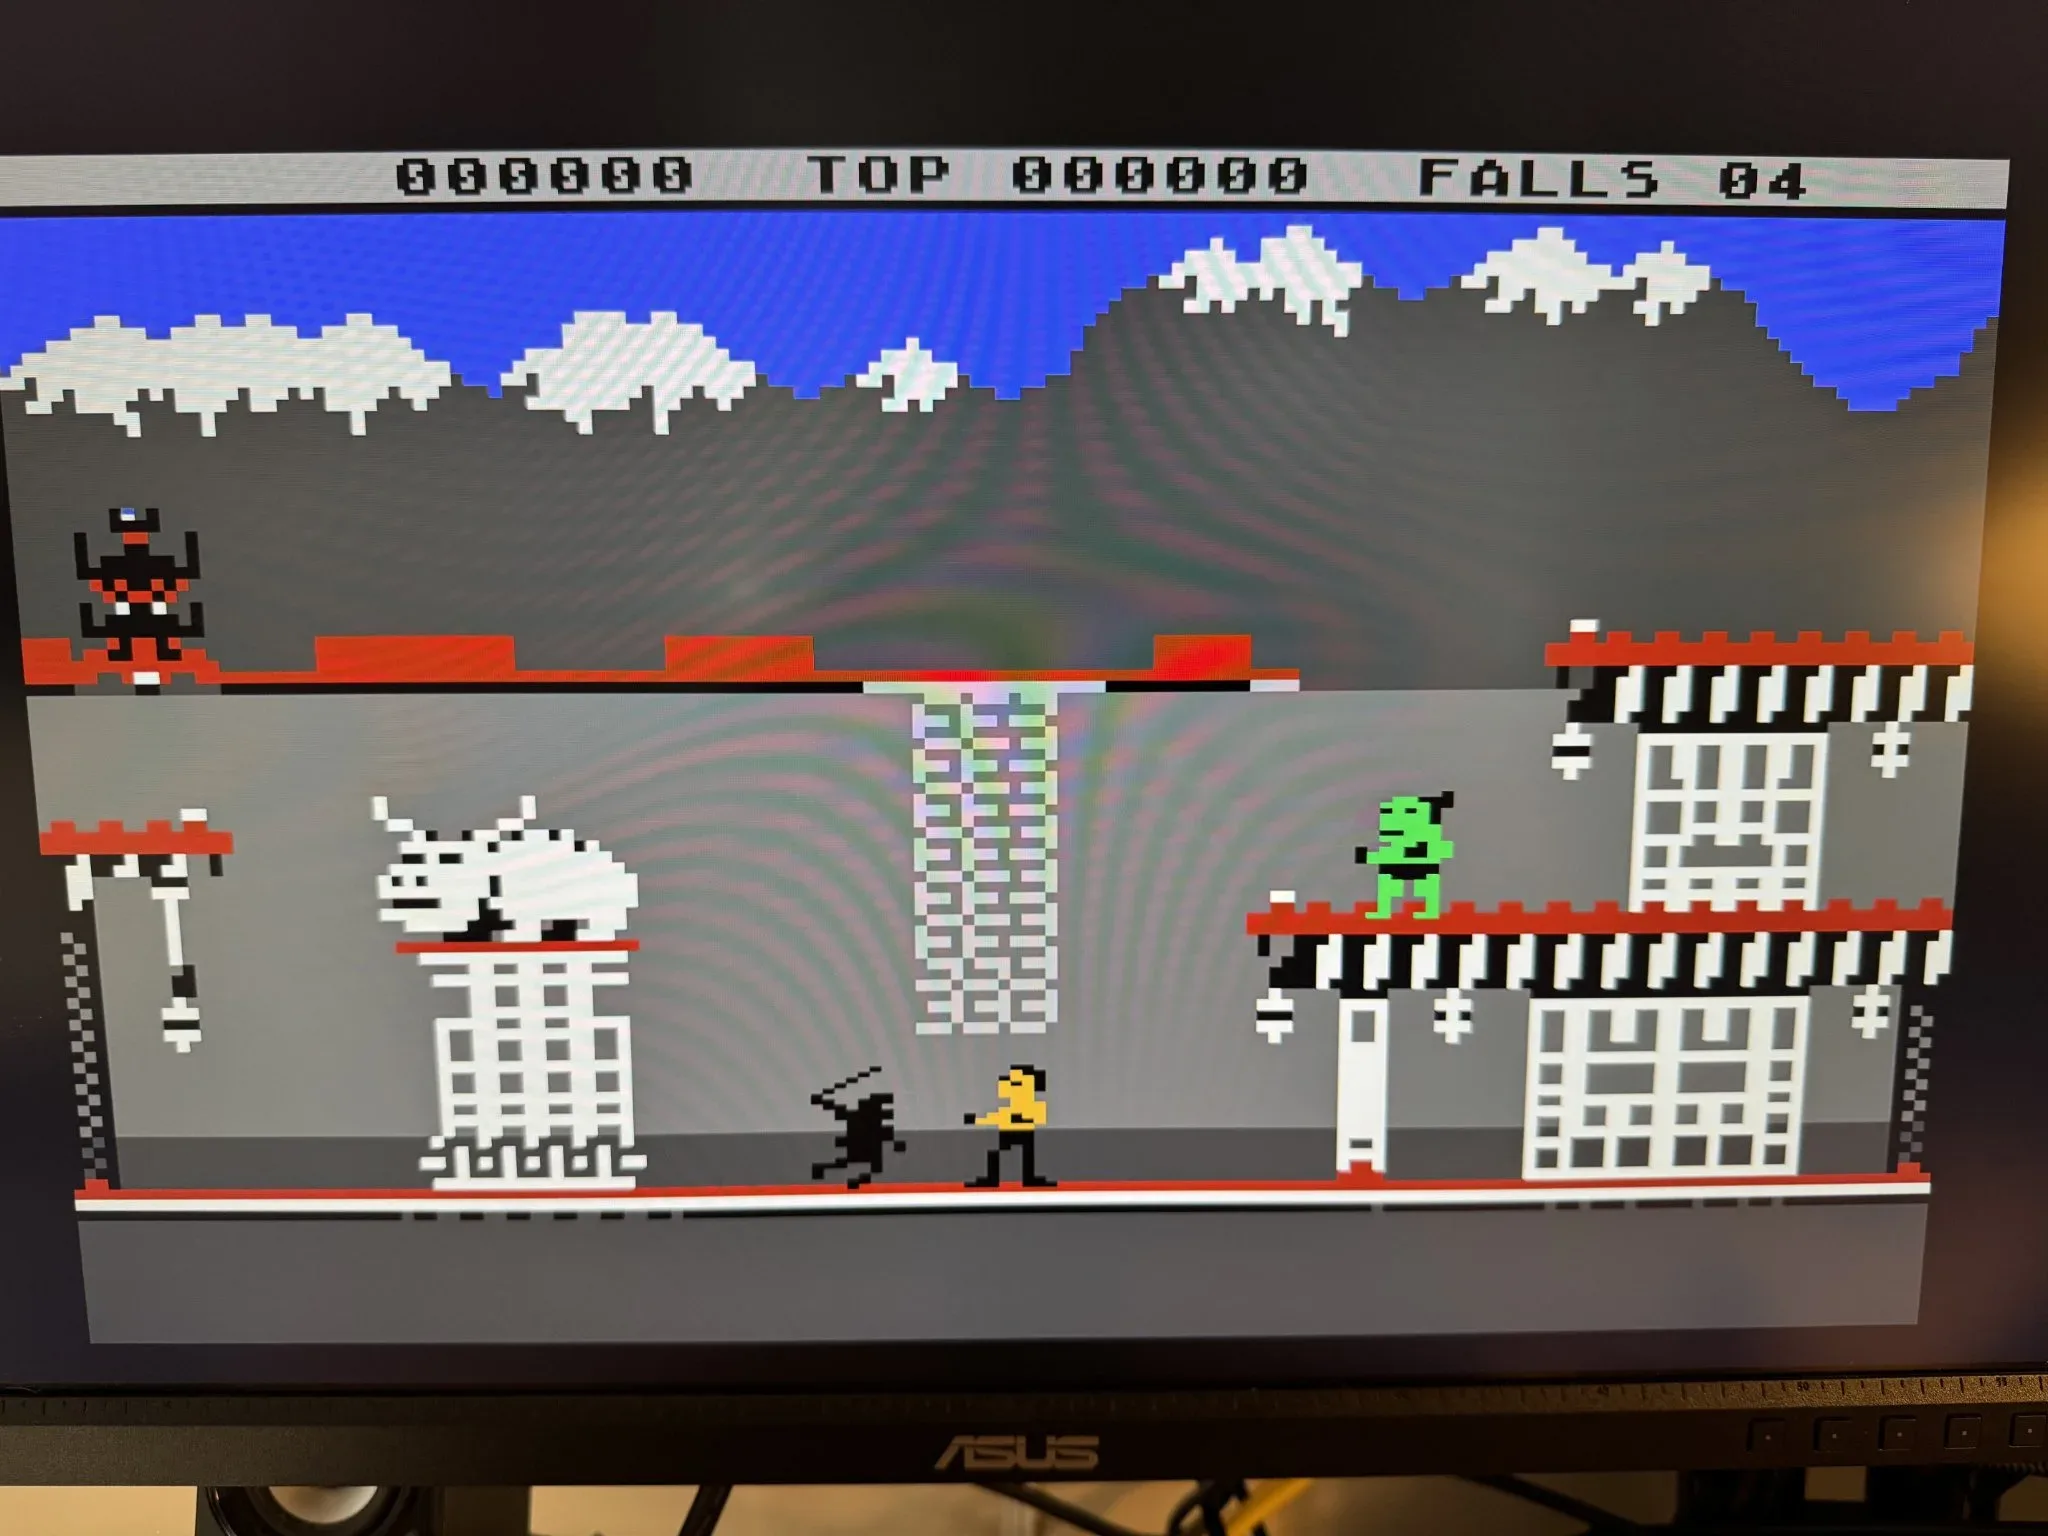
This is Bruce Lee, a very popular platform game at the time. I actually finished this game once back in the day; which I consider amazing now because like most games of the day it is really non-forgiving.
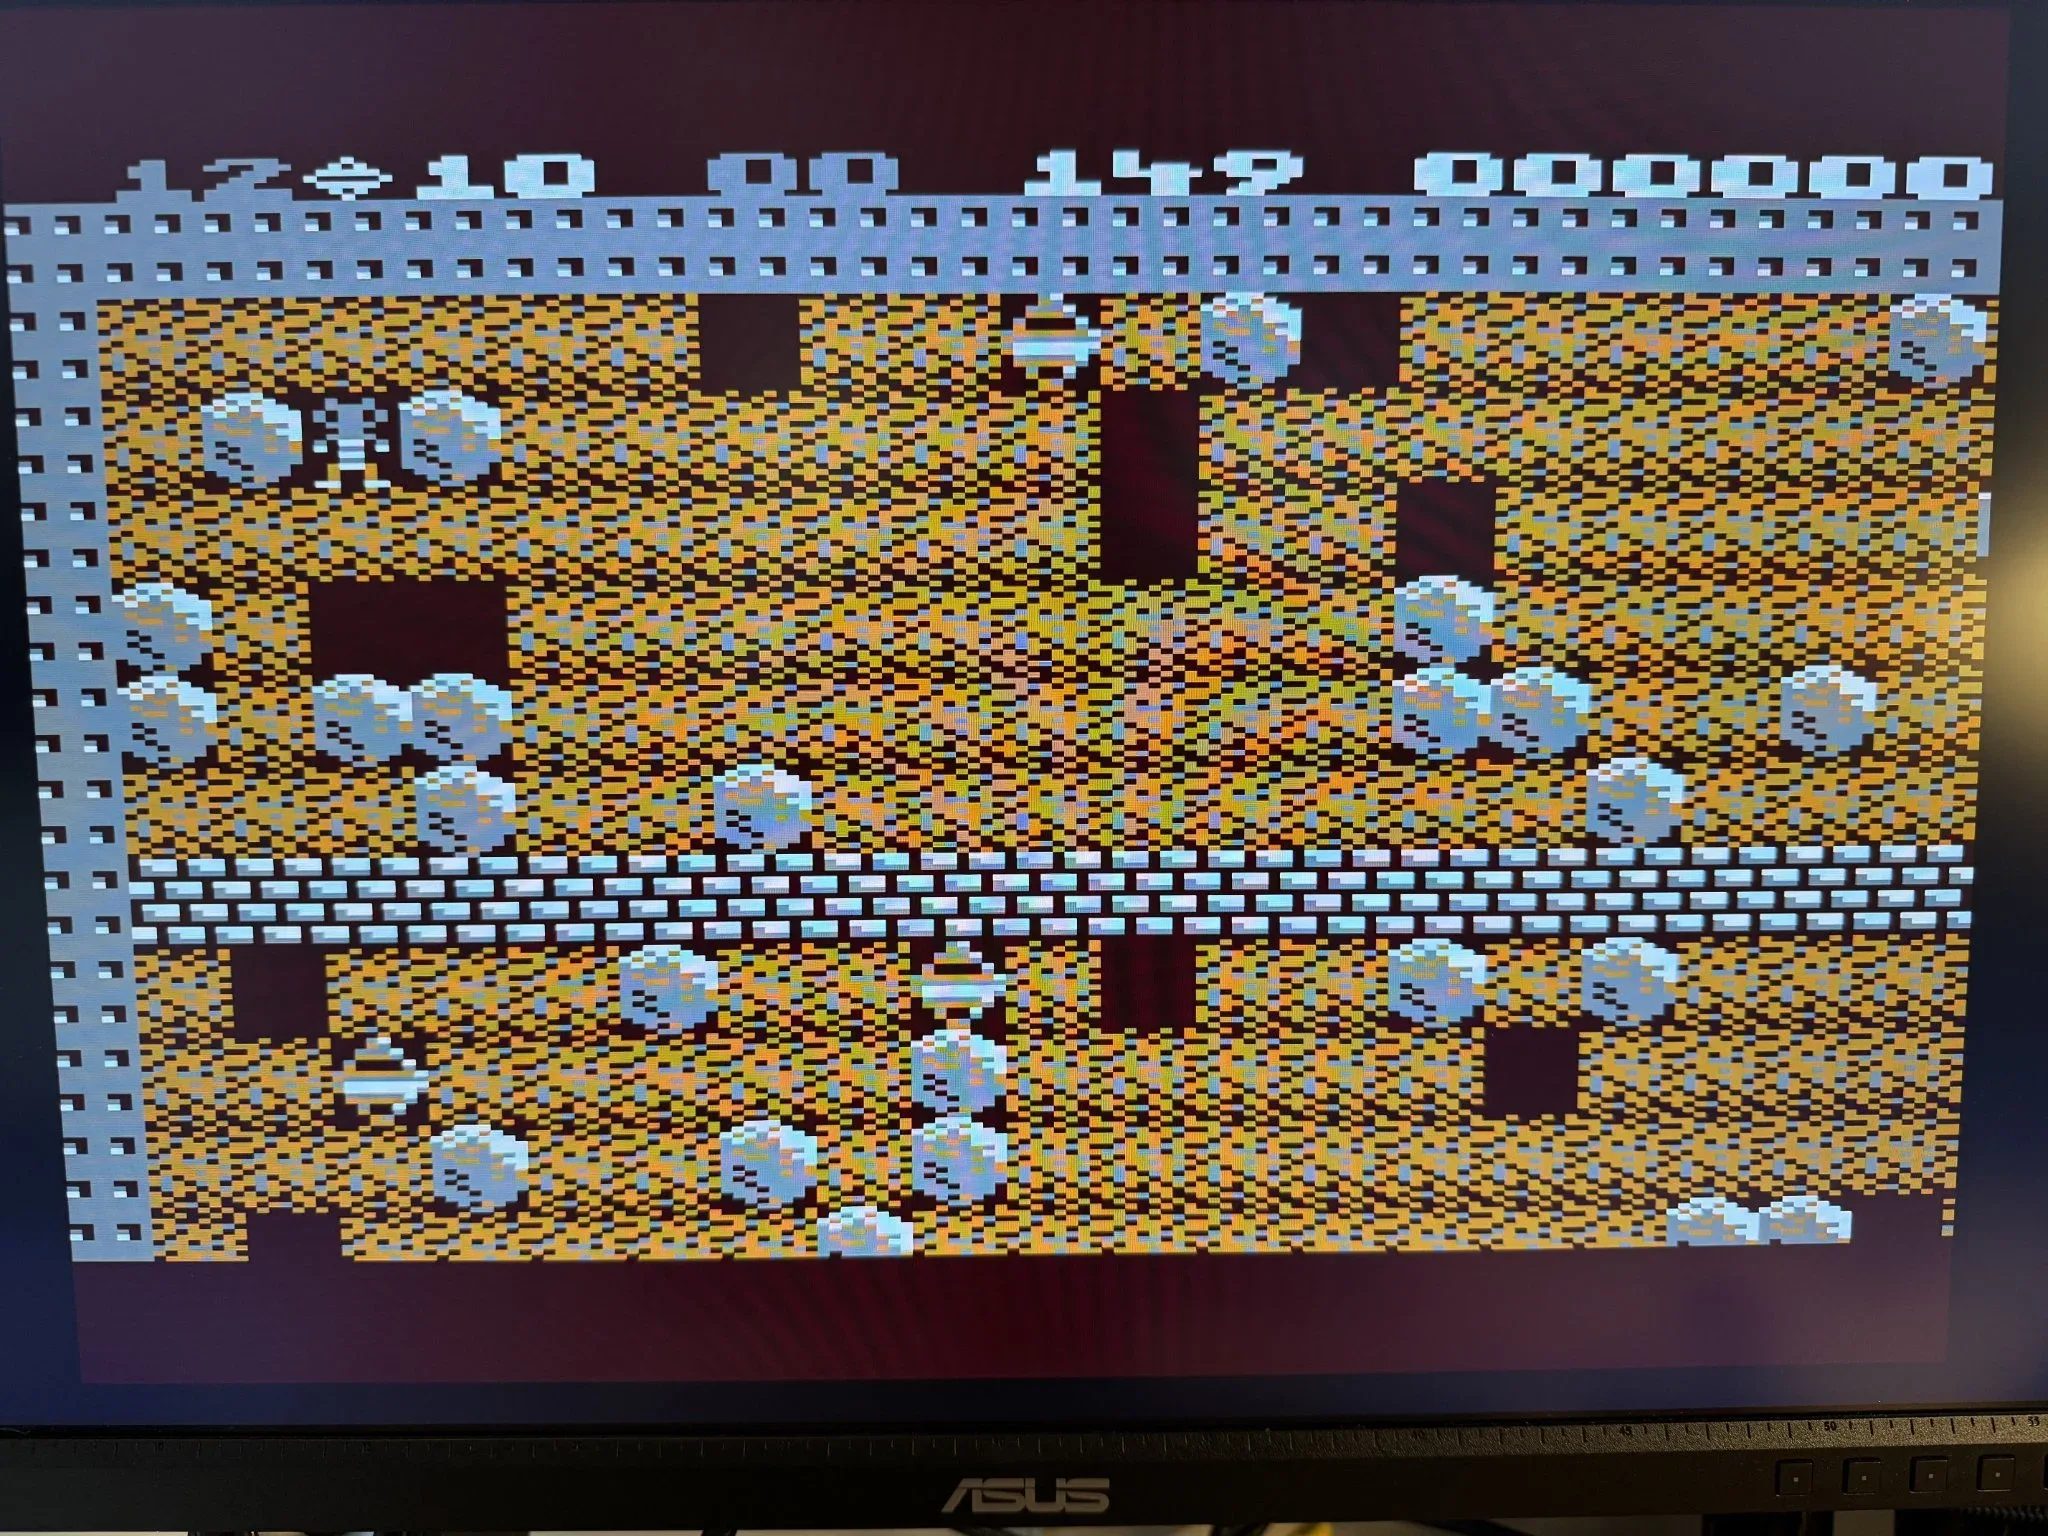
This is Boulder Dash which is a really slick character graphics based game. It is always a favorite for a short play for me as I’m incapable of completing the levels as they get harder.
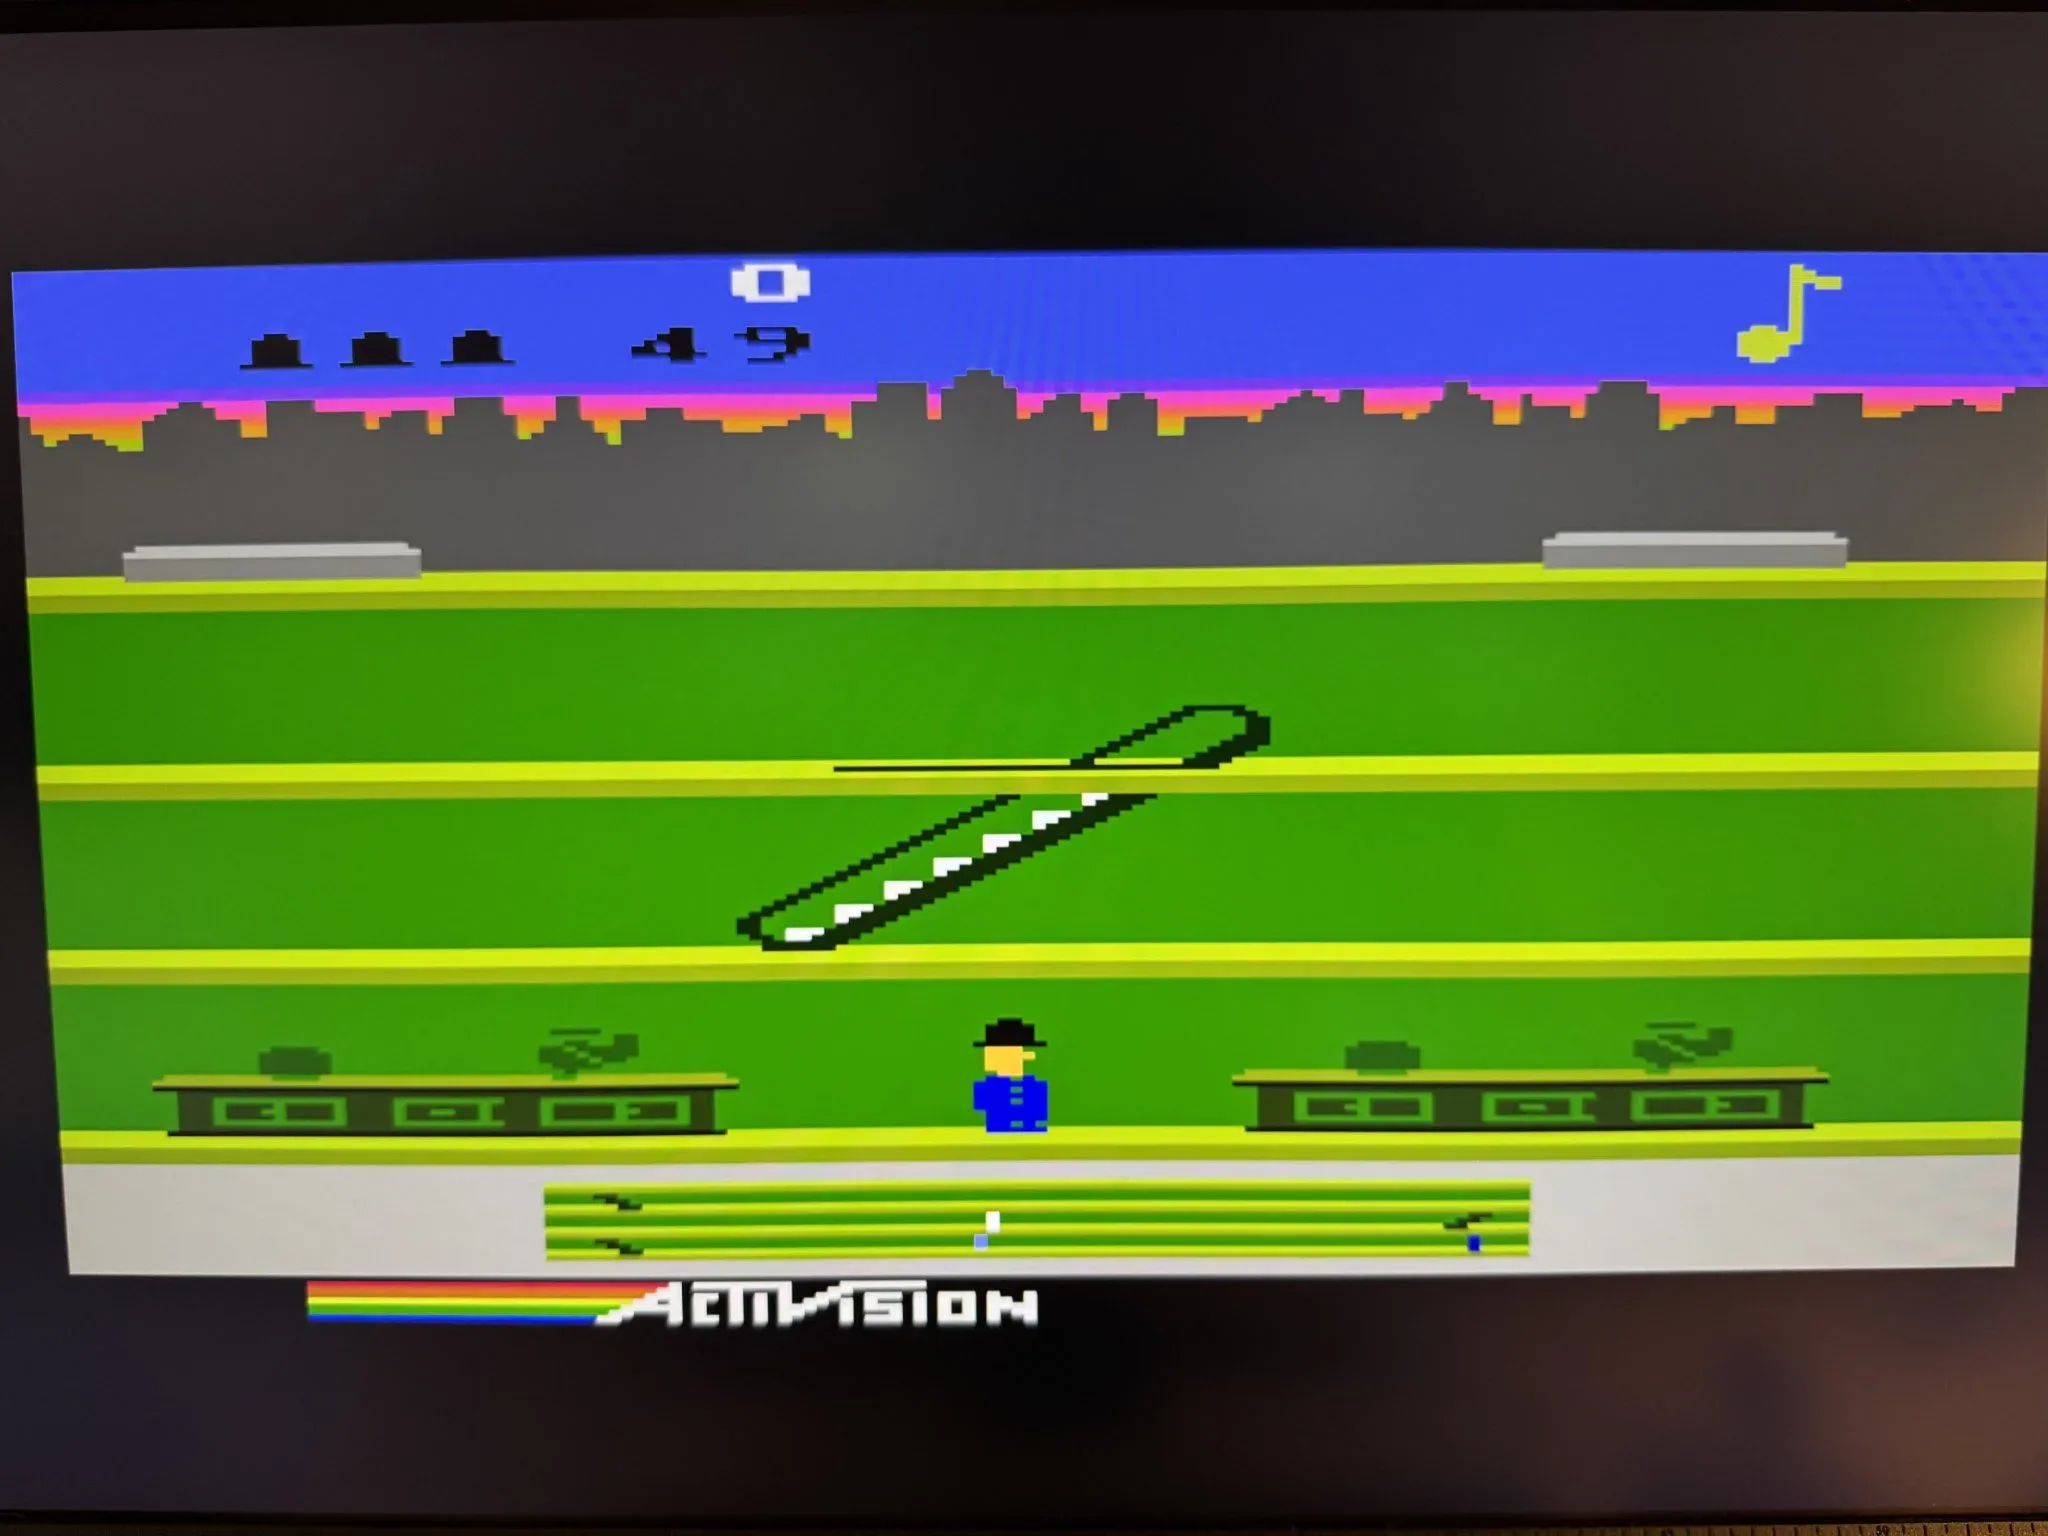
Keystone Kapers is my current favorite quick game. You are the police man and run to capture the bad guy before he escapes. There are a variety of obstacles to jump or duck on the way to capturing the thief.
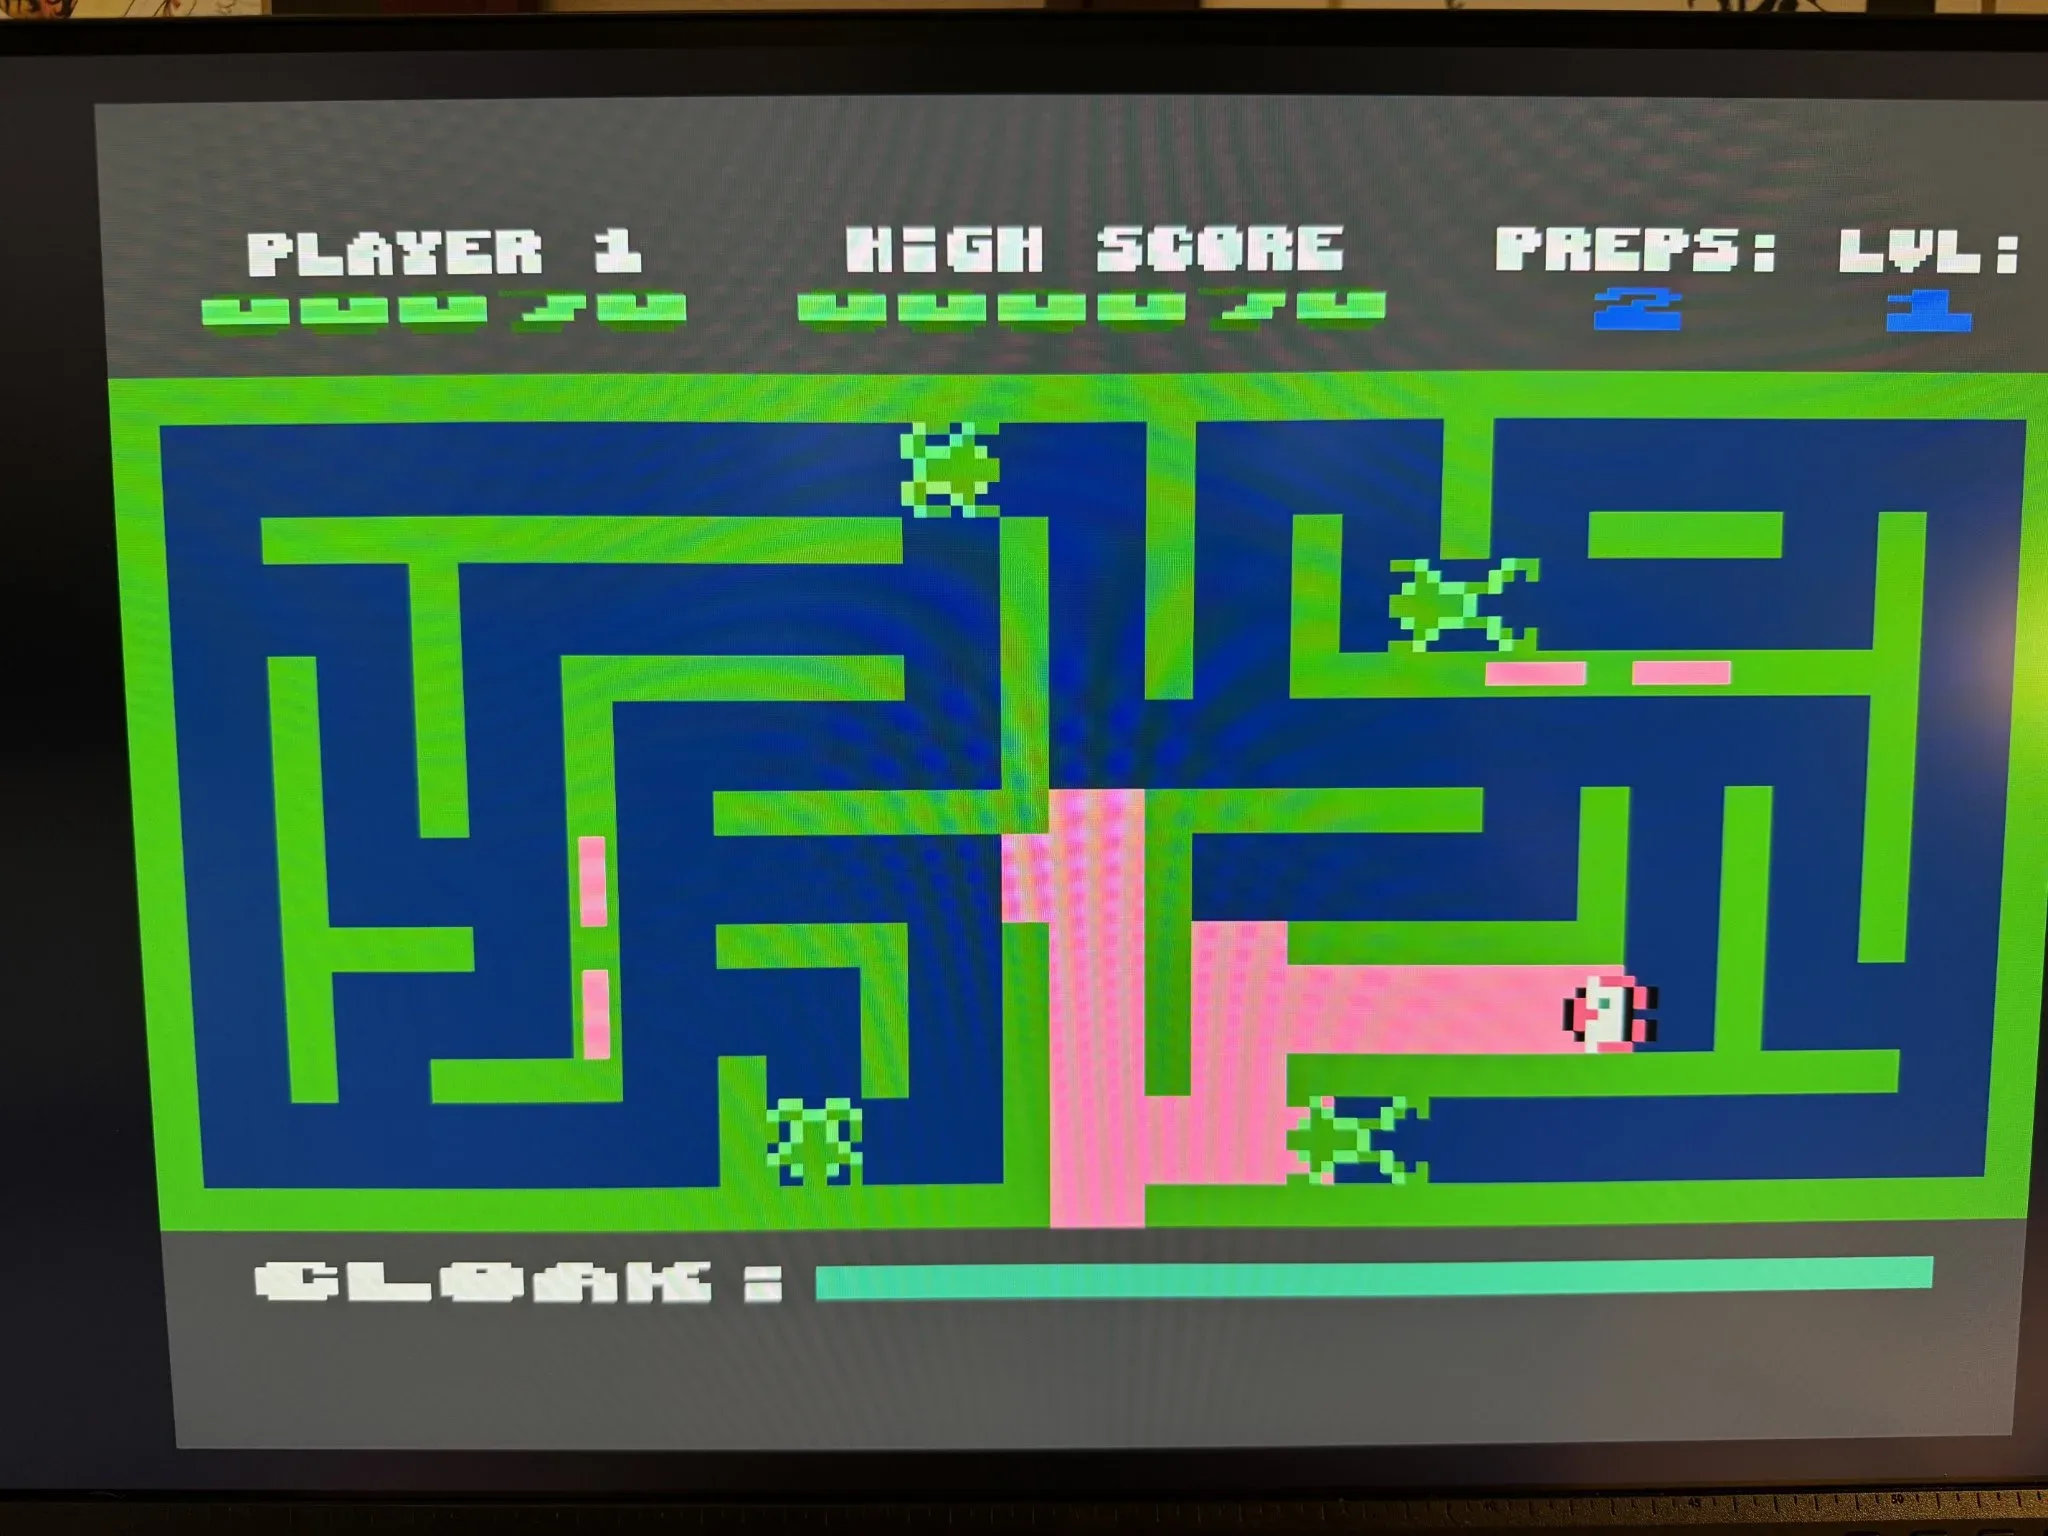
This is Preppie II which is a sequel to a Frogger clone, Preppie. Both games are very well crafted, have great music and are fun.
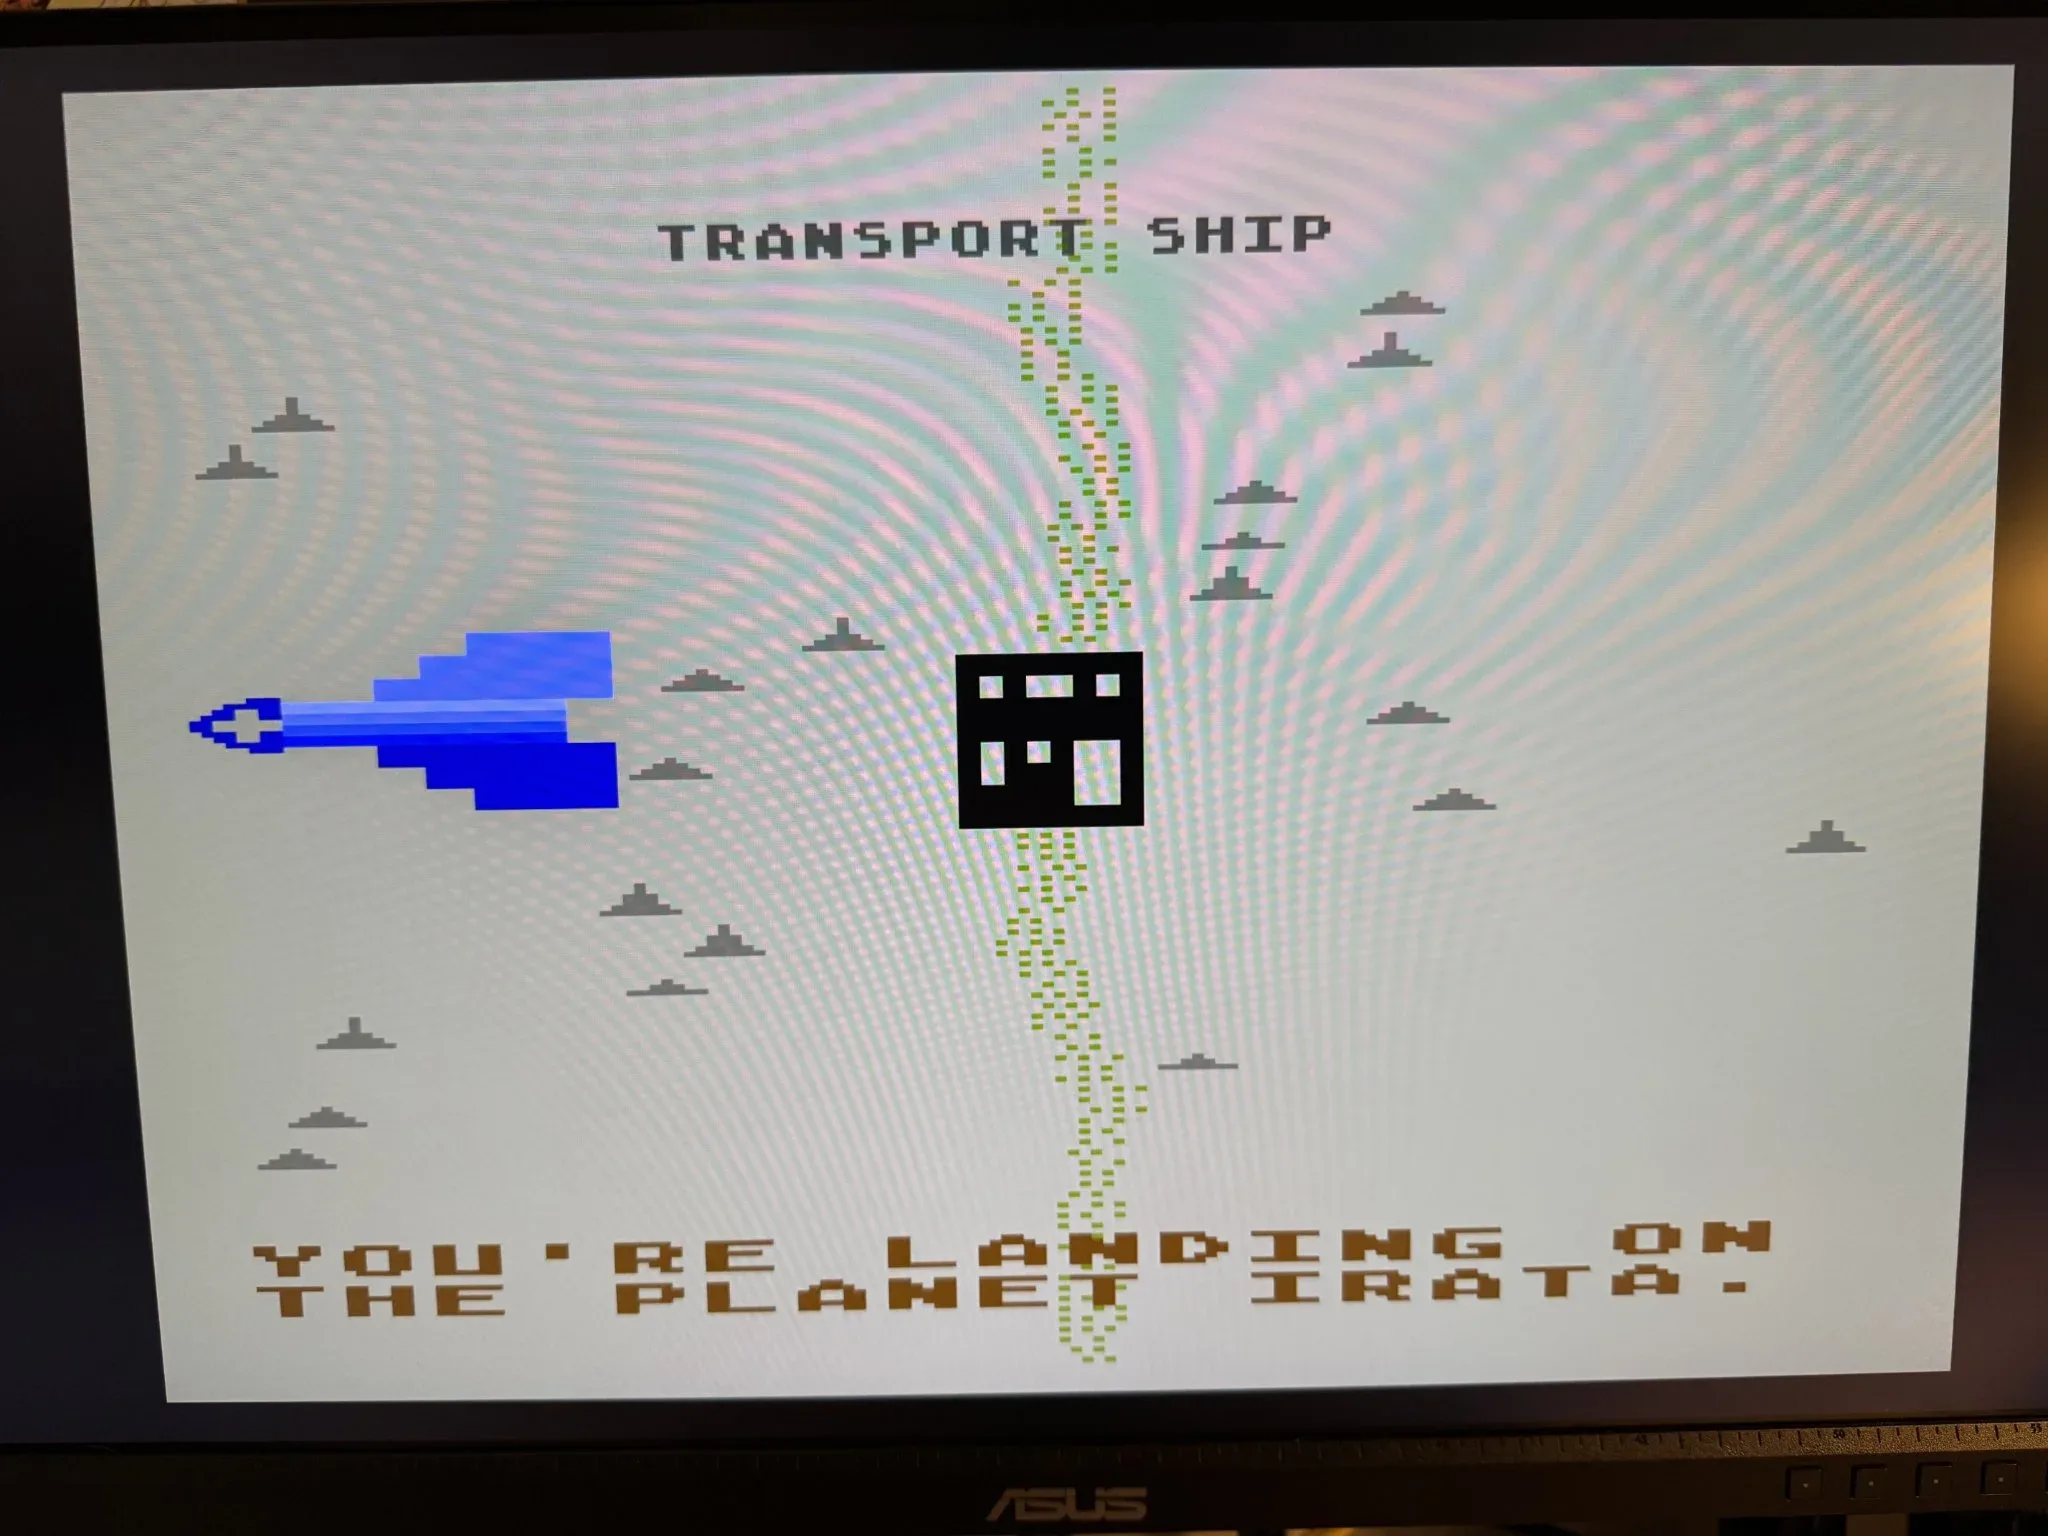
My favorite Atari 8-bit game is M.U.L.E. On the Atari 800, you can play four players as the original Atari 800 had four joystick ports. However, I usually am playing against 3 computer players and the computer players are quite good.
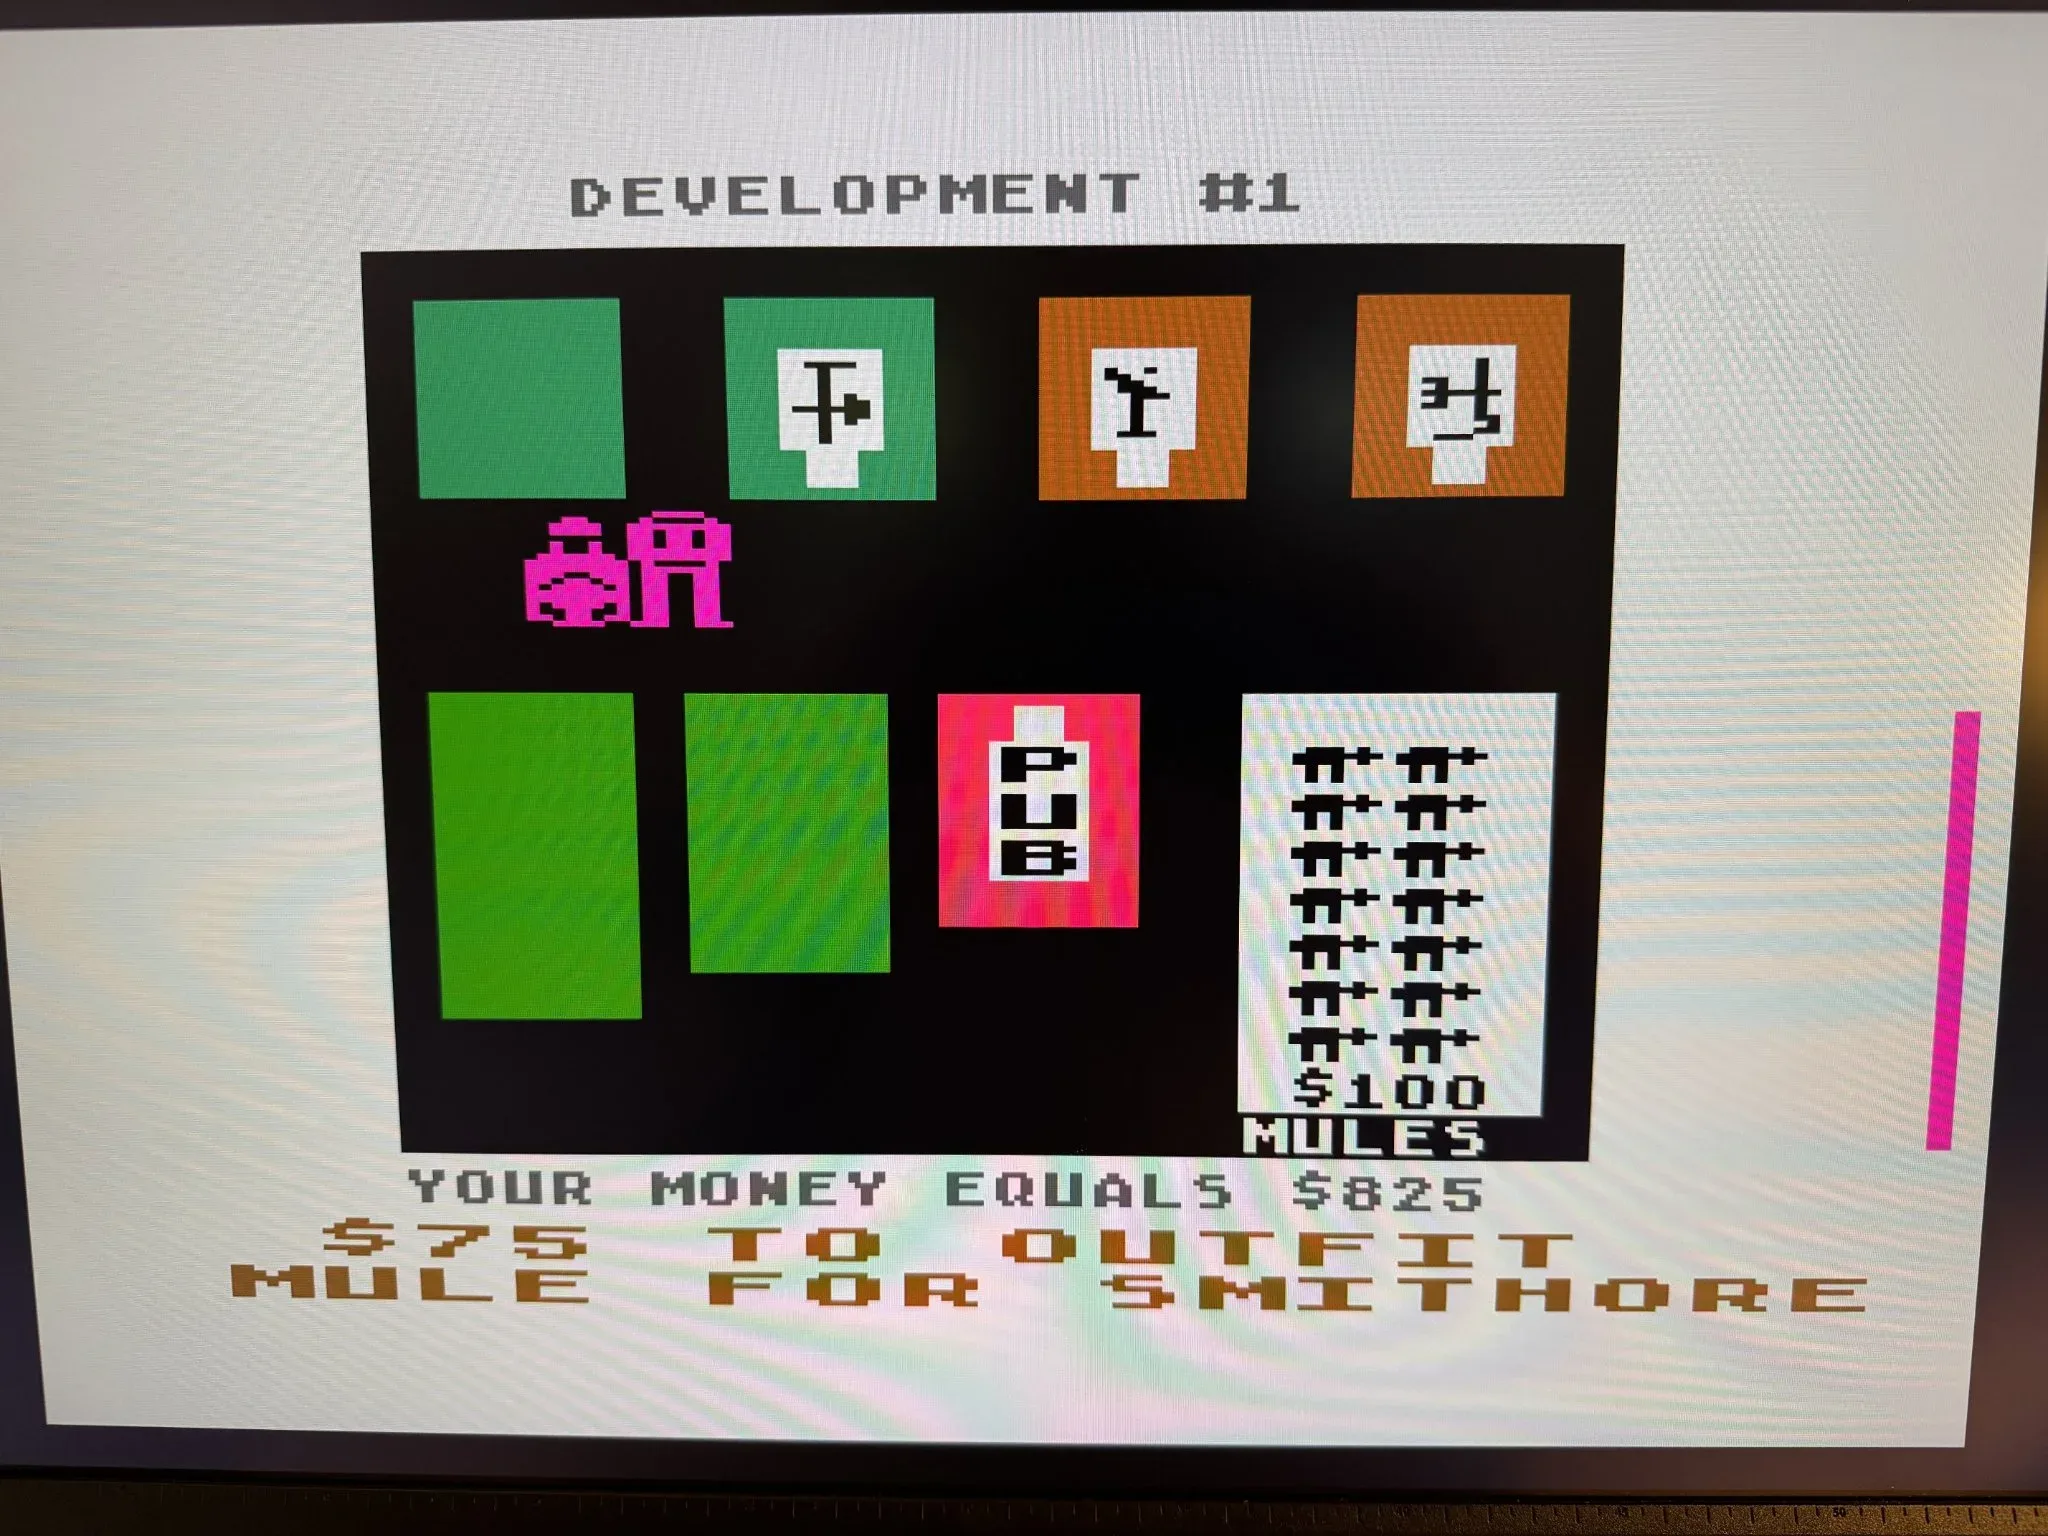
In this game you buy land, plot Ore, Energy or Food, and participate in bidding to buy or sell to the other players.
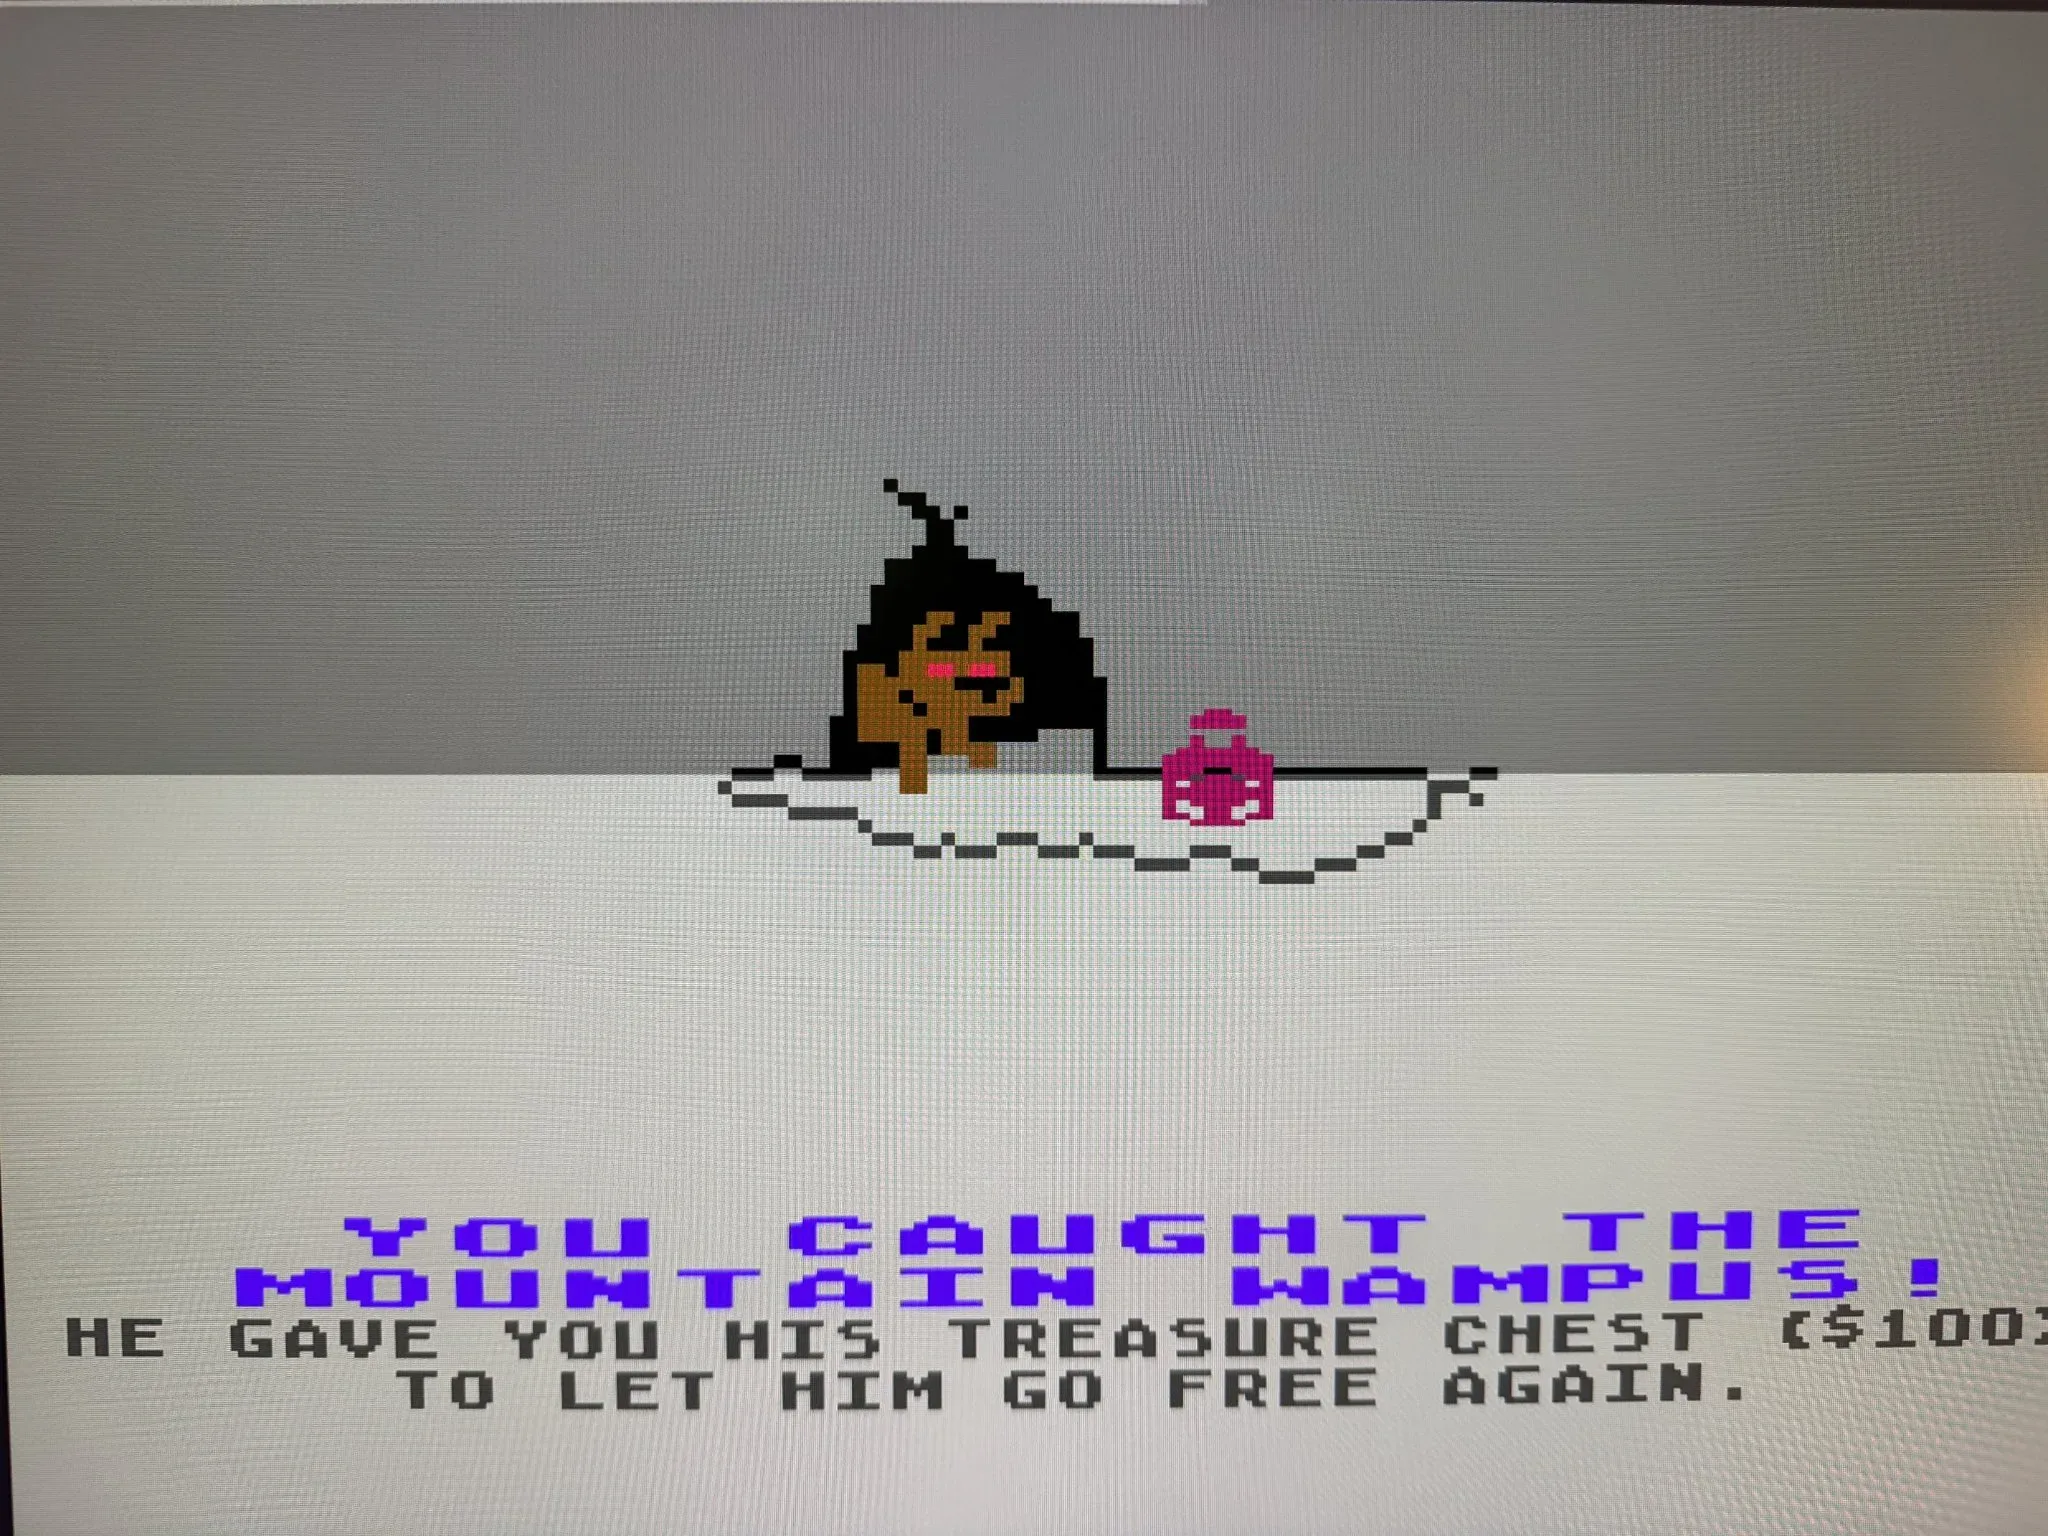
If you have time left in your turn, you can attempt to catch the “Wampus” for some extra money.
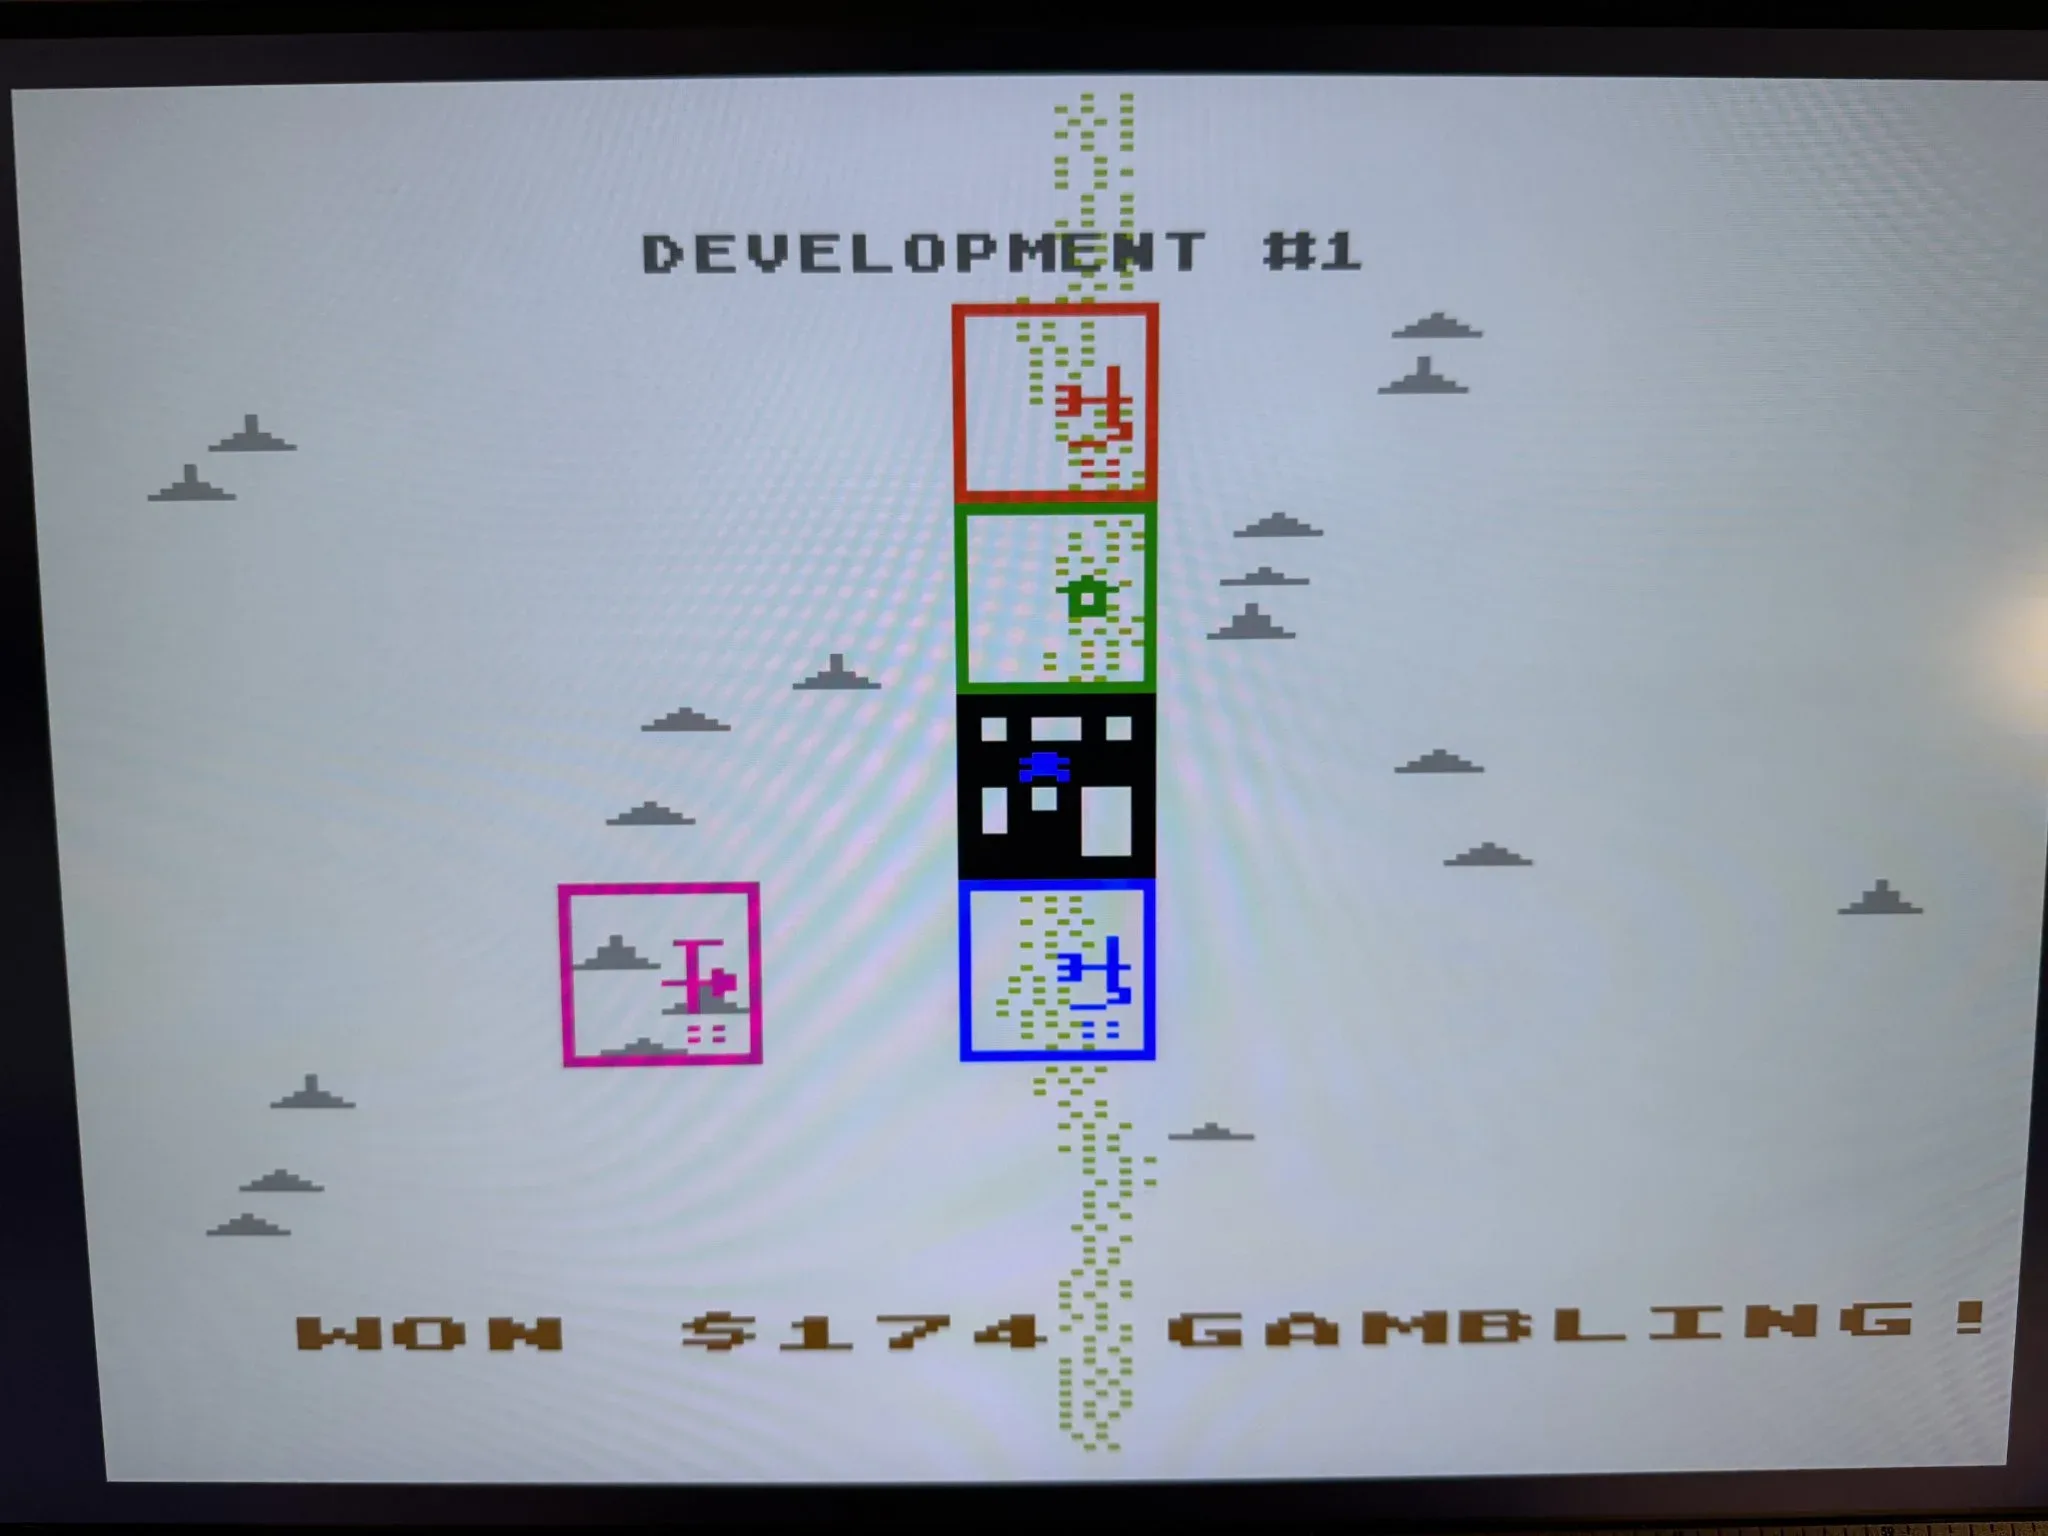
Here in round one, the players are taking turns outfitting their mules to grow food and mine ore.
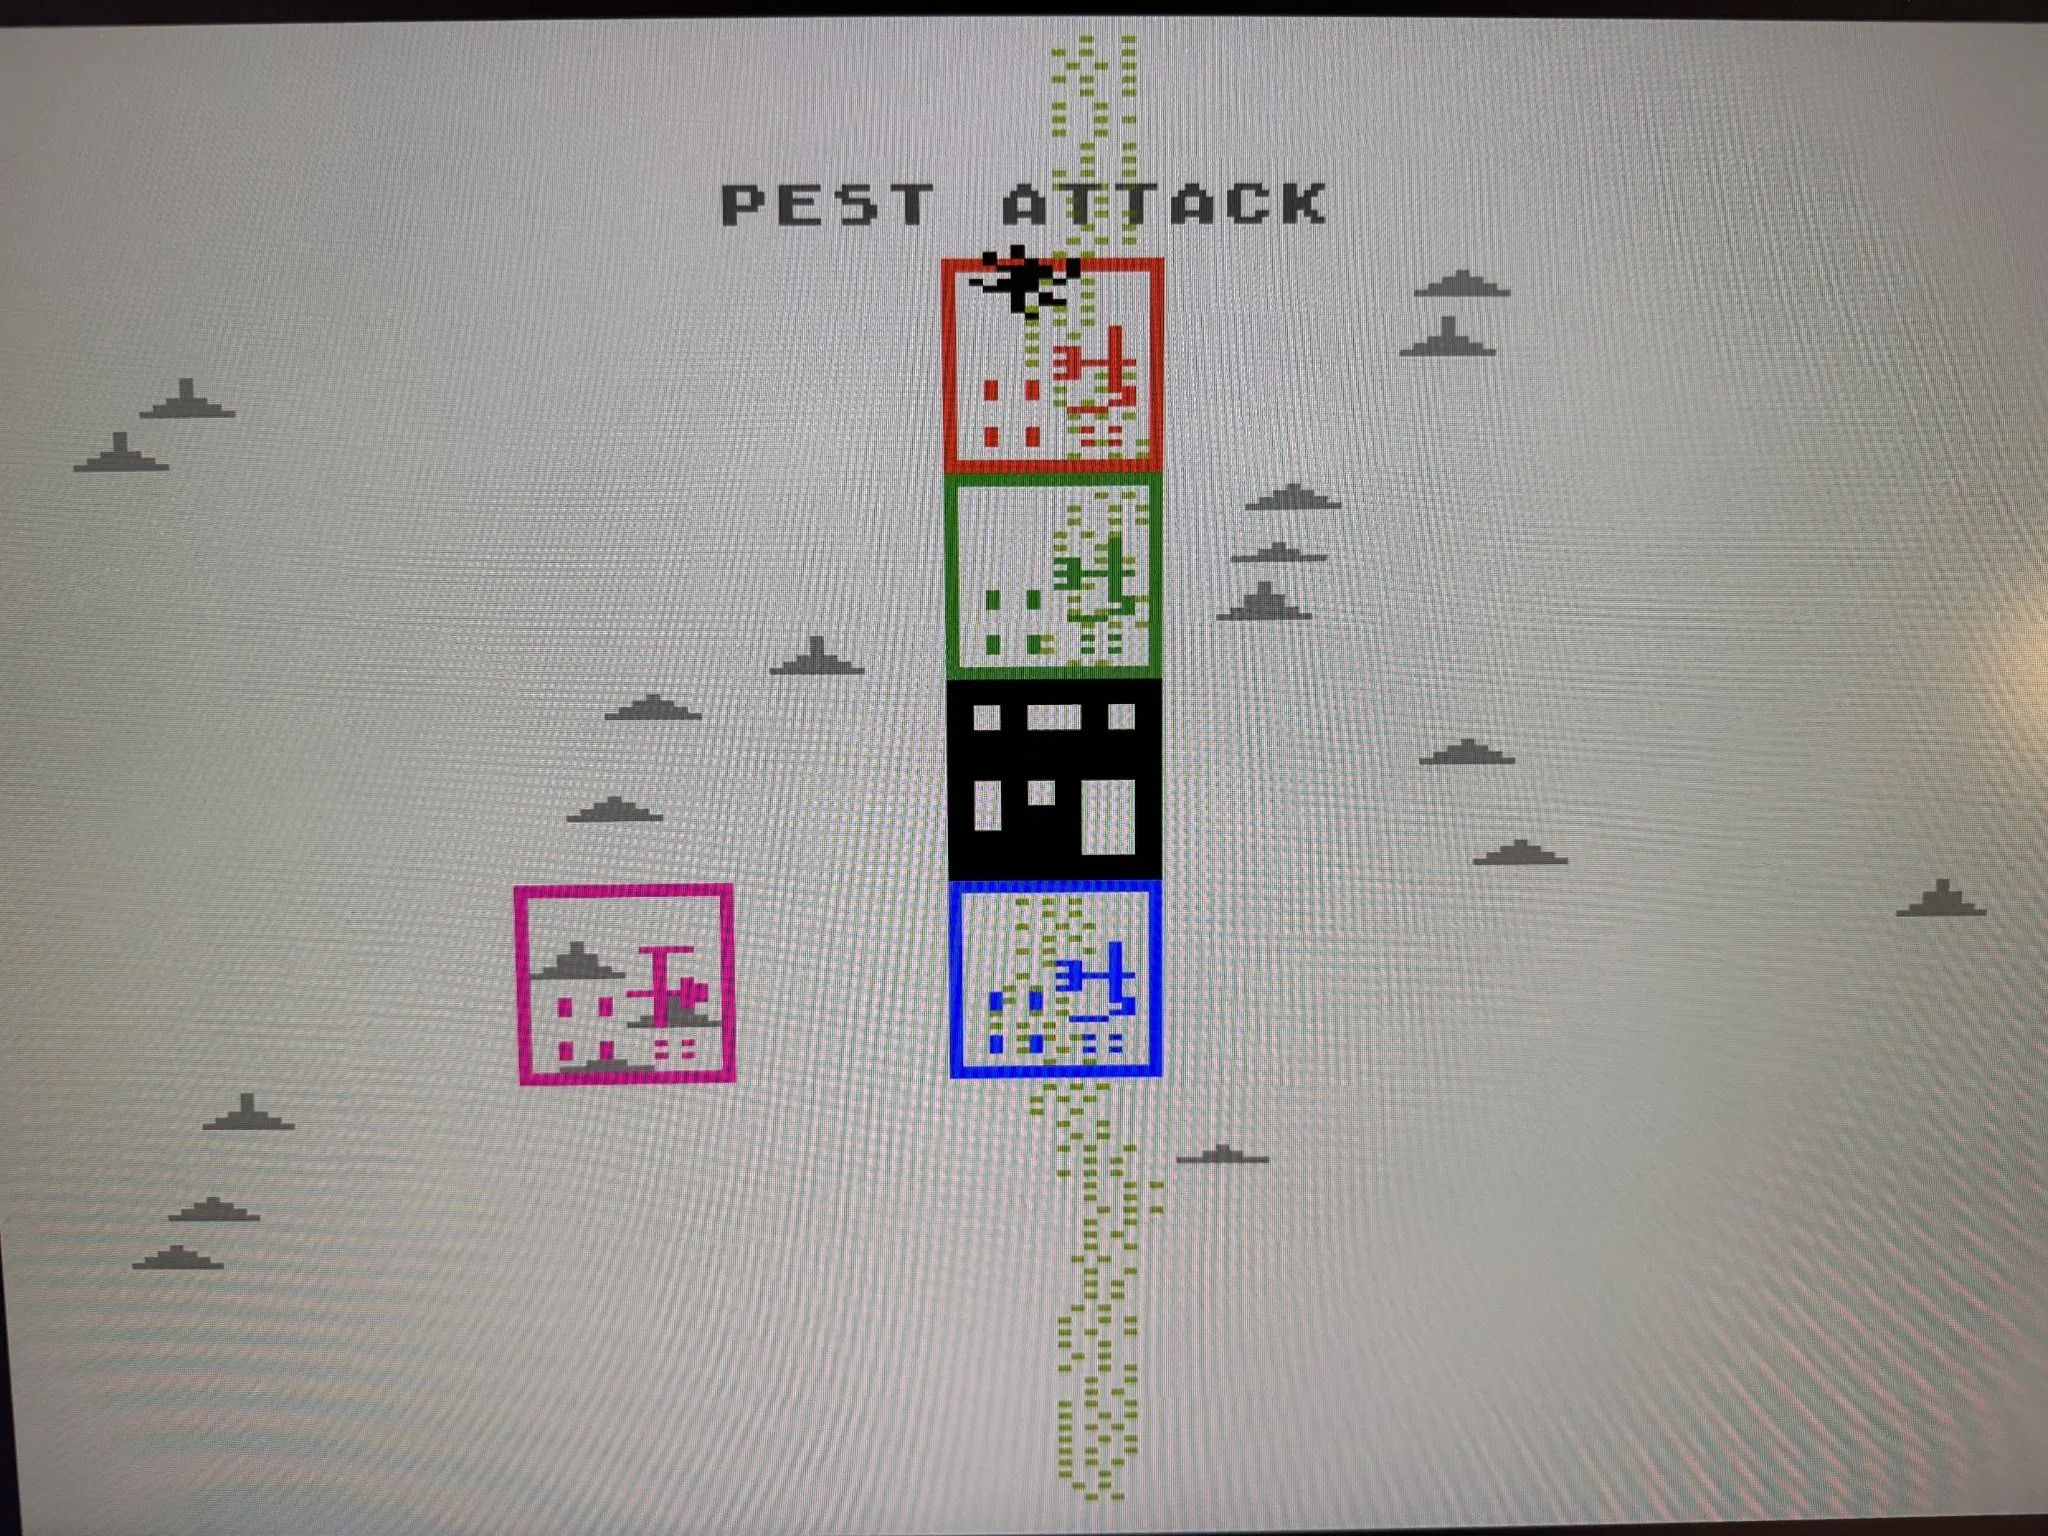
Random events occur such as this pest attack.
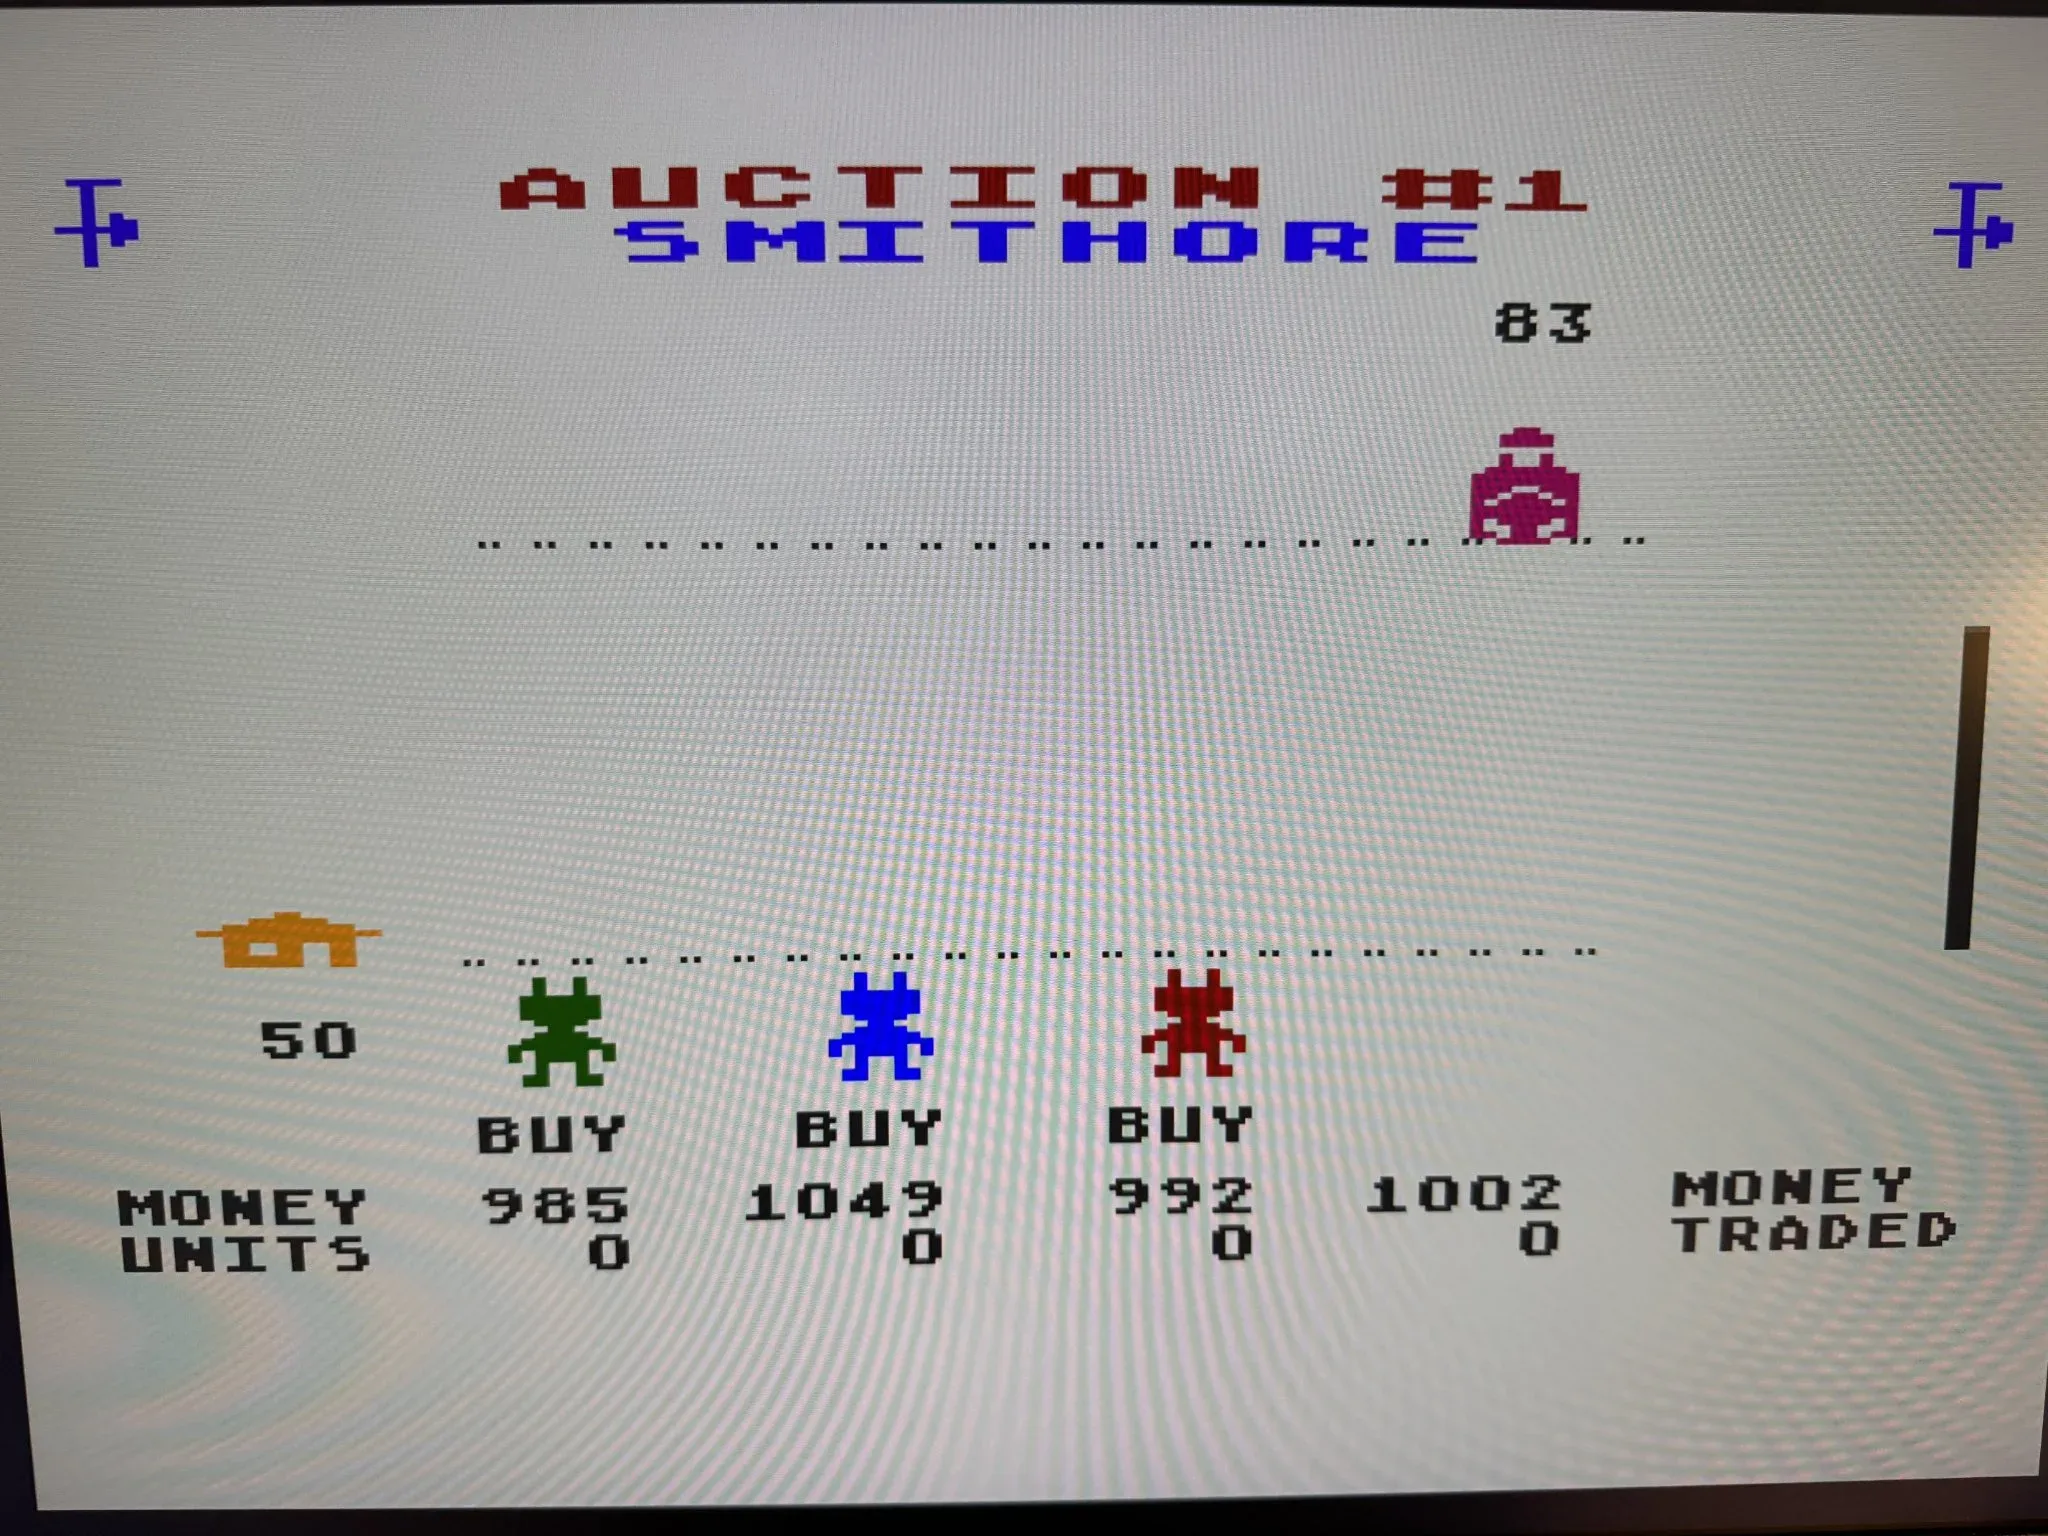
An auction looks like this, where players move up to increase their bid to purchase and players move down to reduce their bid to sell. Nobody is taking me up on my ore.
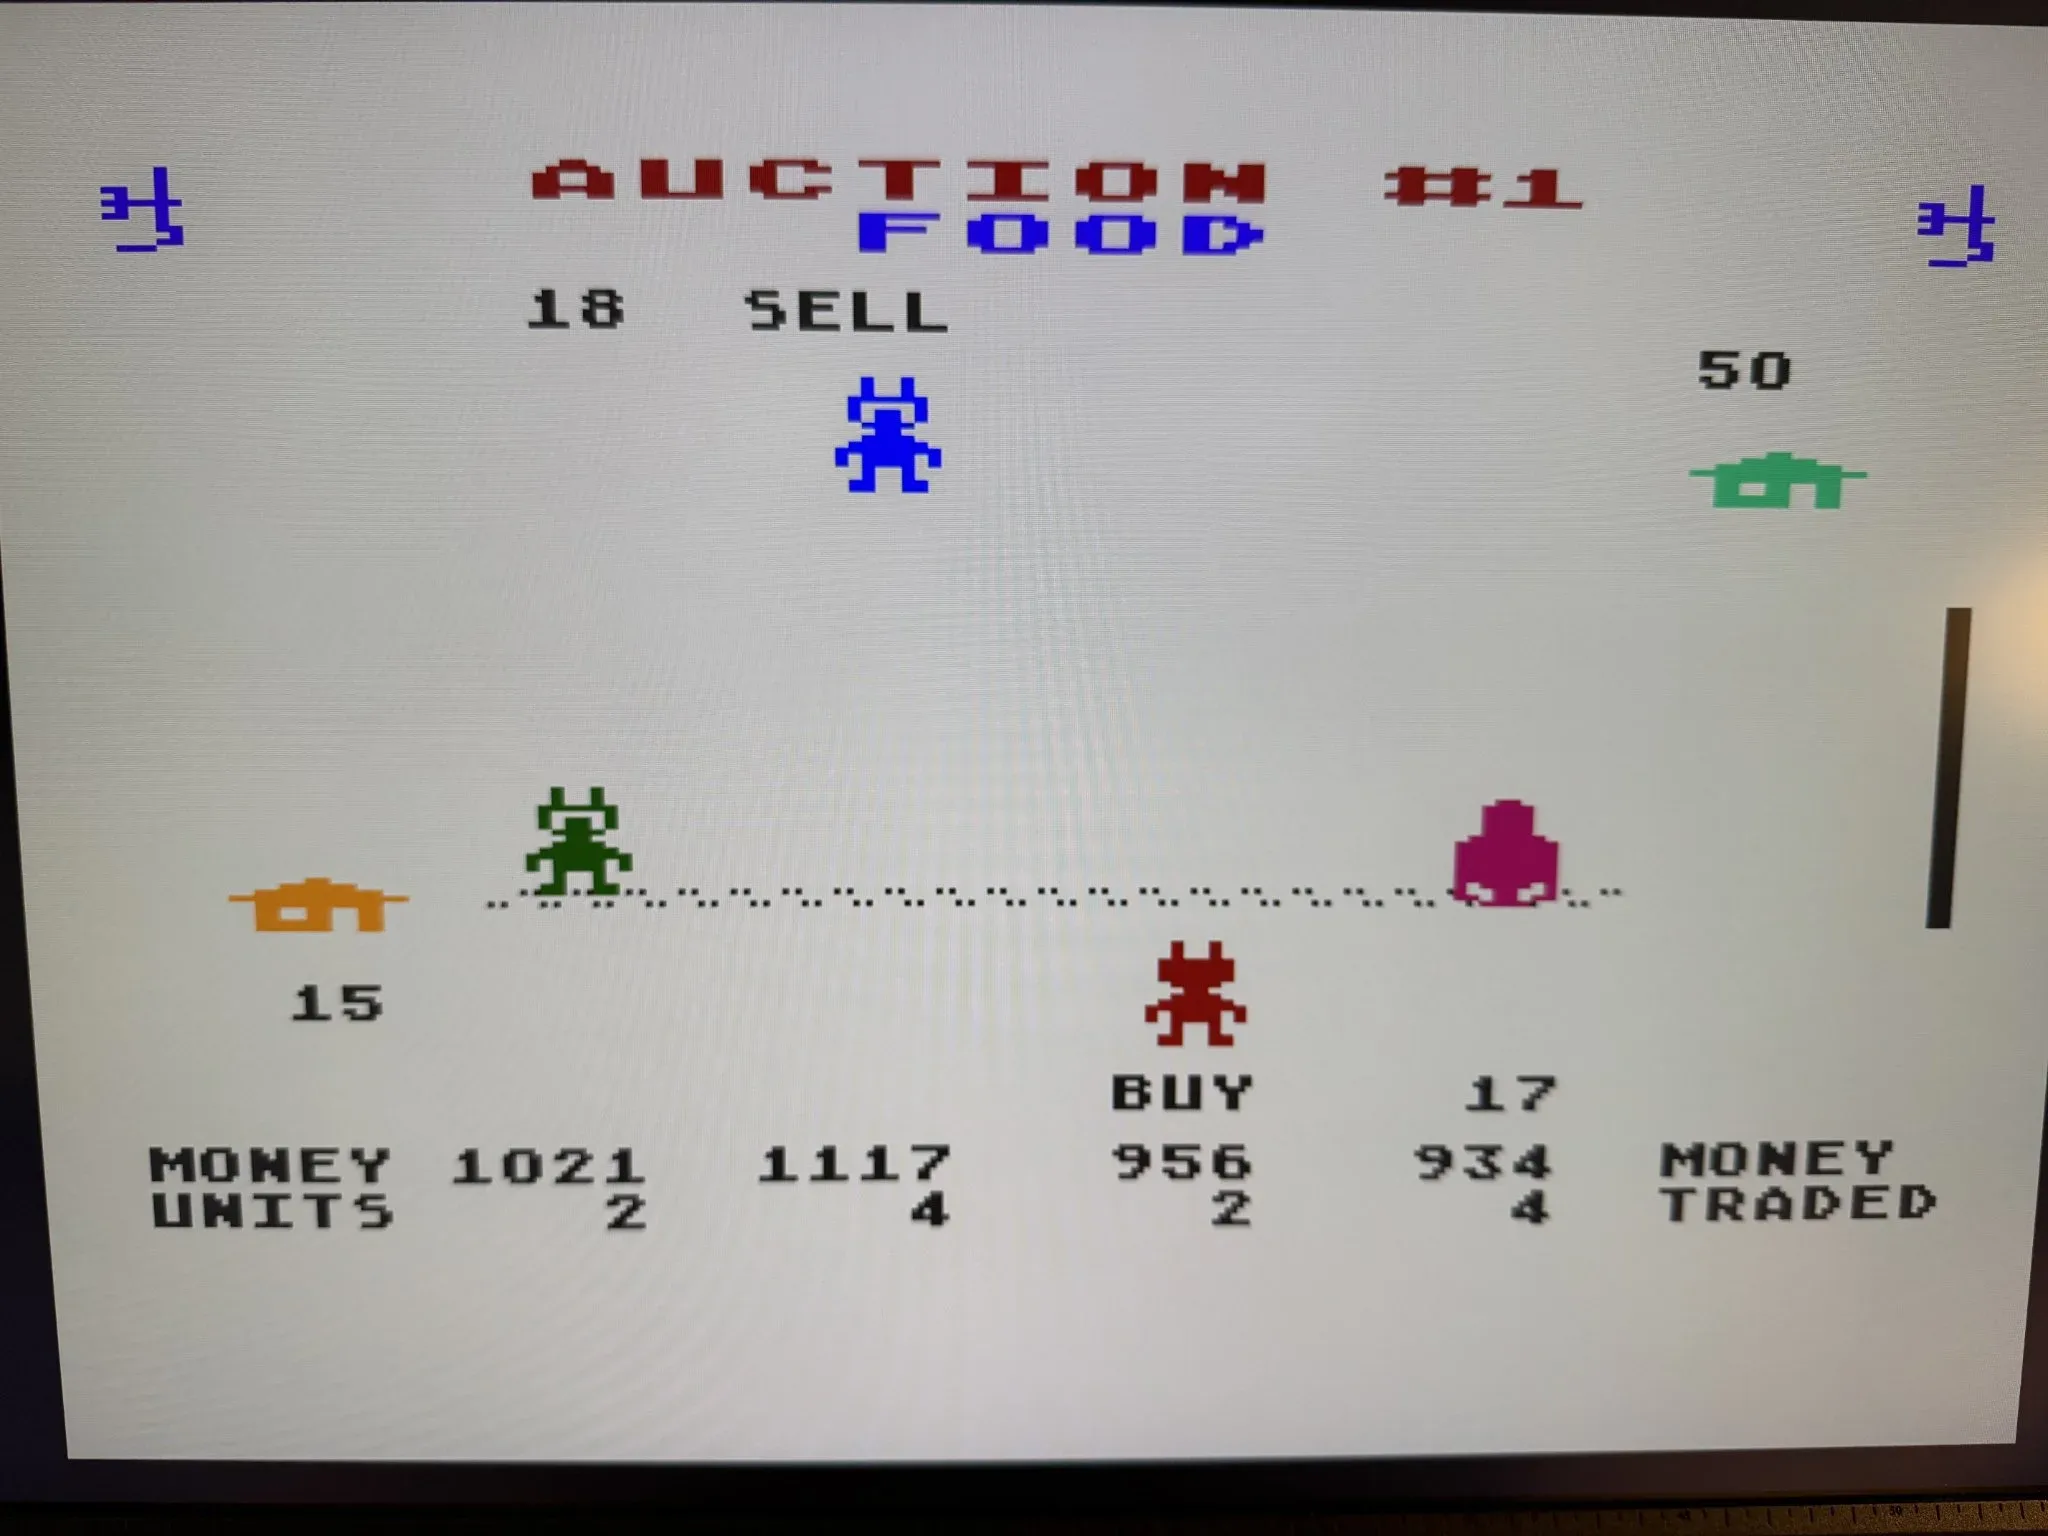
Here the computer player is offering to sell Food at 18 per unit.
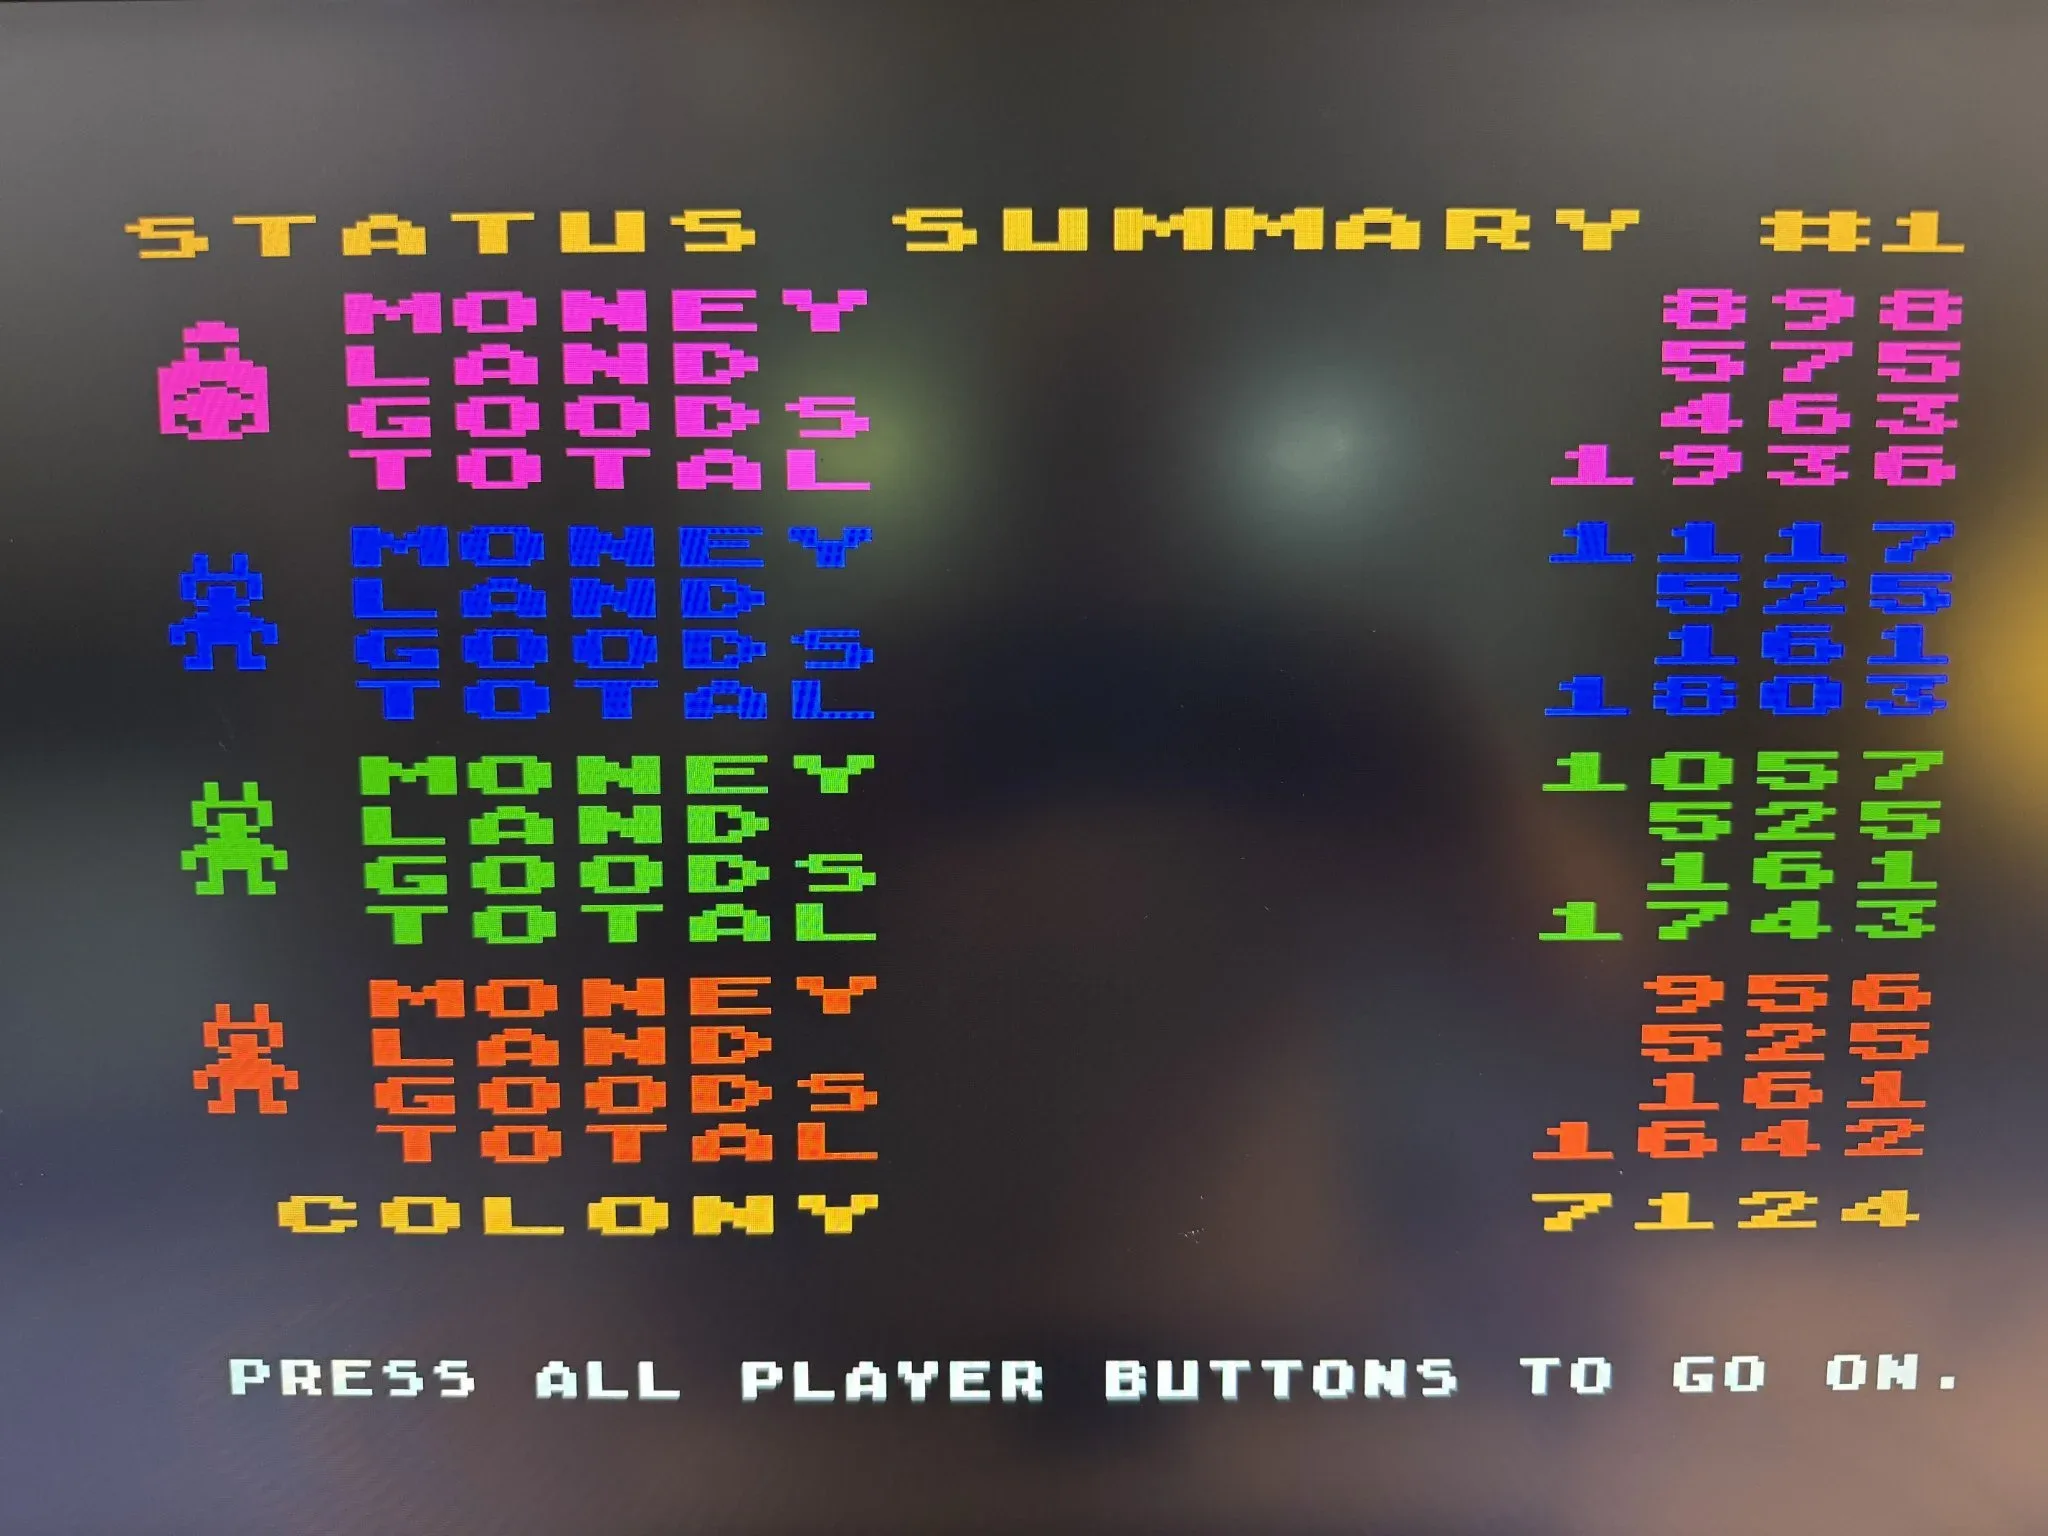
At the end of each round you see the leader board. You don’t just want to win as you want to cooperate enough that the whole colony does good.
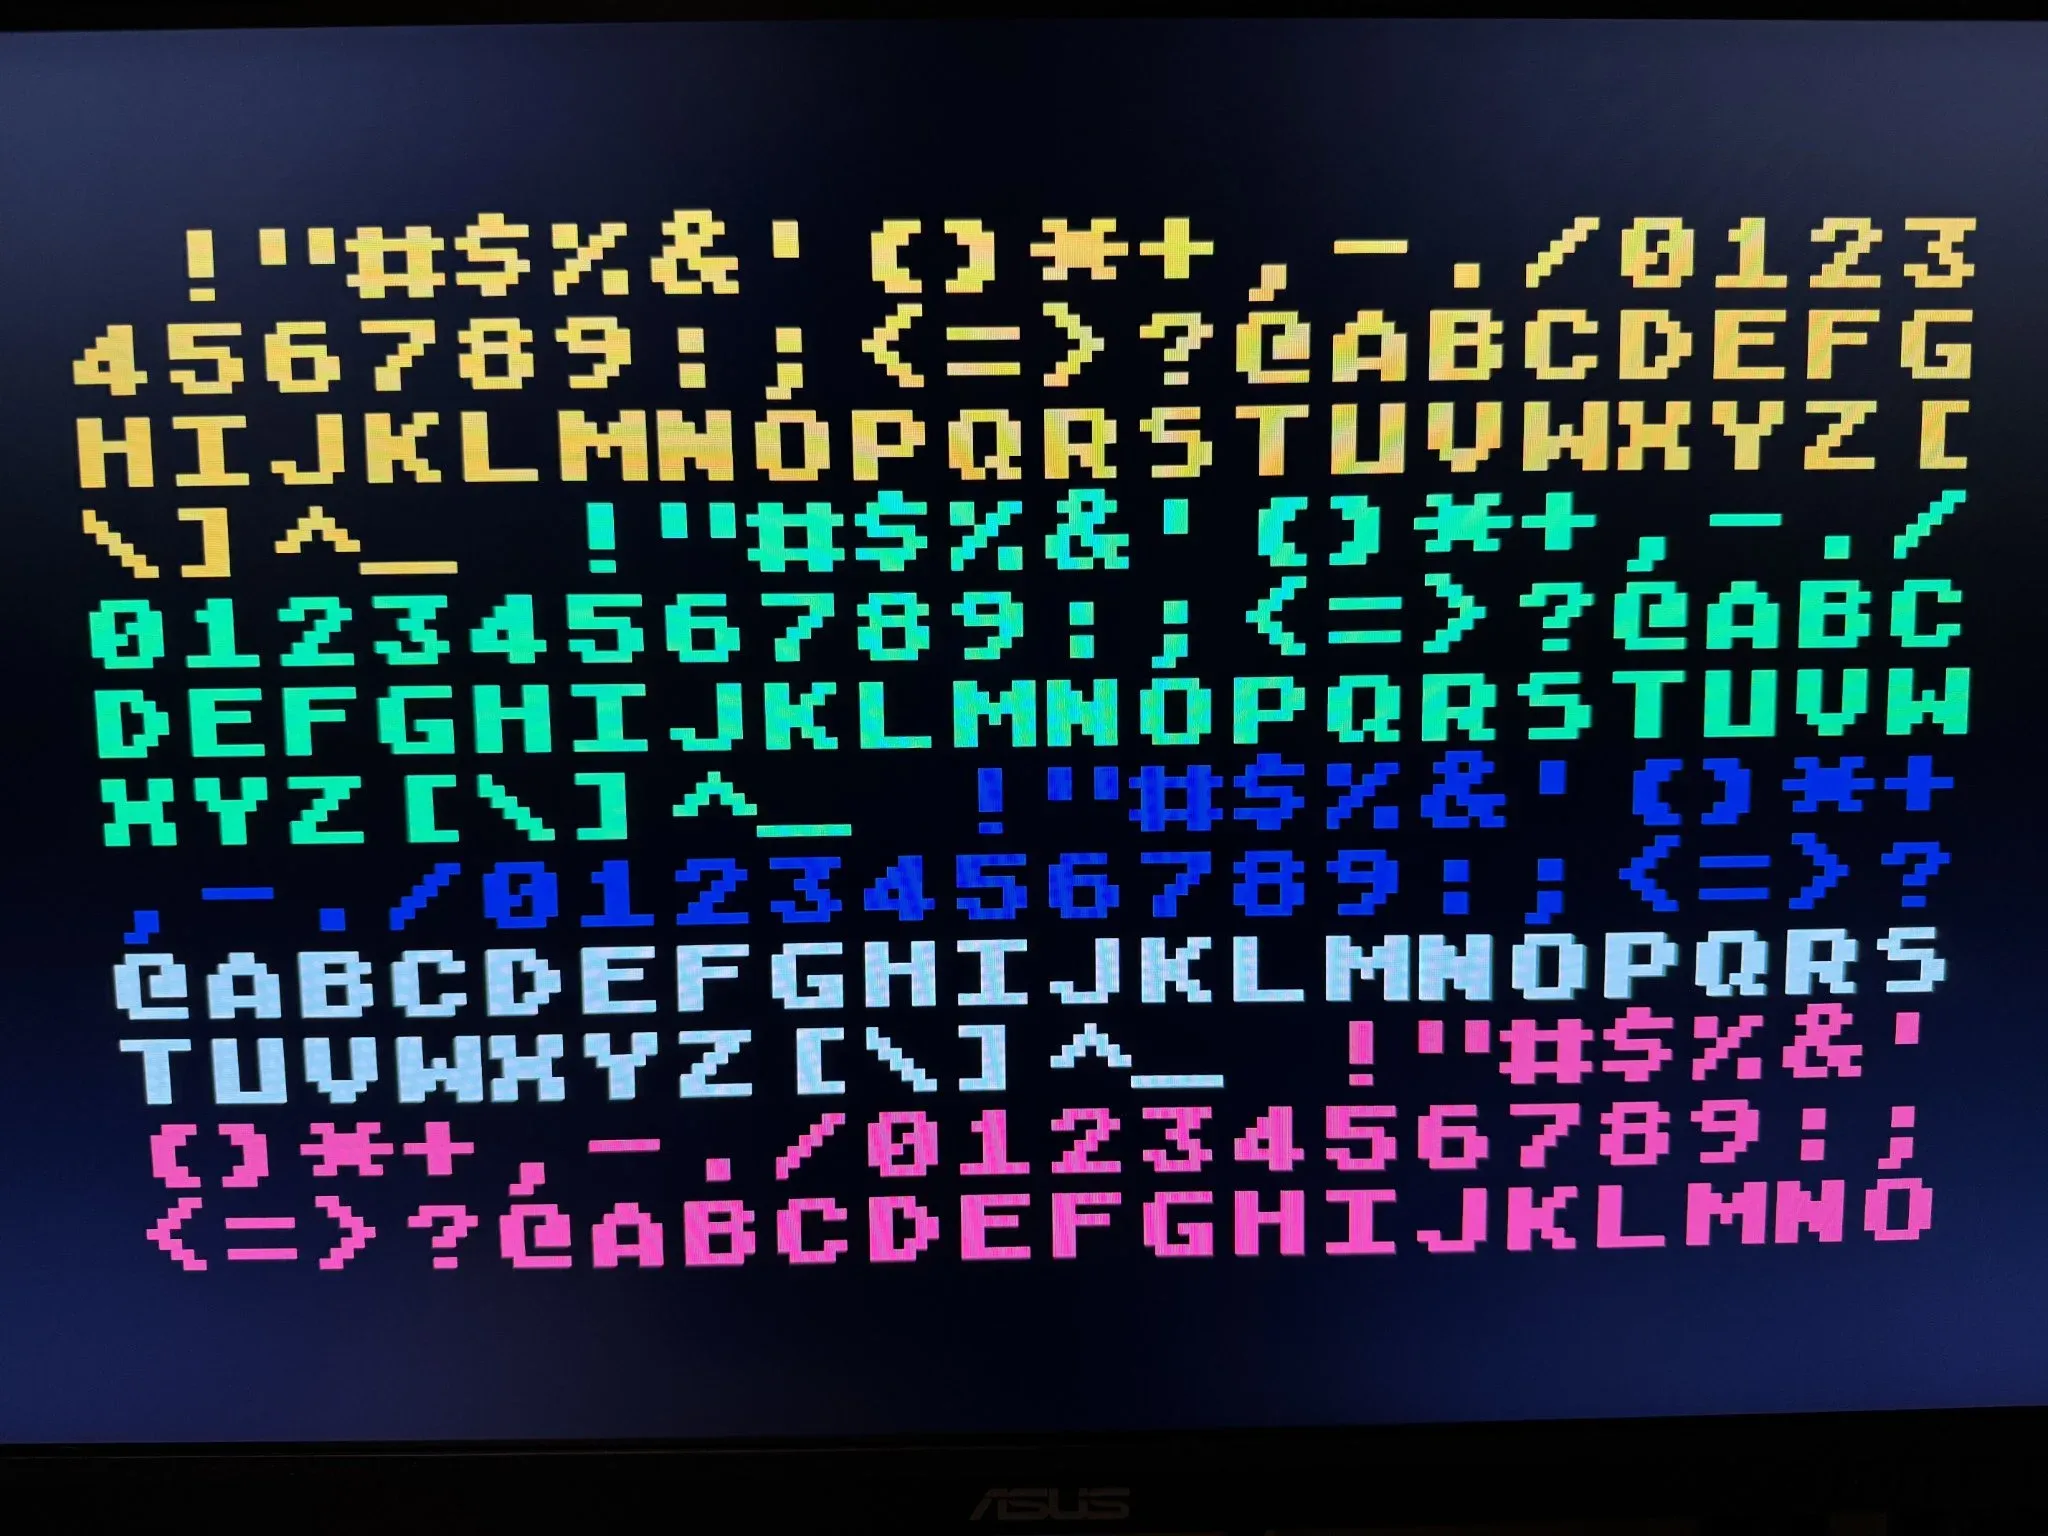
I’ve been learning some 6502 assembly. This program prints out the character set in alternating colors via a “display list” configuration.