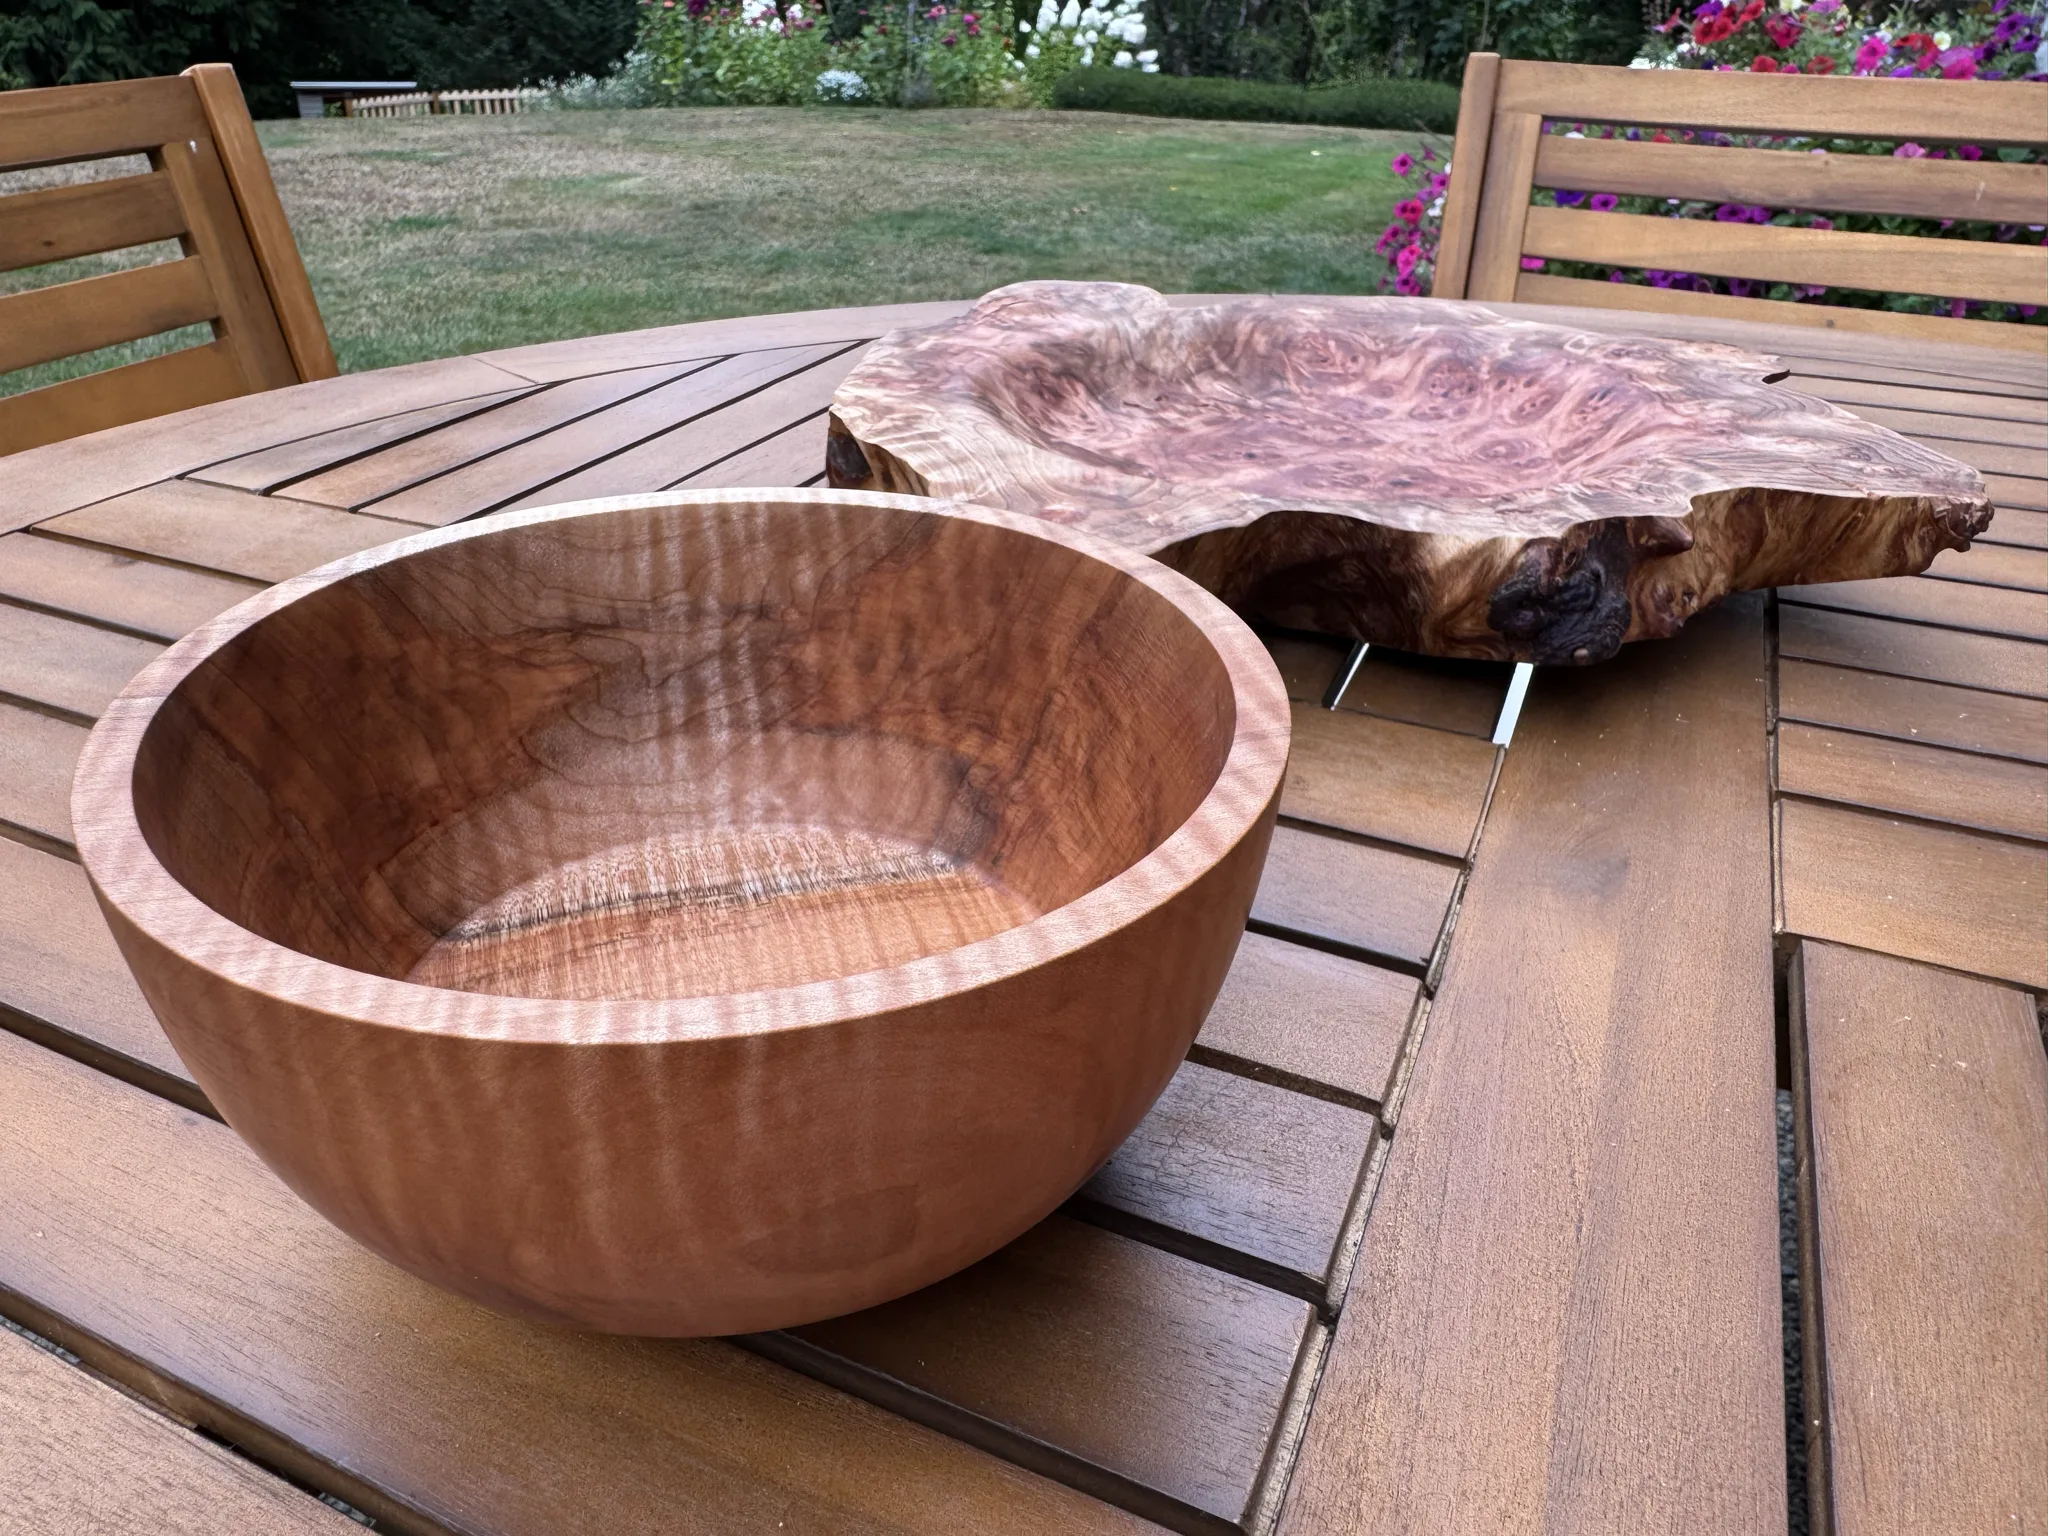
Two bowls
August 14, 2026
Today I decided to knock out a bowl but it went pretty quickly so I decided to press on and do a second one. The first one became a small standard bowl whereas the second one became more of an art piece than a practical bowl.
This chunk of wood is a store bought round of maple wood sold specifically for turning. It was gifted to me by my brother Dan (as was the second piece of wood I’ll be using.)
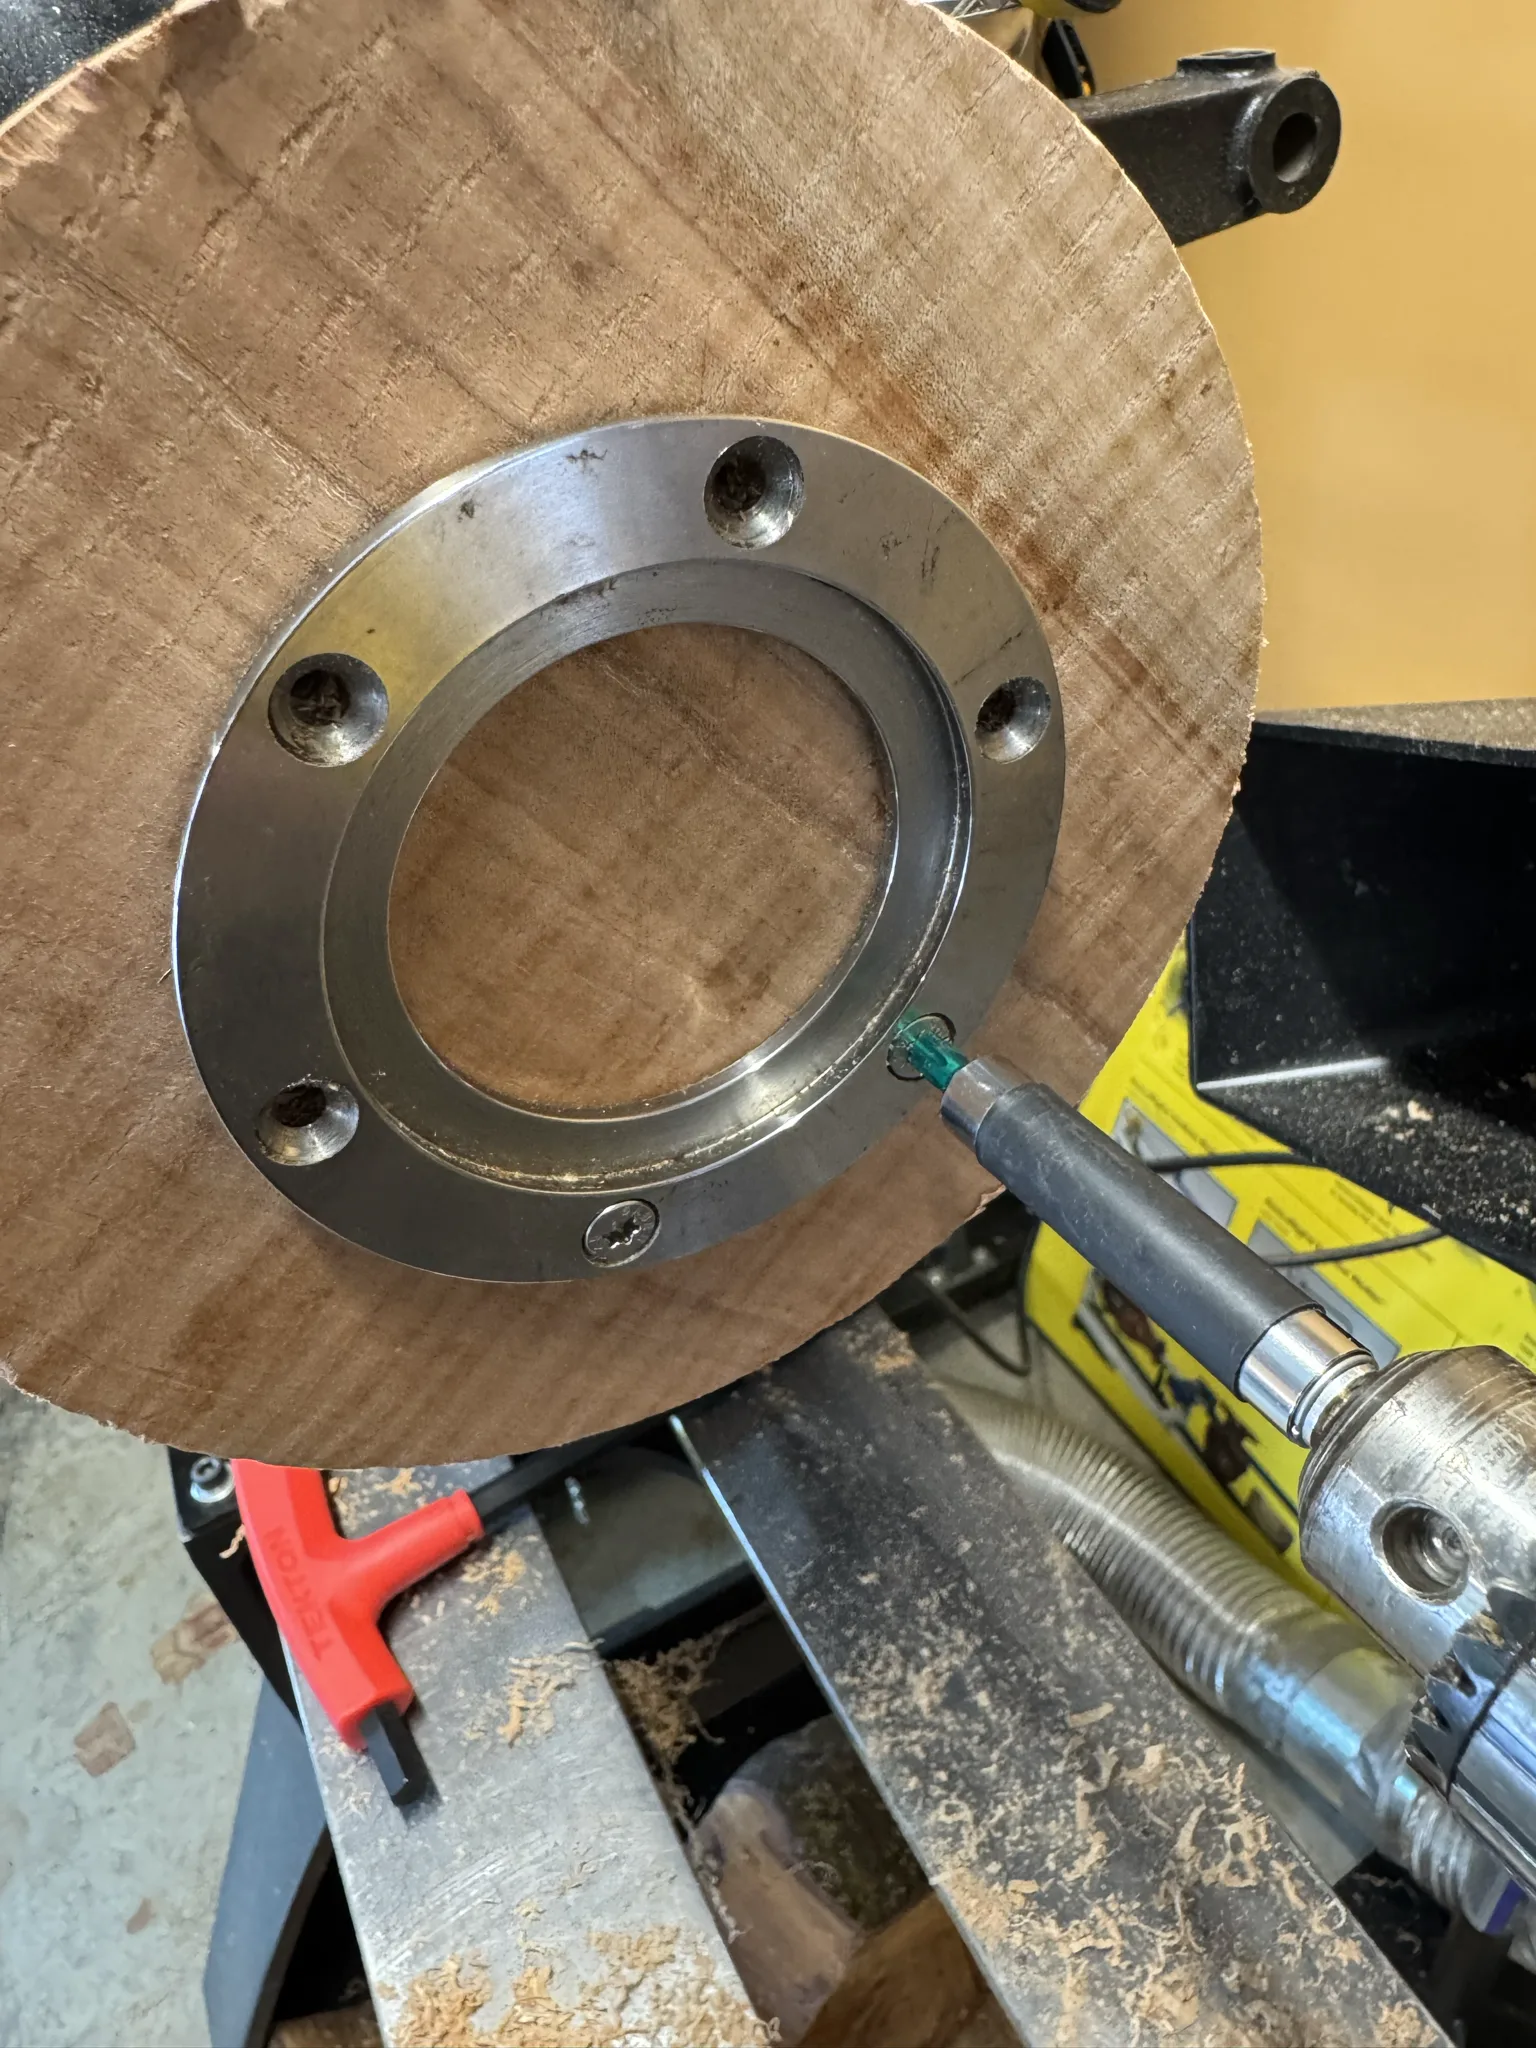
I screw on a faceplate attachment that the chuck can lock into.
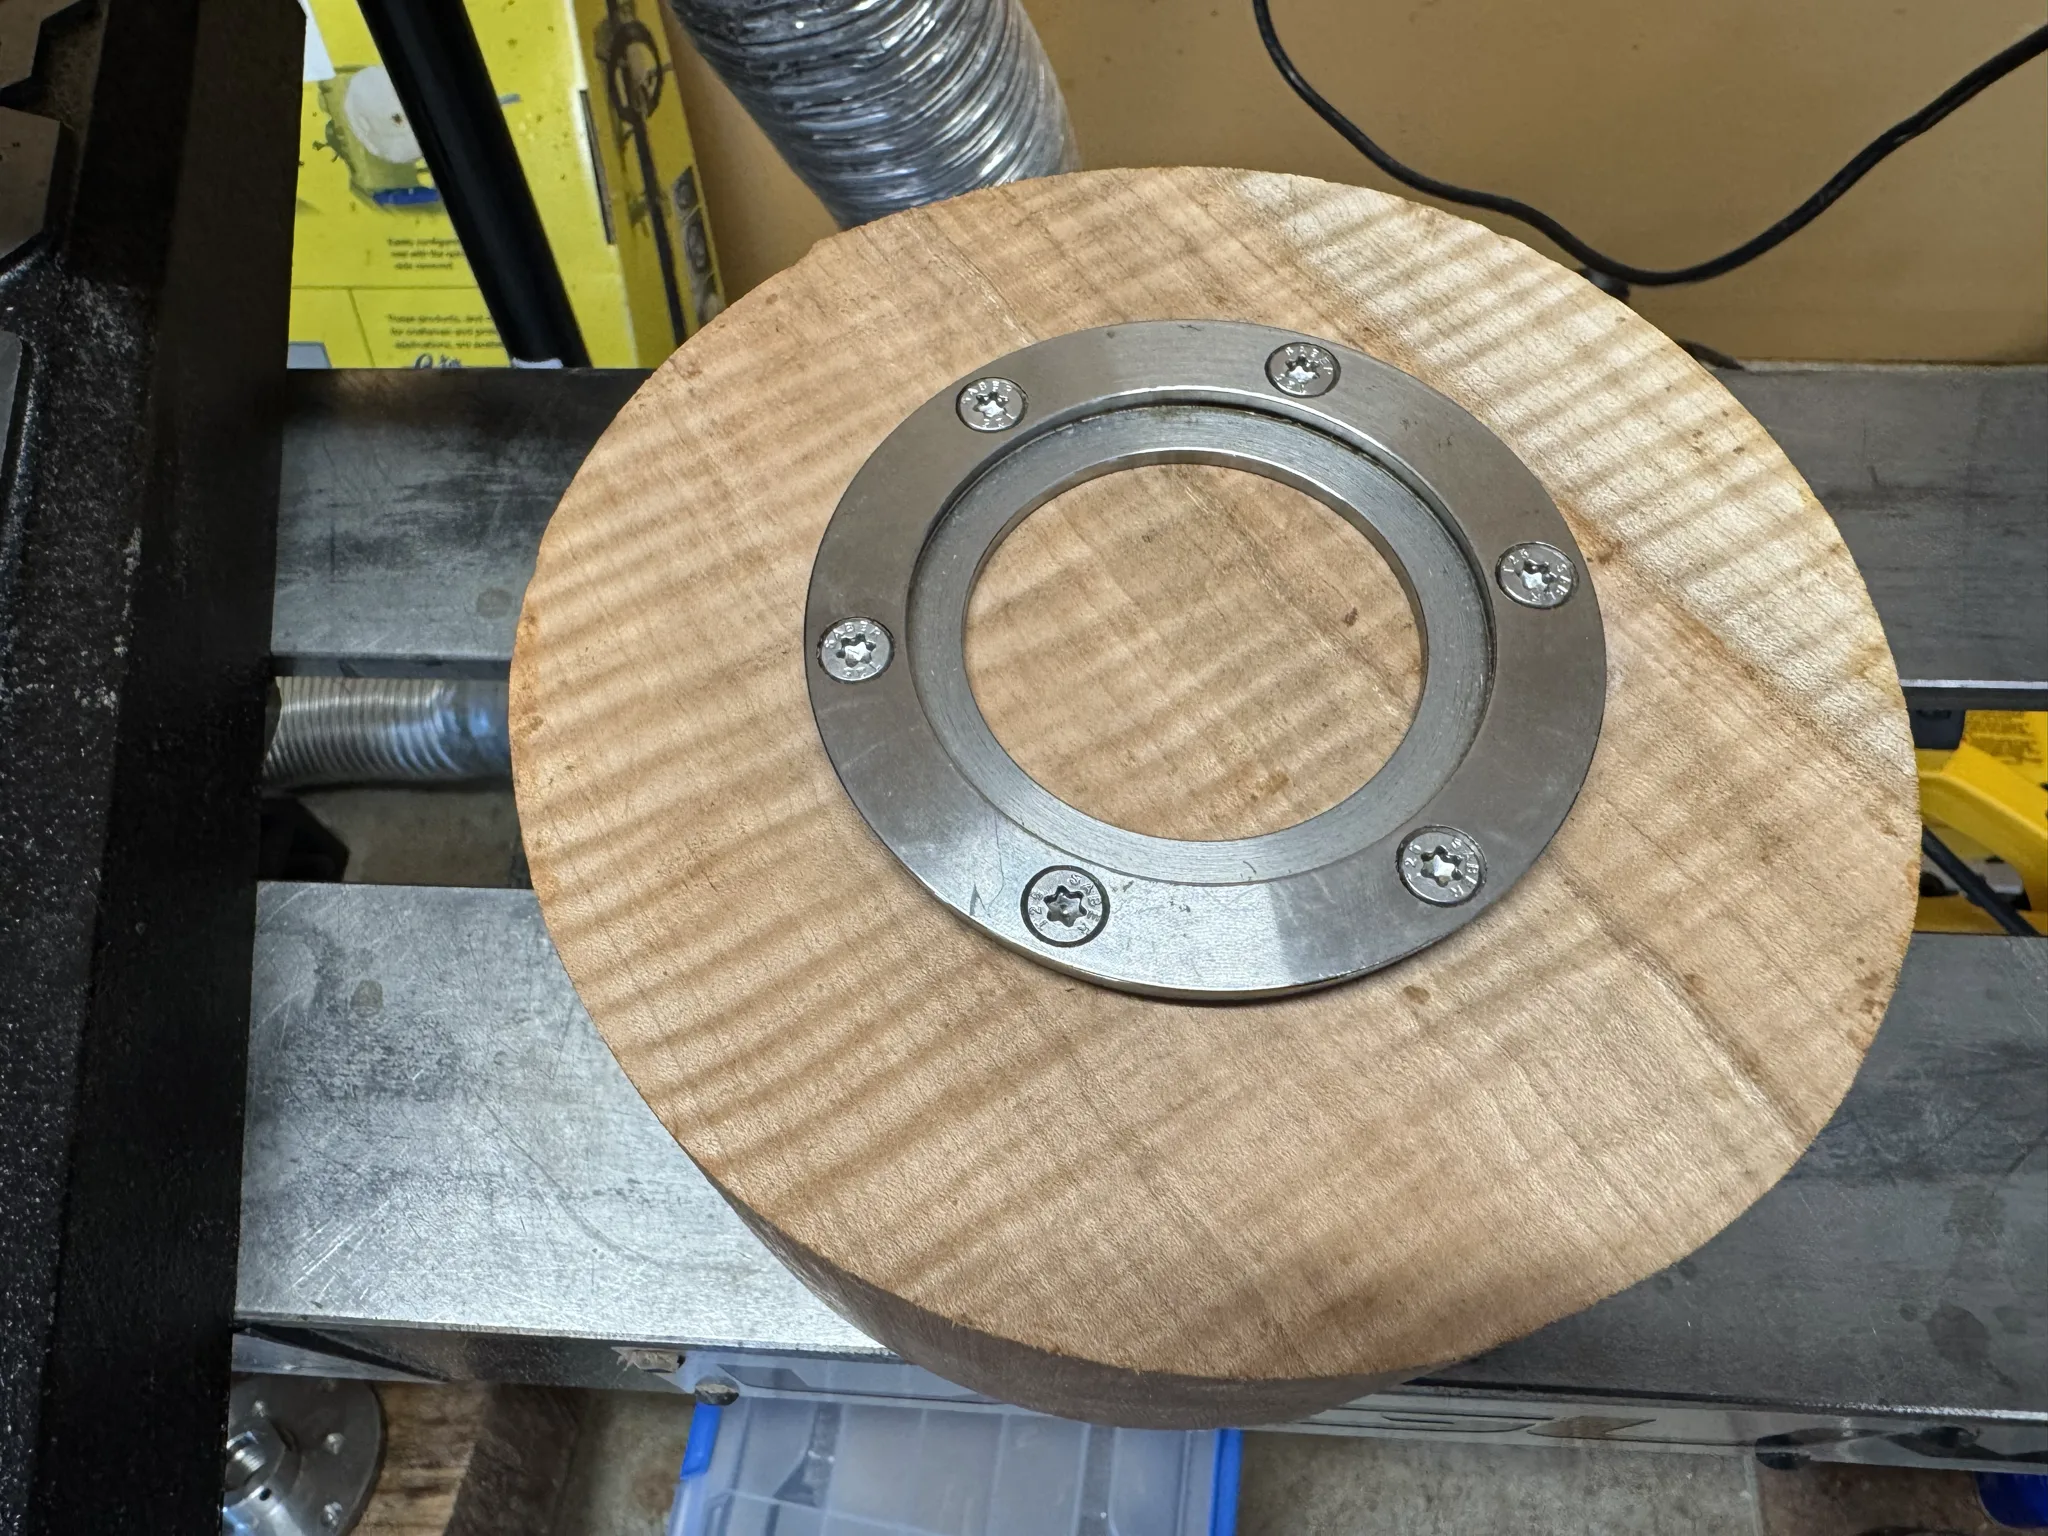
Here the chuck jaws expand into the faceplate with a firm grip.
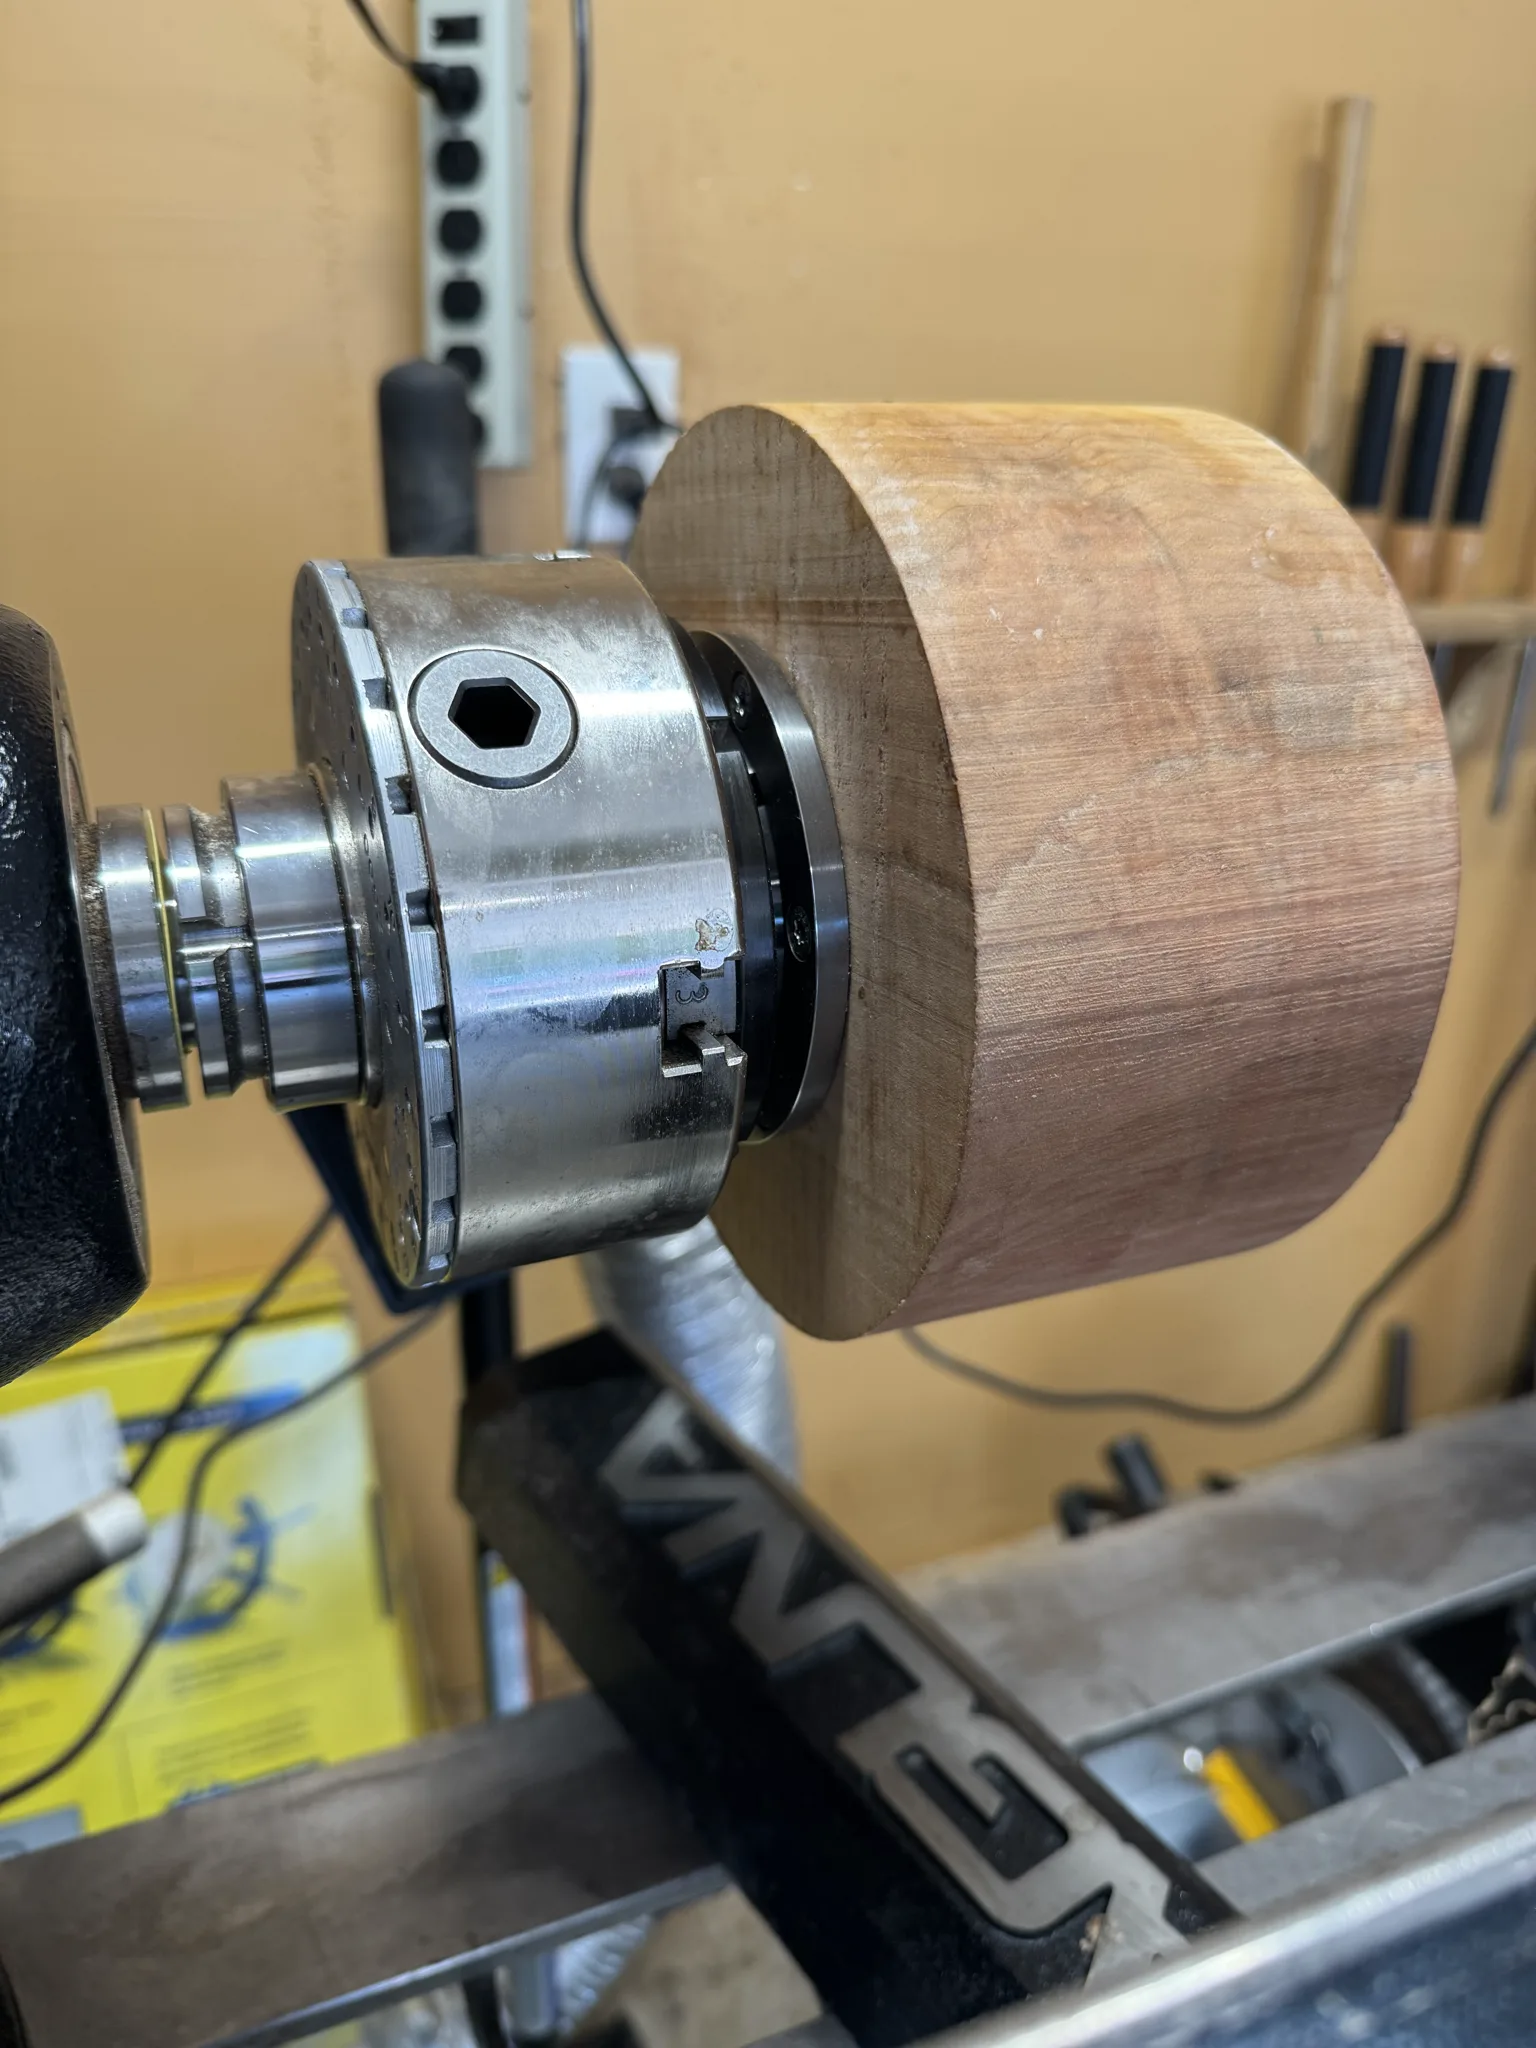
The tail stock is brought up to the other side and will be used as long as it isn’t in the way.
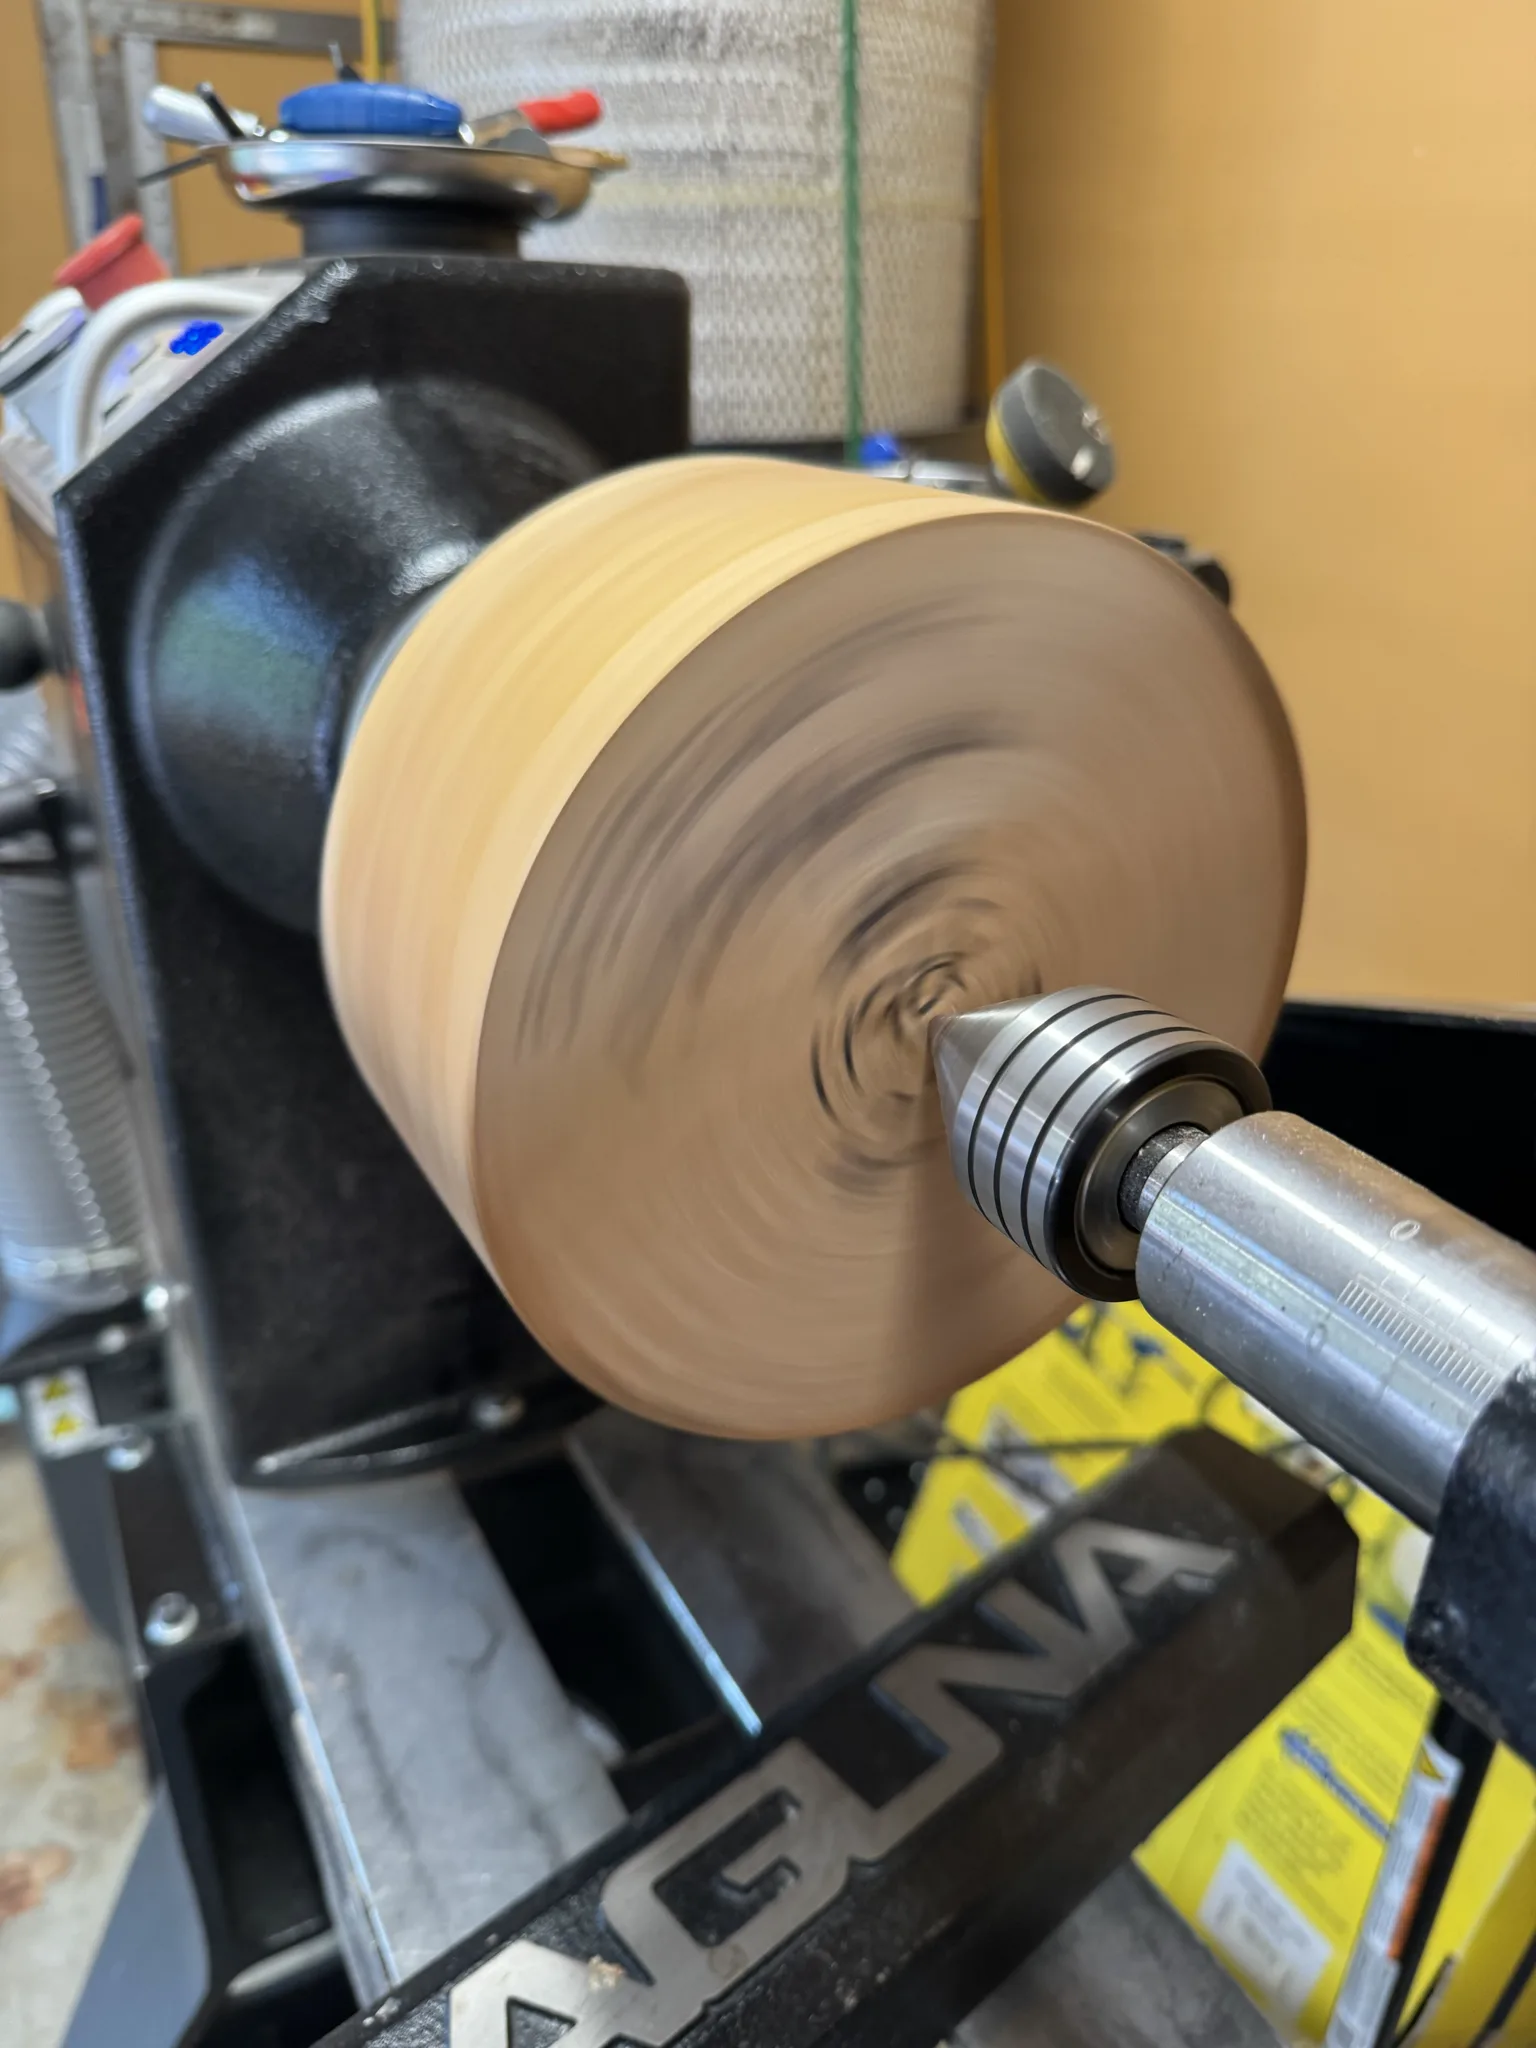
After turning off some material on the outside, I examine the profile. It takes me a while to get to the final shape.
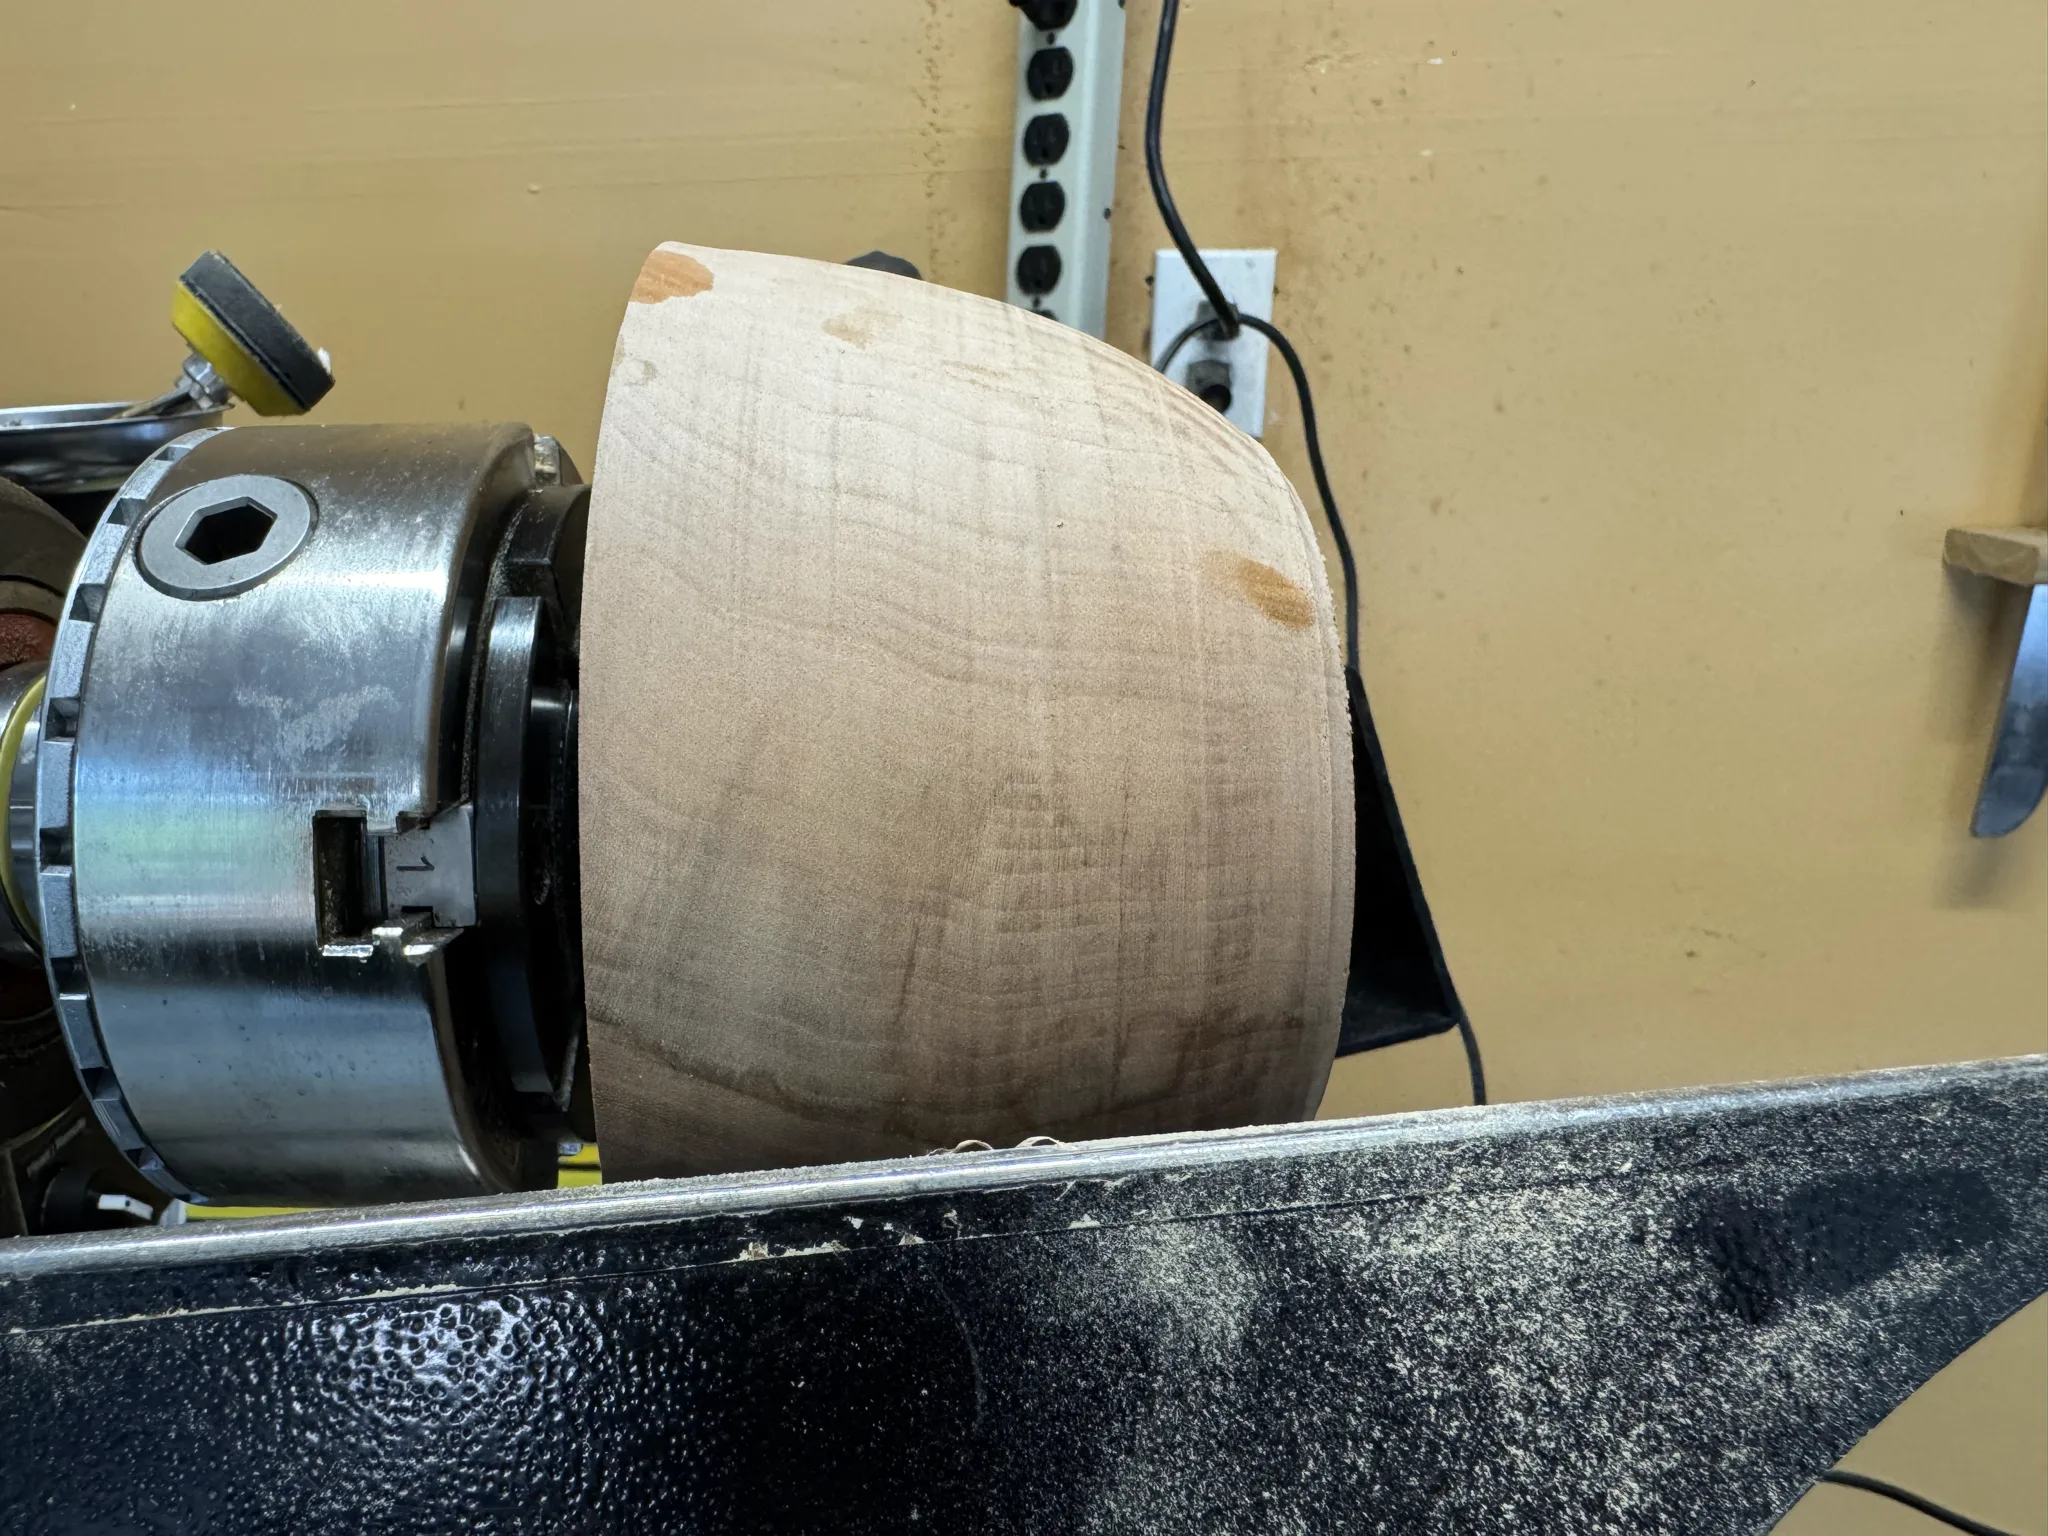
I mark lines with a pencil while the wood is turning slowly. Then I use these as a guide for making a tenon that can be used to hold the wood from the other side. I also mark where the foot of the bowl will be.
A tenon is a piece that stick out that the jaws on the chuck can clench down on. A recess is the alternative and is an indentation into the wood that the jaws on the chuck can fit in and expand into. A tenon is nice because it can be turned off, leaving no trace of how the bowl was held onto the lathe. I tend not to try to erase the recess, though maybe I should try that sometime. A nice thing about a recess however is if I later decide to put the bowl back on the lathe, then I have something to hold it by. This isn’t really a great benefit because wood moves and its not always successful trying improve a bowl by turning it a second time.
In the picture, I’m showing that I can use a parting tool as one means for cutting along my marks. Its not ideal but works. Depending on how much room I have, I can use other cutting tools as well to get the job done.
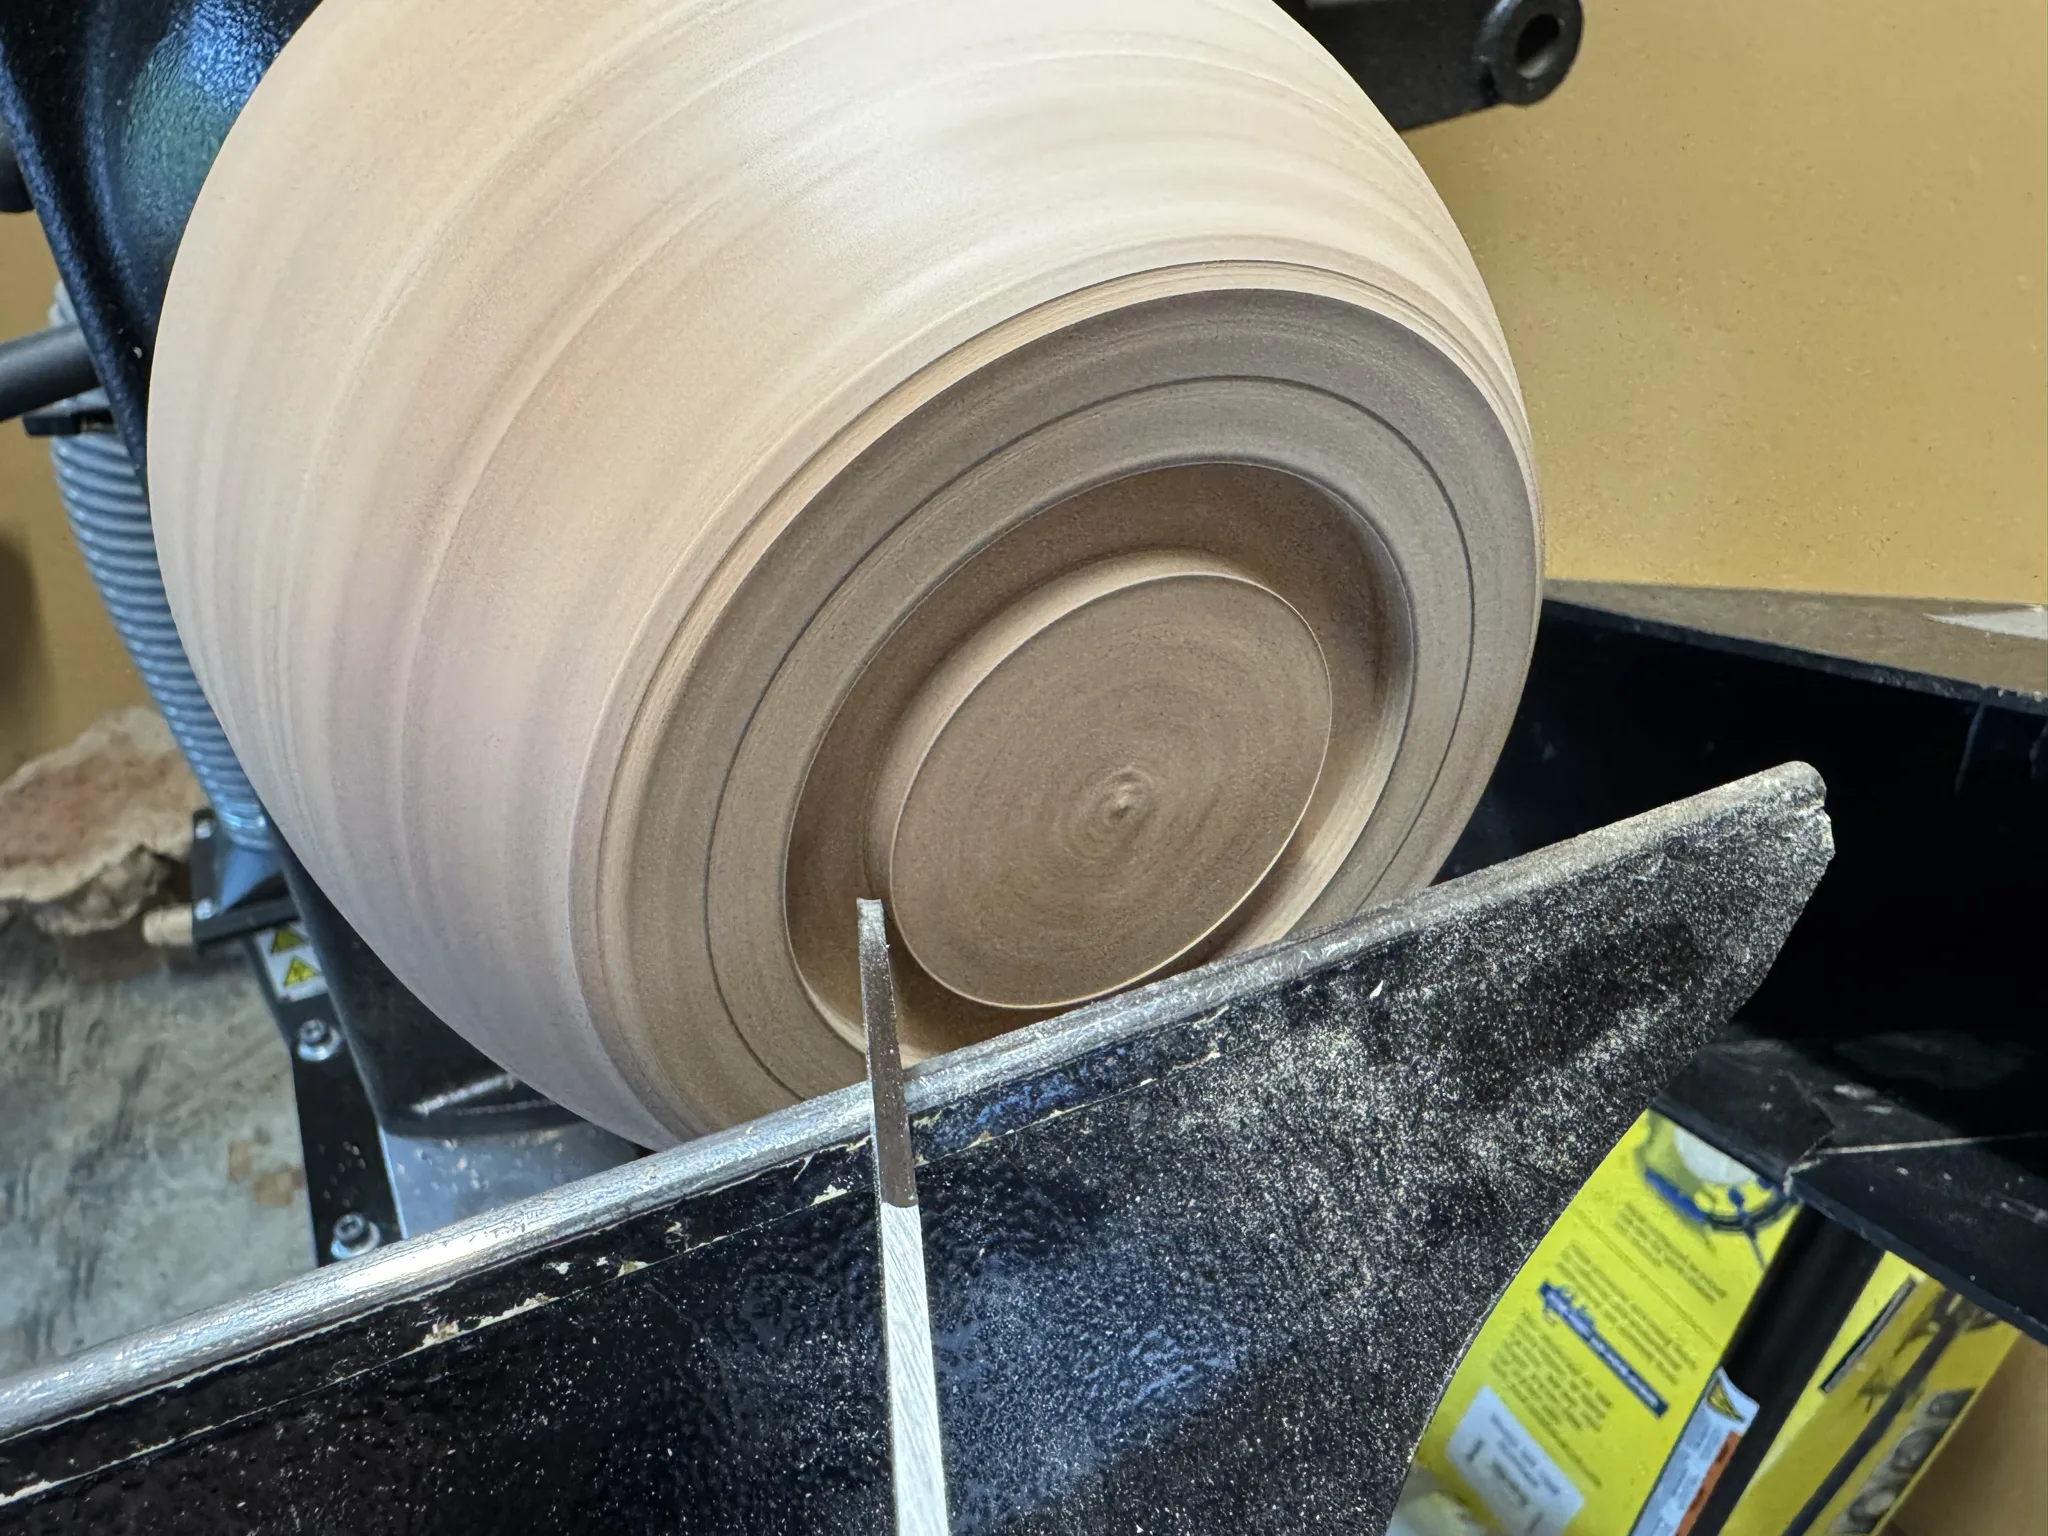
Now I’ve made the foot for bowl.
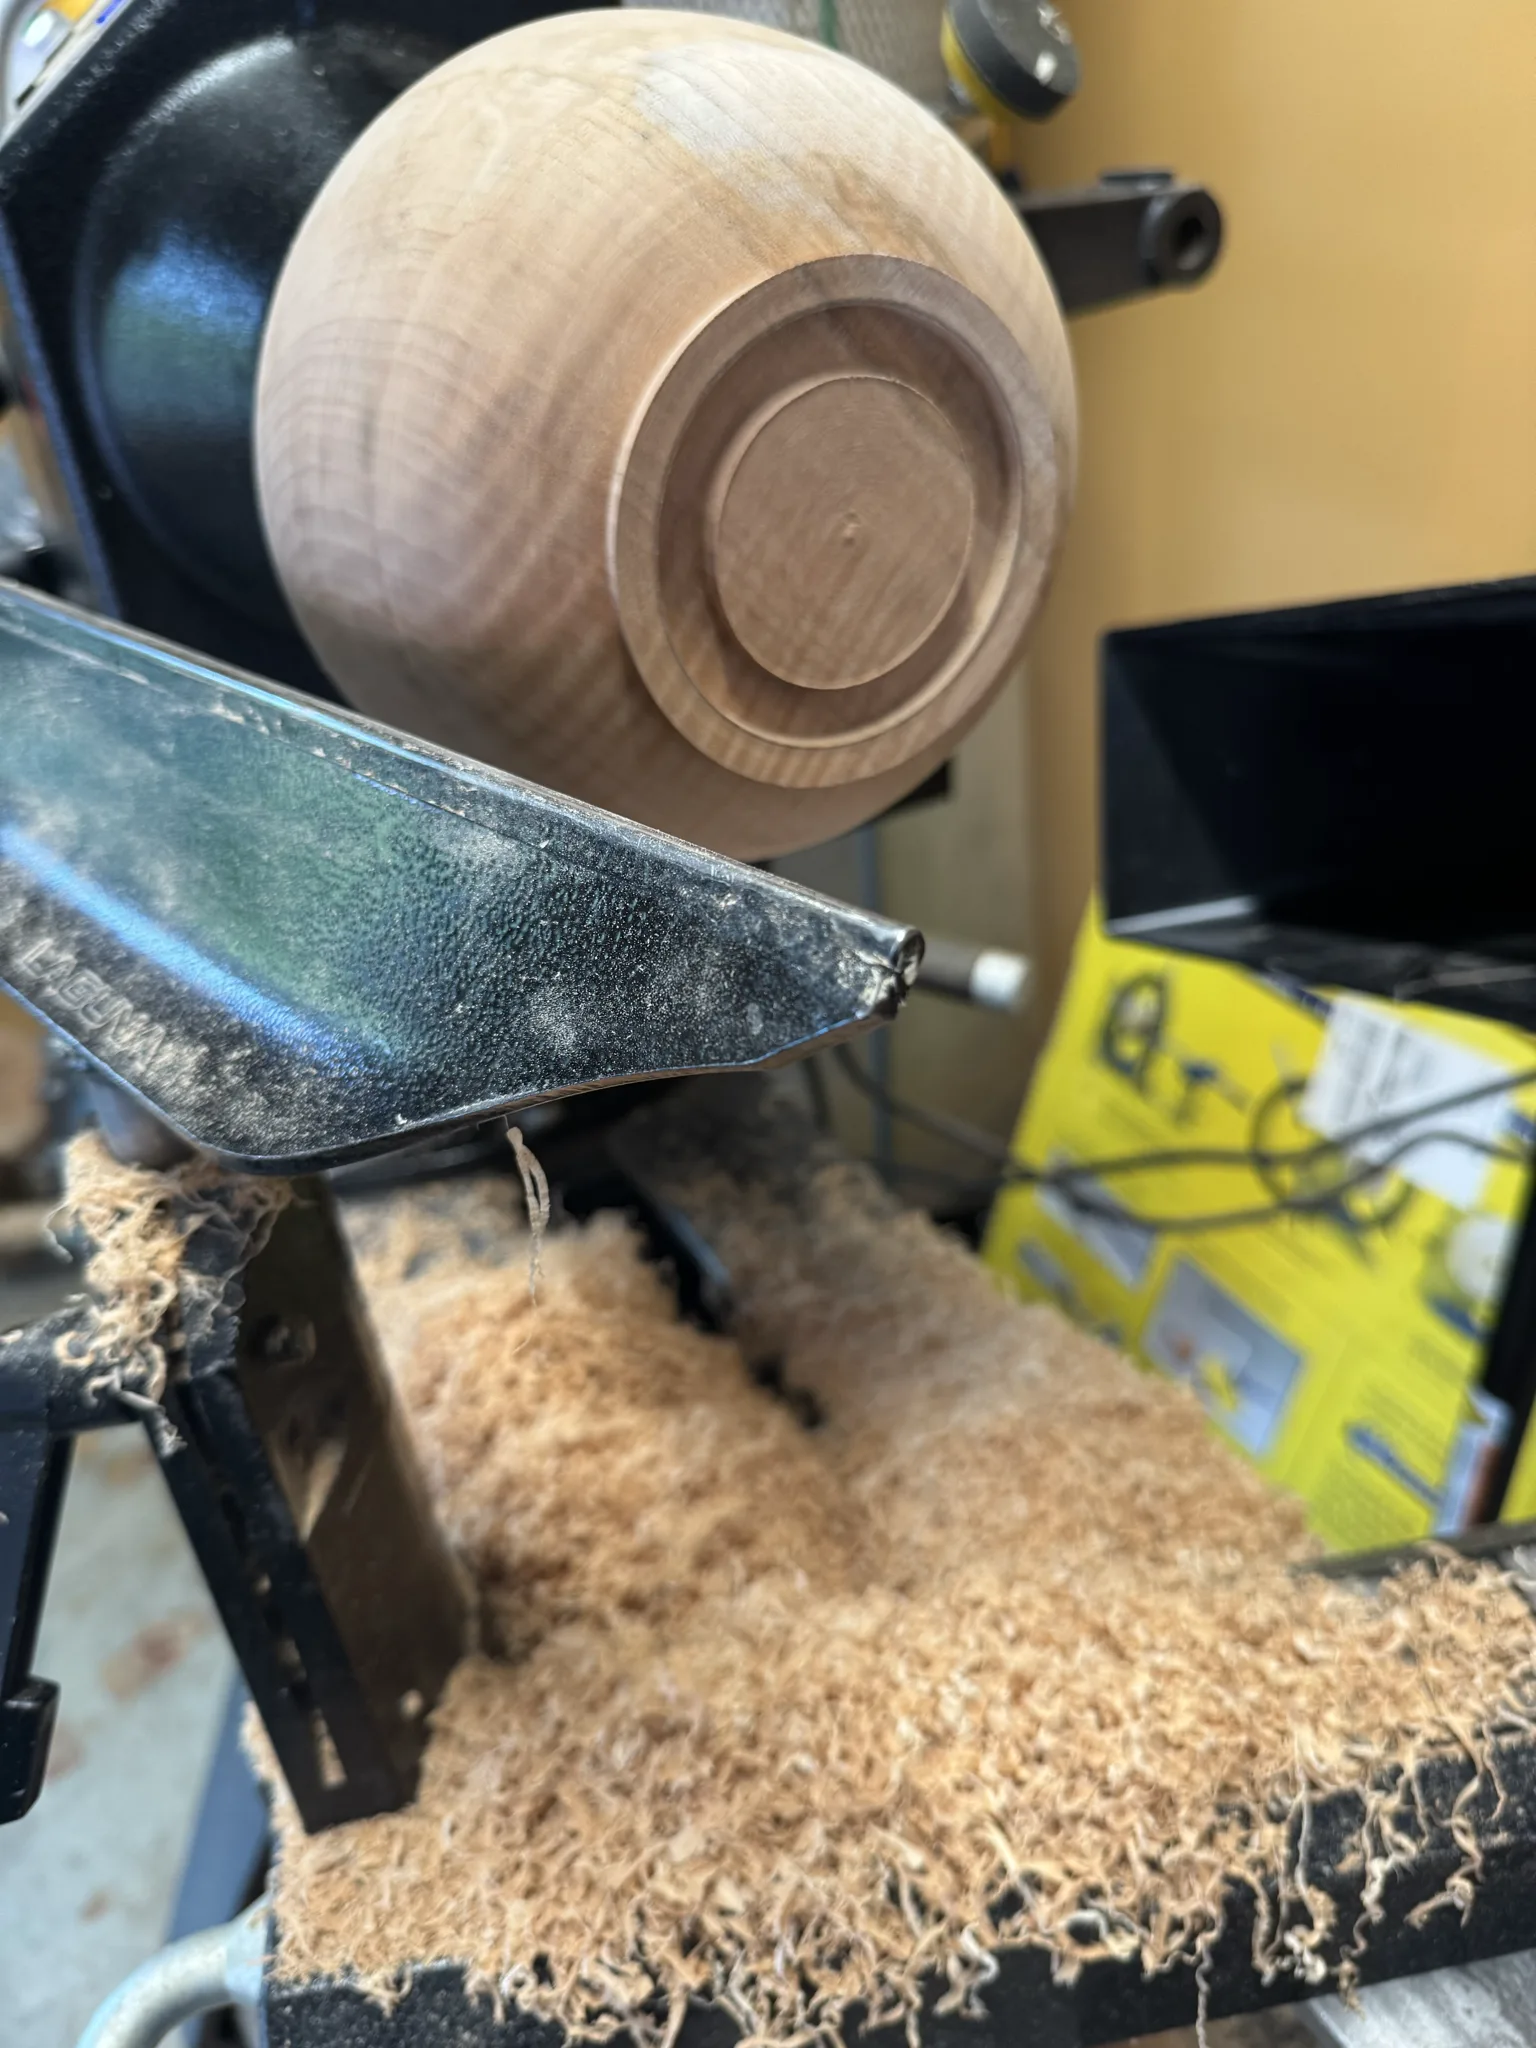
I continue to work on the shaping of the bowl. I do some shear scraping with a bowl gouge.
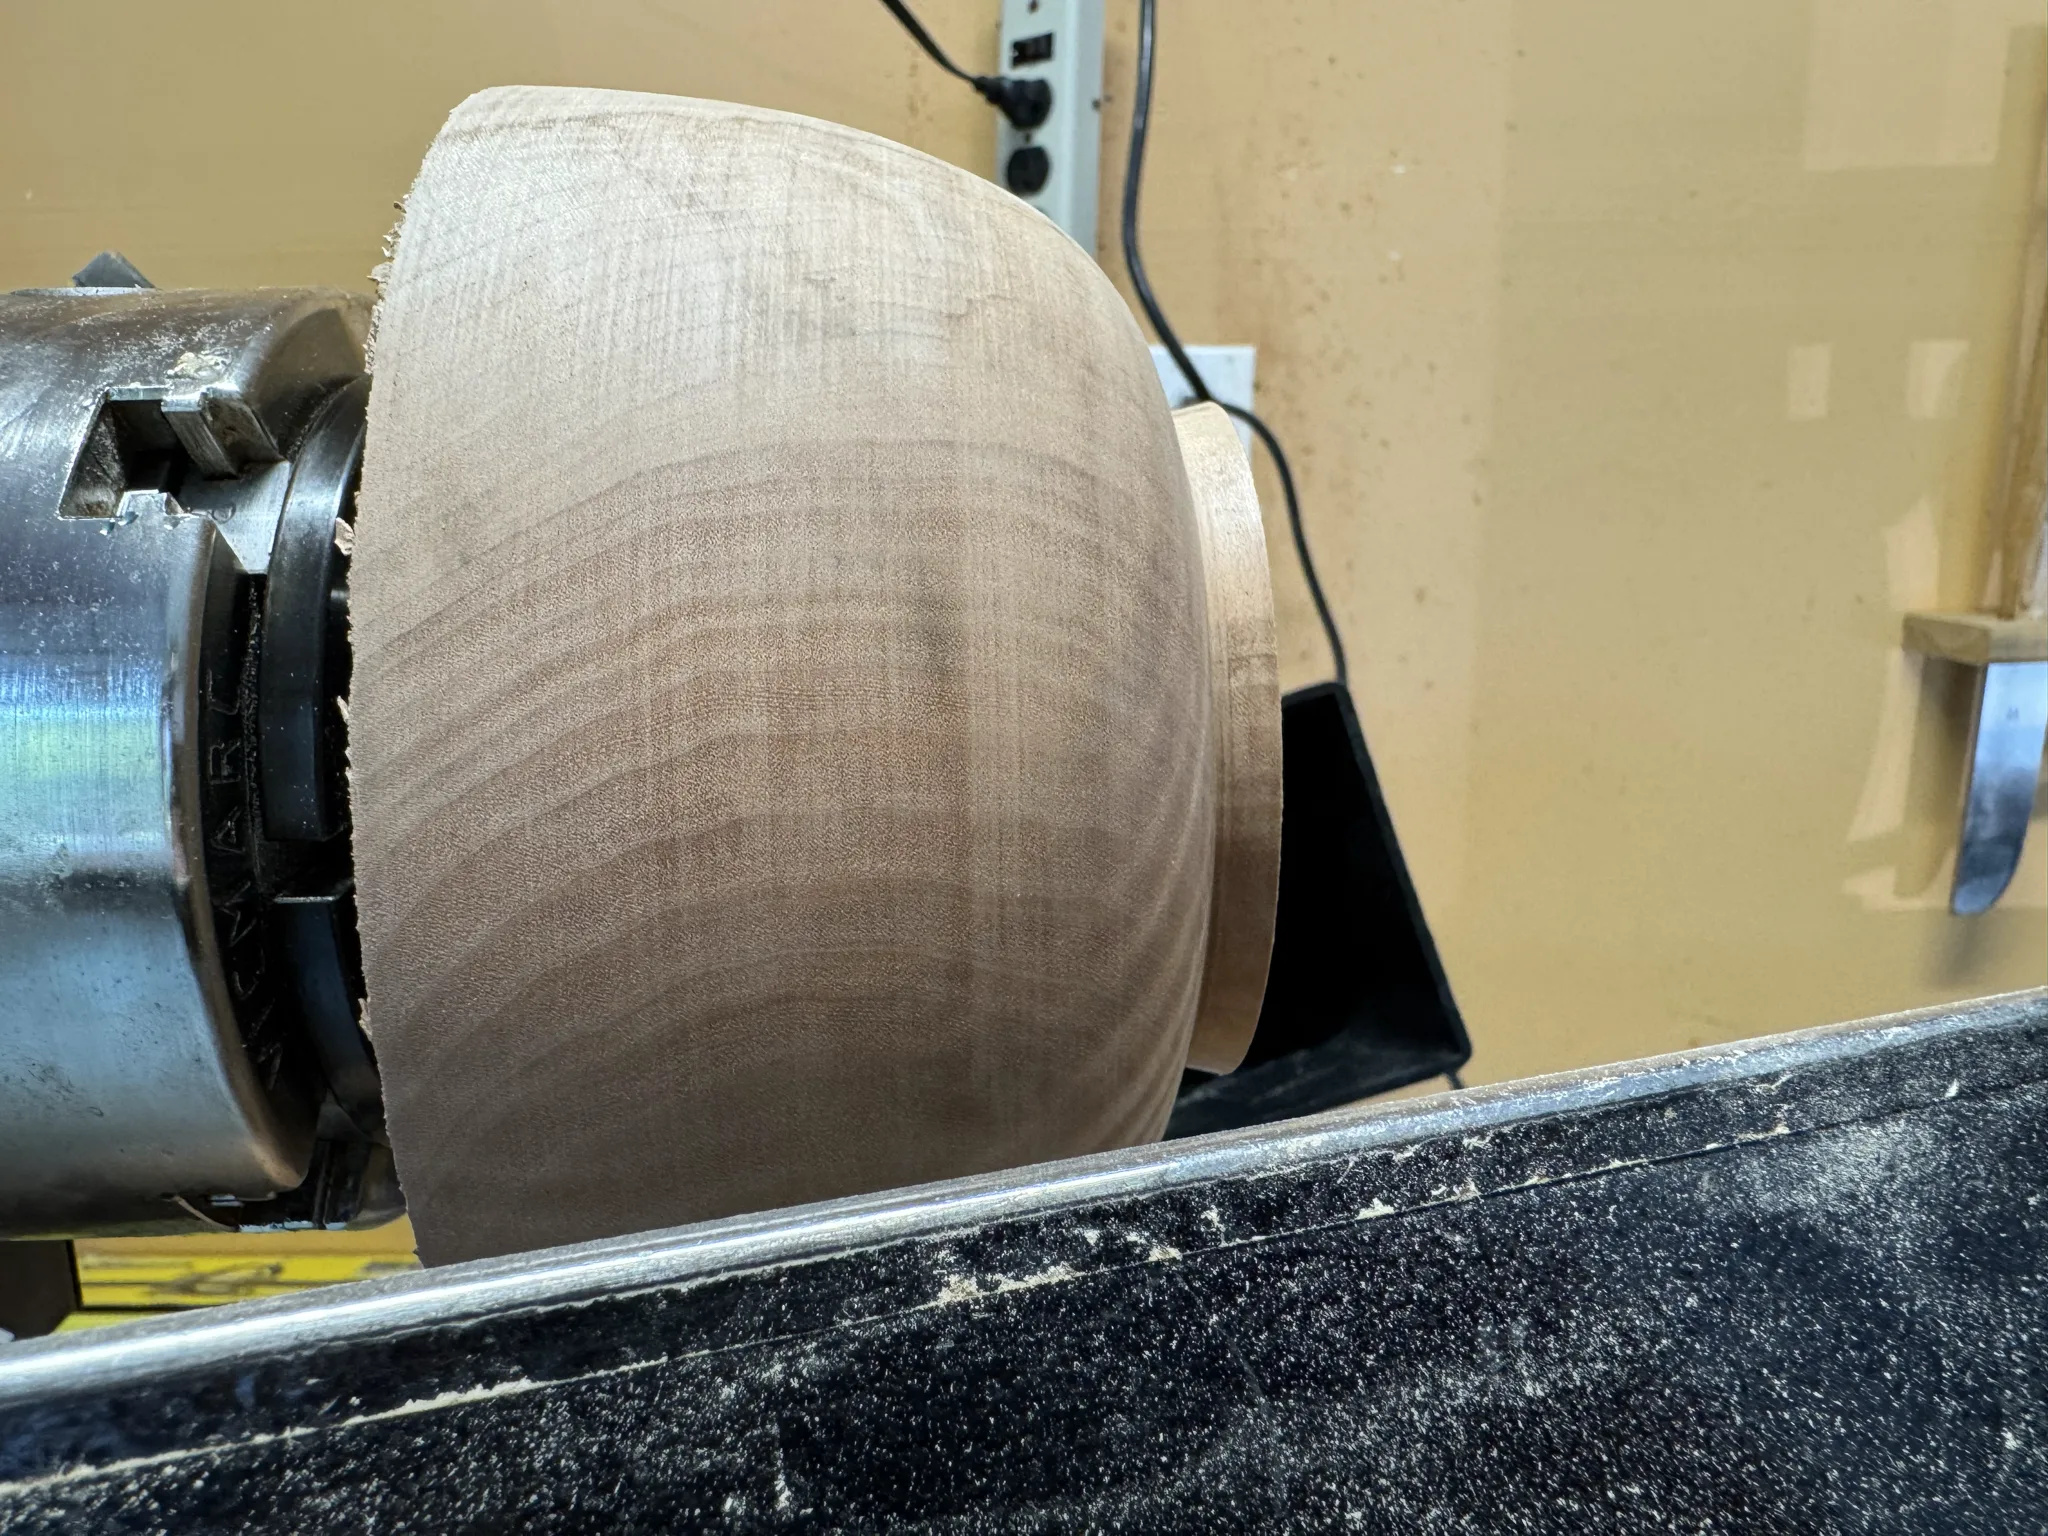
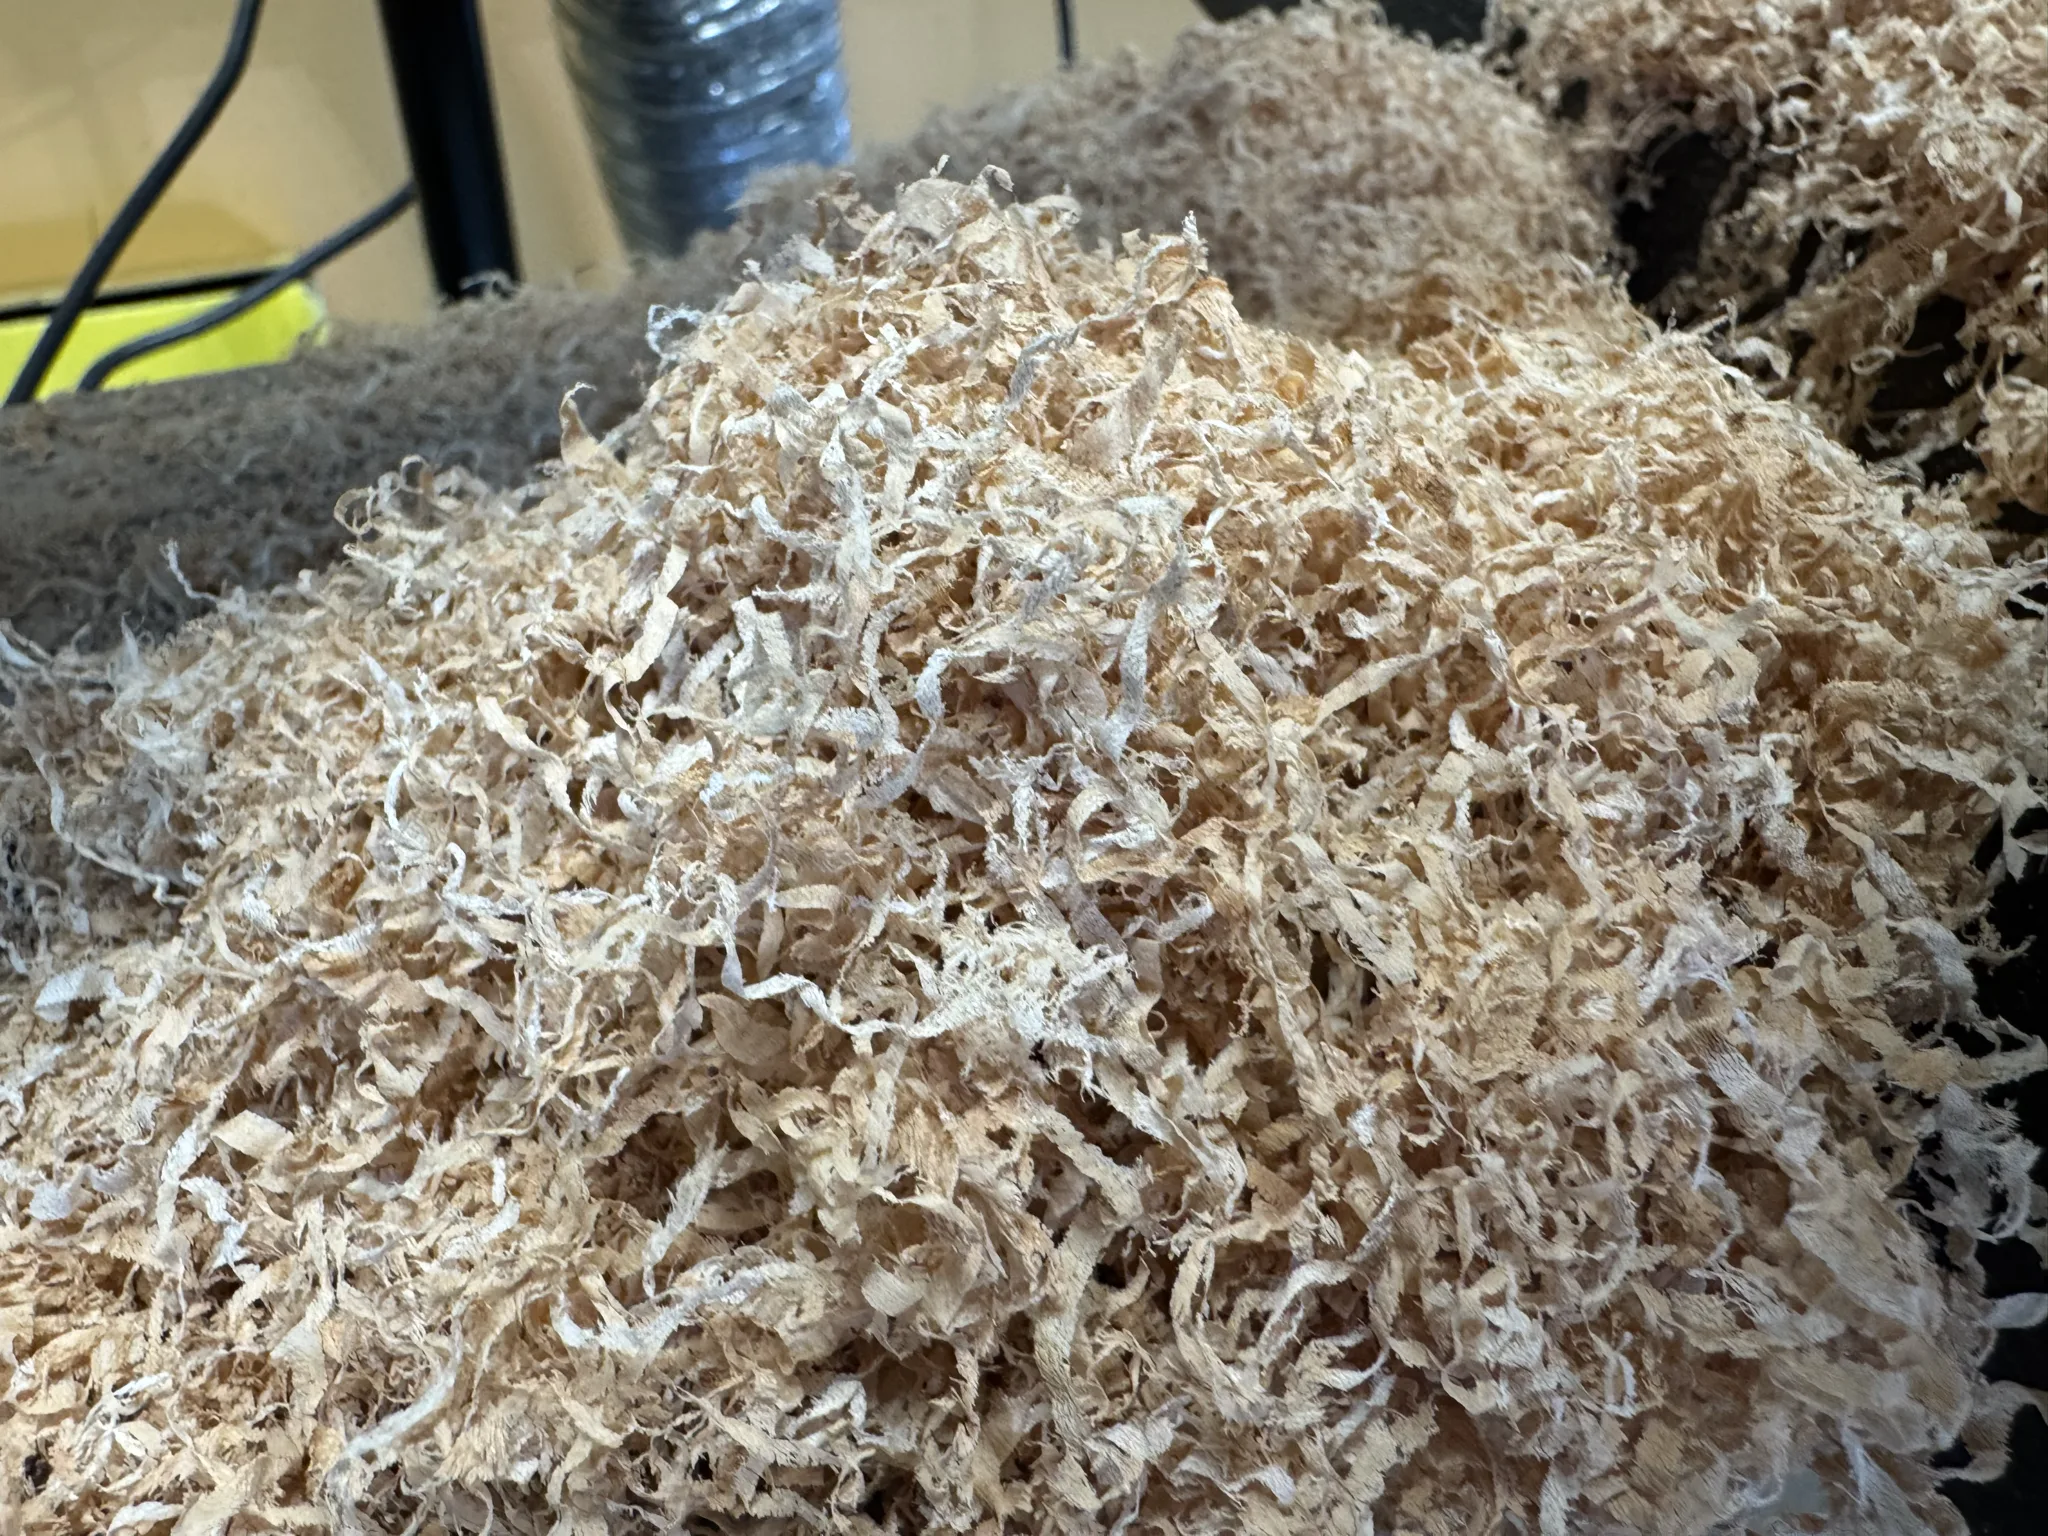
The shear scraping results in some fine shavings, which is a good indication that the surface should be improving.
Once satisfied with the outside, I mount the bowl on the other side and take off the faceplate.
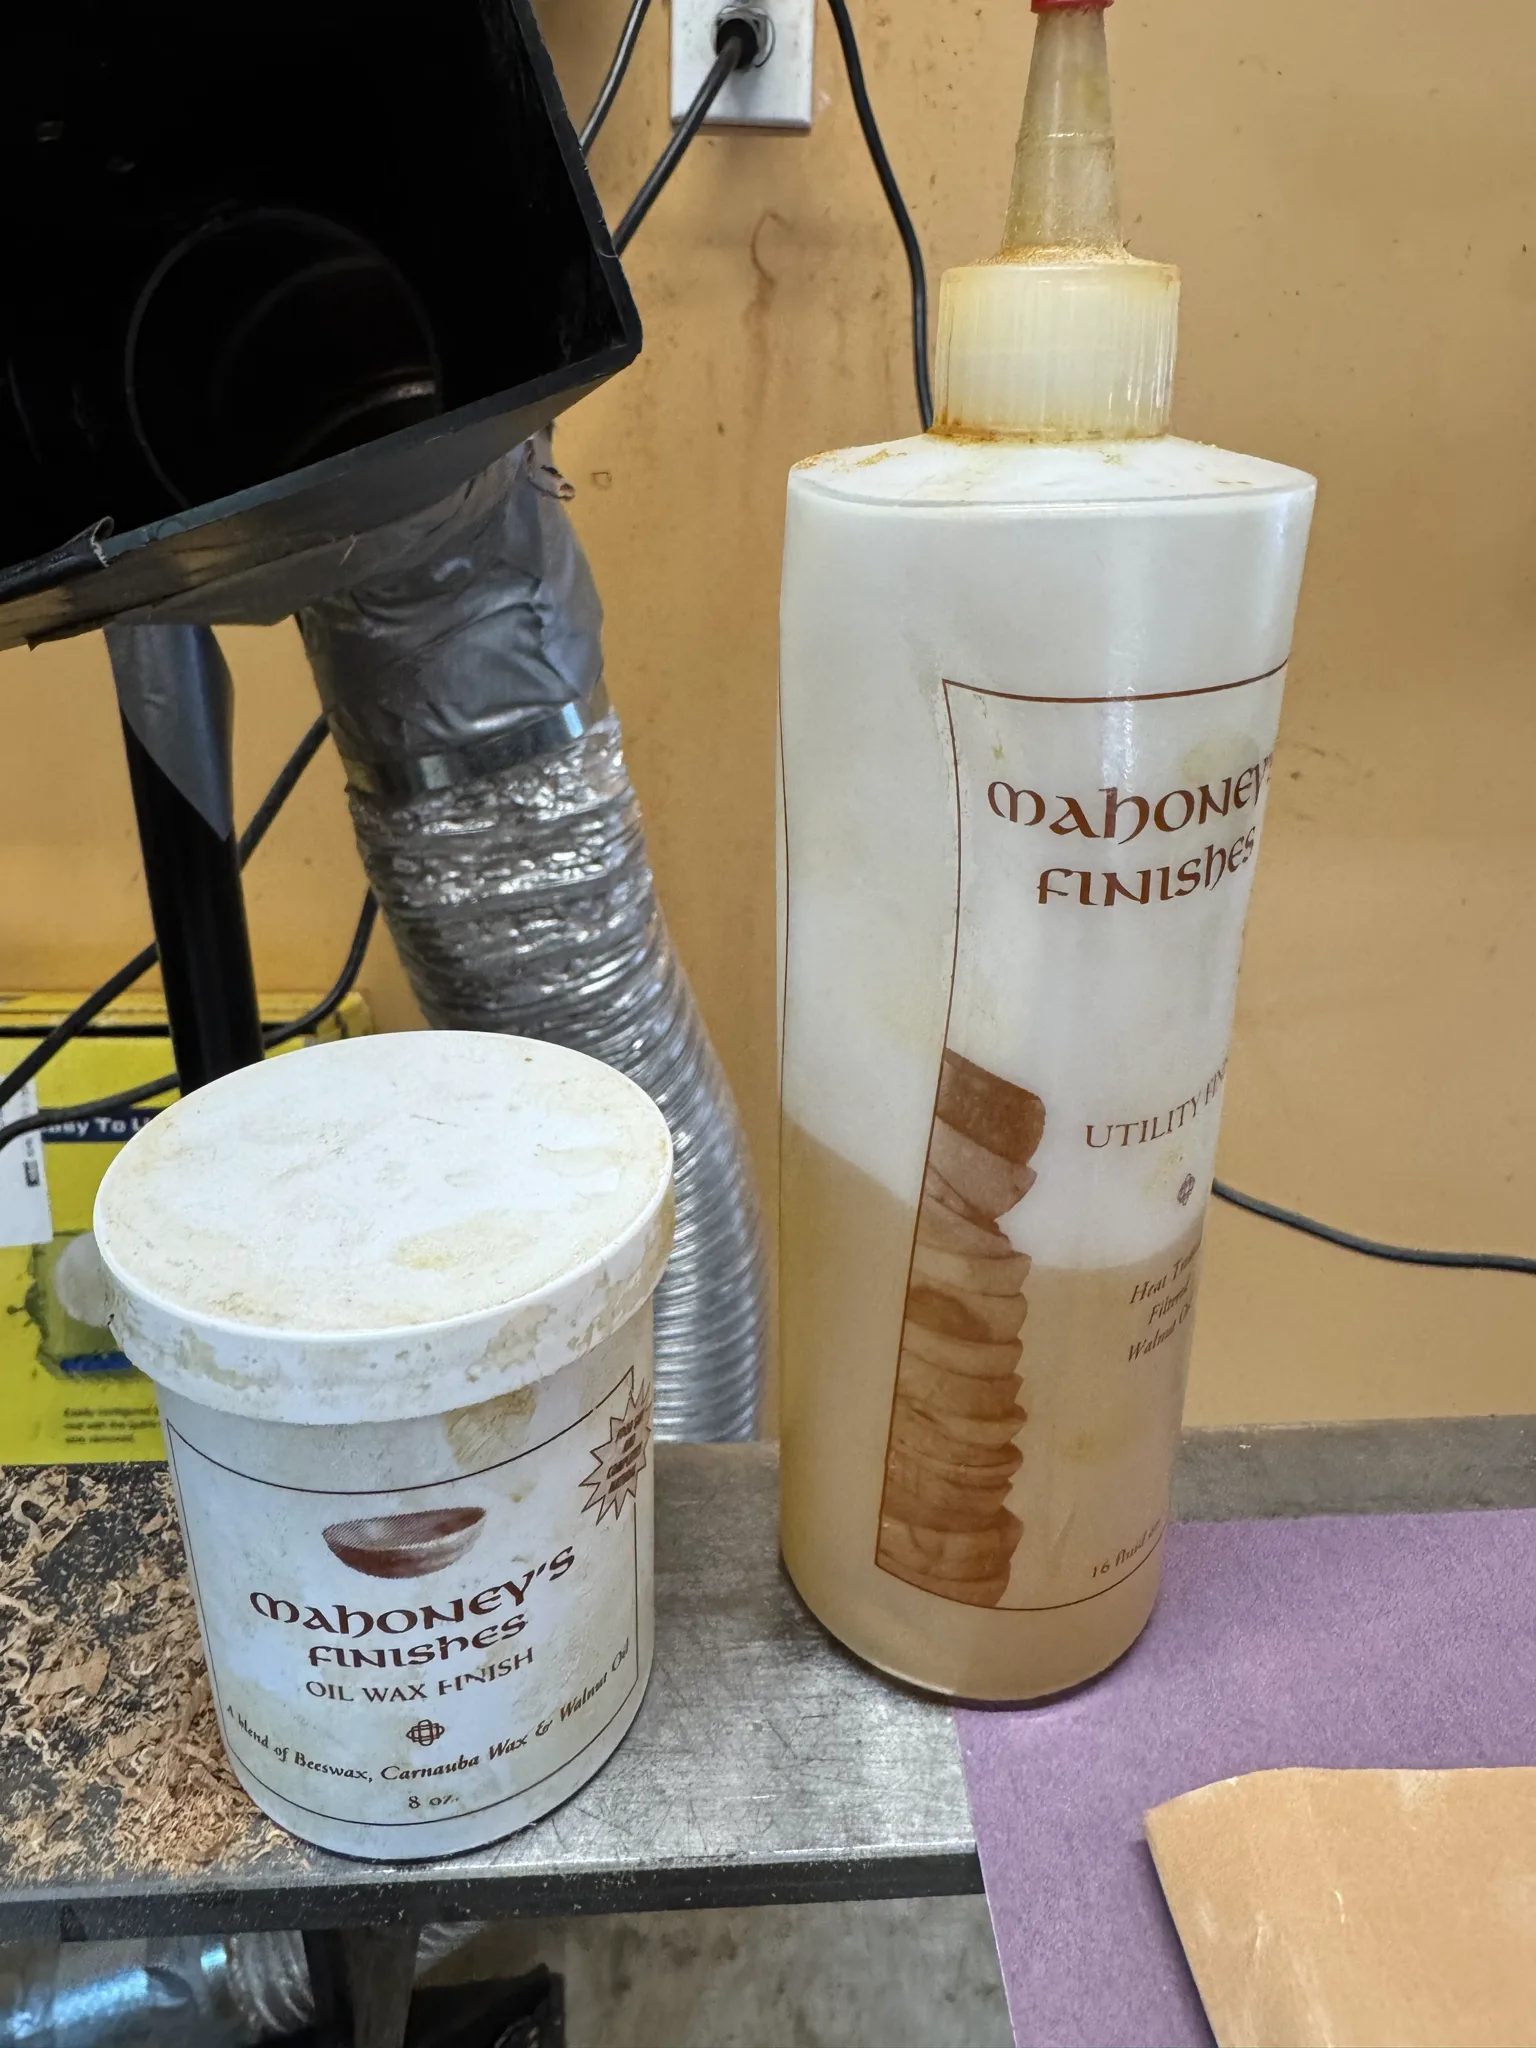
I decide to go ahead and put some finishing on the outside. In this case I’m using some walnut oil and walnut oil wax. This is a nice easy finish that leaves a satin like shine; almost no shine which keeps the item looking natural.
Here is the bowl after the walnut oil and was have been applied.
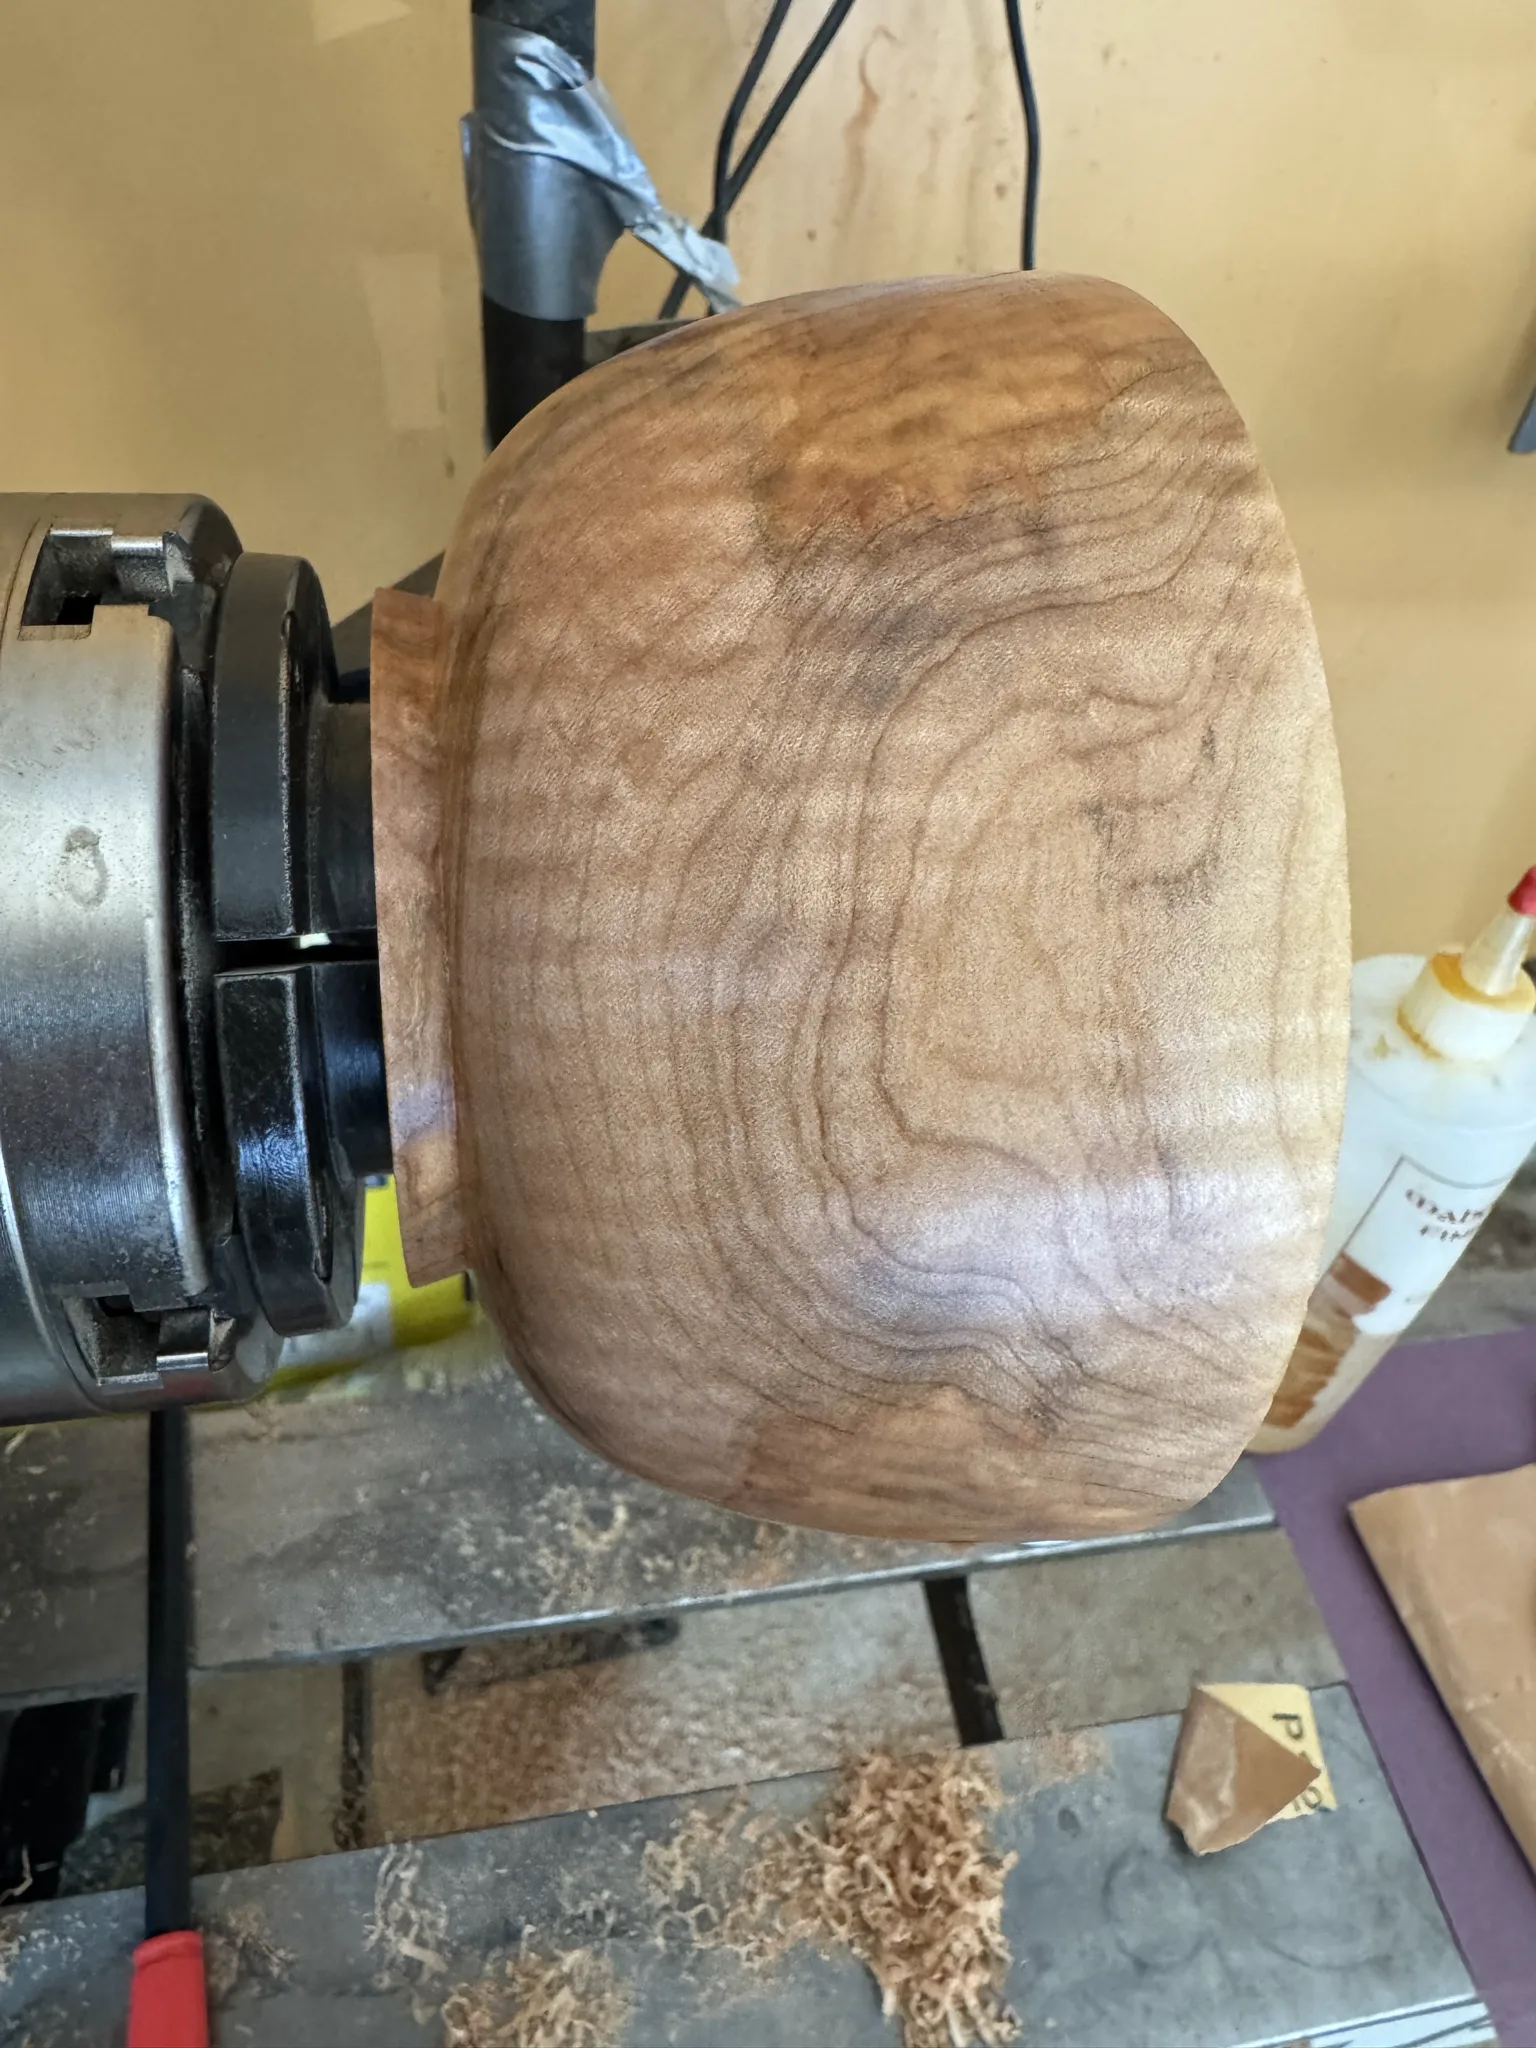
Now I’m ready to begin hollowing out the bowl.
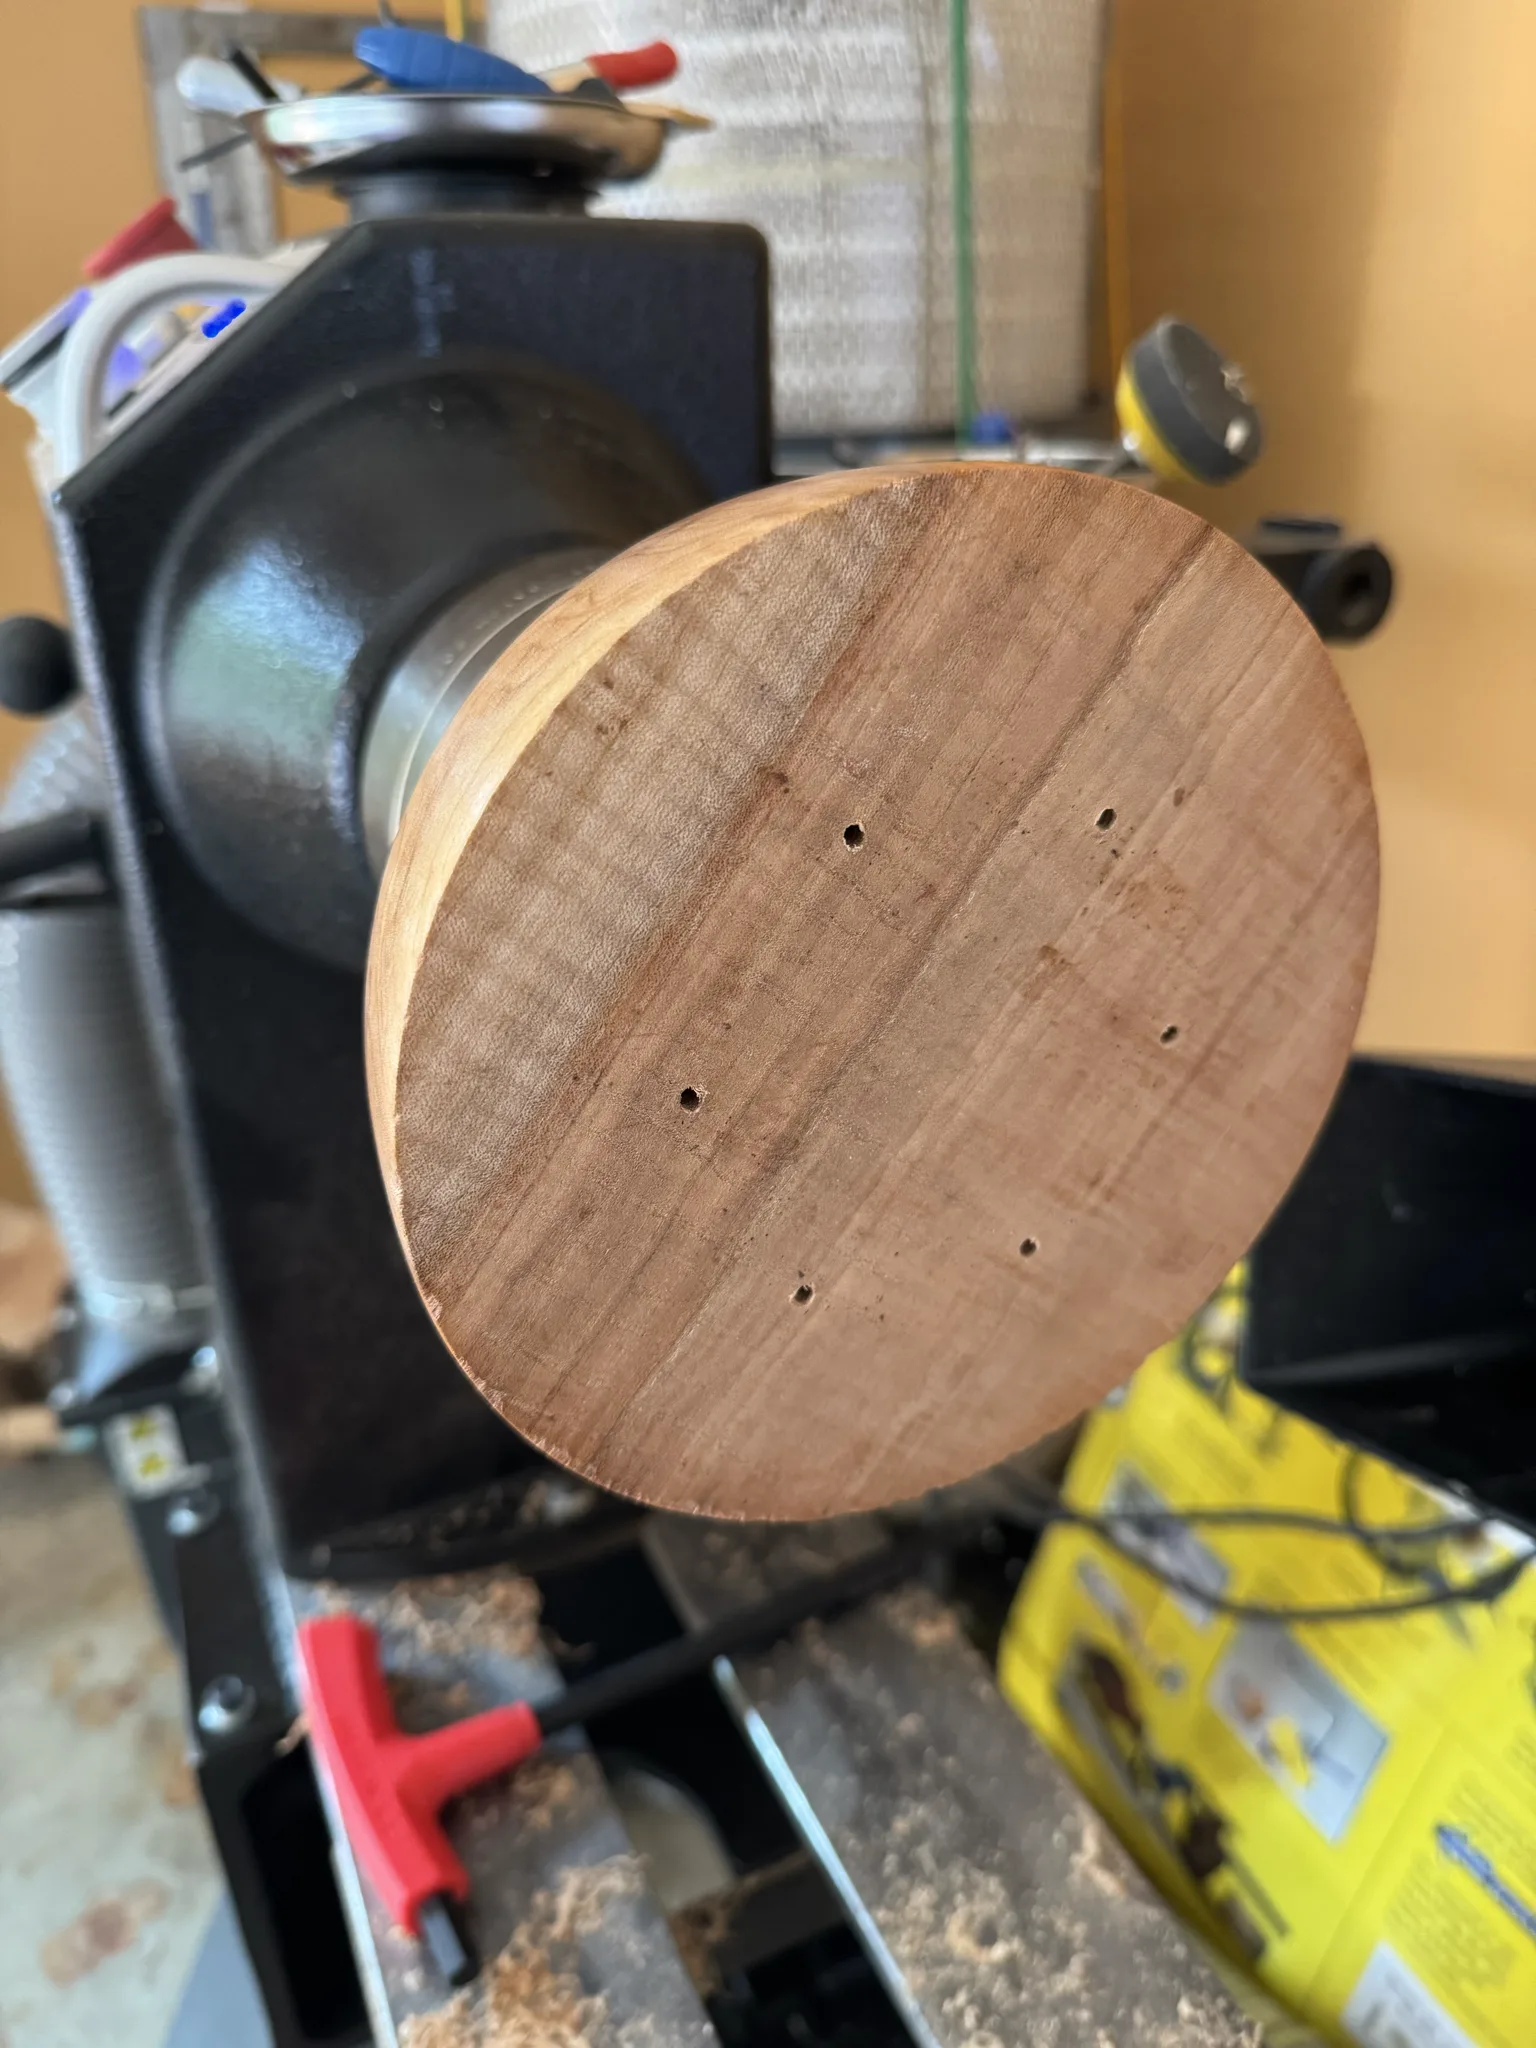
Here the hollowing out is in process. I want to make the inside curve follow the outside curve and maintain even thickness along the wall of the bowl.
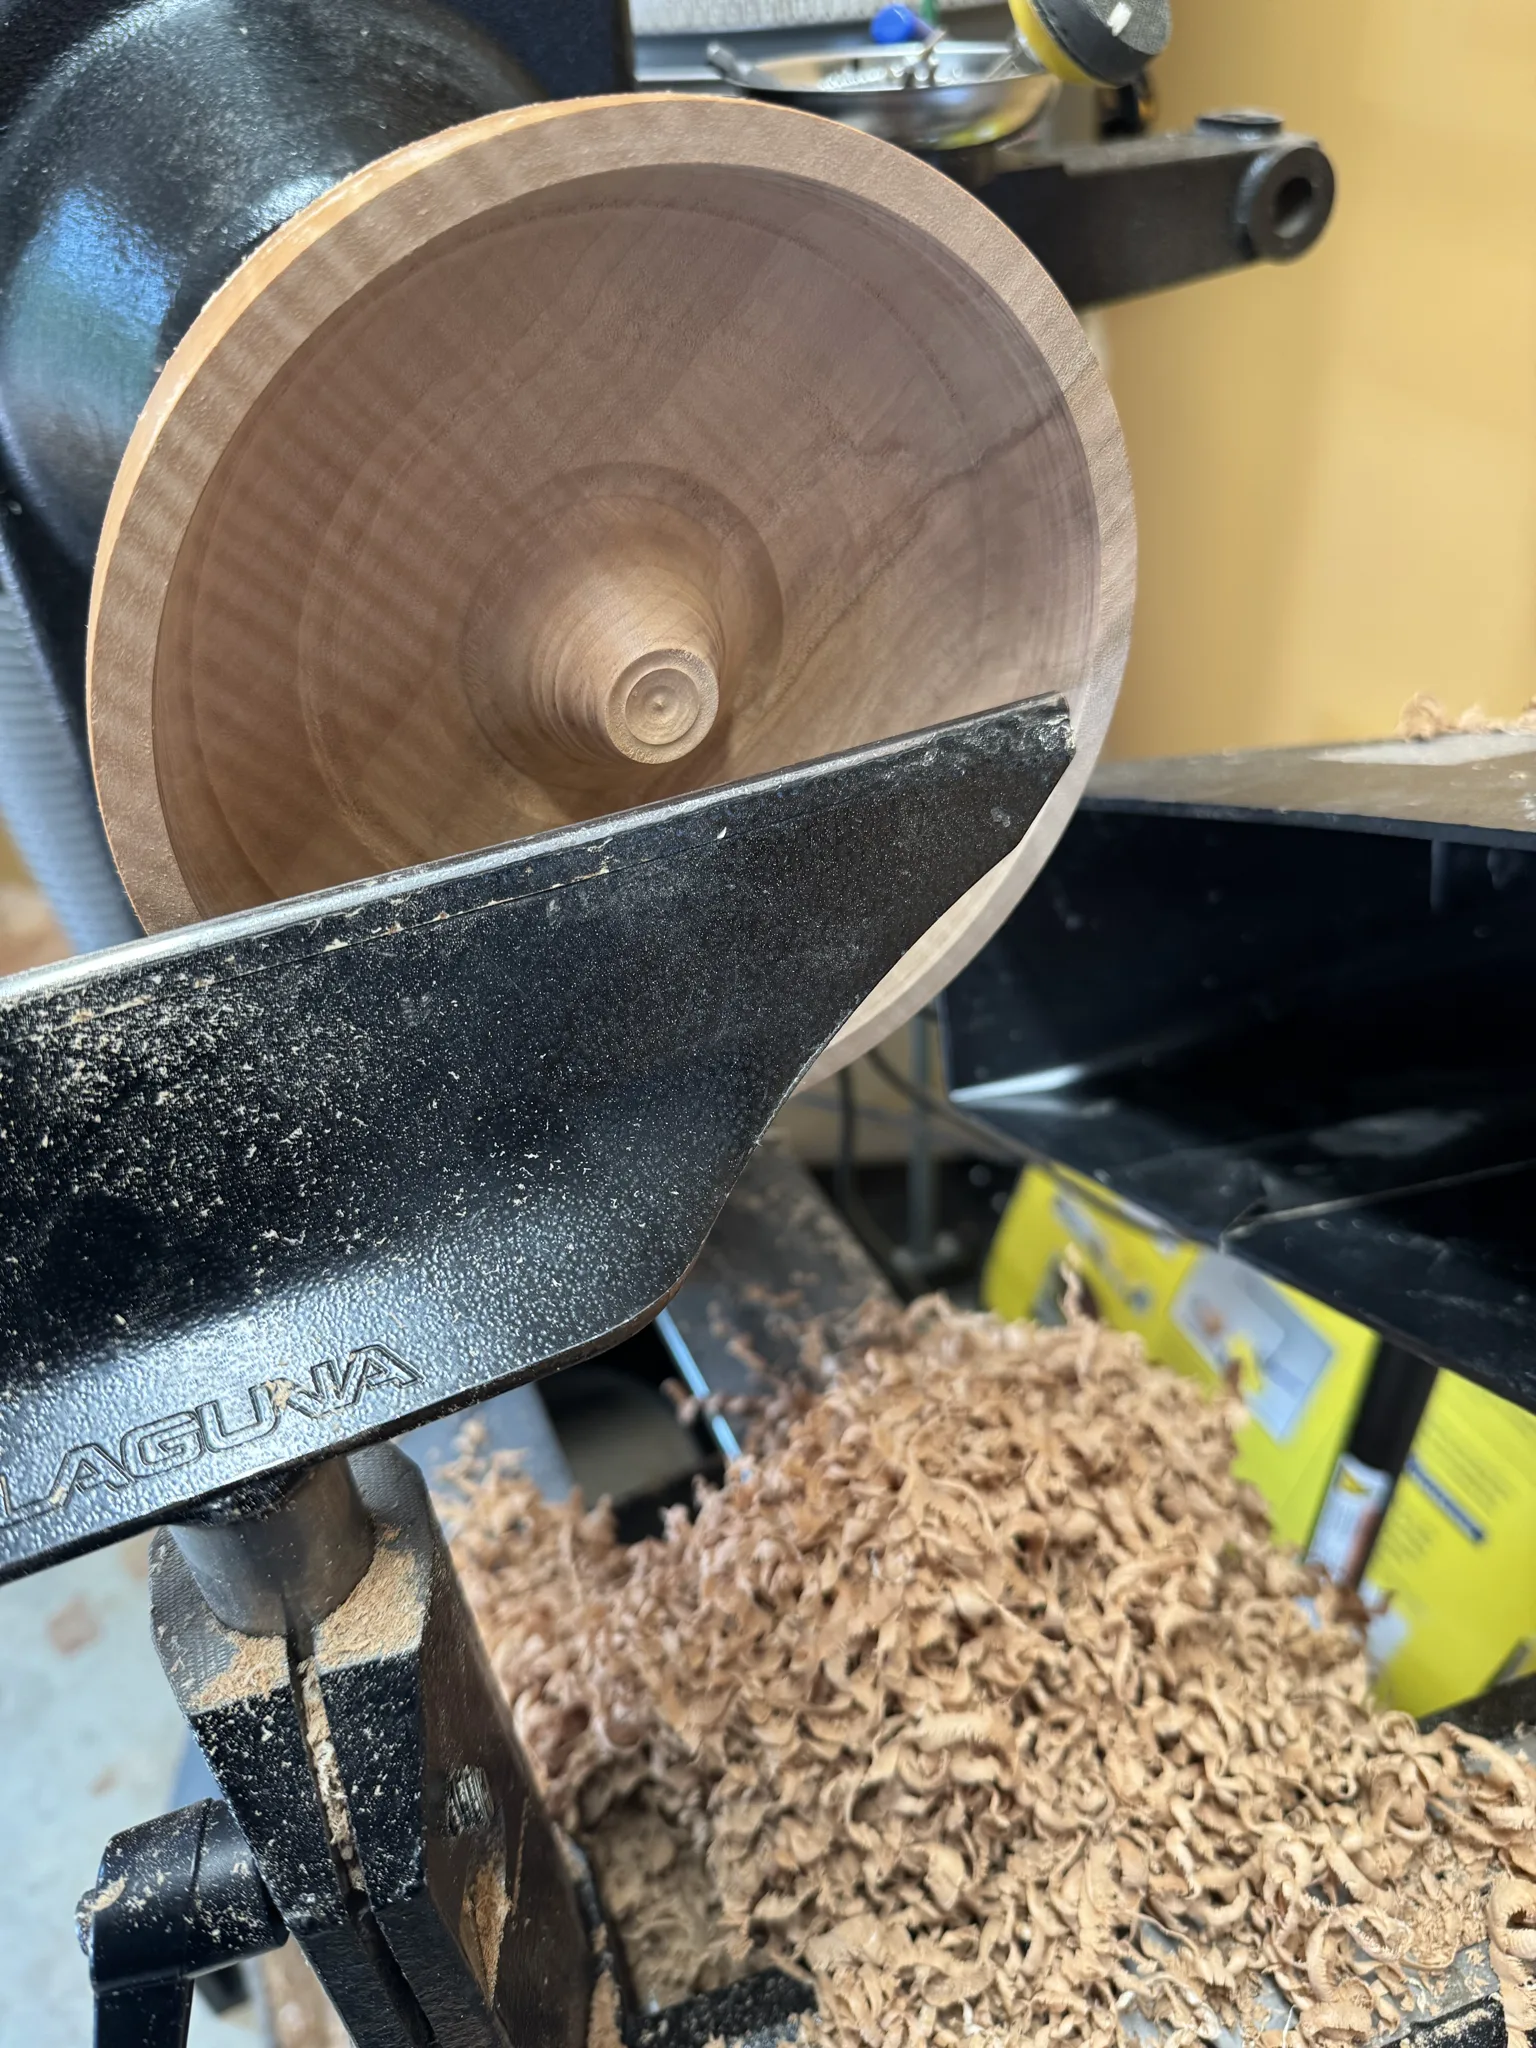
The inside walls are showing toolmarks. I can shear scrape the inside of the bowl. The picture is showing the bowl gouge in the approximate position I would shear scrape the inside. I’m unable to take pictures while actually doing the work because it takes both hands and some concentation. Shear scraping inside the bowl is an easy way to get a “catch” if I’m not careful, so I’m being extra careful and taking very light passes.
A catch is when the tool digs into the wood leaving a nasty mark. This can happen when the tool is not presented to the wood properly to obtain a clean cut or the tool is not supported properly. Usually after a catch the bowl necessarily becomes thinner or smaller as needed to clean up the surface; in other words, it creates unexpected design decisions or can ruin the bowl altogether.
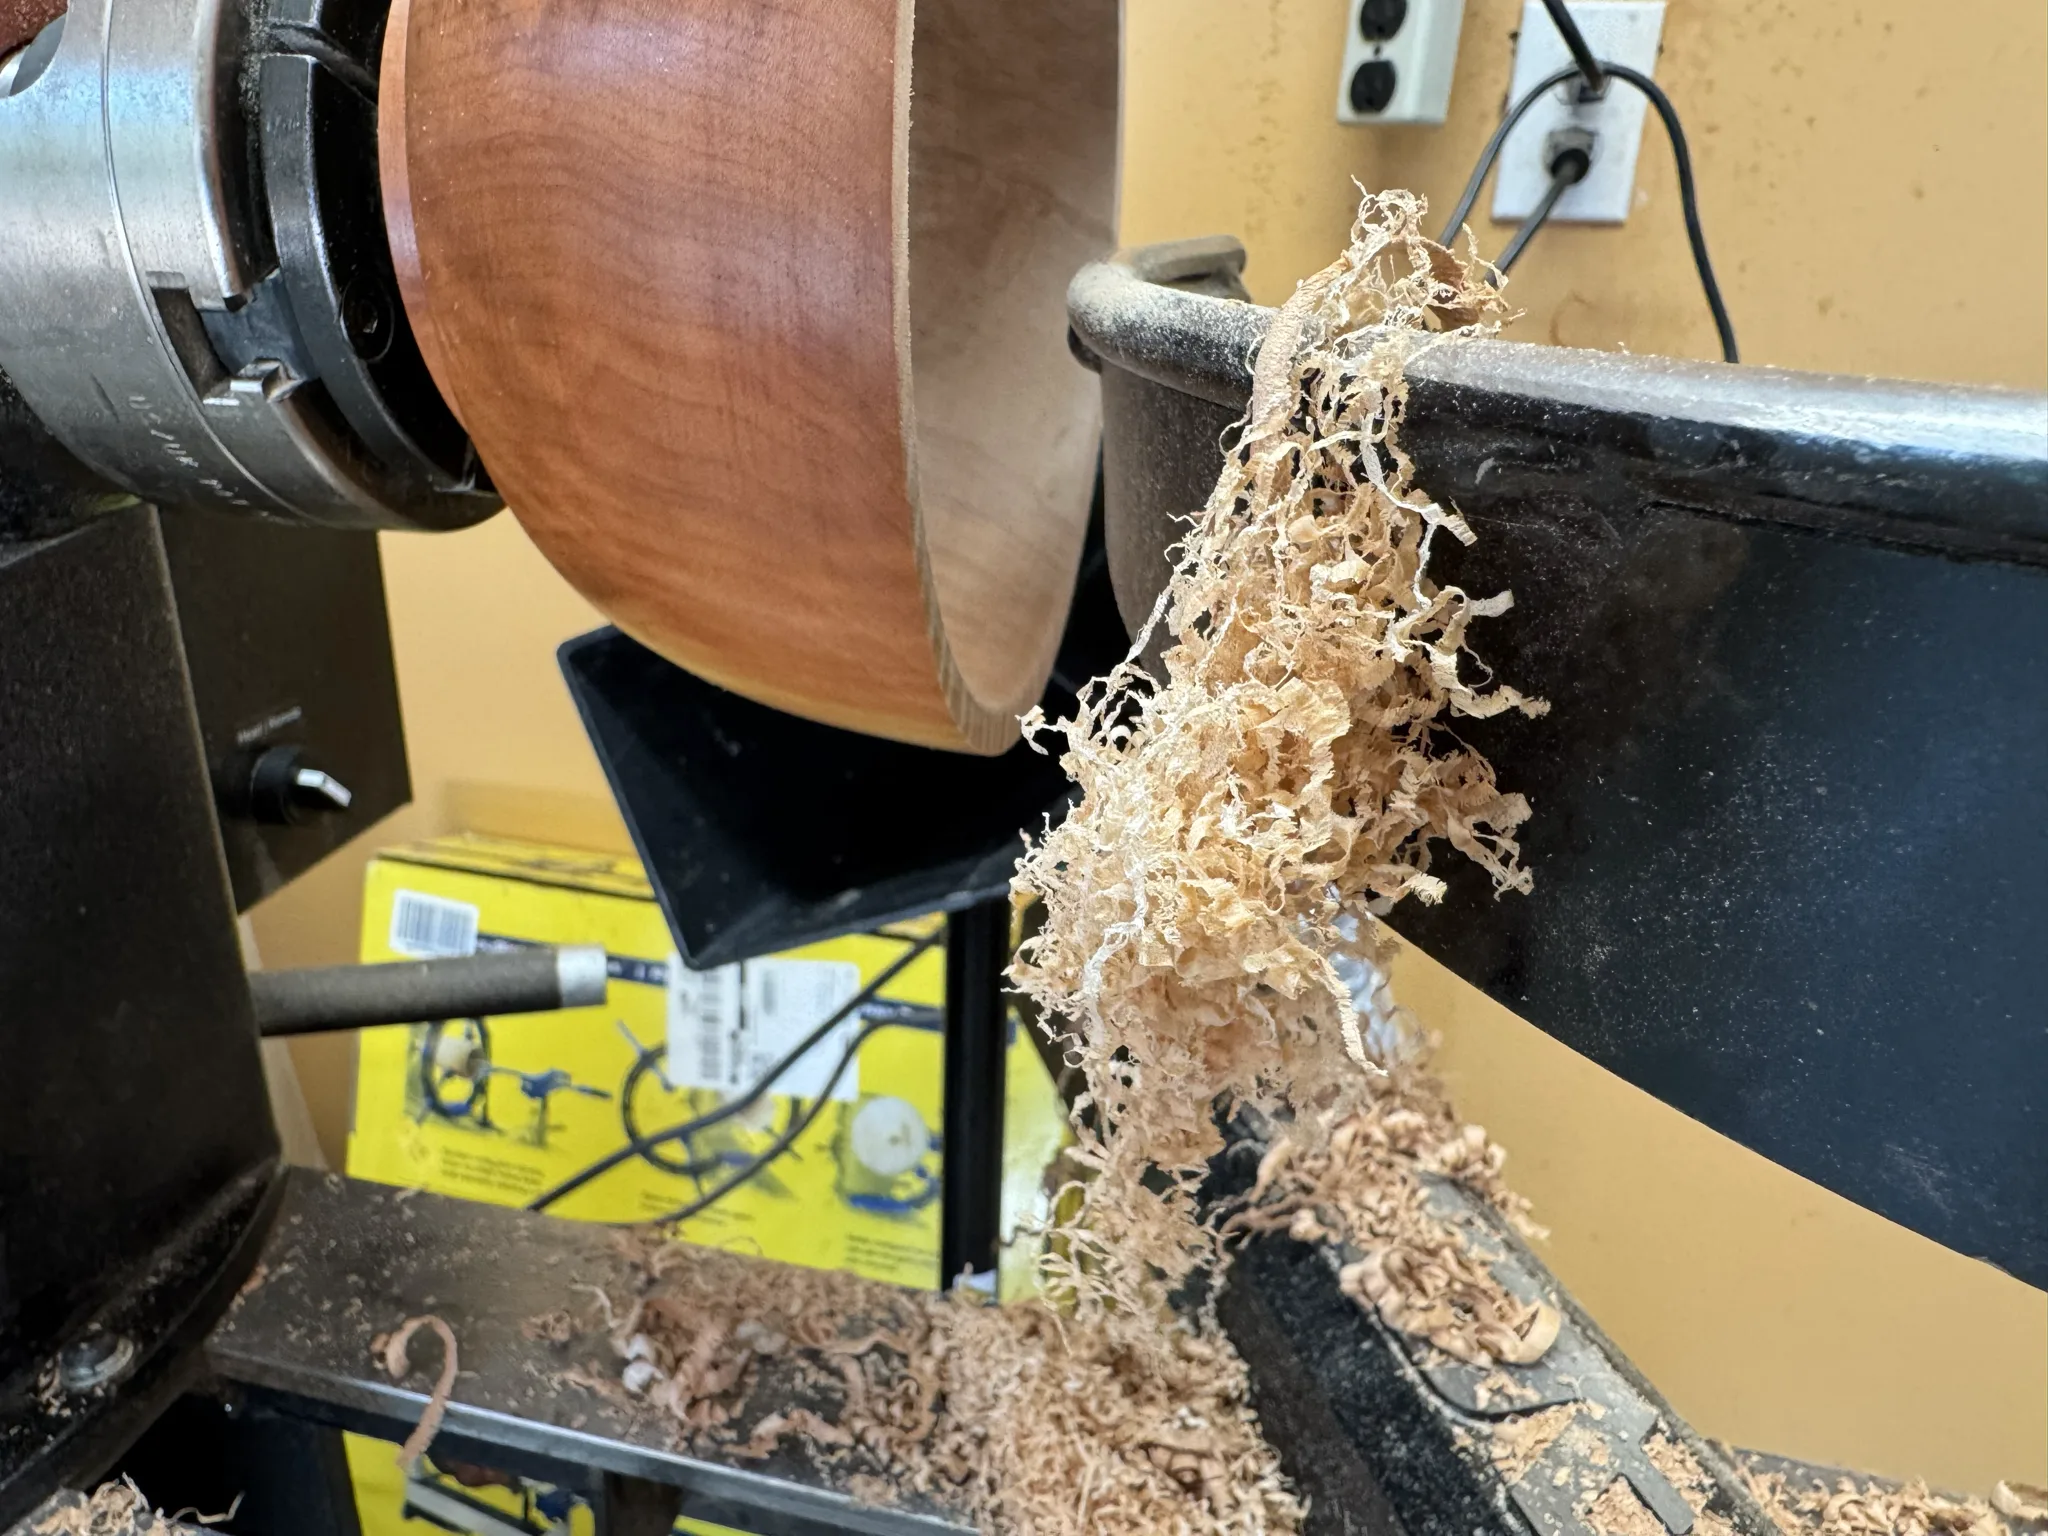
The fine shavings are indicating again that the proper cutting should result in a nice surface, hopefully without any toolmarks.
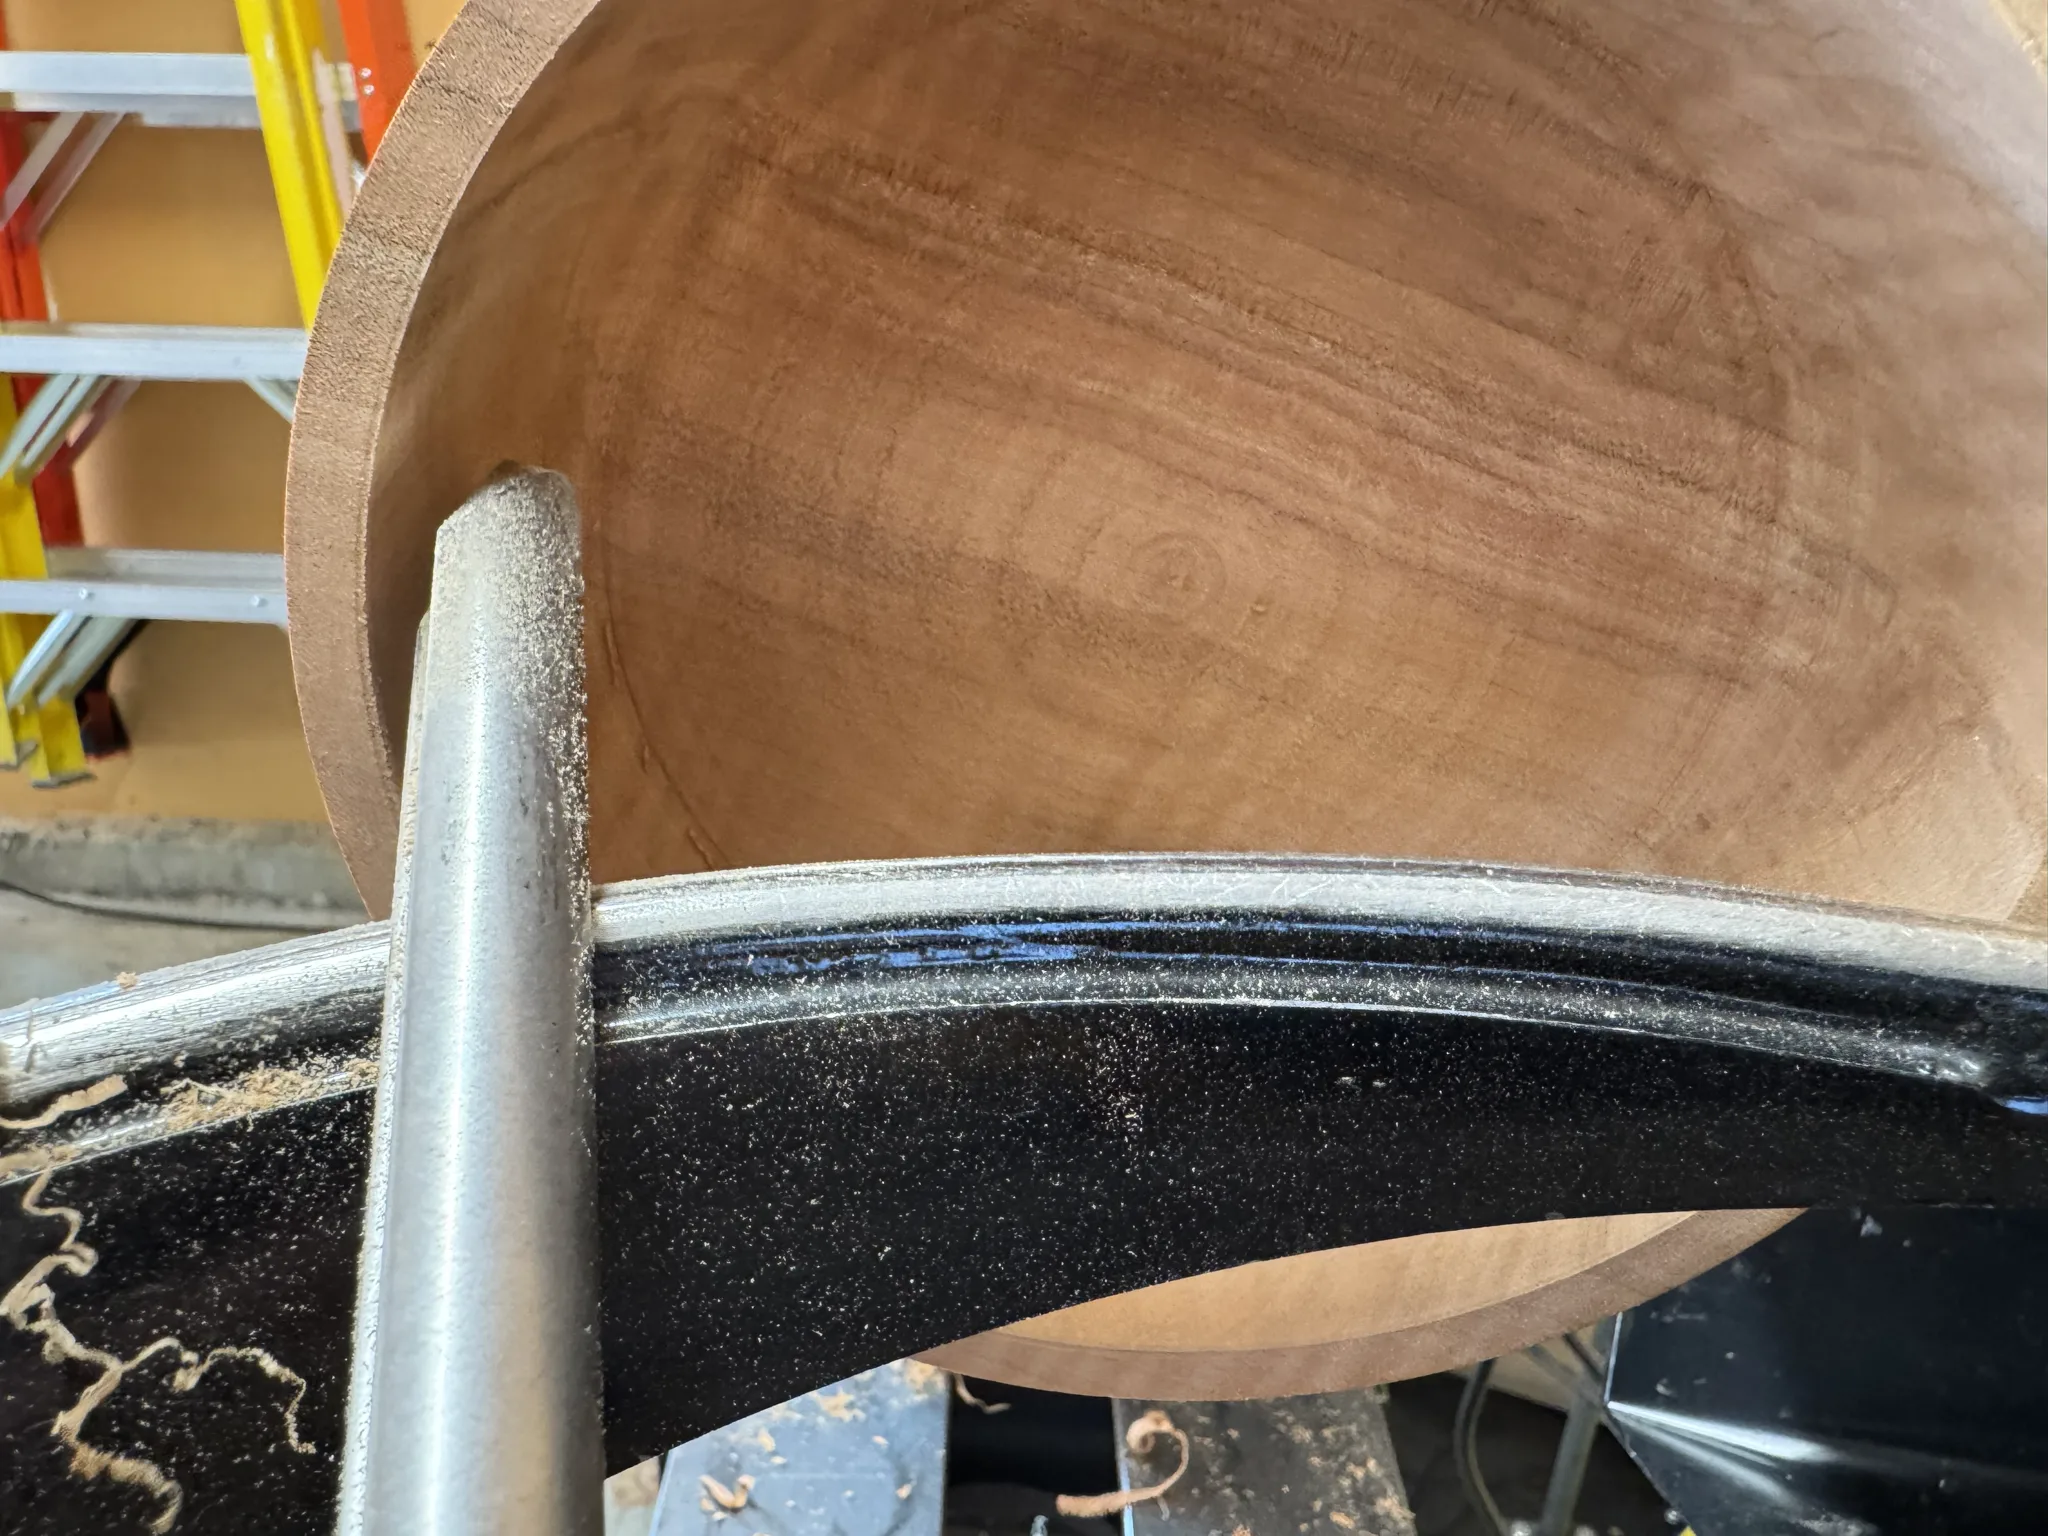
The curved toolrest helps me get in a little closer to the wood without the tool hanging out too far out from the toolrest.
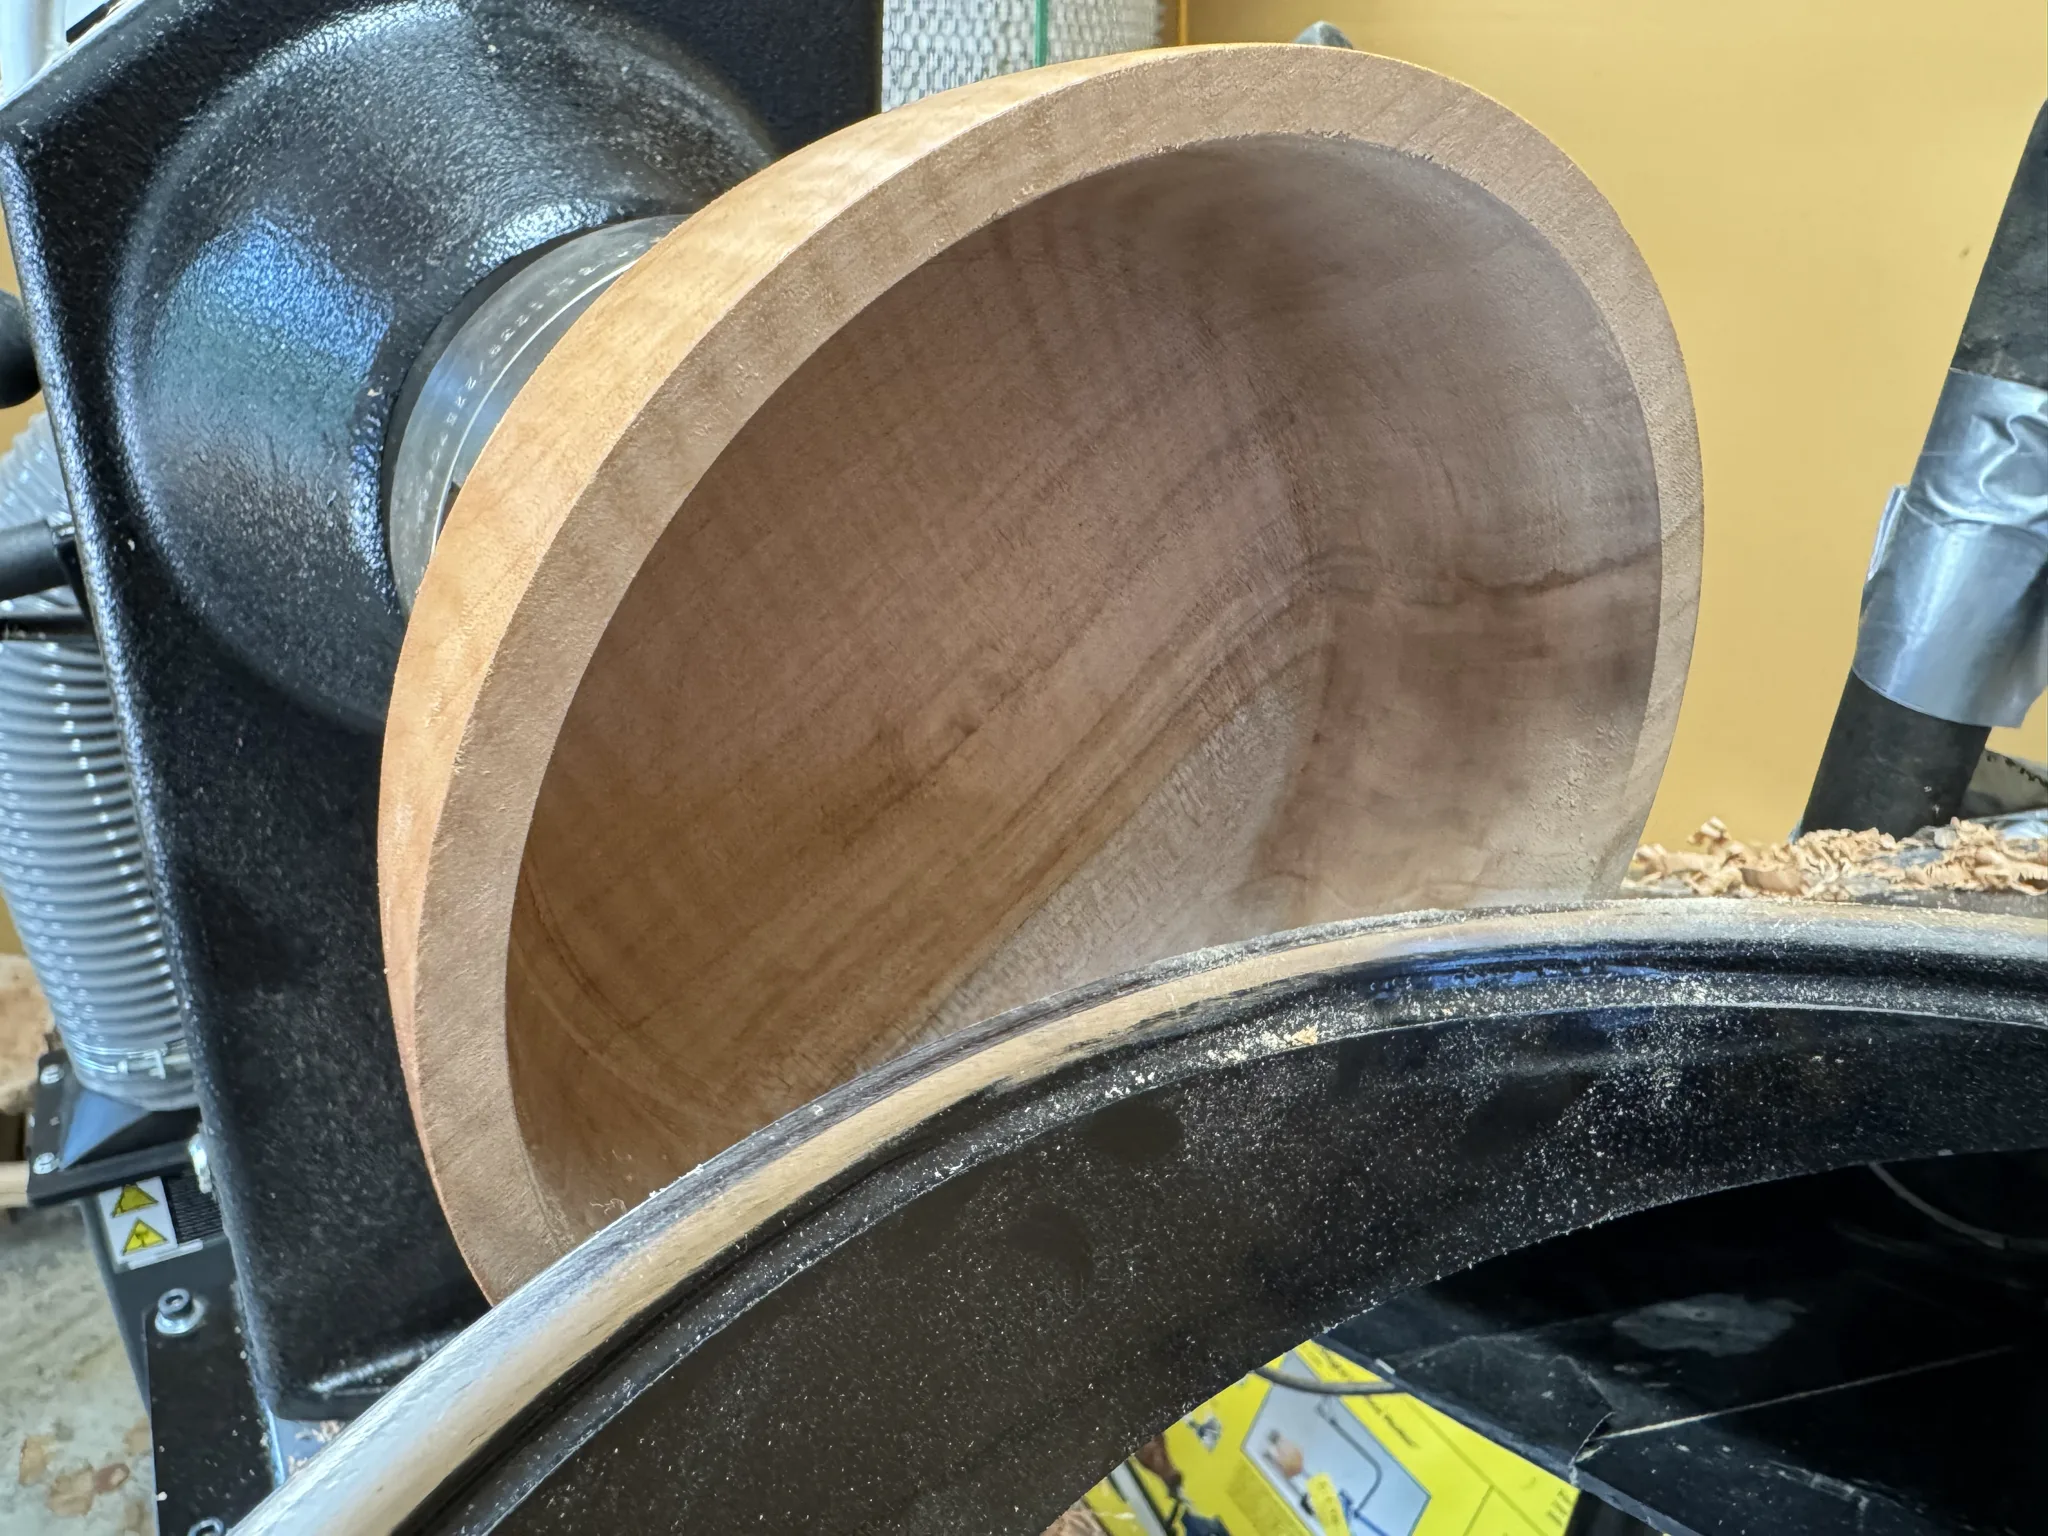
A closeup of what it is looking like inside. Honestly, I kind of messed up here as the bottom of the side wall looks more like a 90 degree turn rather than following along the outside curve. It is a mistake I can’t find a way to correct so it just becomes part of the bowl.
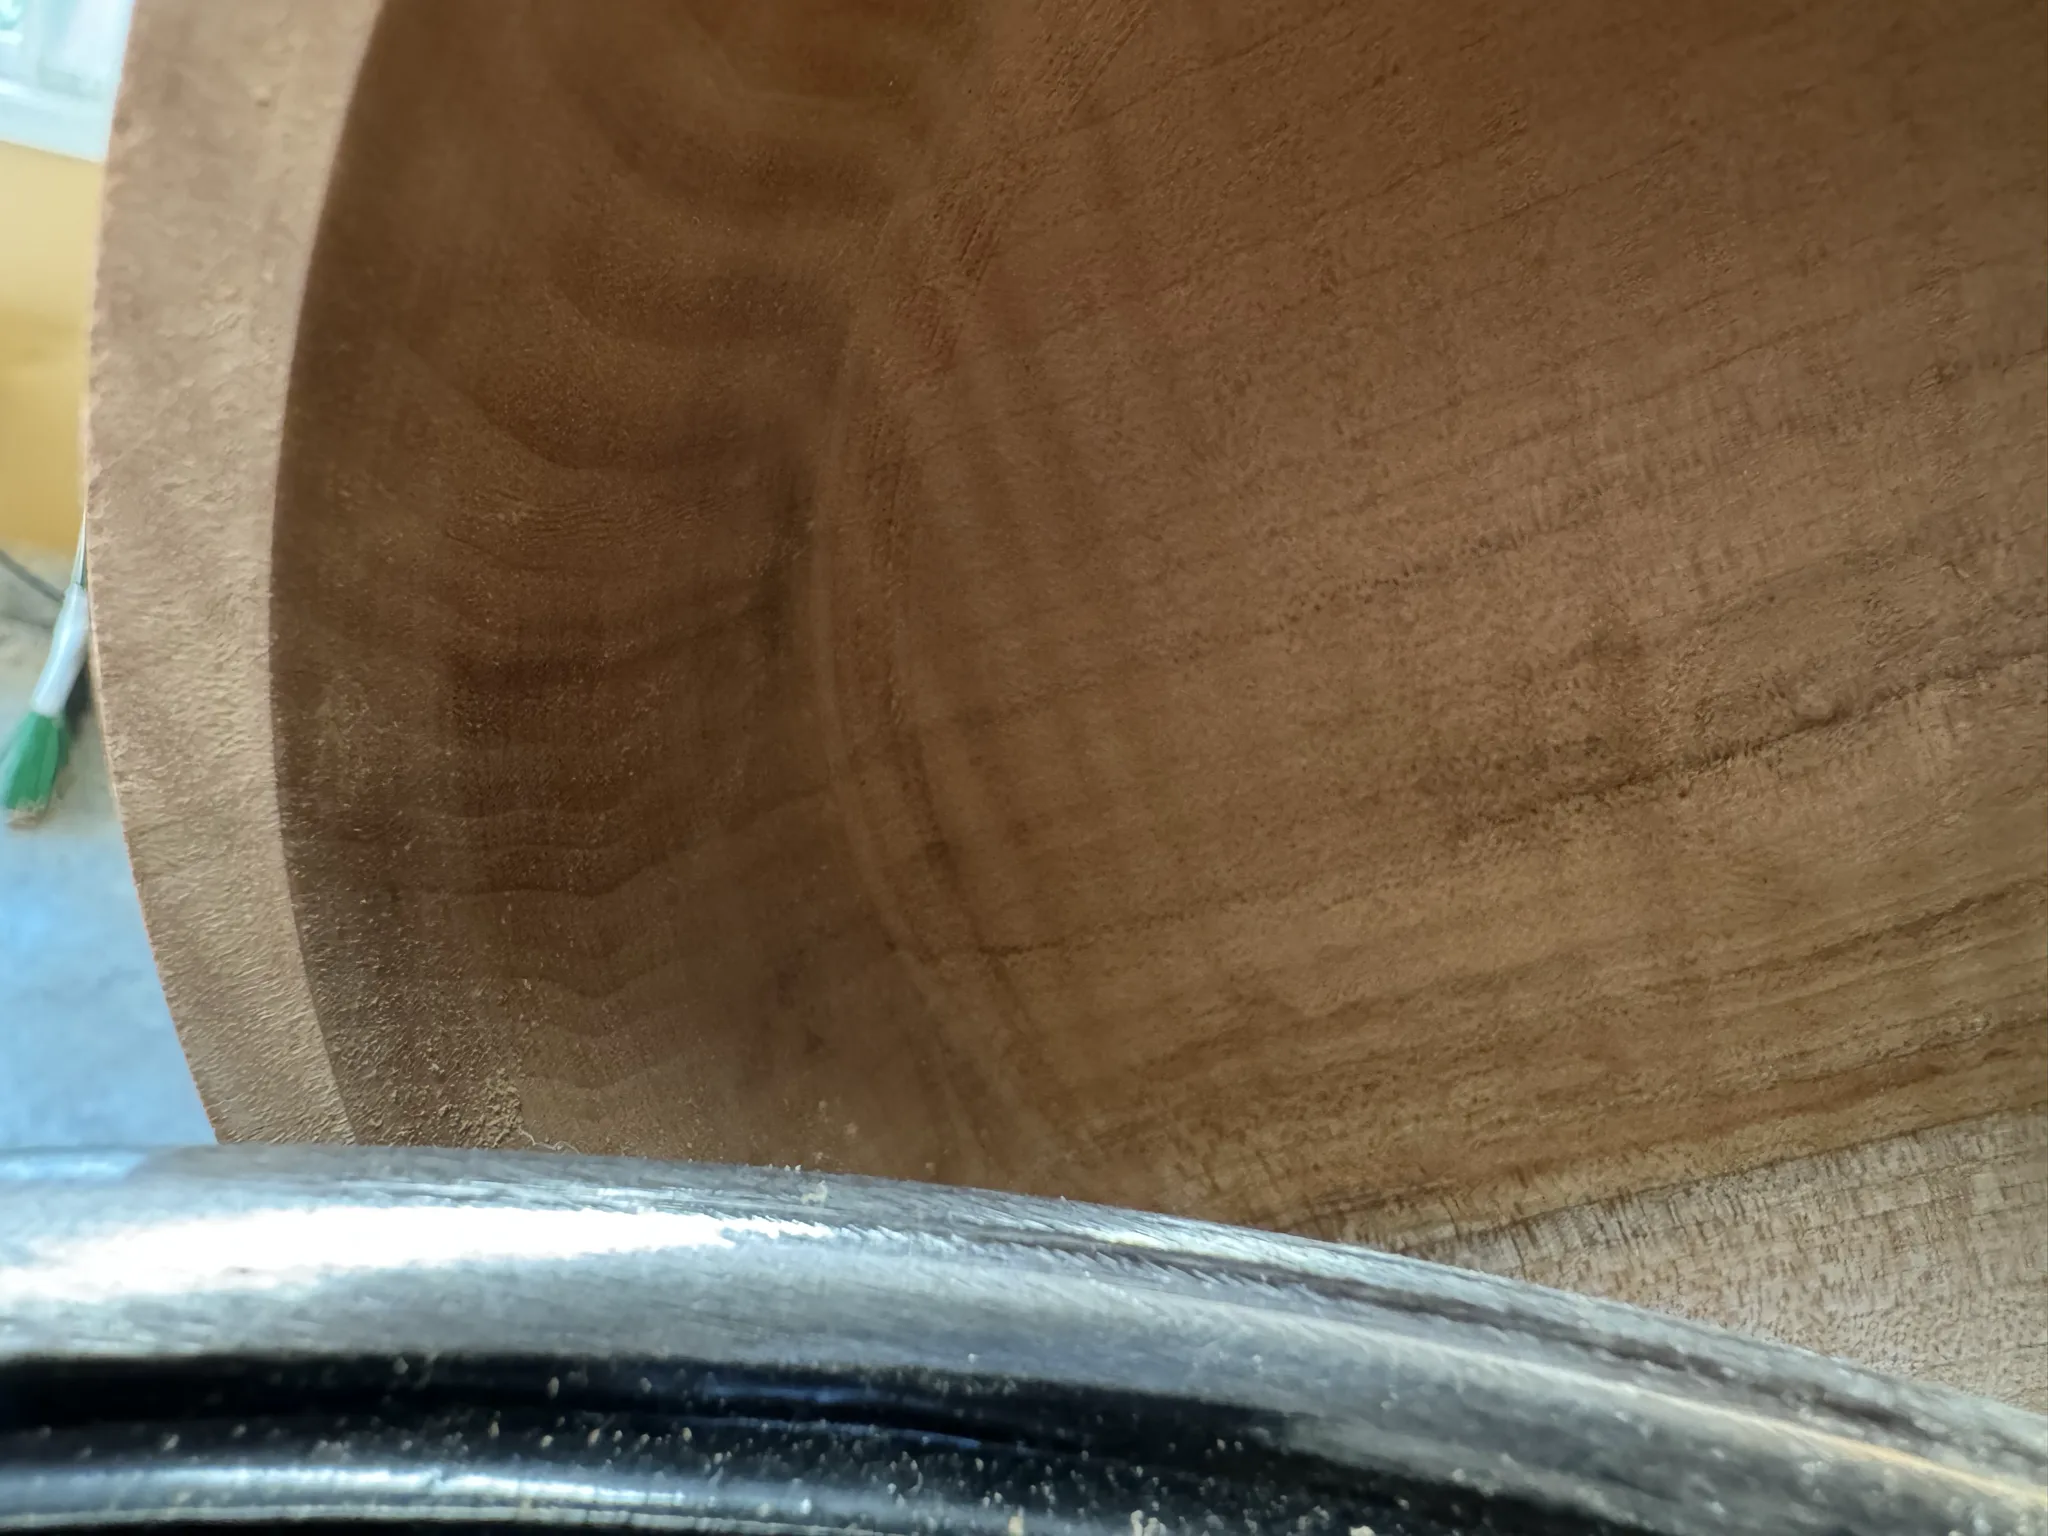
I reposiion the toolrest to get even closer to the inside of the bowl.
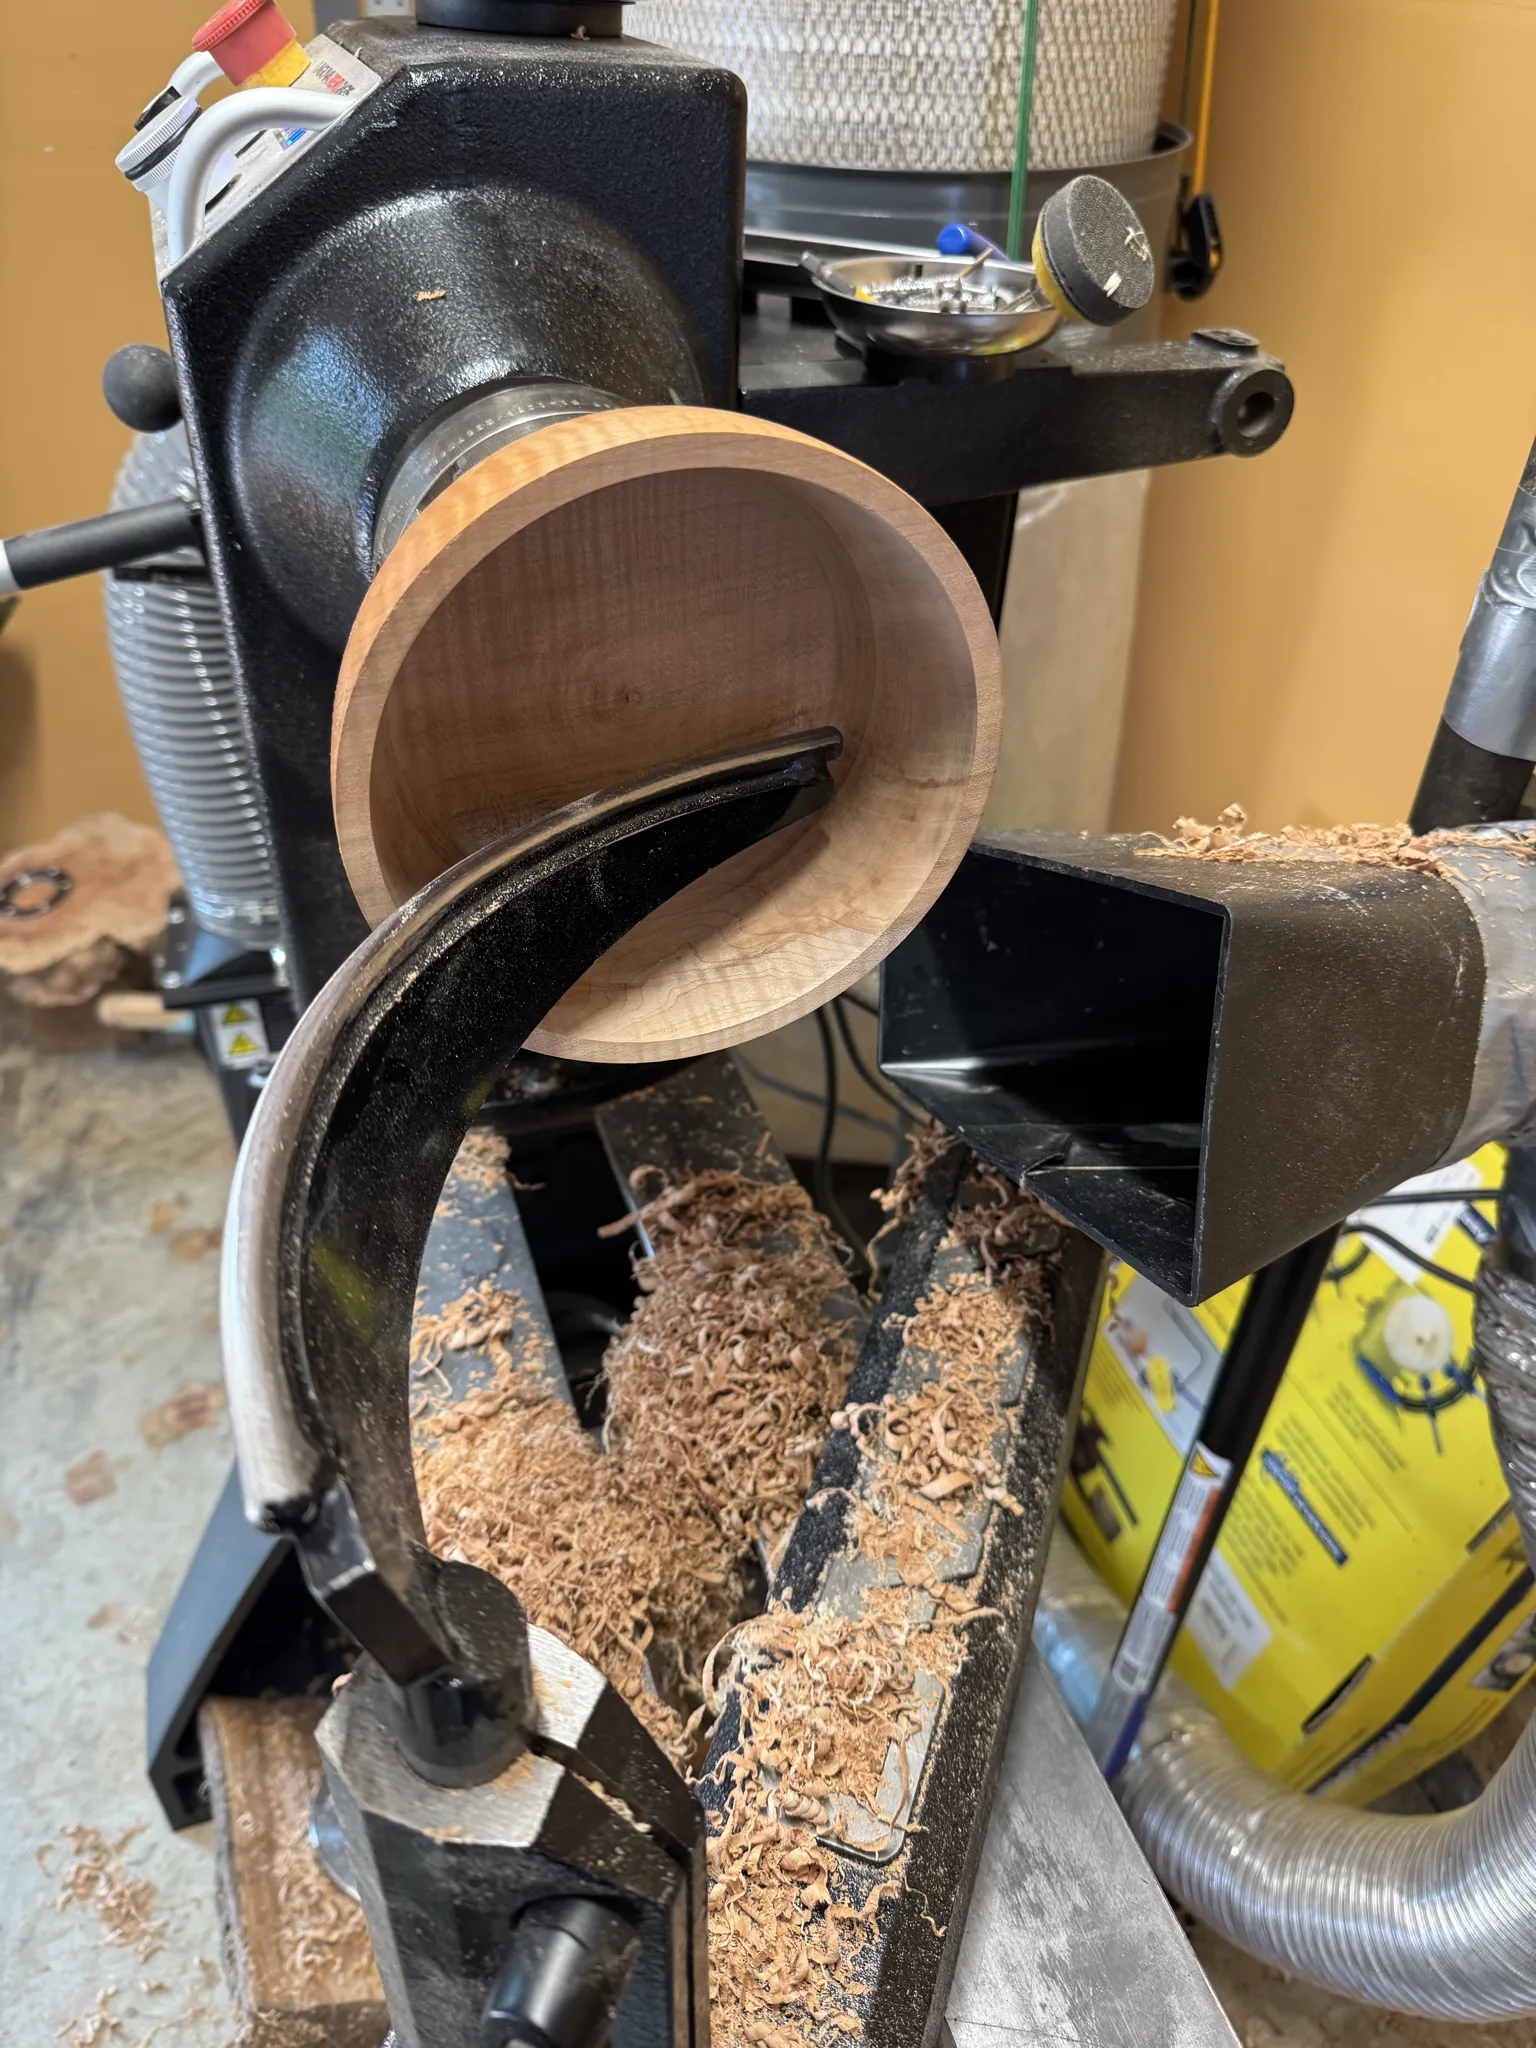
This is how the inside looks when I’m nearly done.
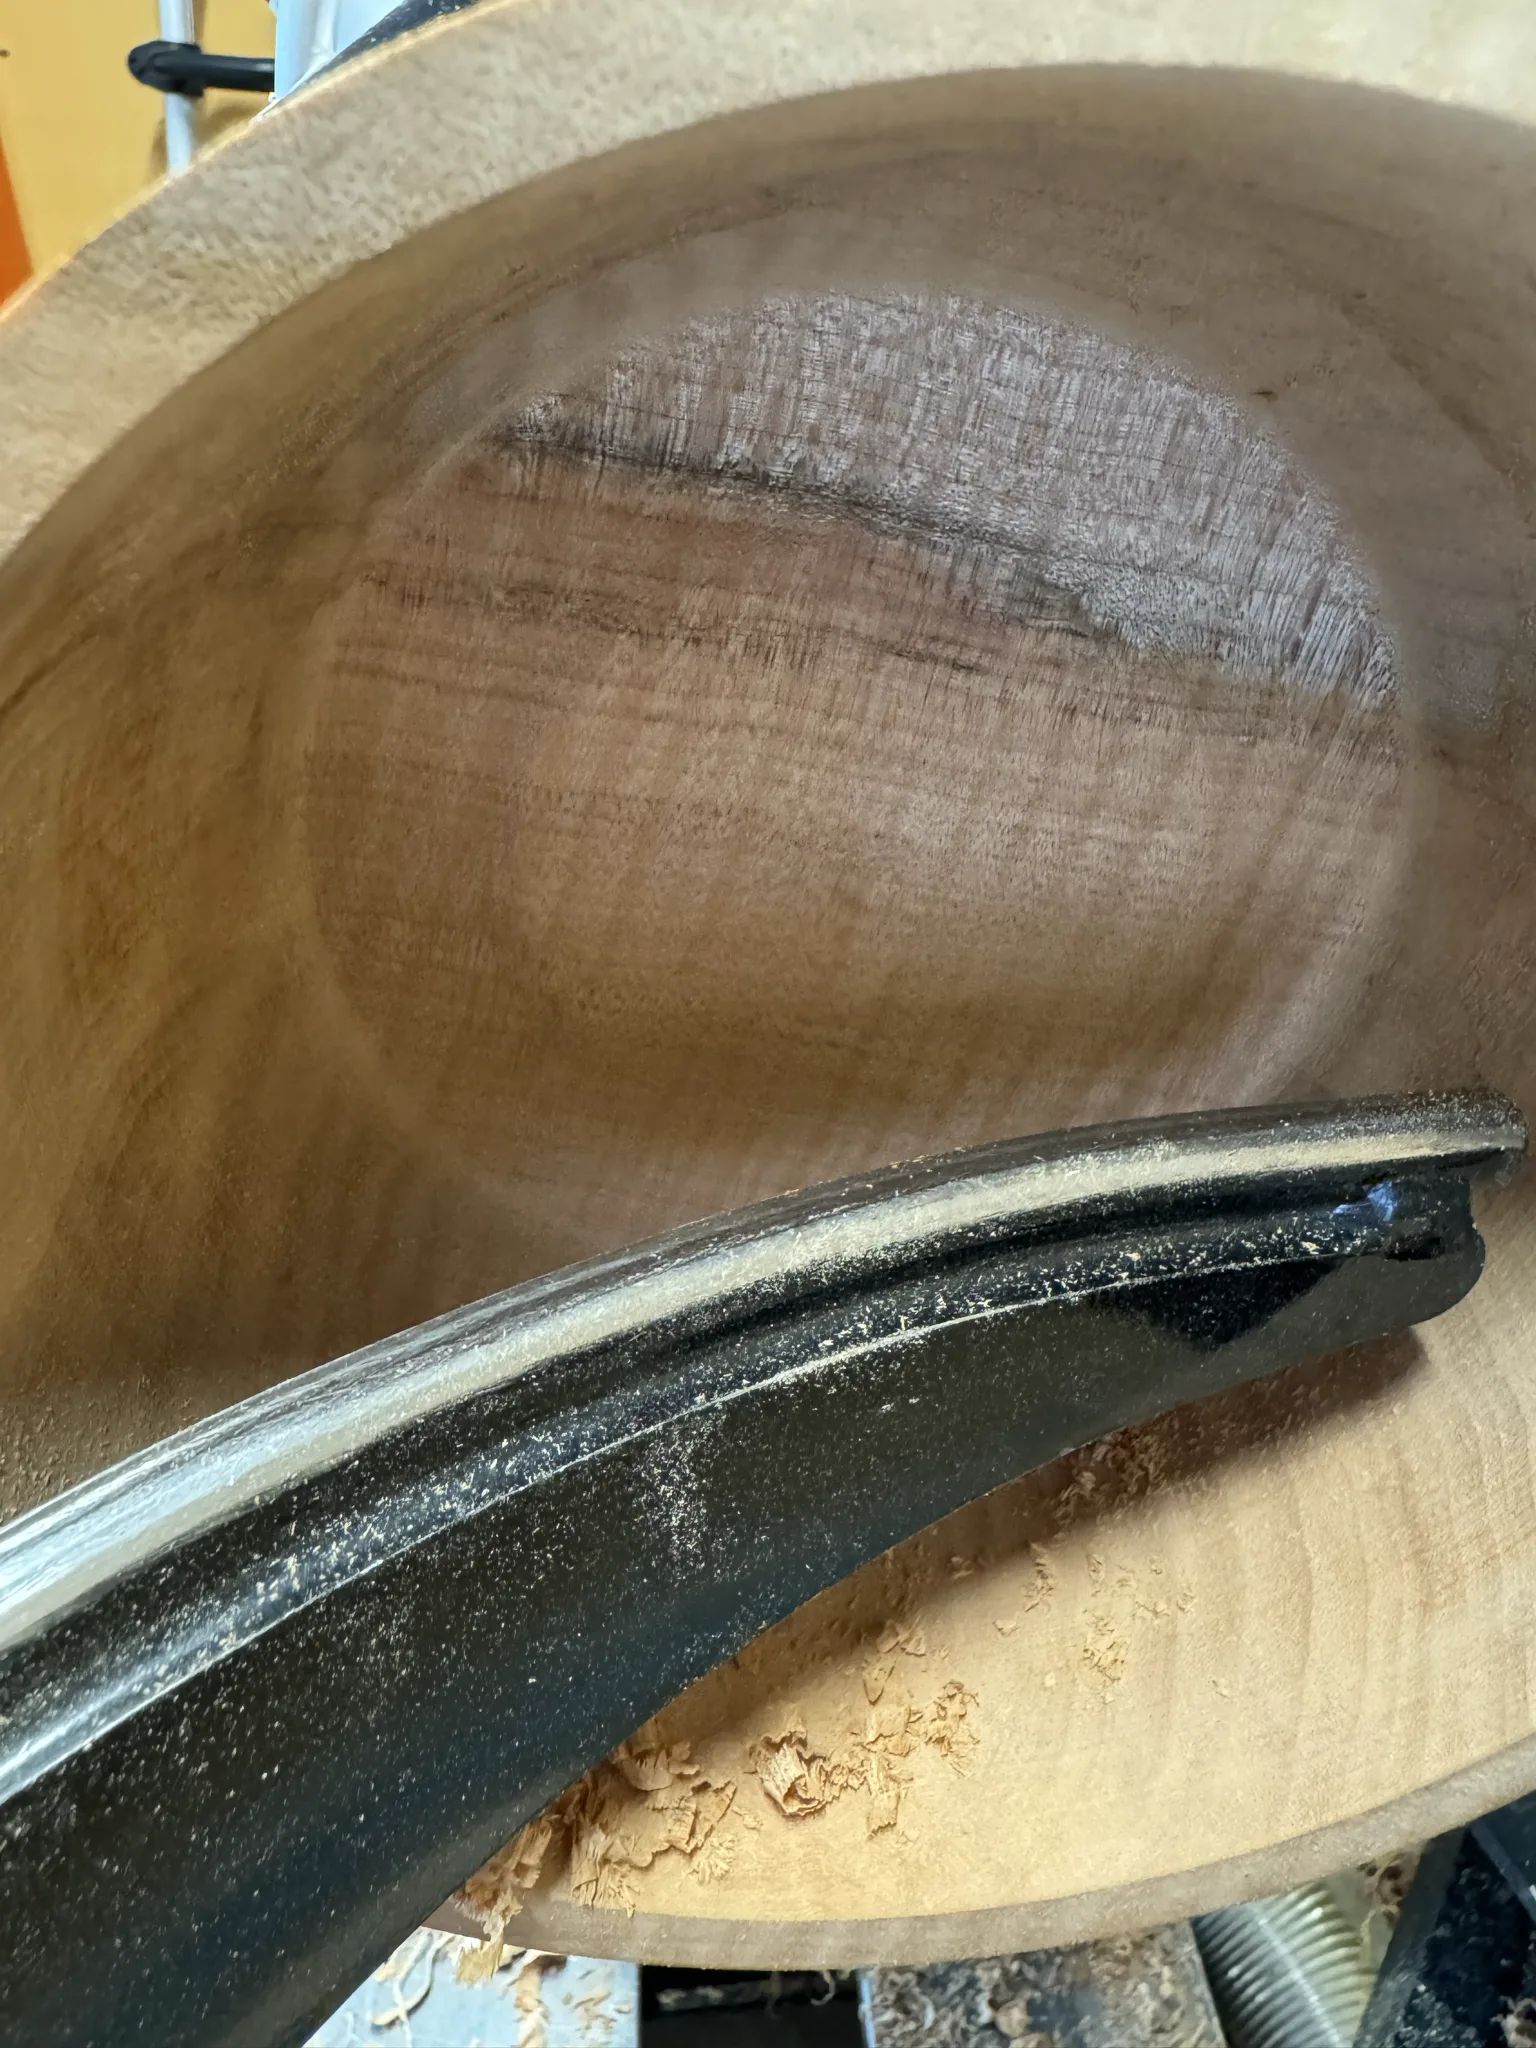
After I finish the inside with walnut oil and wax, I place some padding on the inside of the bowl so I can hold the inside against the chuck in order to remove the tenon from the underside of the bowl.
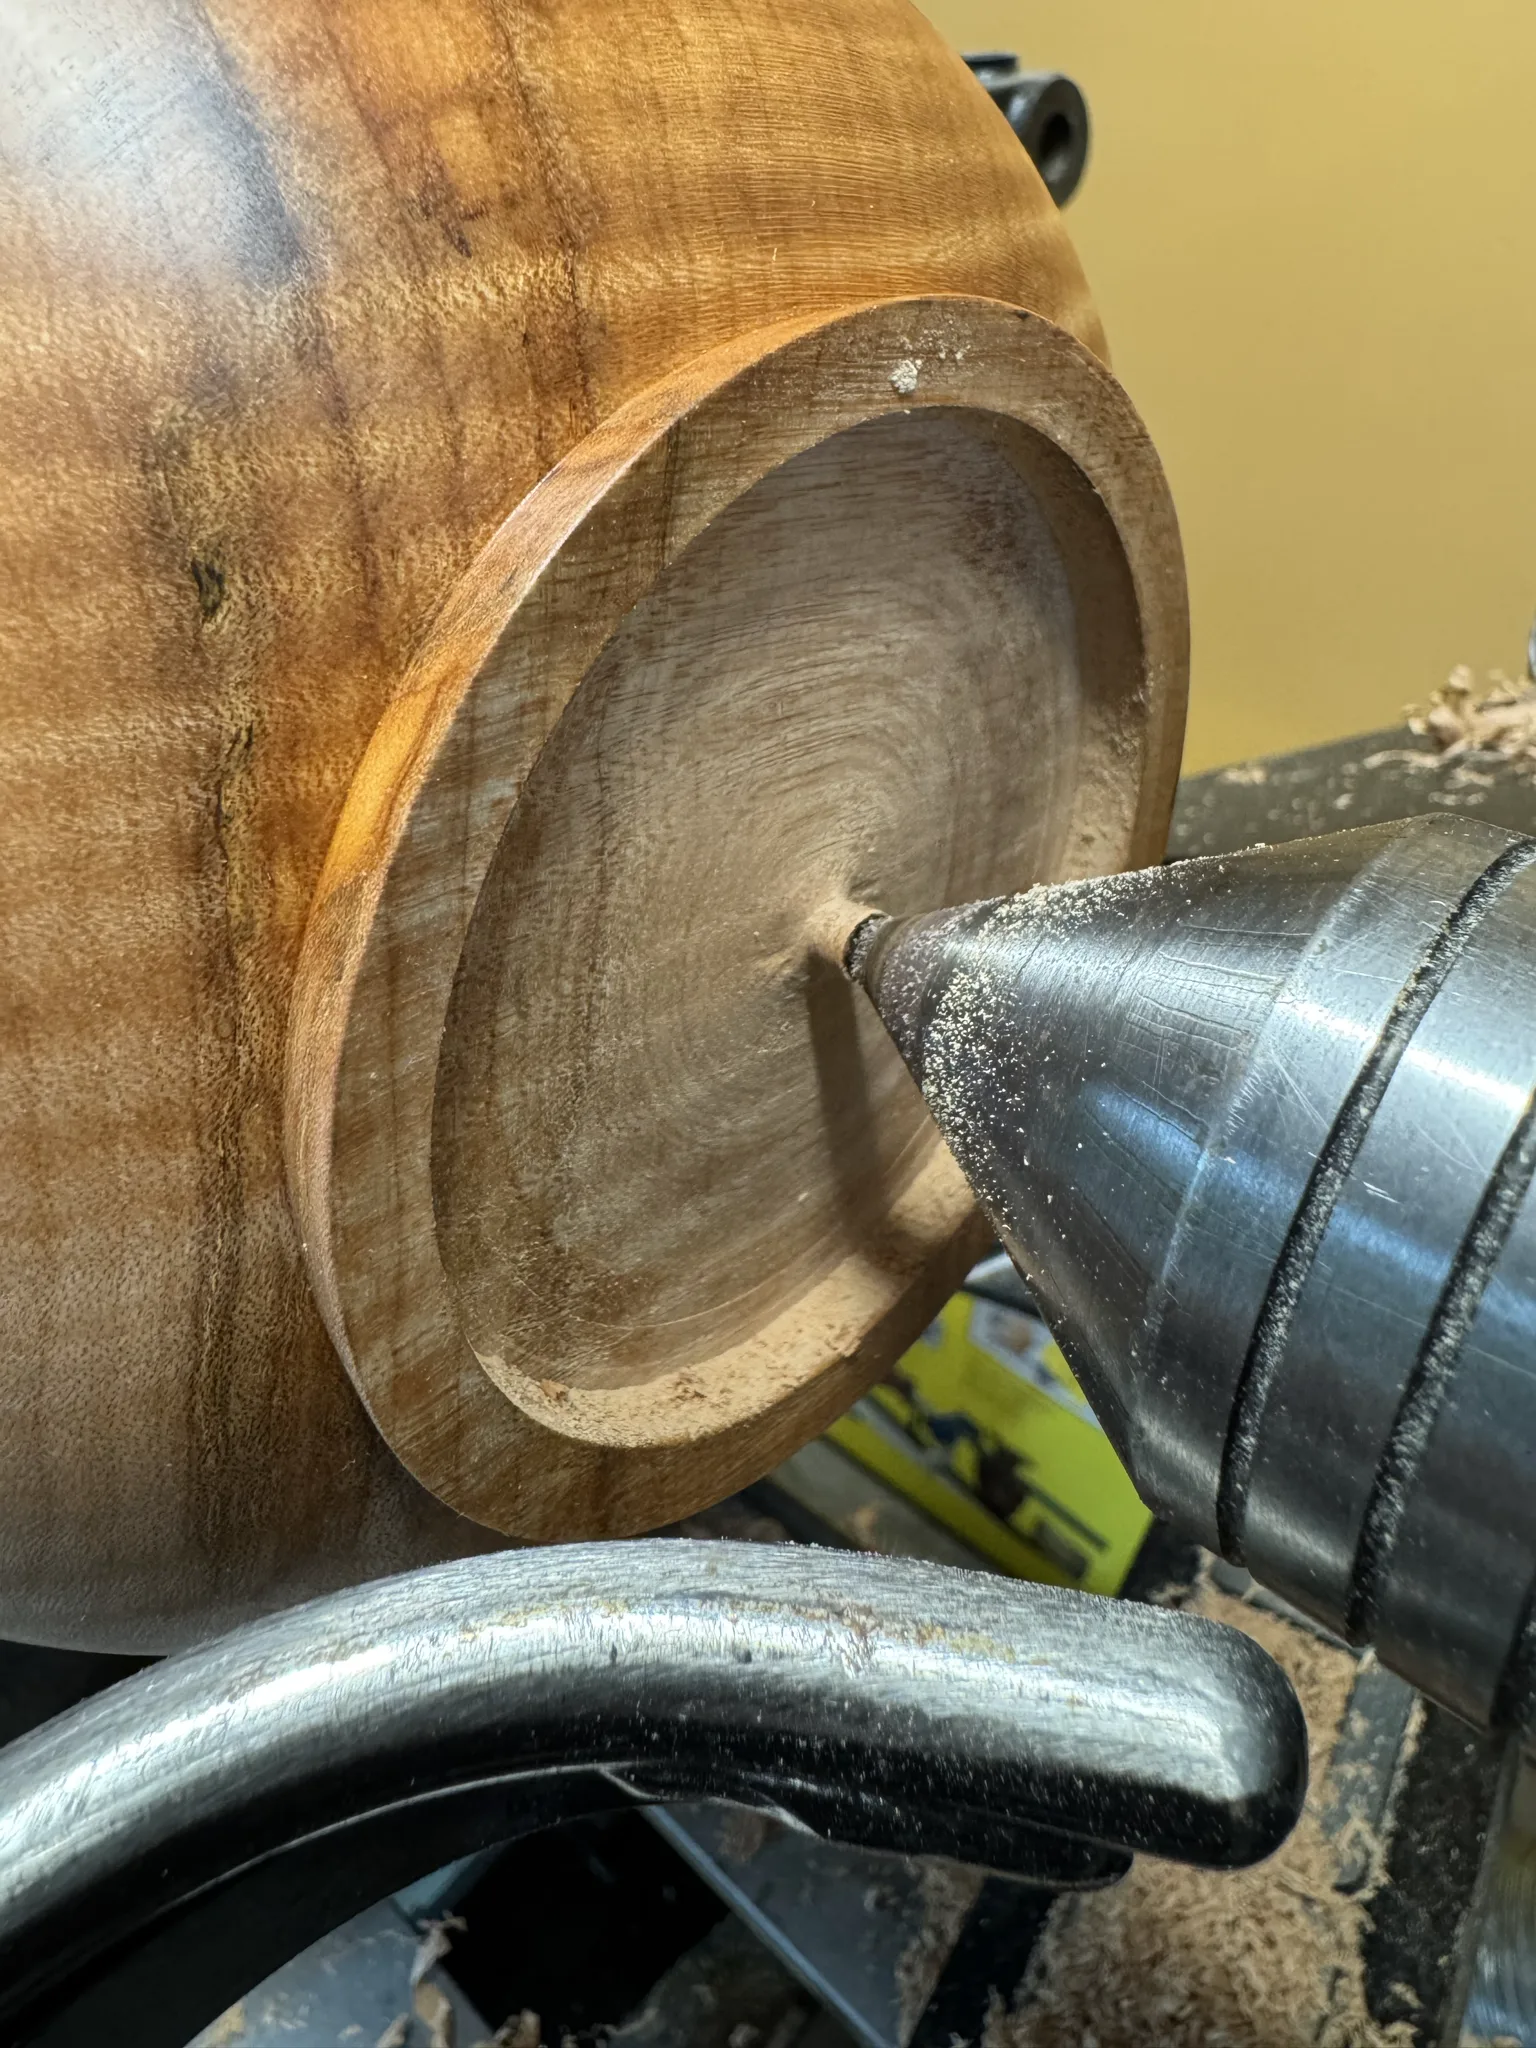
The tailstock was used to push and hold the padded bowl against the chuck jaws. Here I’ve turned off the tenon except for a tiny part I can take off with a chisel.
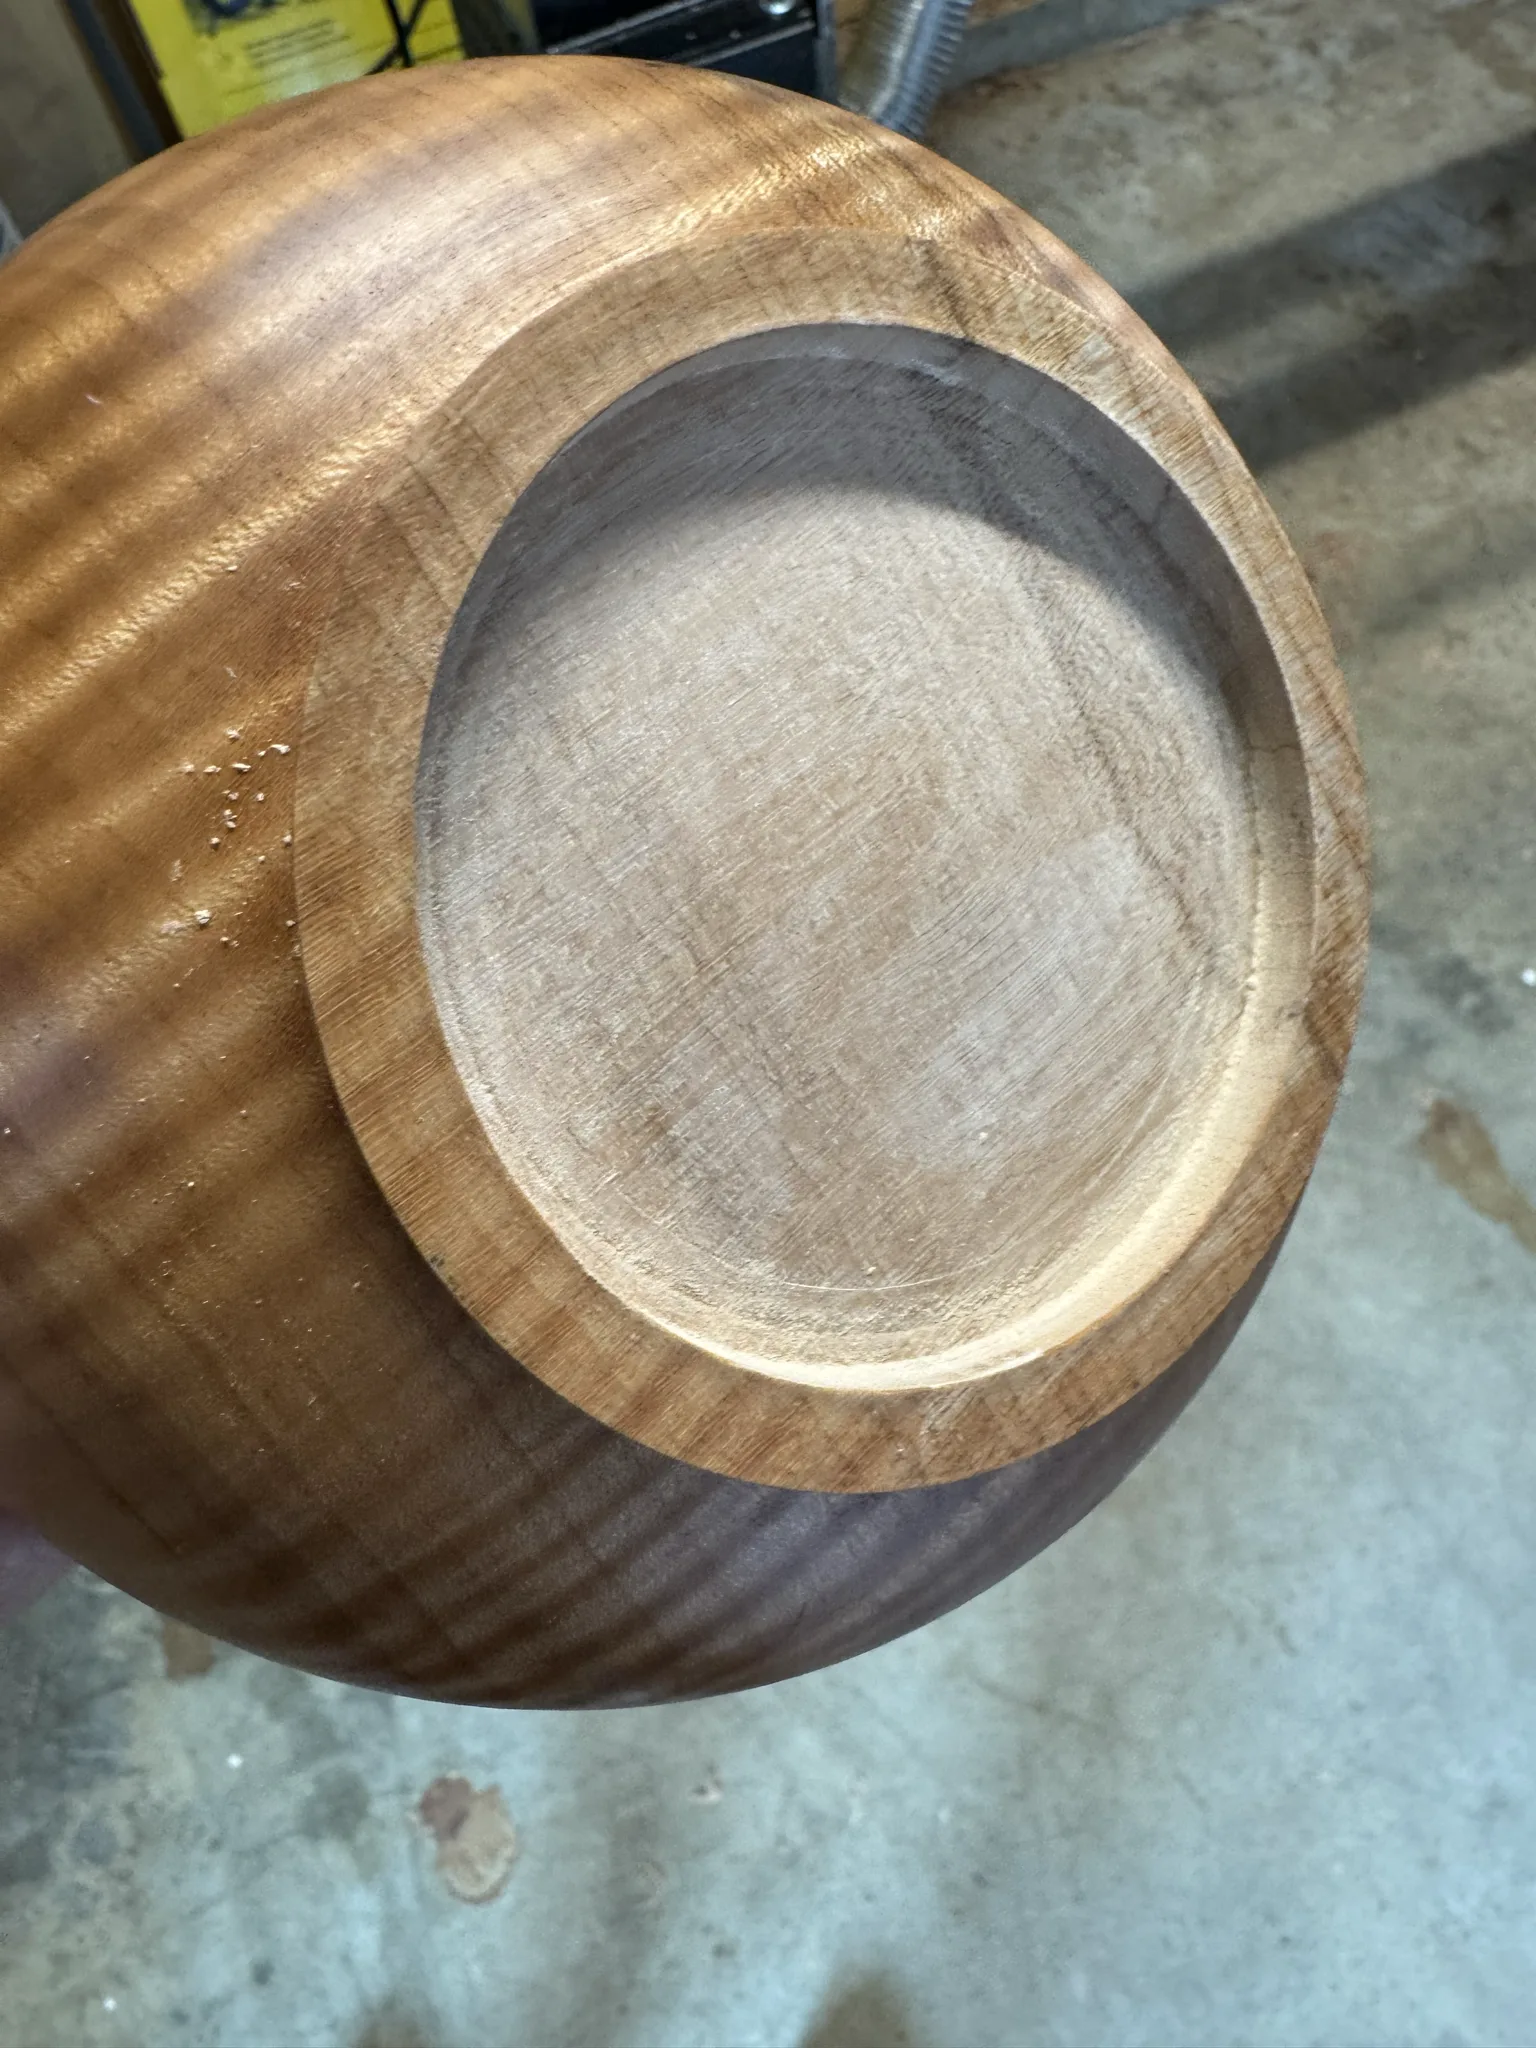
With the tenon removed, I hand sand the bottom of the bowl.
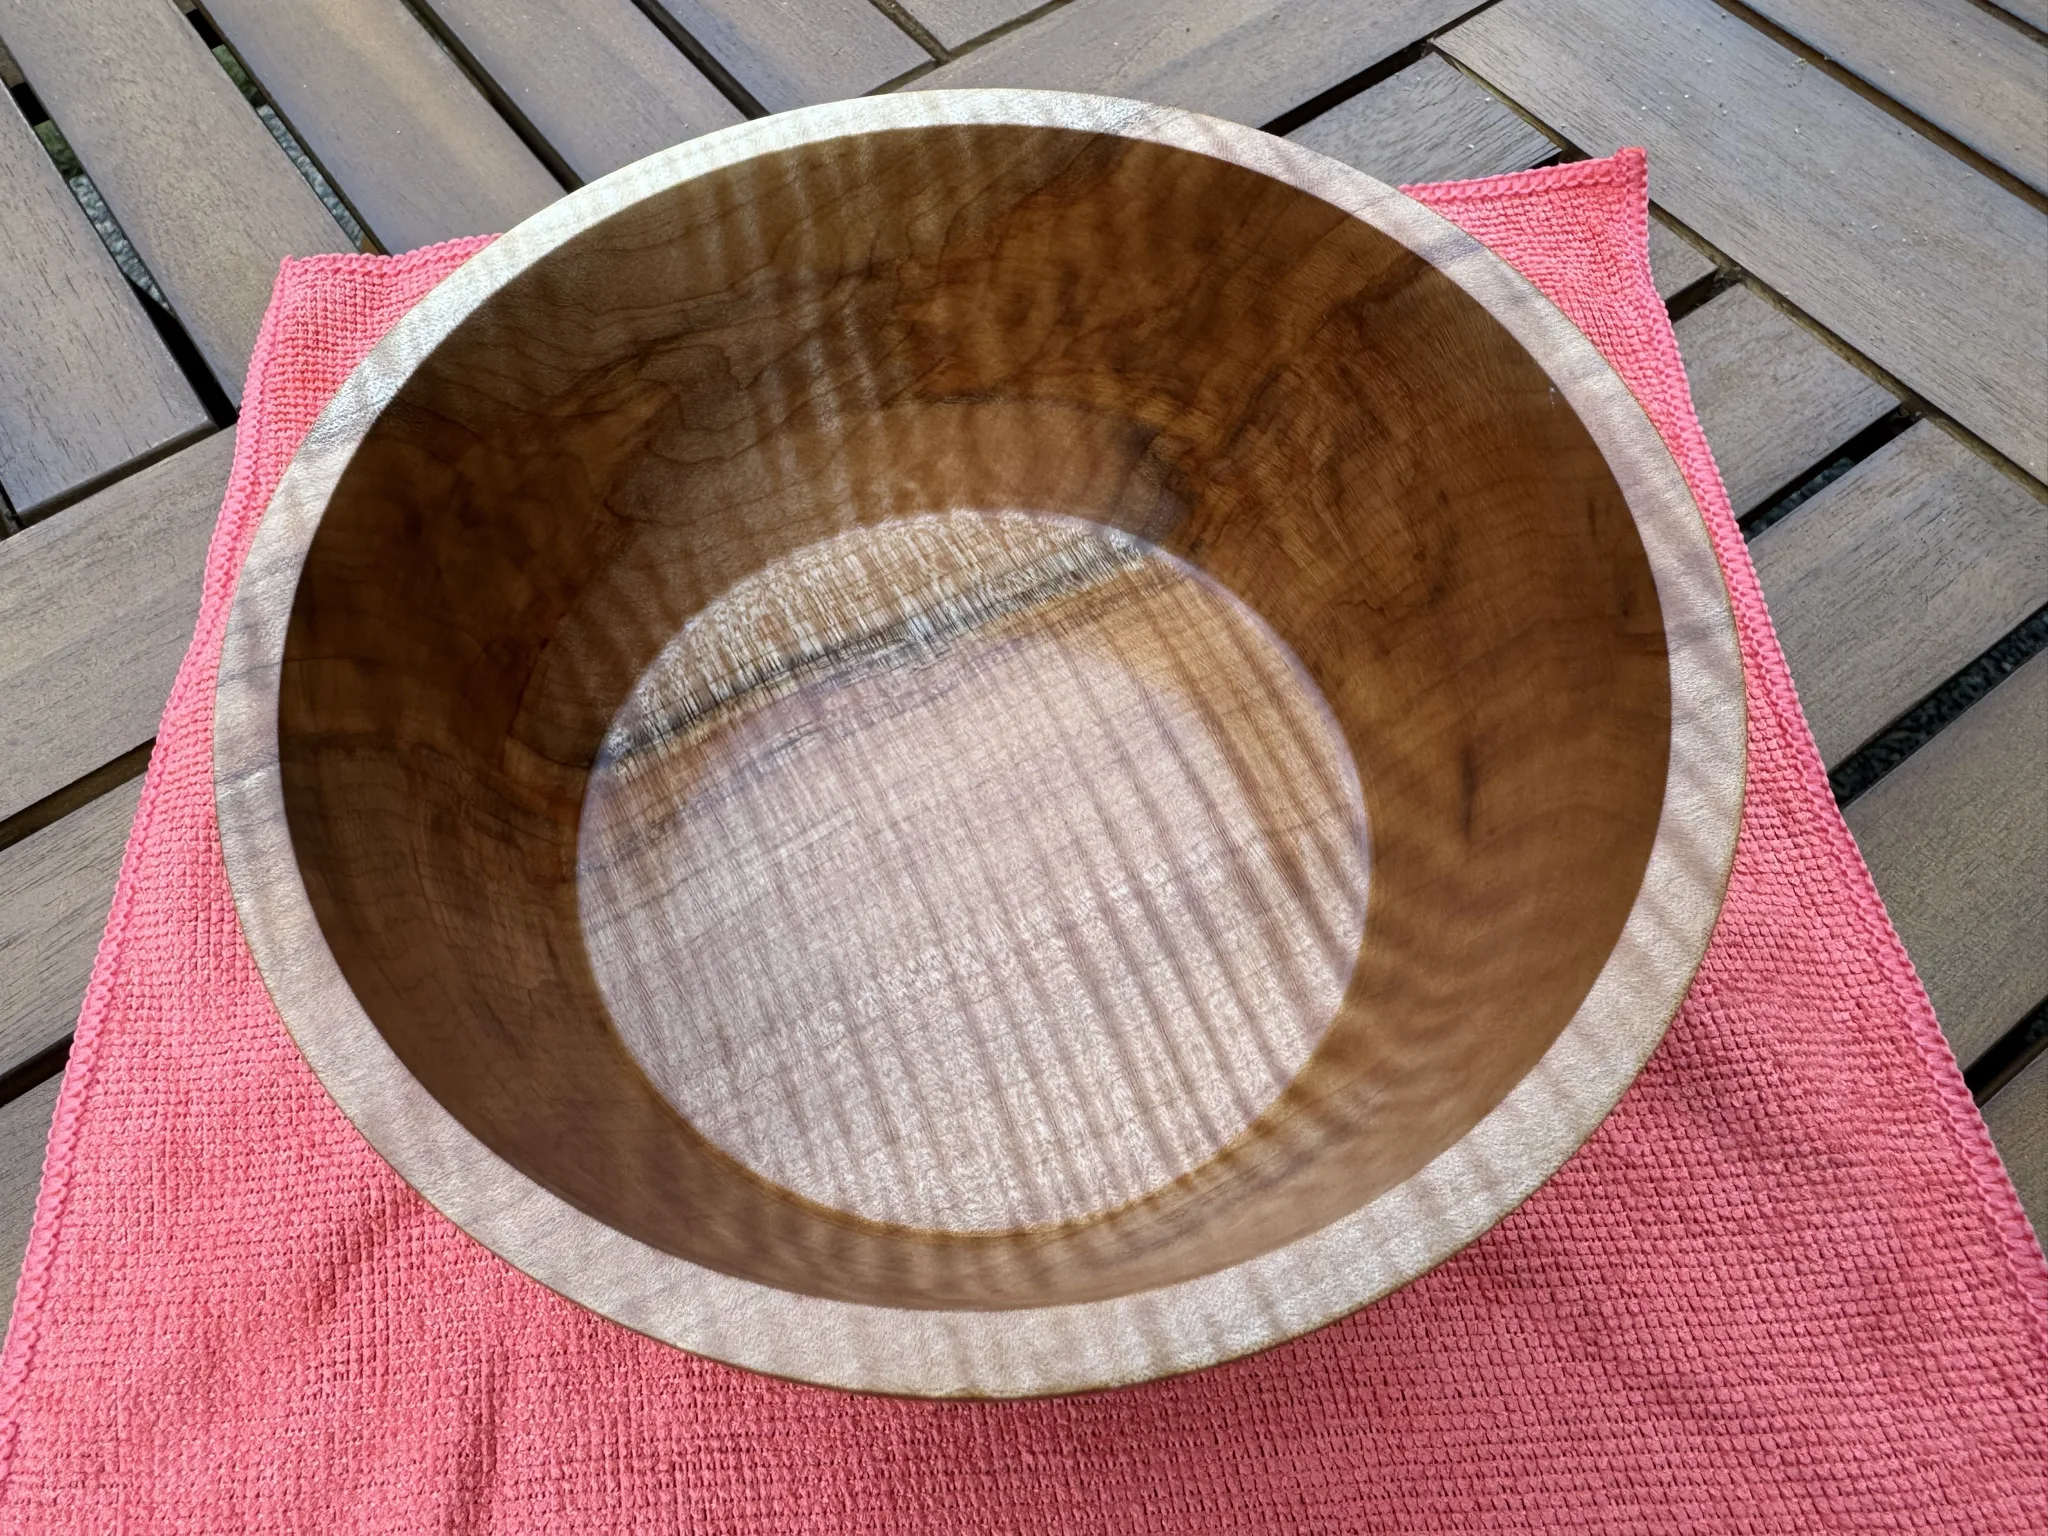
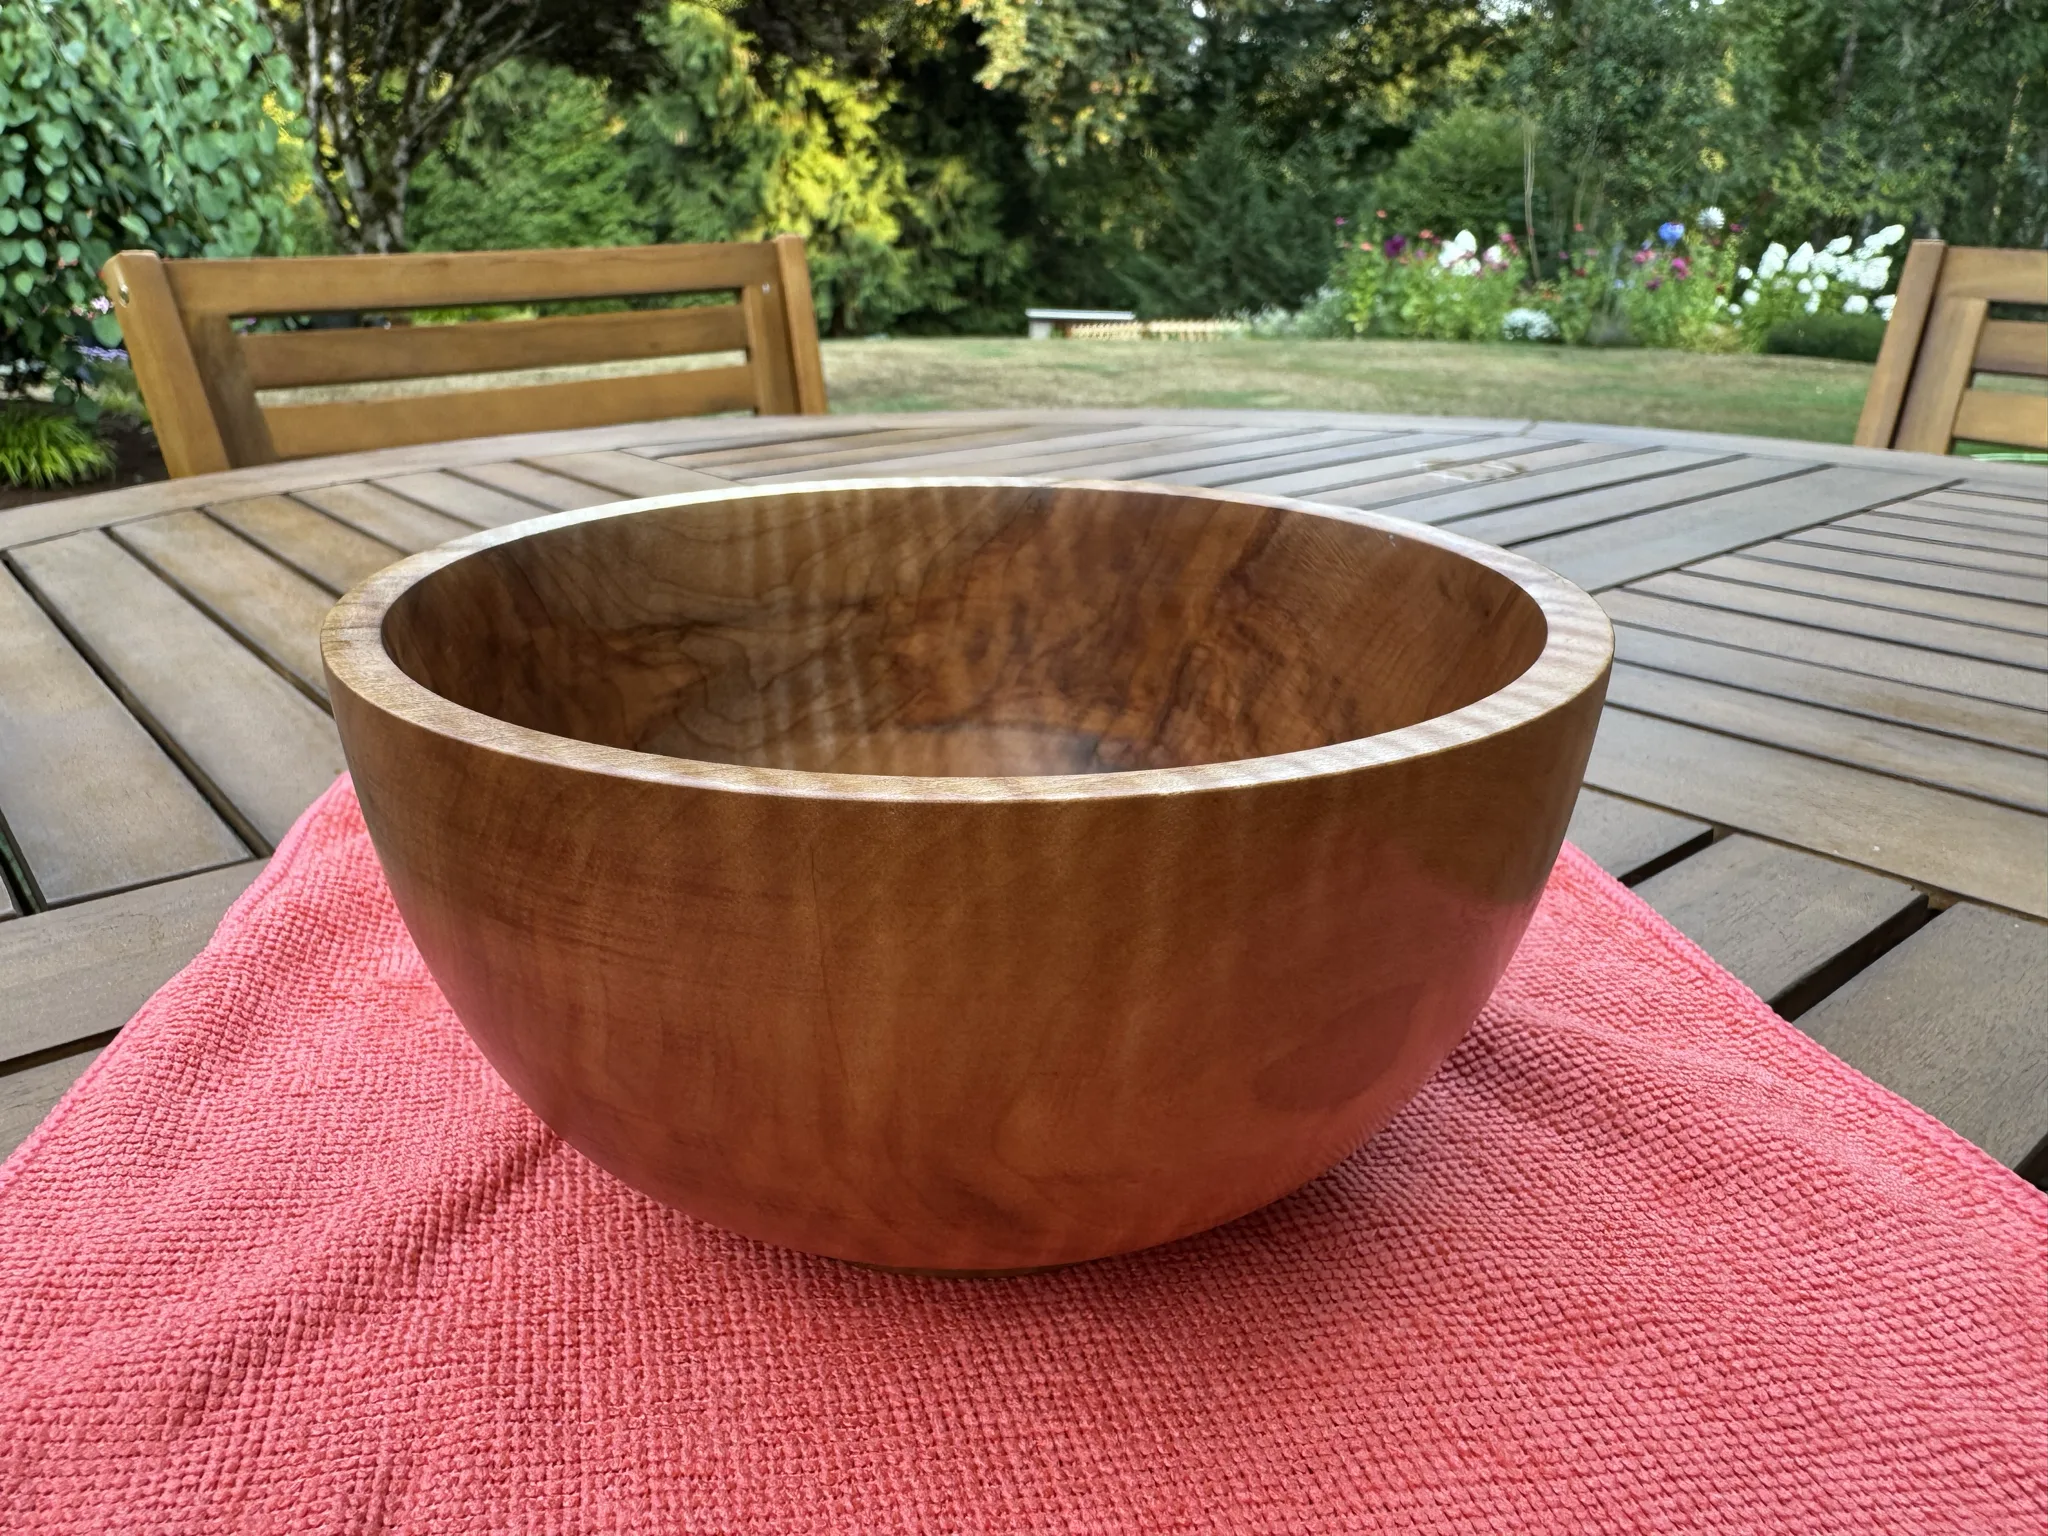
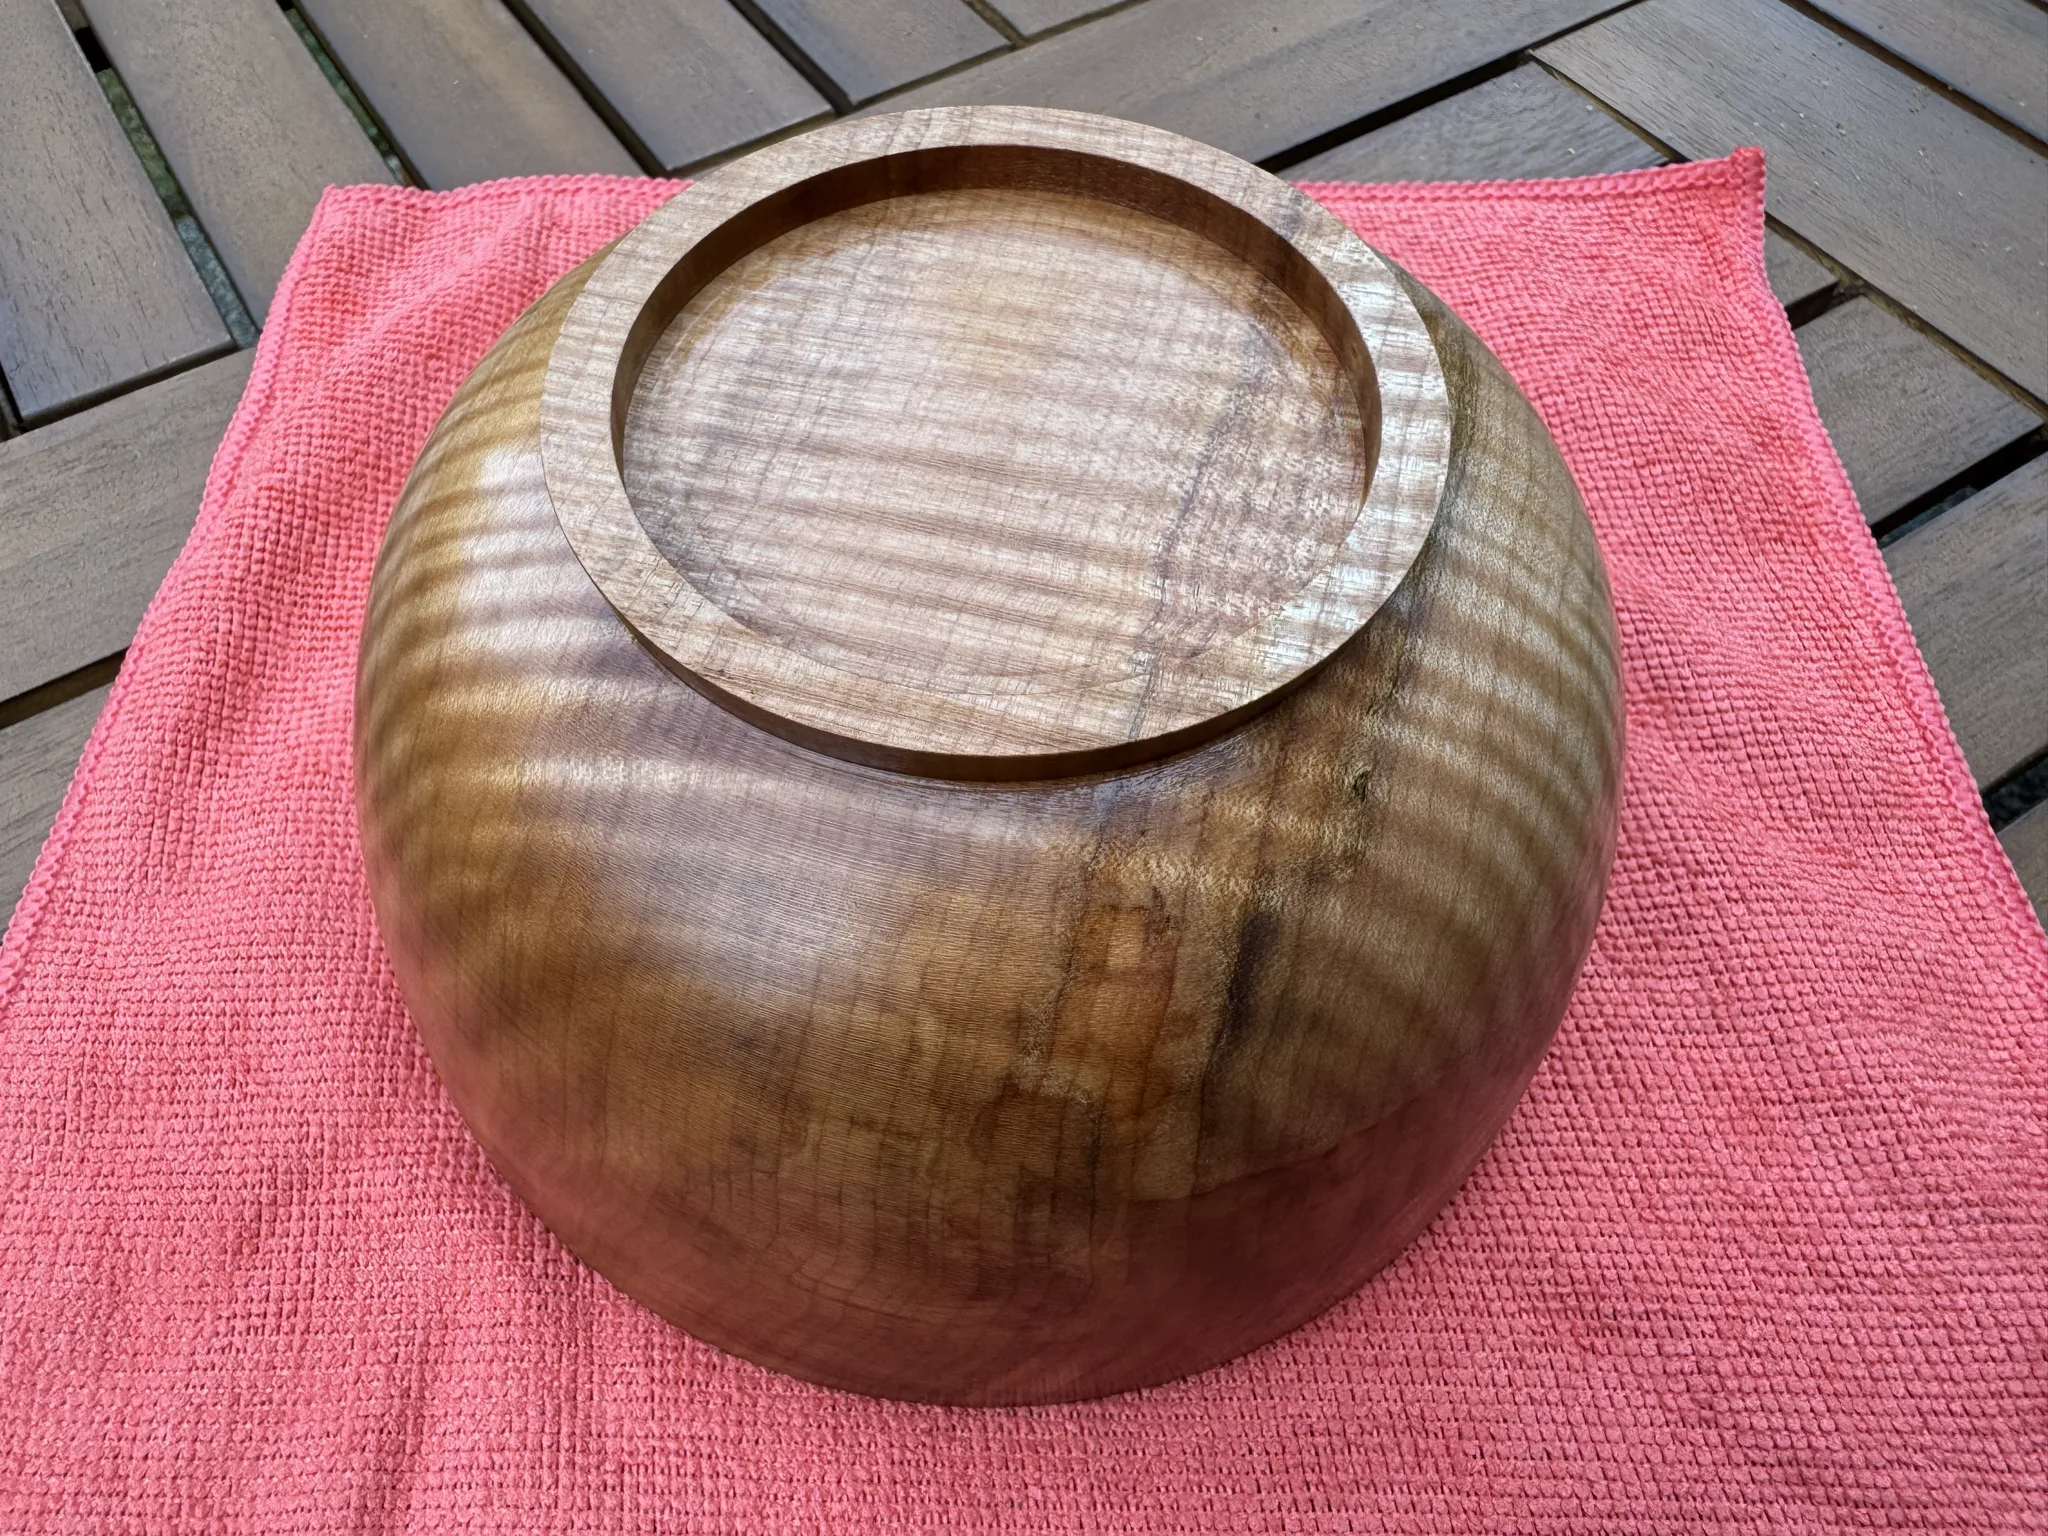
Some pictures of the first completed bowl. I’m happy with the result.
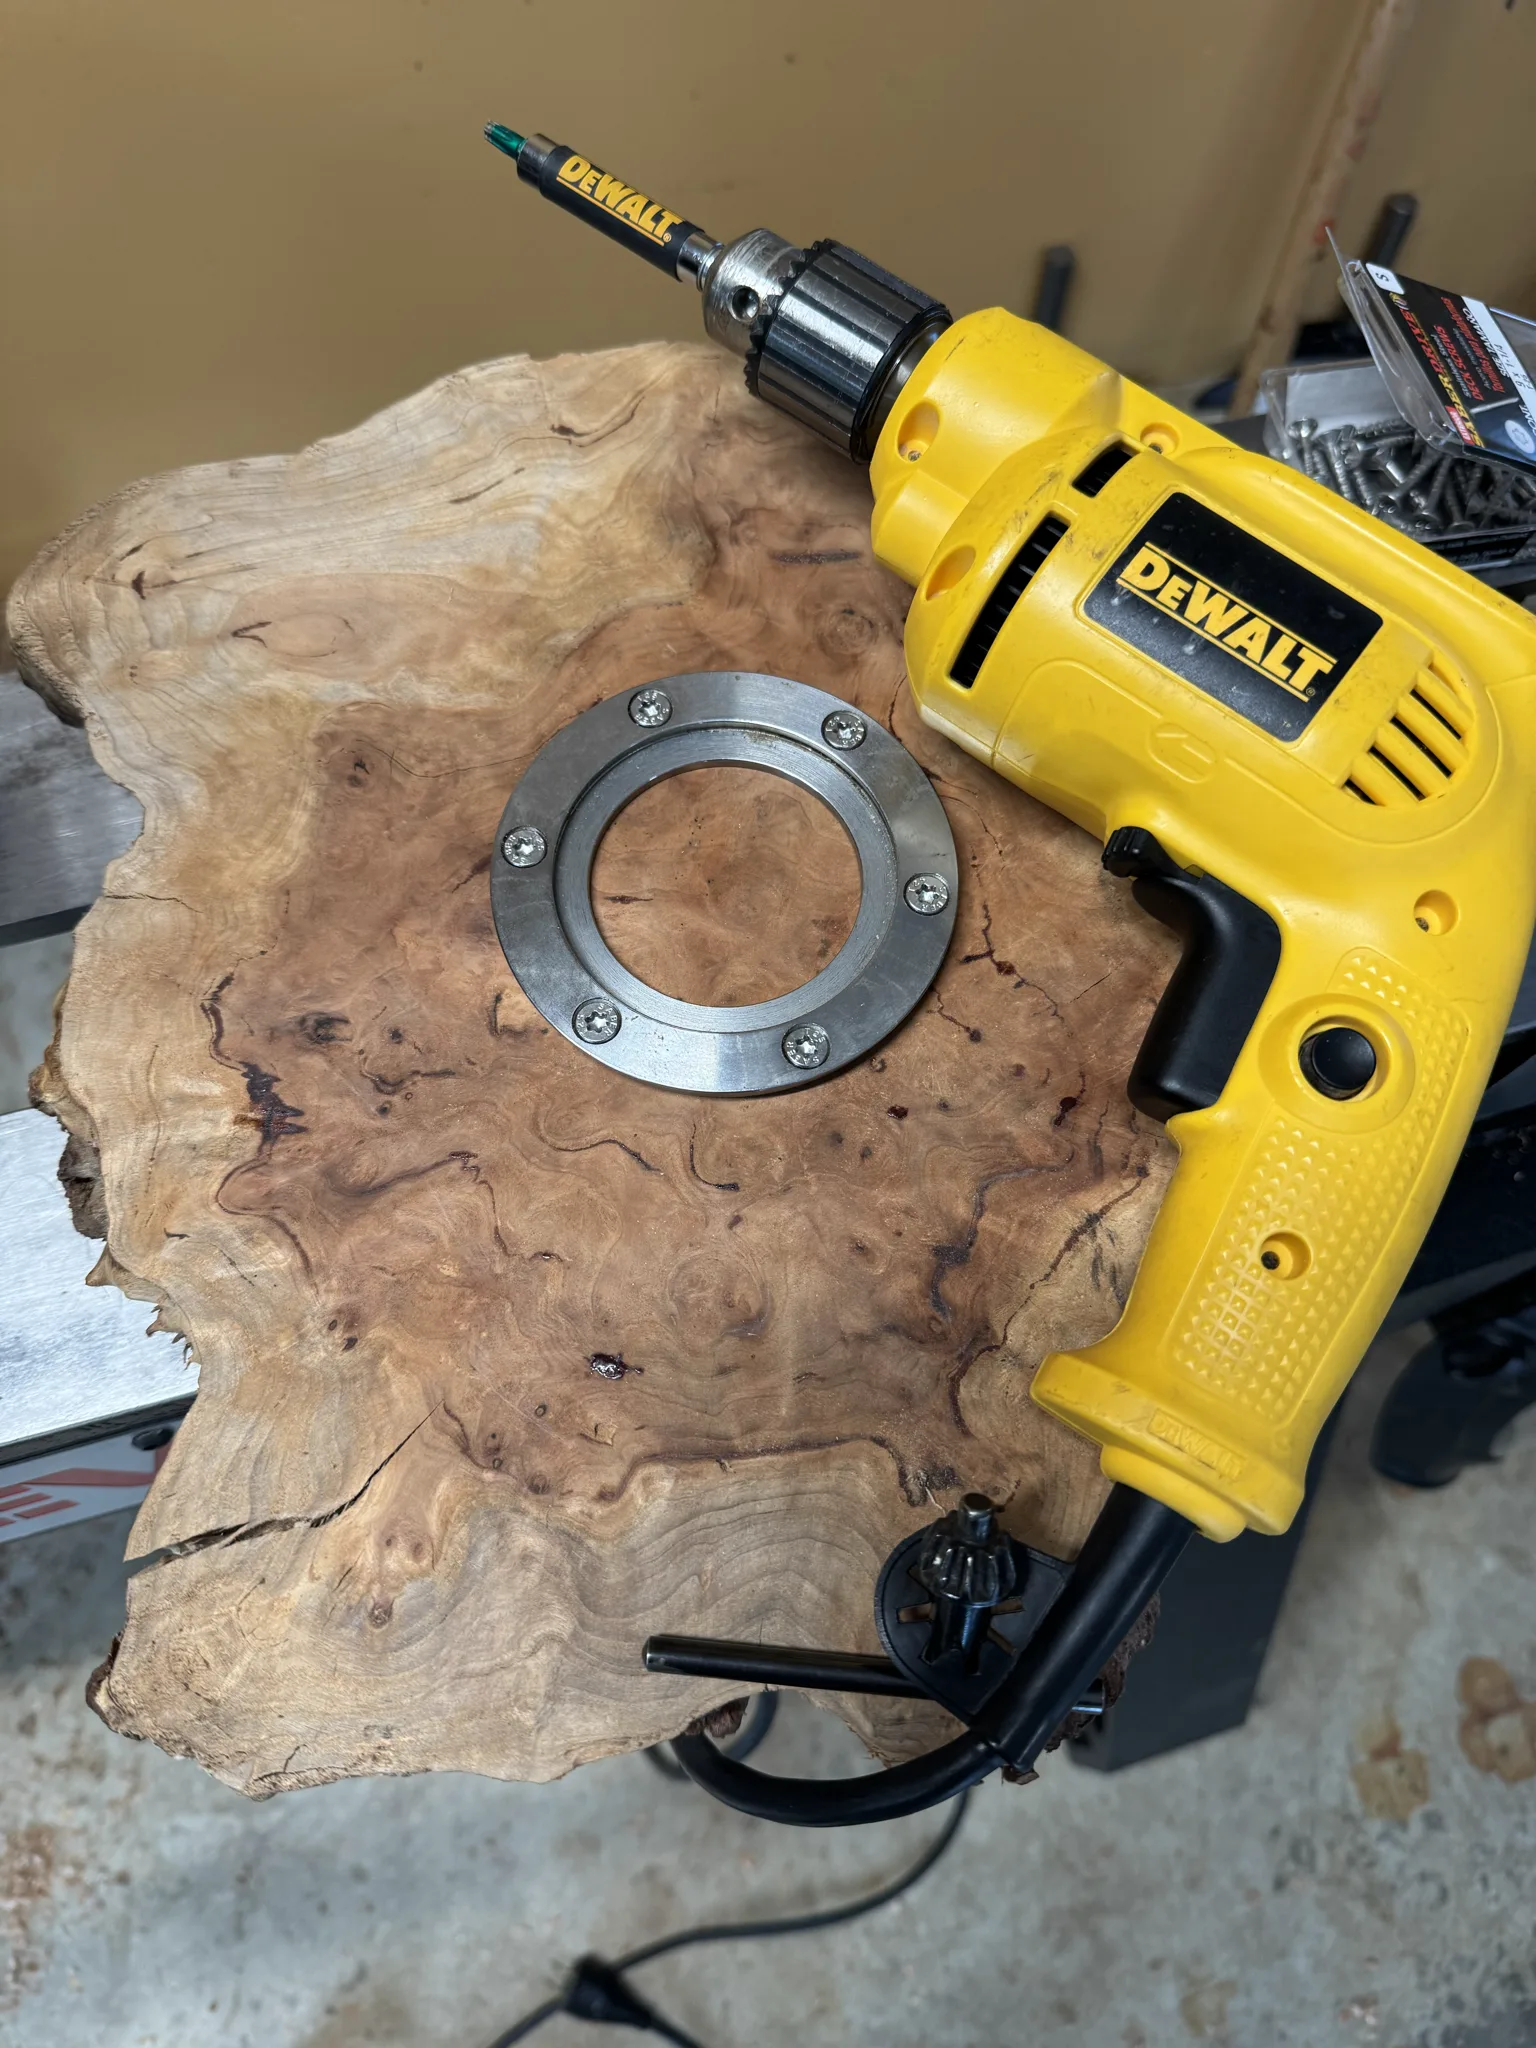
Now I mount the faceplate onto another piece of wood.
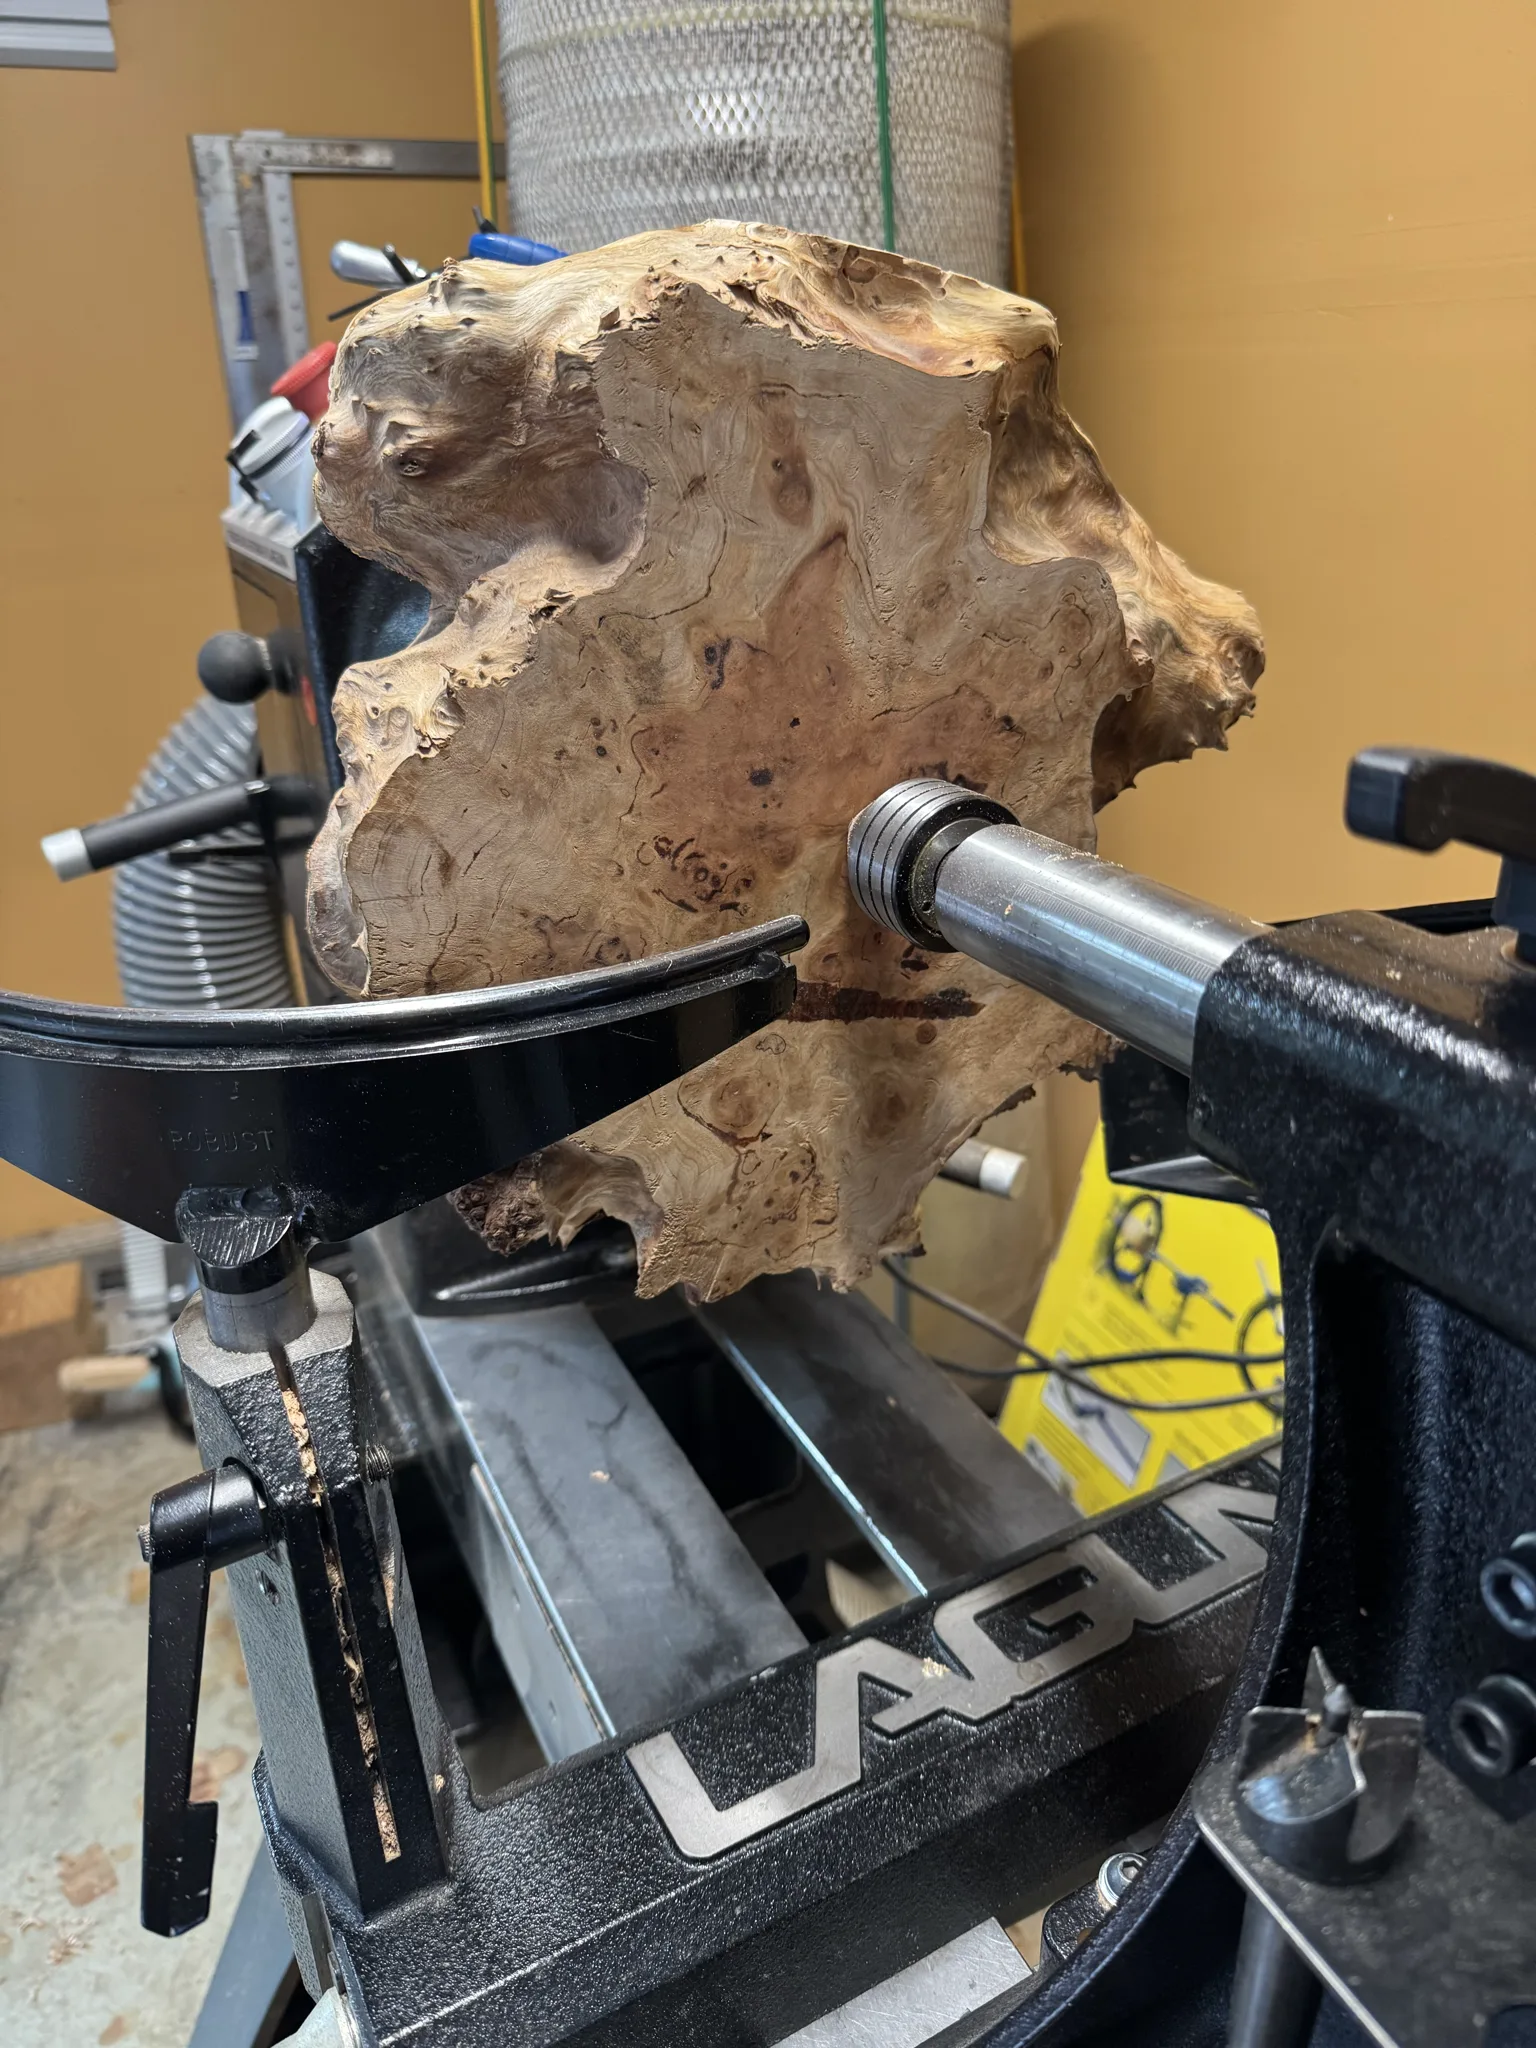
I’ve got the second piece mounted on the lathe now. This one has some interesting wood around the edge of it, It really is a special piece of wood both inside and outside. I’m going to intentionally leave a lot of the natural shape of the wood intact.
My approach to this piece of wood is inspired by the wood turnings of the late Phil Anderson. I’ve enjoyed Phil’s Shady Acres YouTube channel and learned a lot from it. All of the videos are still available if you want to see some really good woodturning in action.
I mark where the foot will go. Also, this time I’m going to do a recess rather than a tenon. The recess needs to be deep enough where a jaw can hold, but I don’t want to use up too much wood.
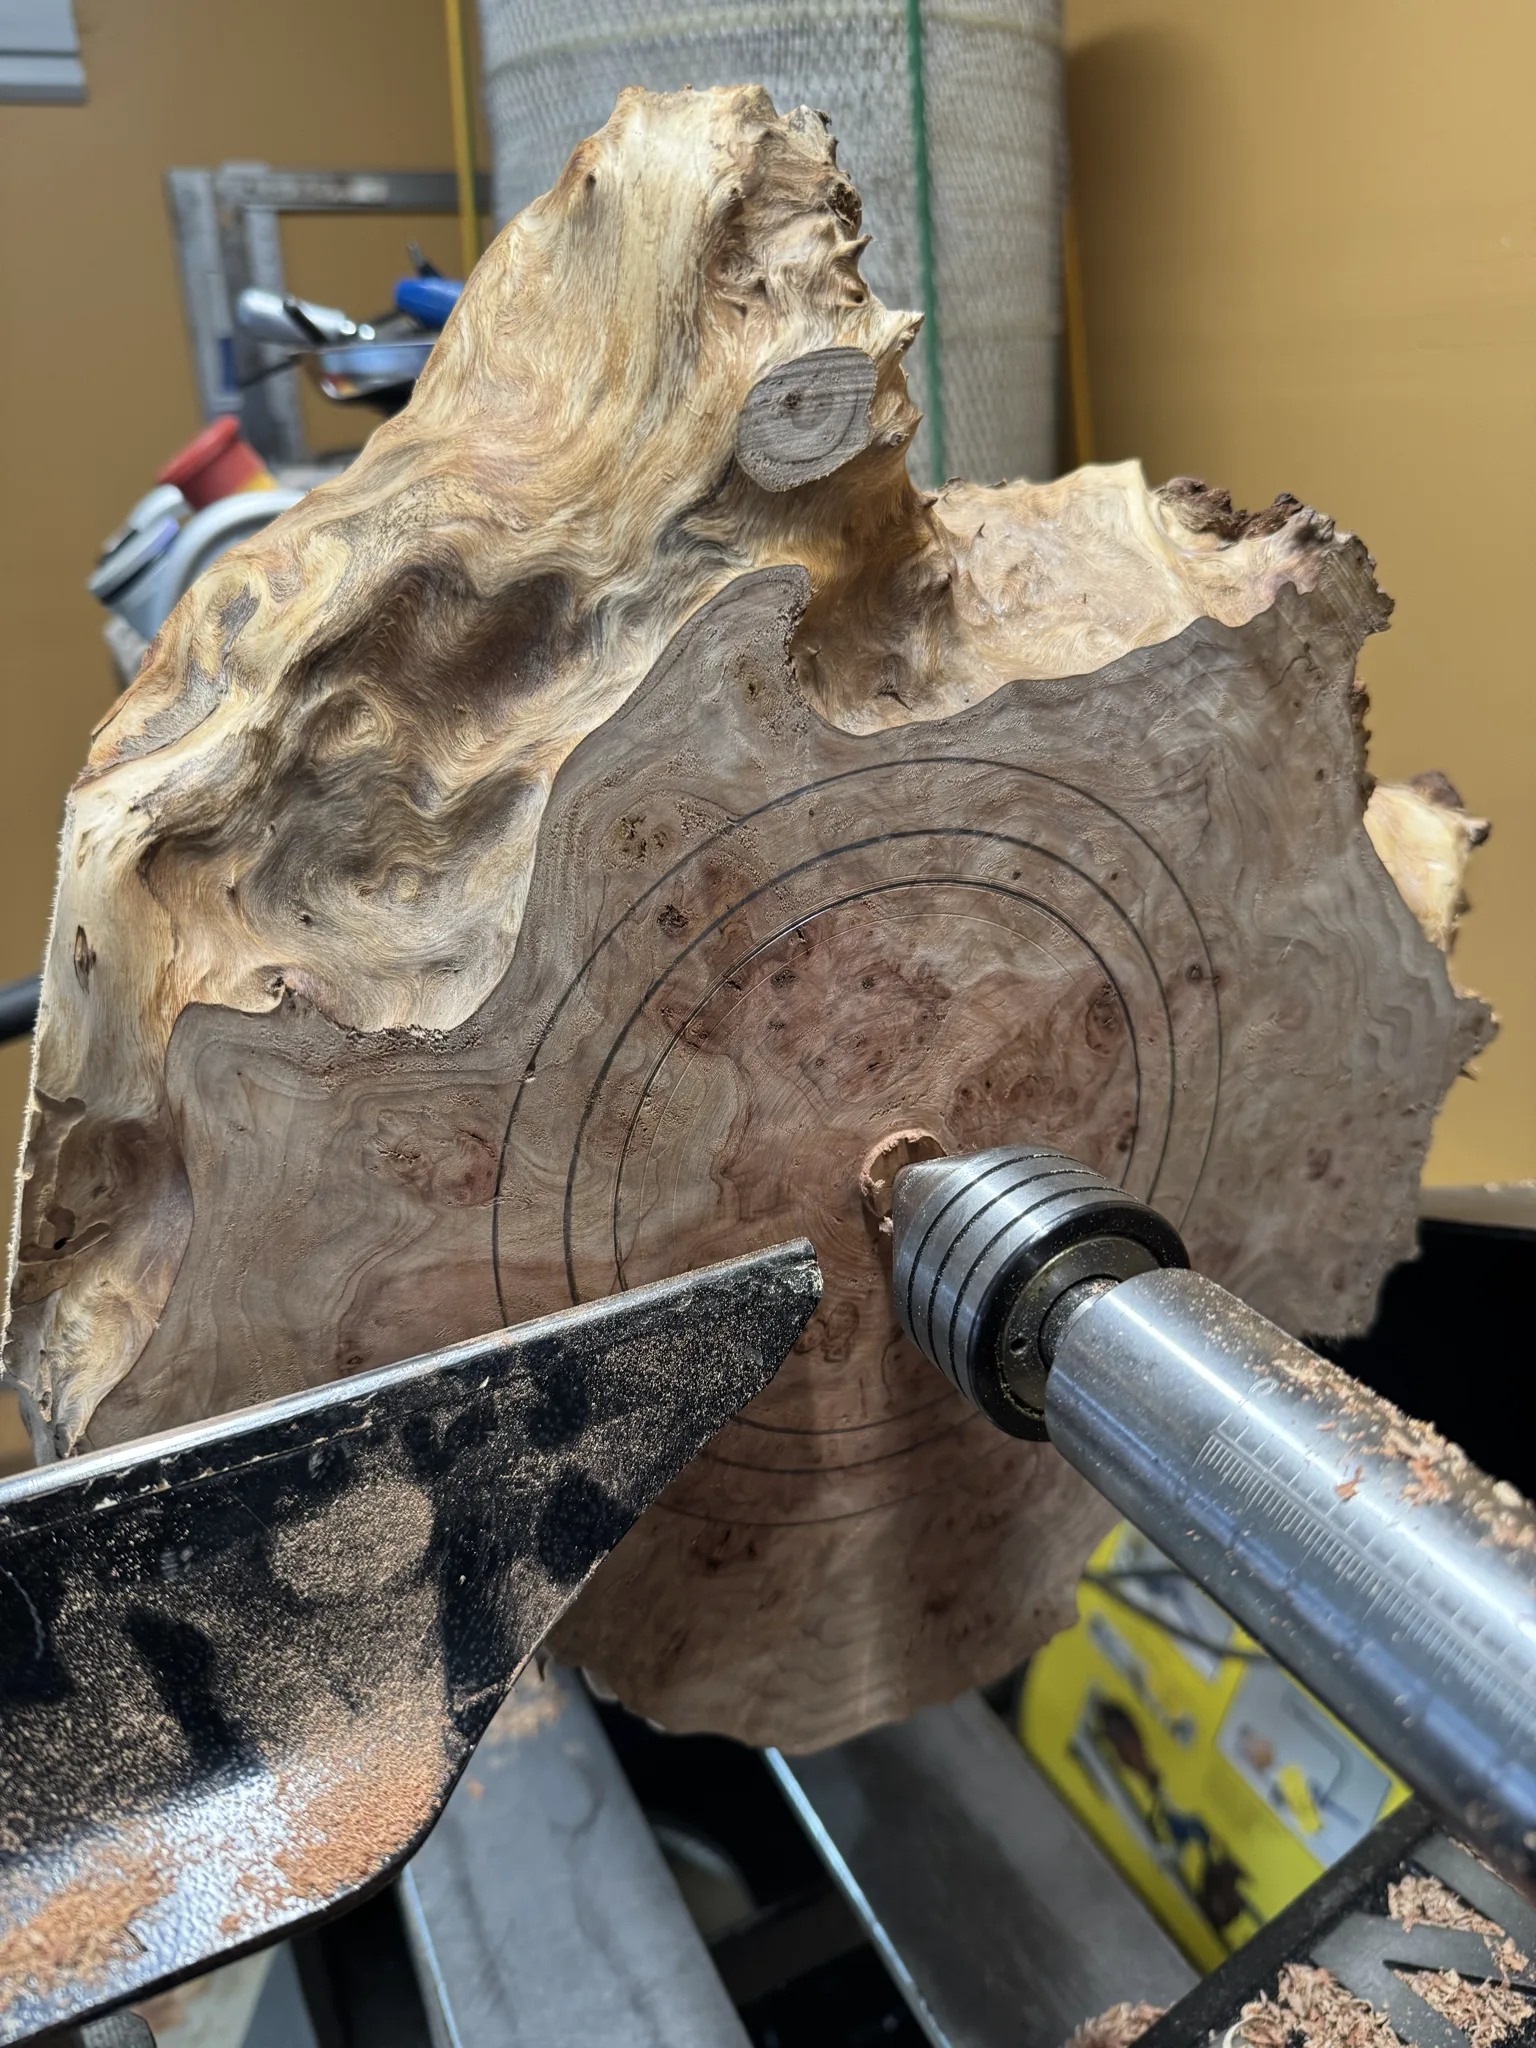
I’ve cut away to make the sides curve up slightly. I want to leave a lot of the natural edge on, but the curve is necessary so a person will be able to get their fingers underneath the bowl to pick it up. I cut out the foot and recess.
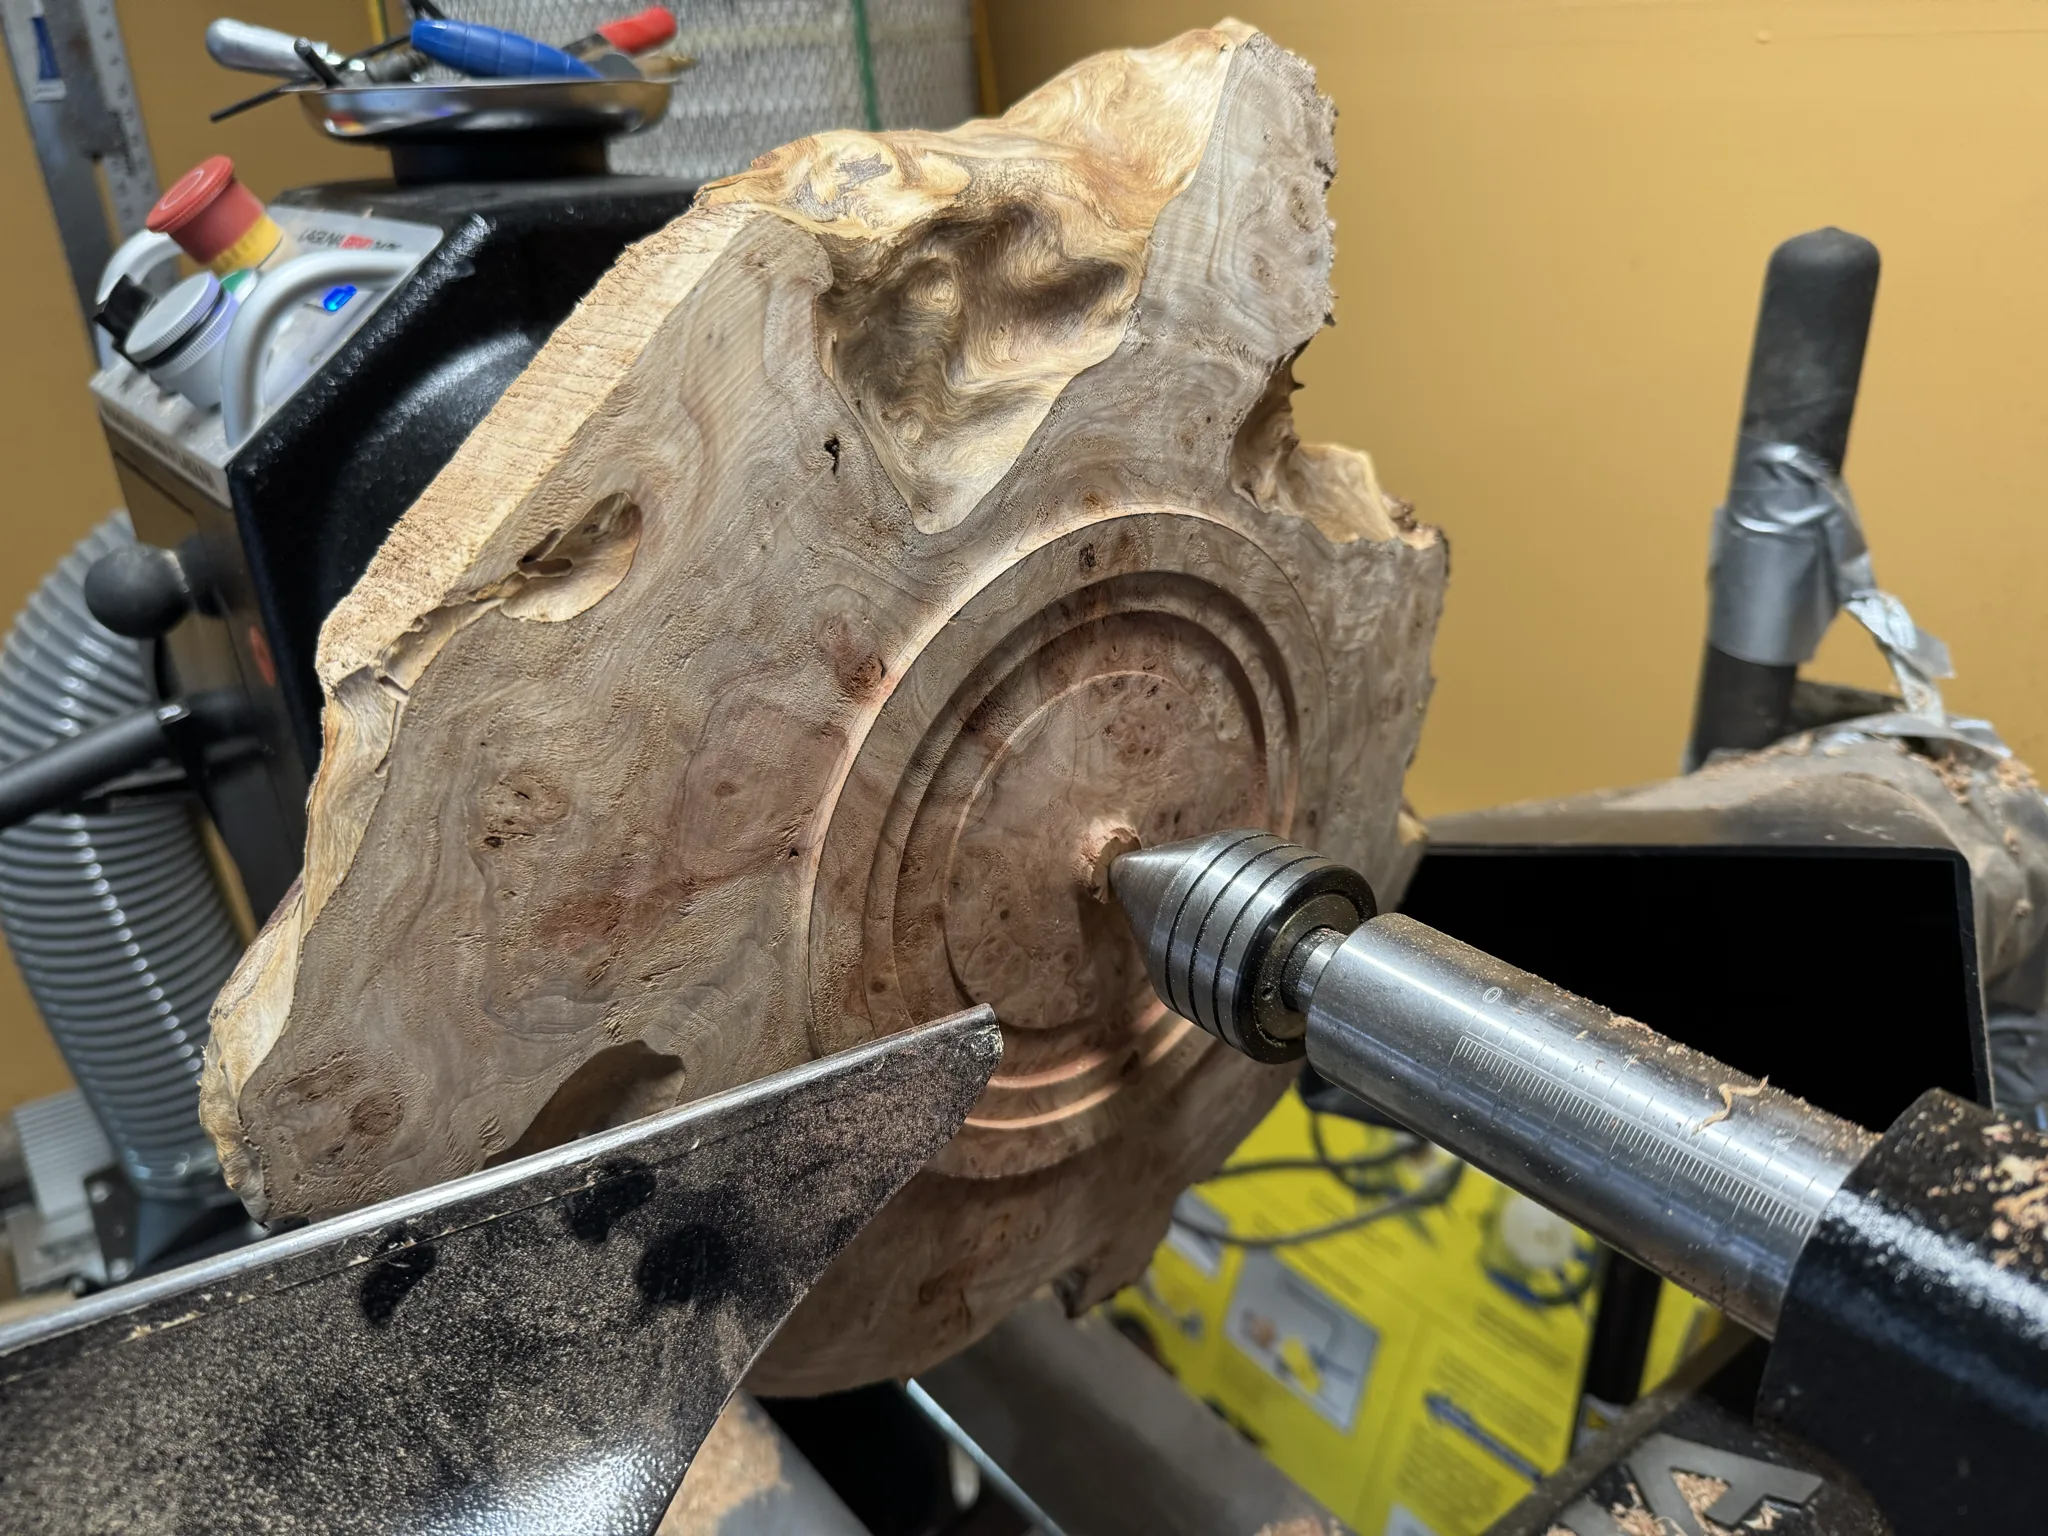
This picture shows the profile so far.
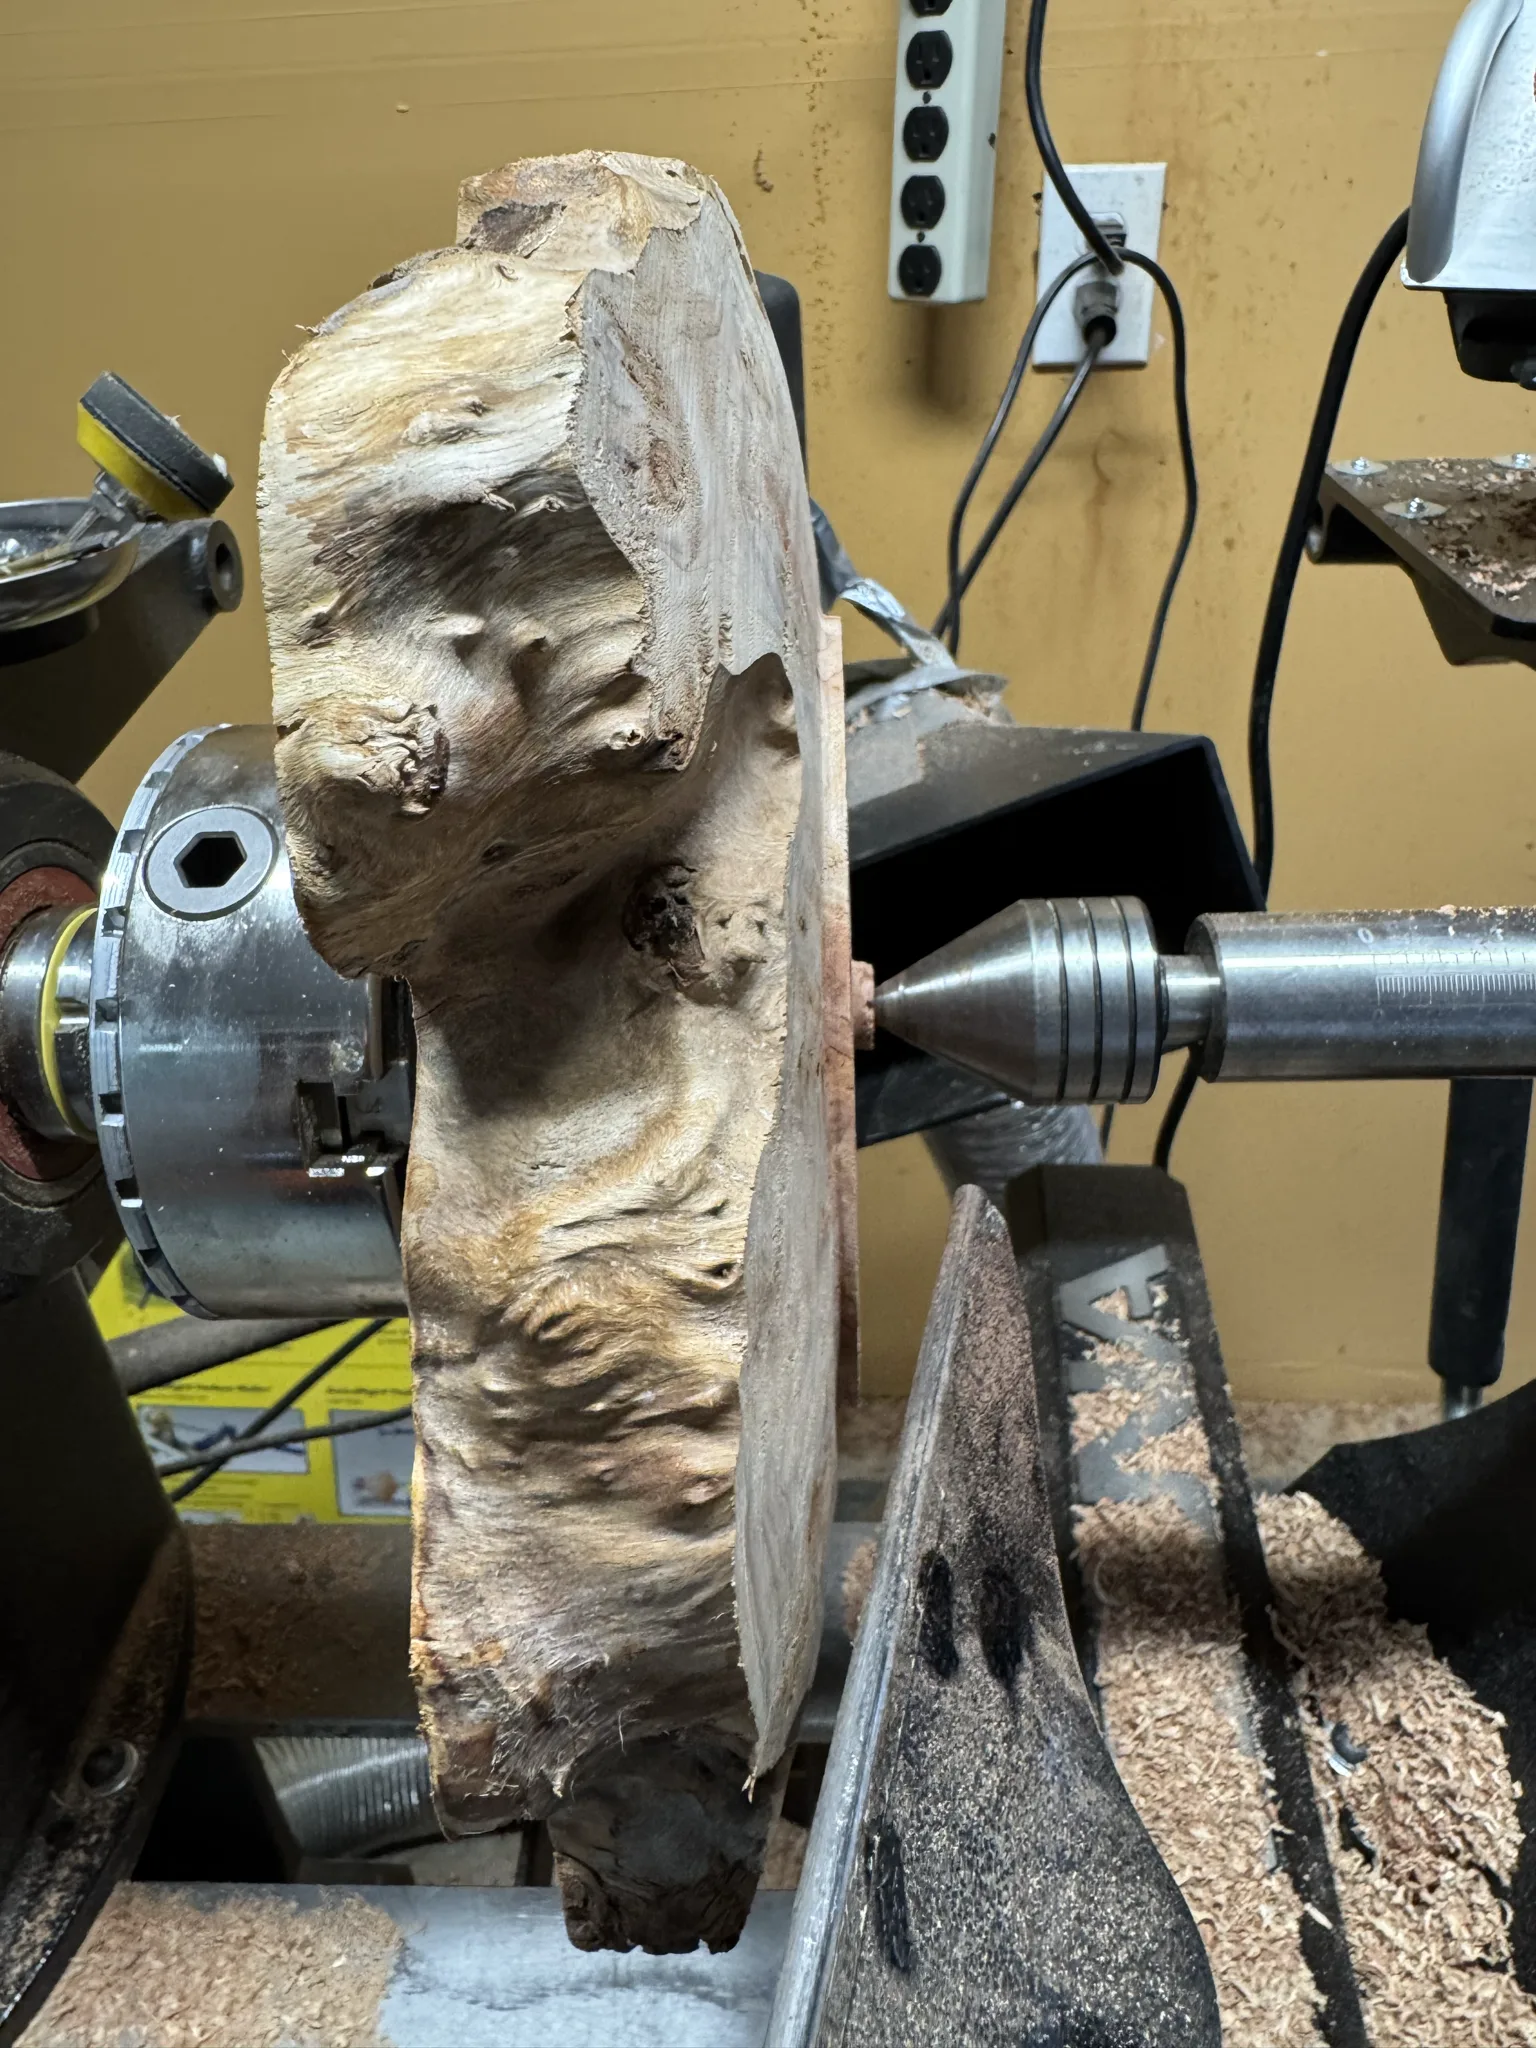
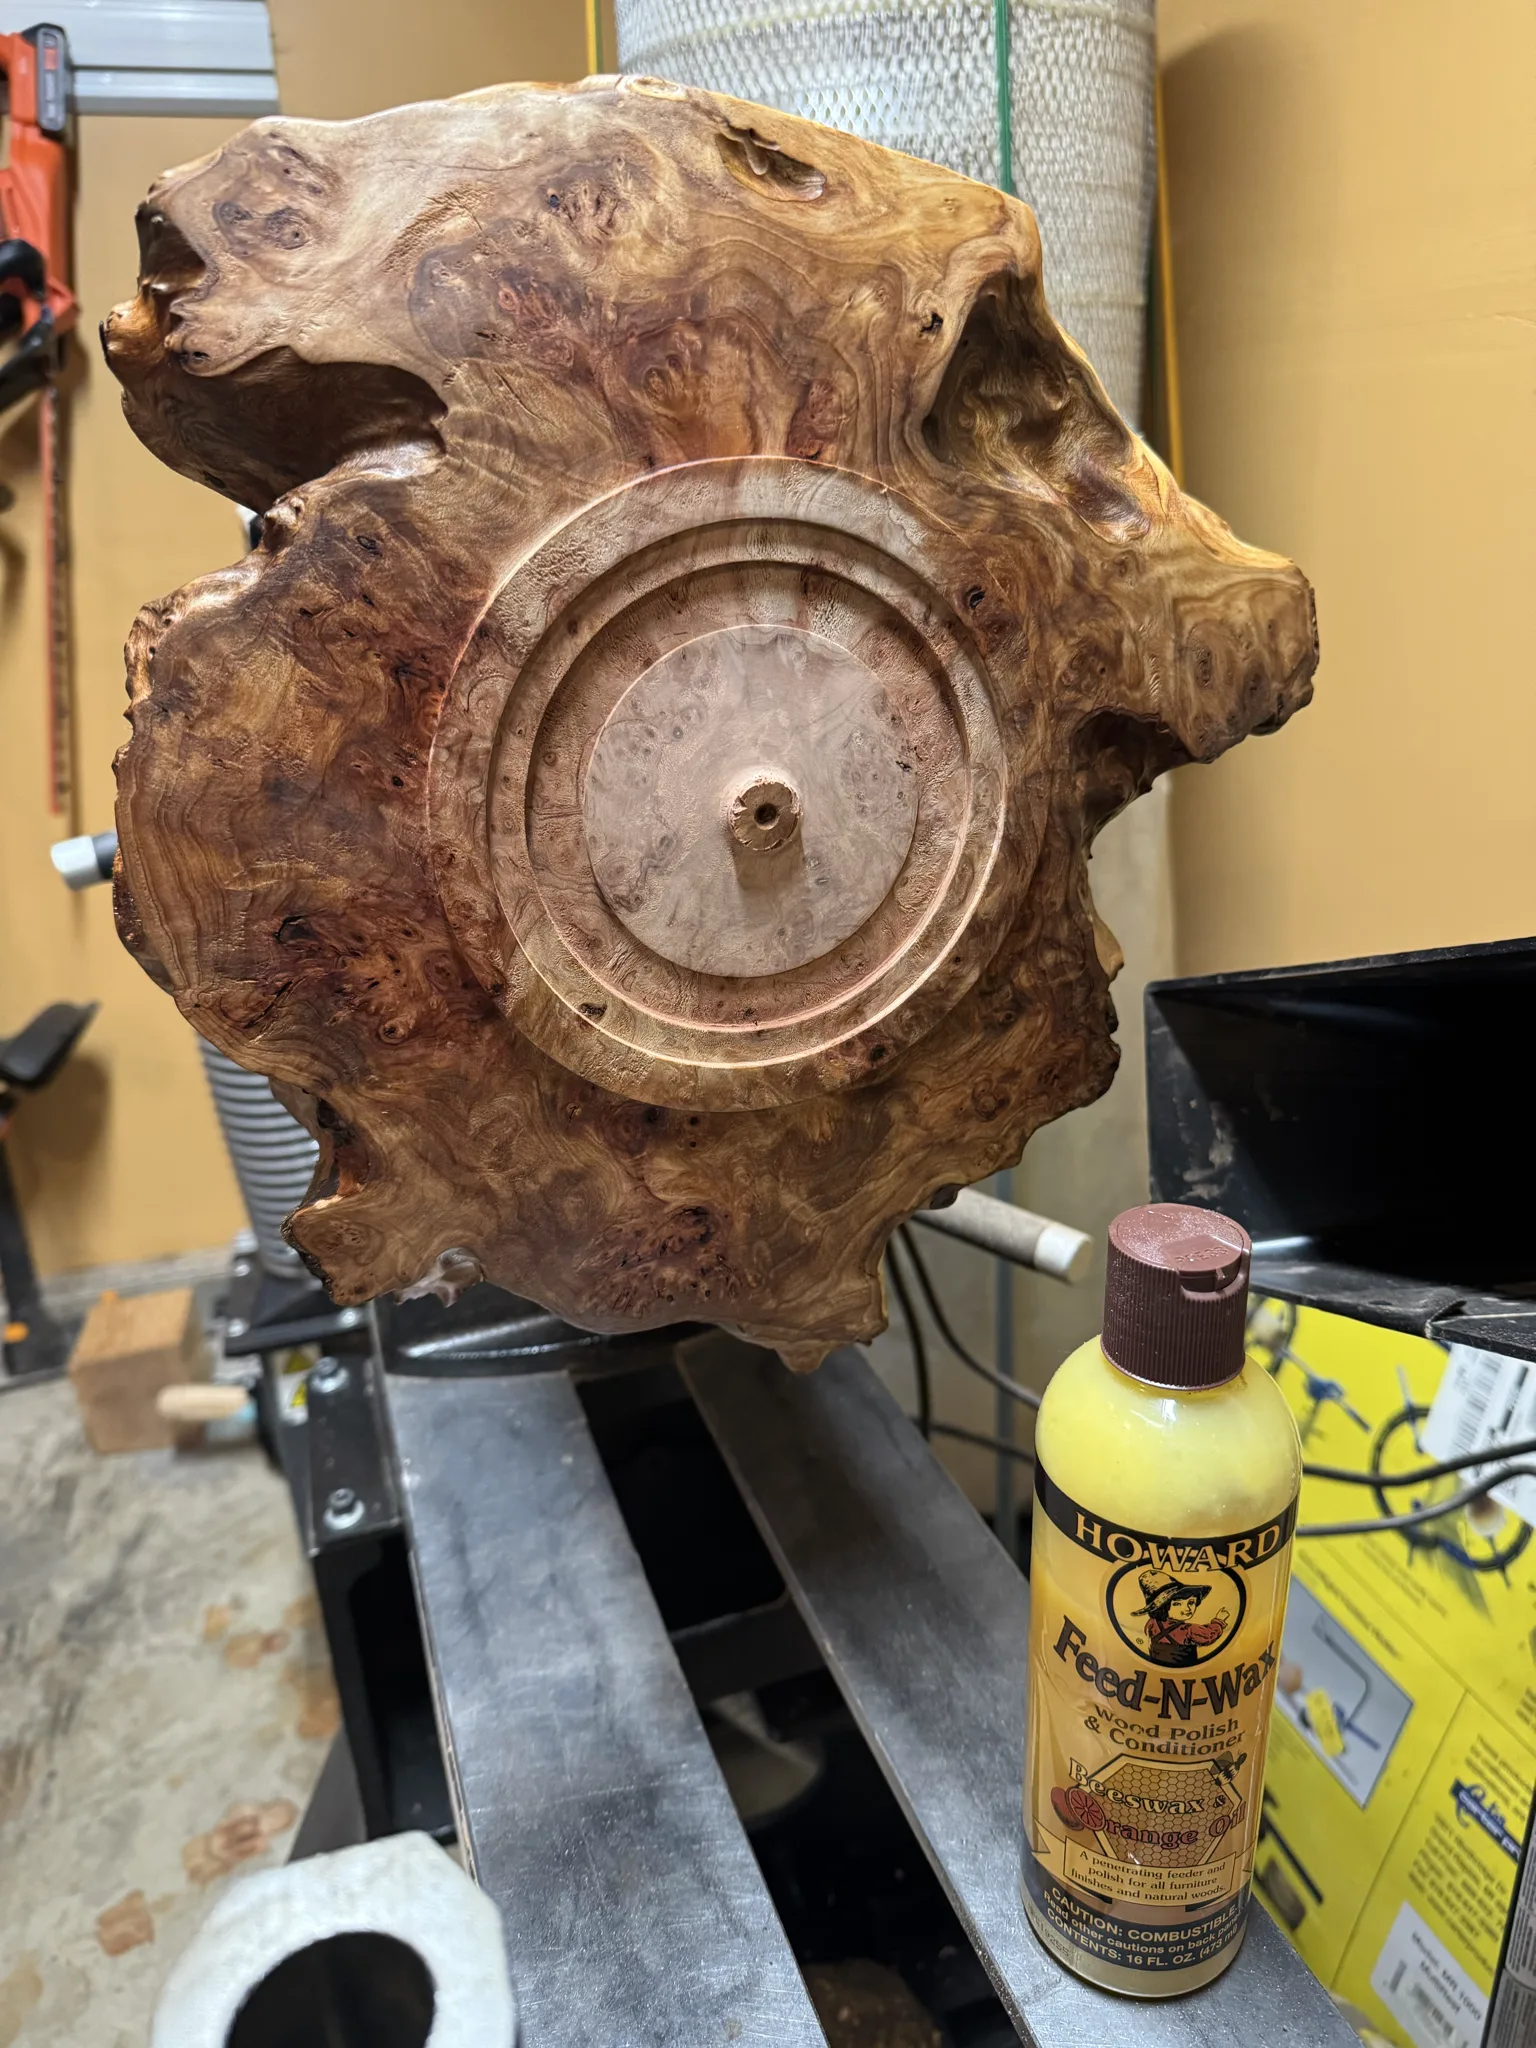
I’m satisfied with the bottom now. Time to sand and put on a finish. In this case, I’m using “Howard Feed-N-Wax” wood polish and conditioner. It contains beeswax and orange oil and is convenient to pick up from Home Depot should the bowl ever need another coat in the future.
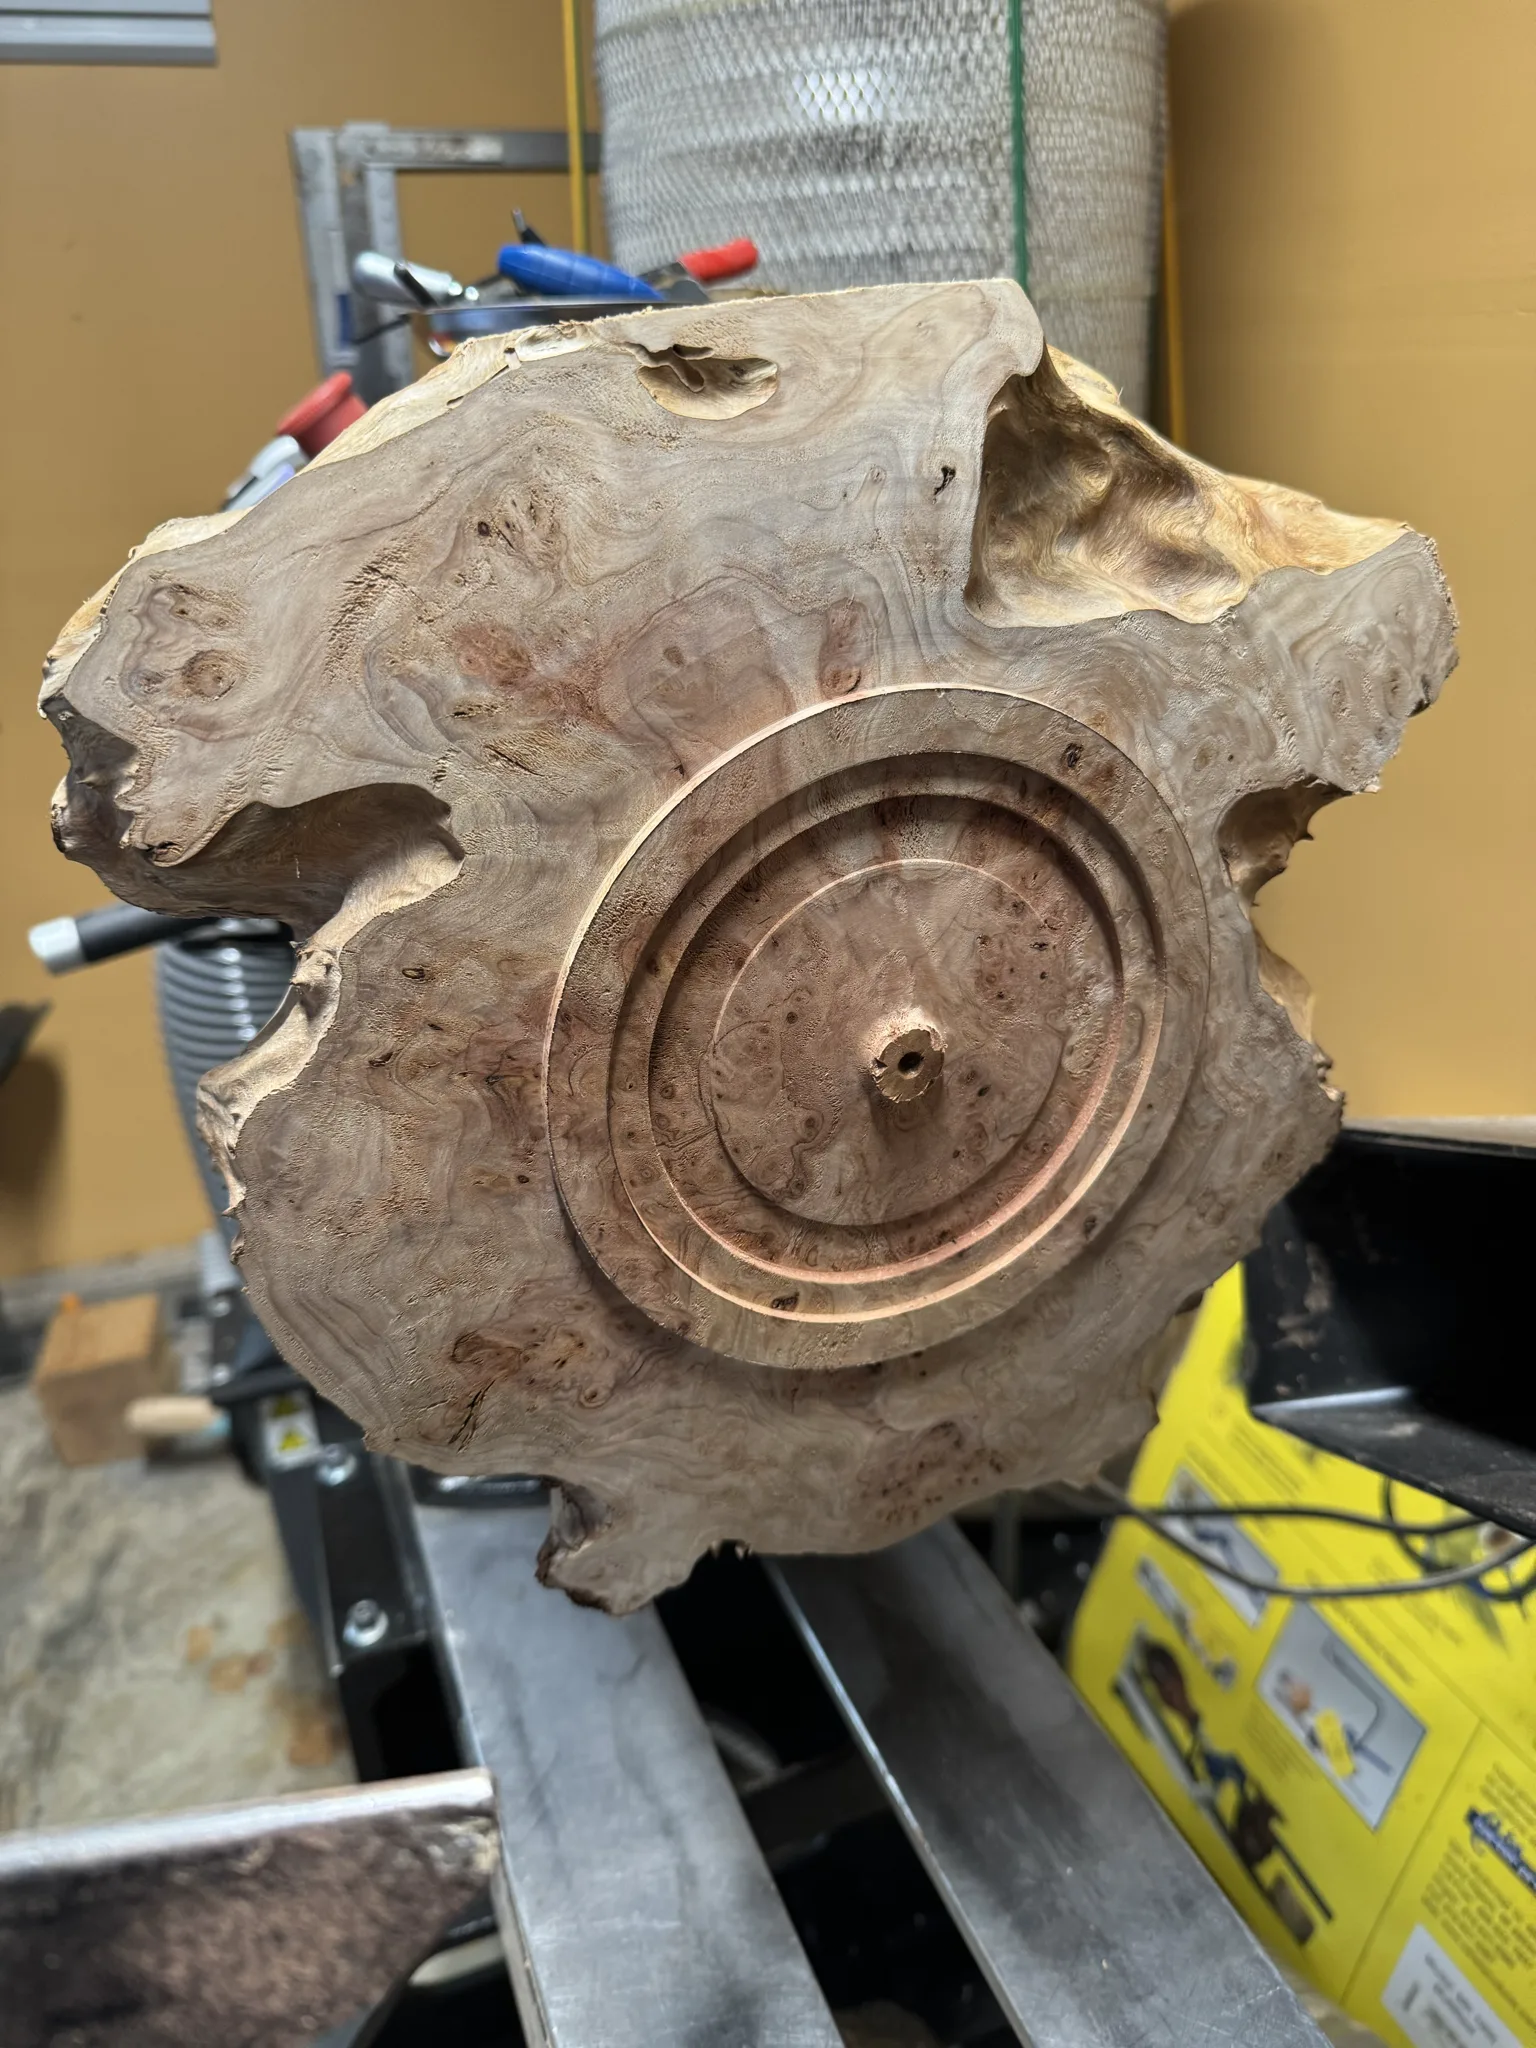
Howard Feed-N-Wax is one of the simplest finish treatments to use and looks great on this wood as it brings out the colors.
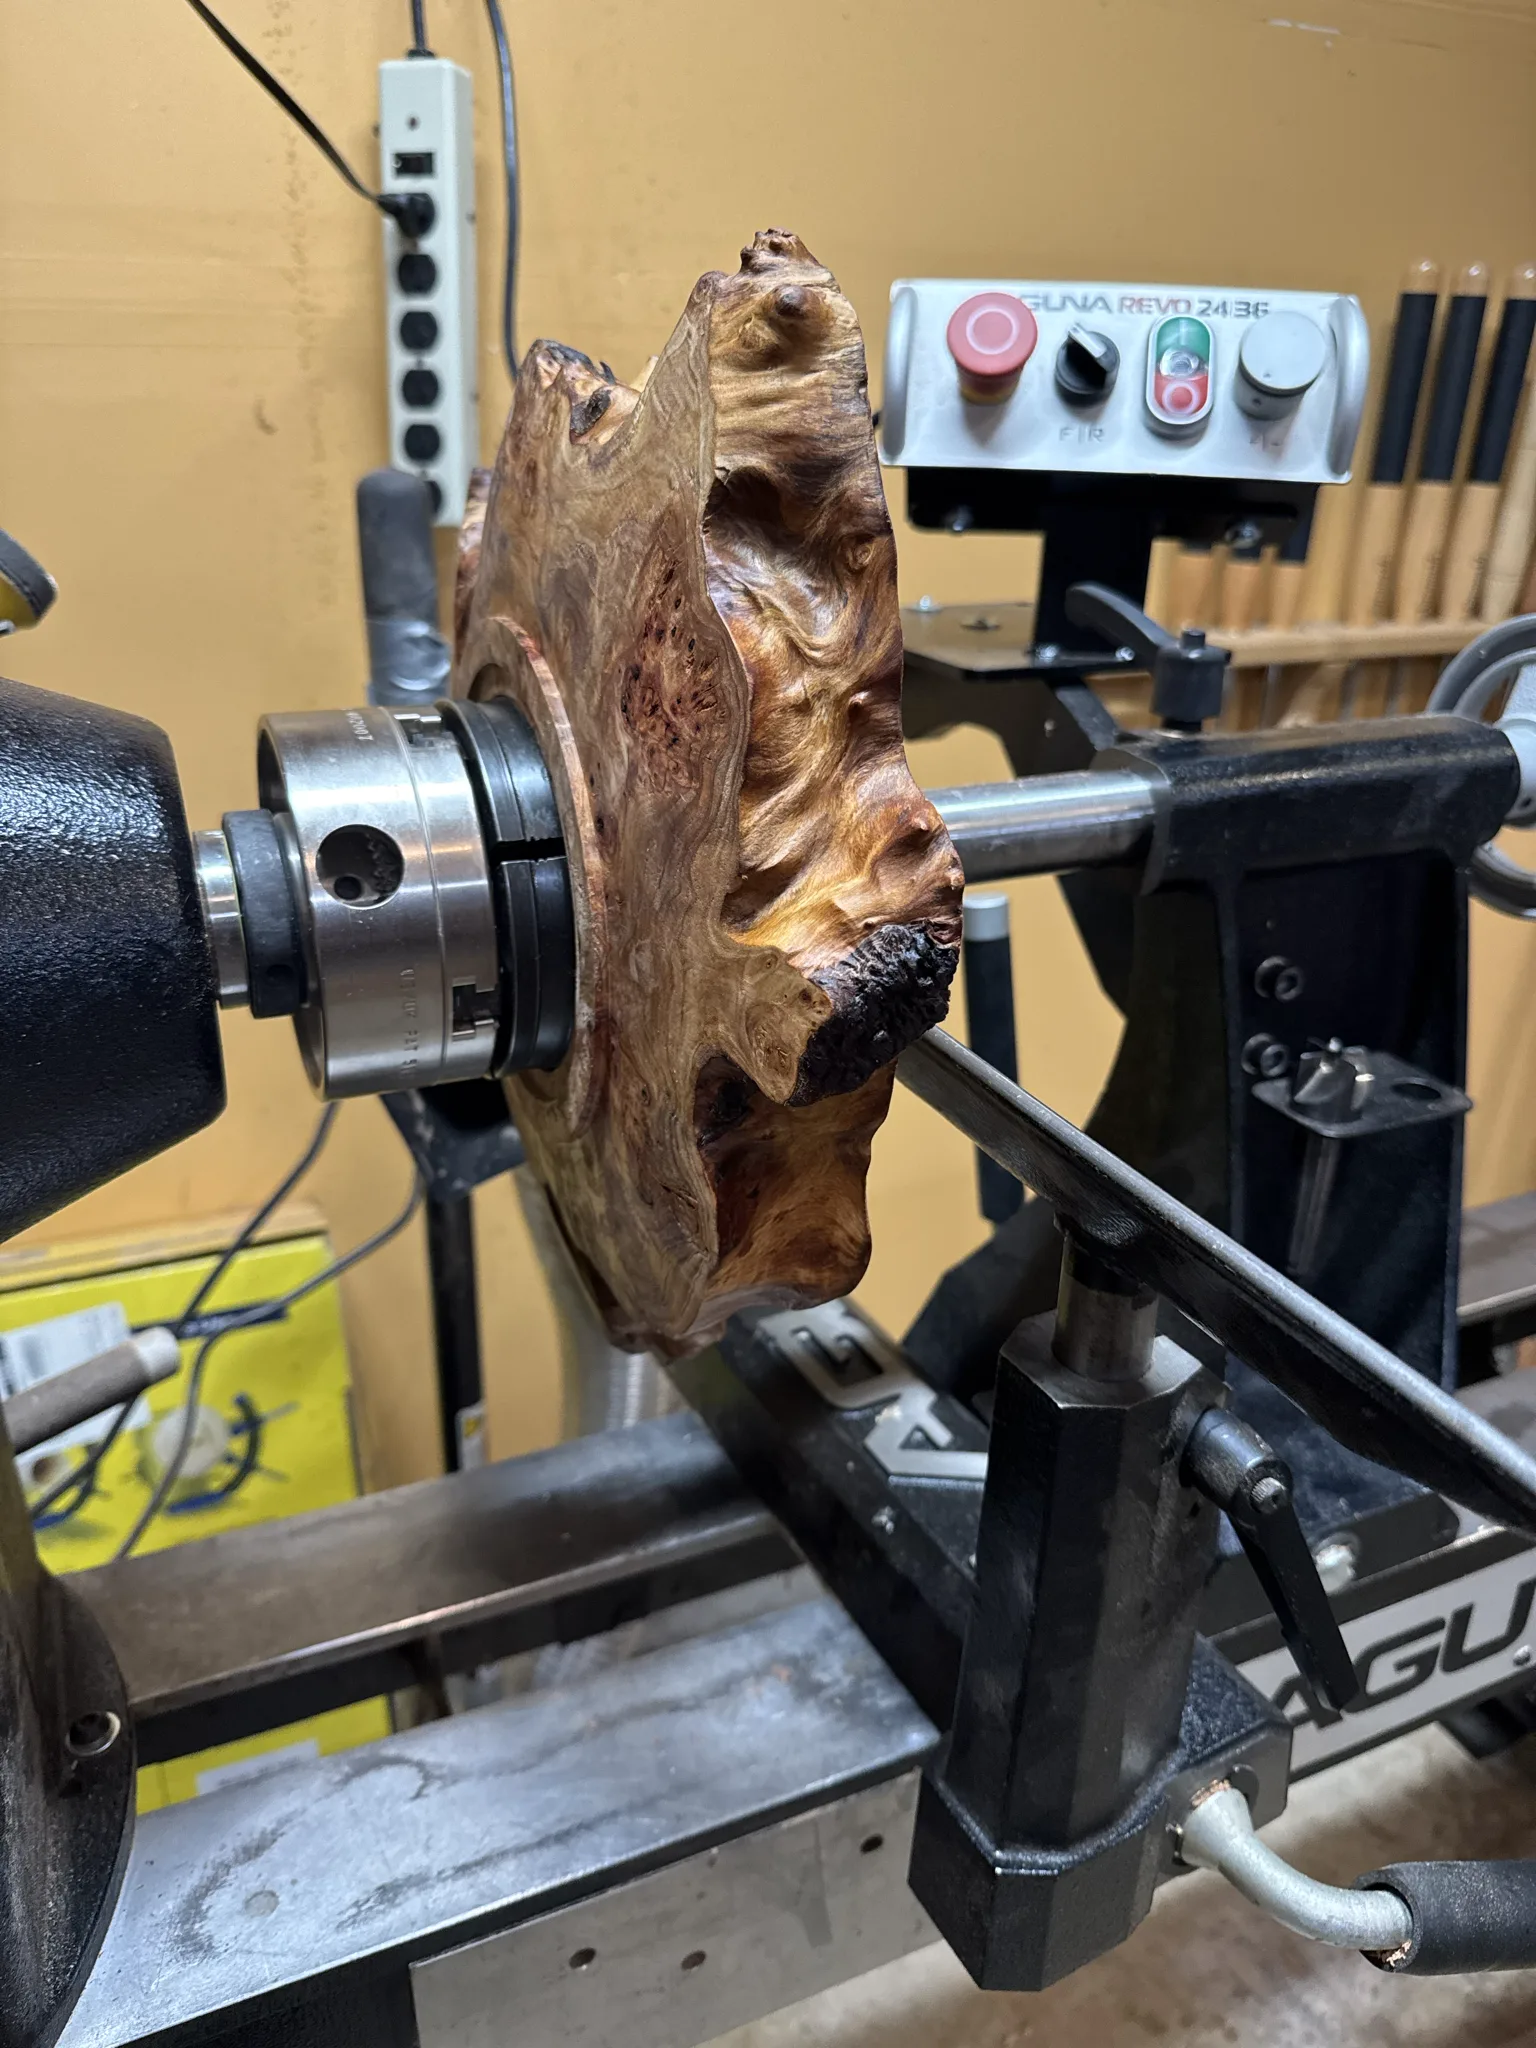
I mount the piece on the lathe with the chuck jaws going into the recess I carved out.
Not shown, but the edges of the piece have been sanded with a “Sand-O-Flex” wheel that flaps sandpaper against a surface via the spinning of a drill. This gets into all of the places along the edge so there are no sharp edges when you pick up the piece. This is also a technique I learned from watching Phil’s YouTube channel.
This side has a large crack on one of the edges. I poured some CA glue into it to try to keep it from continuing to crack.
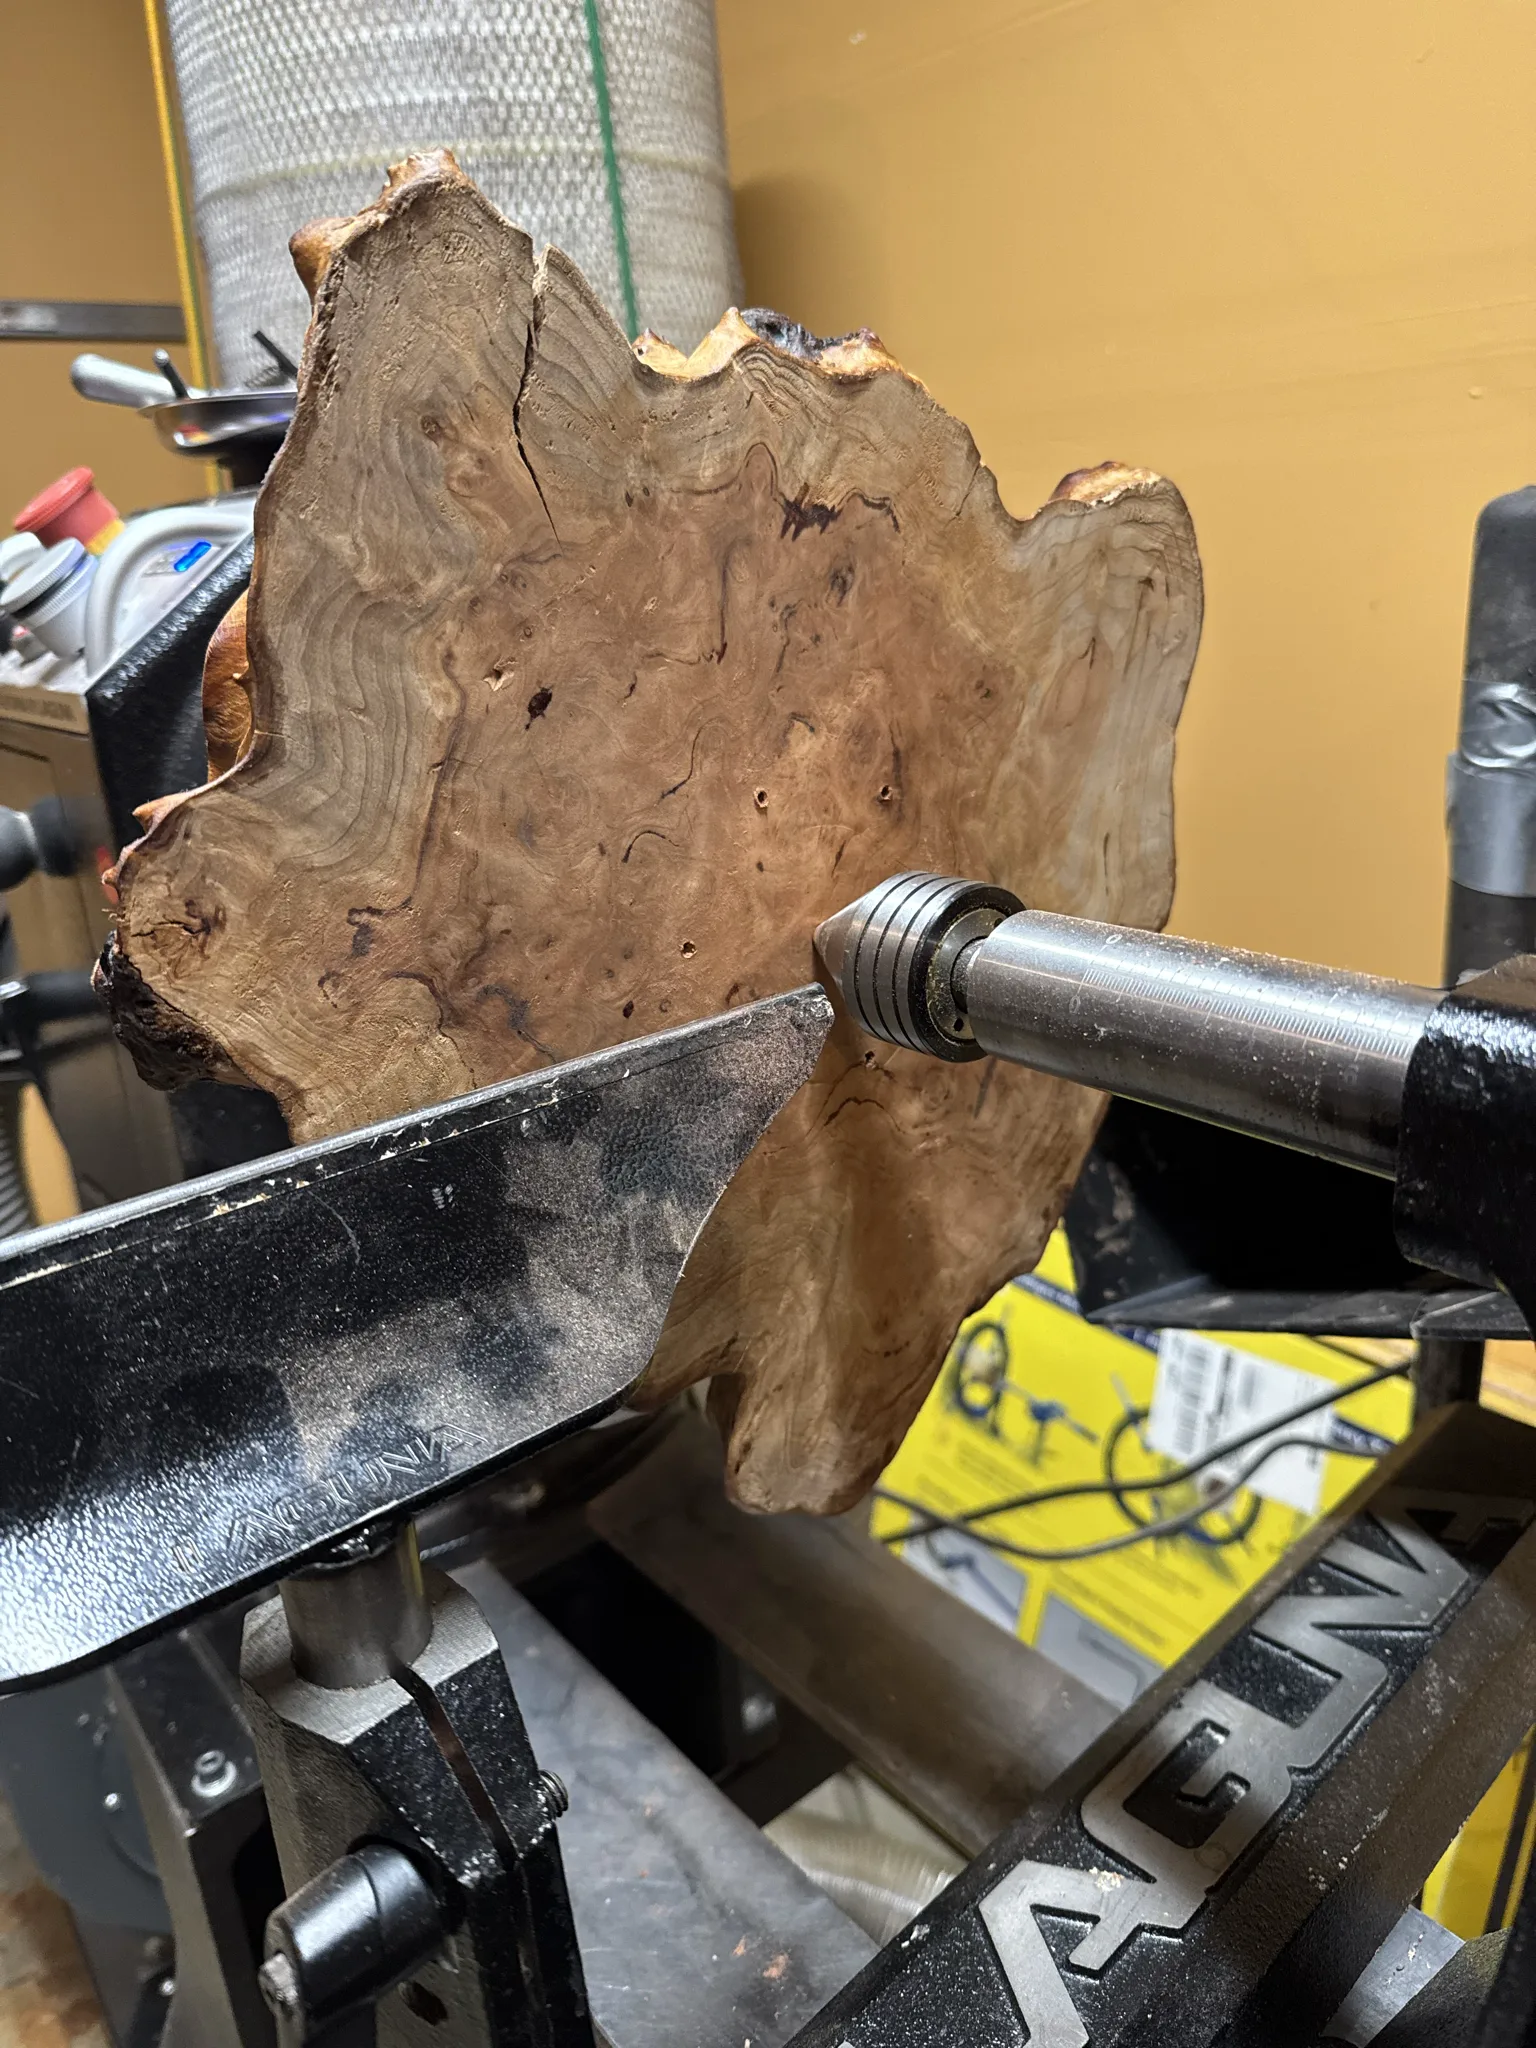
I create a shallow bowl in the middle. The outside is cut to be flat.
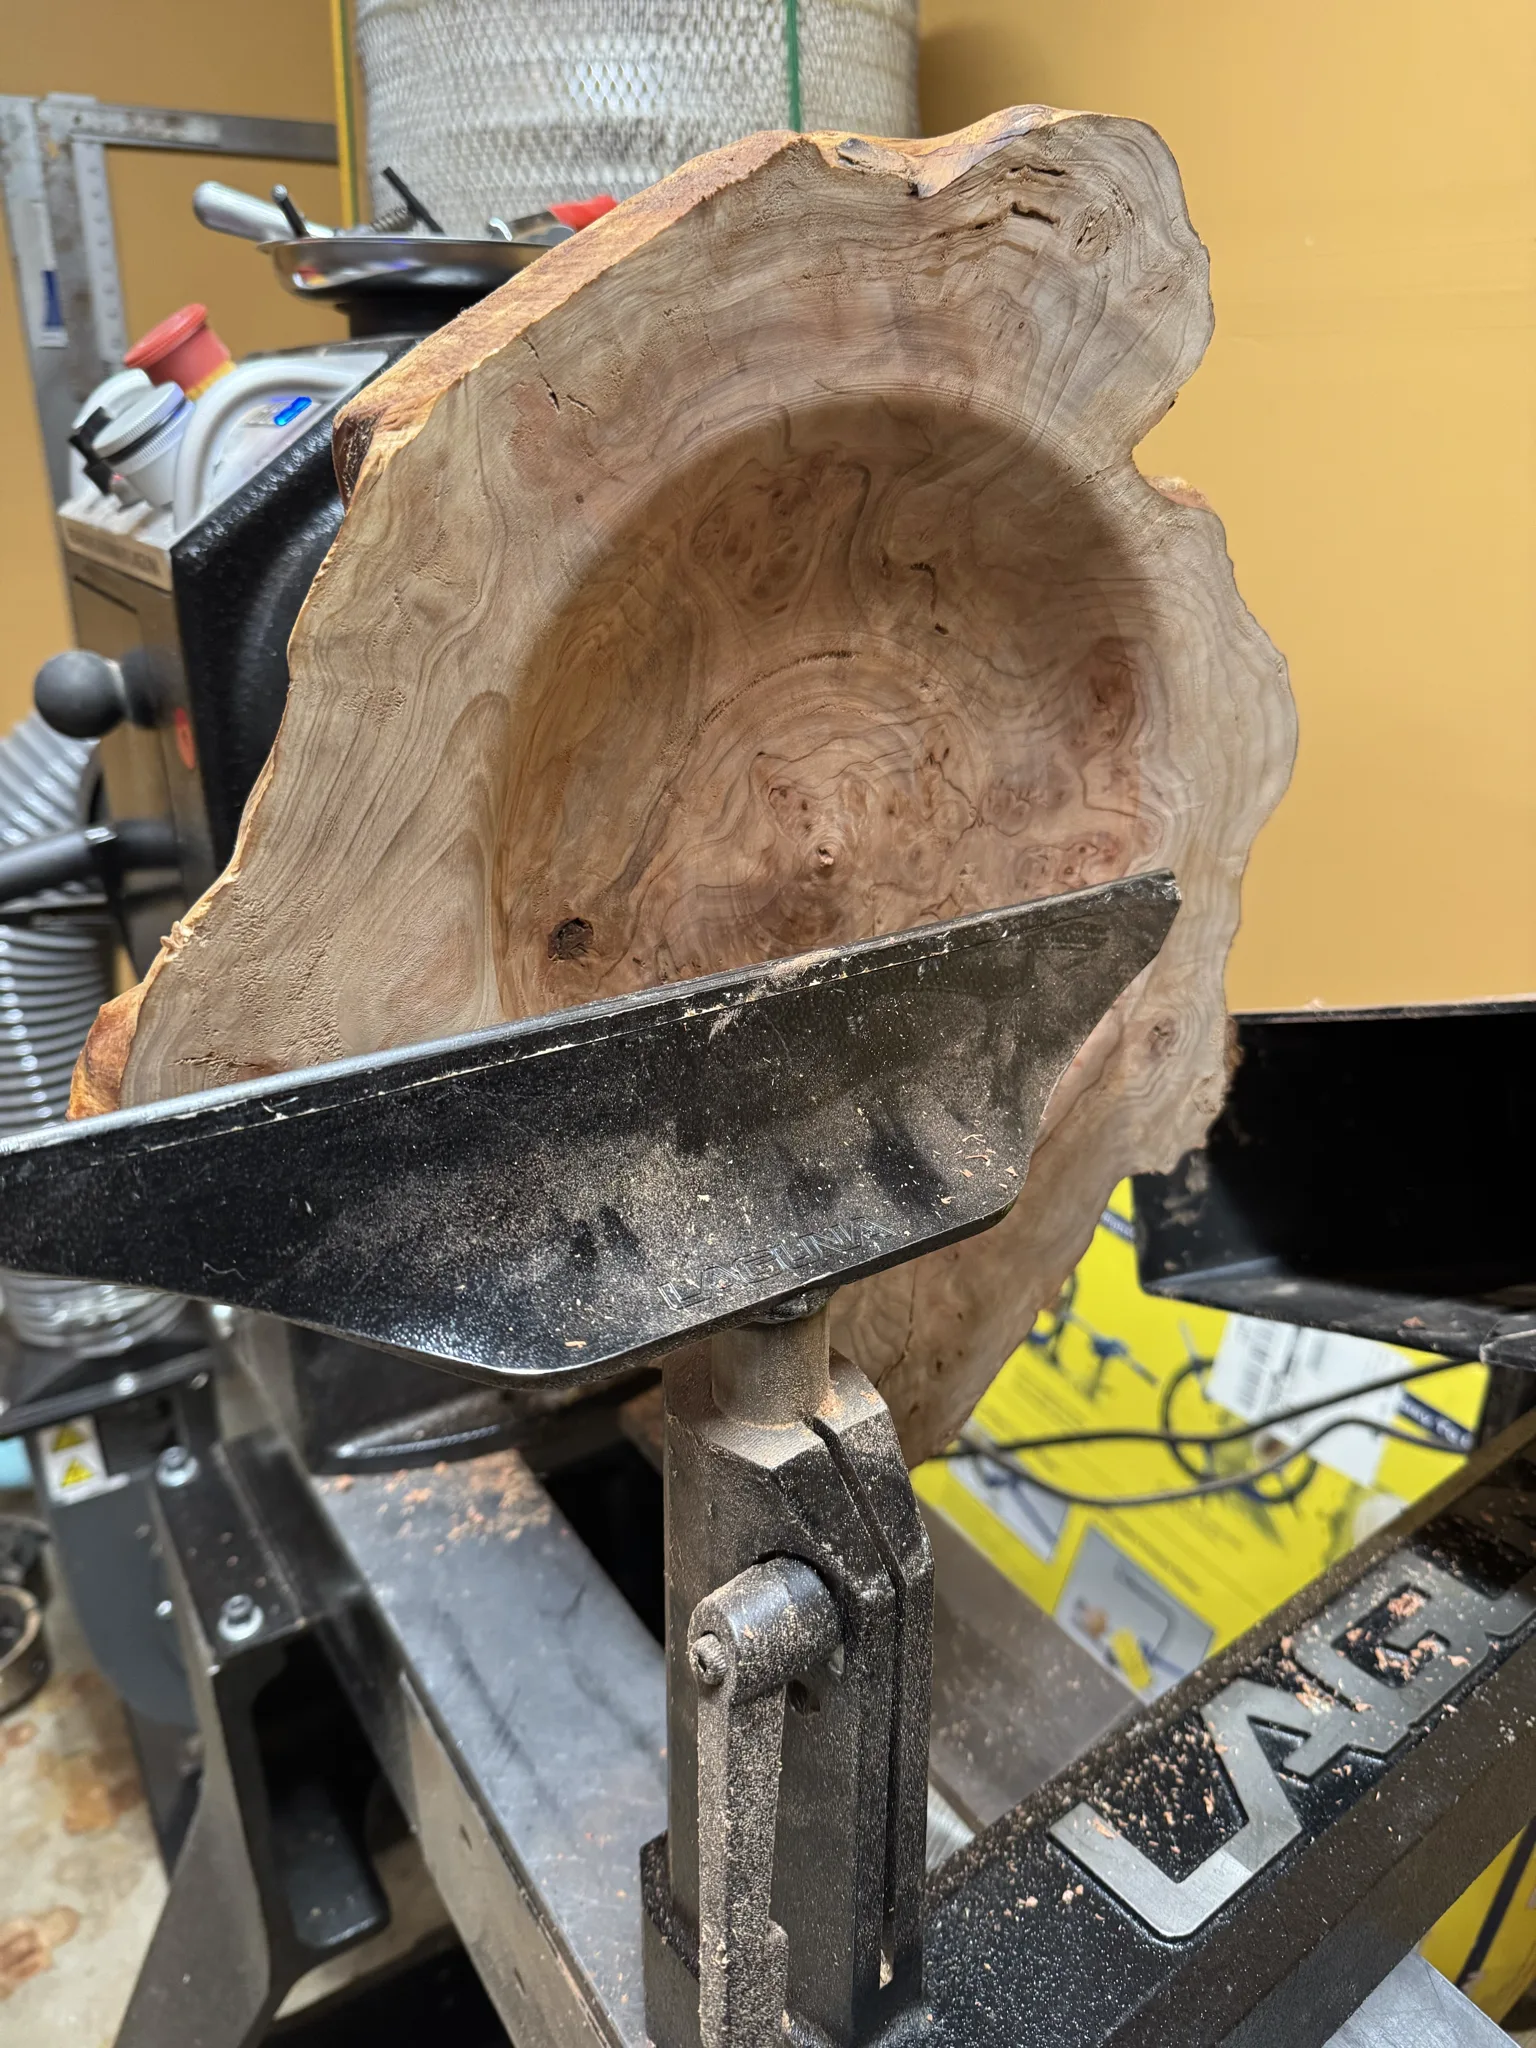
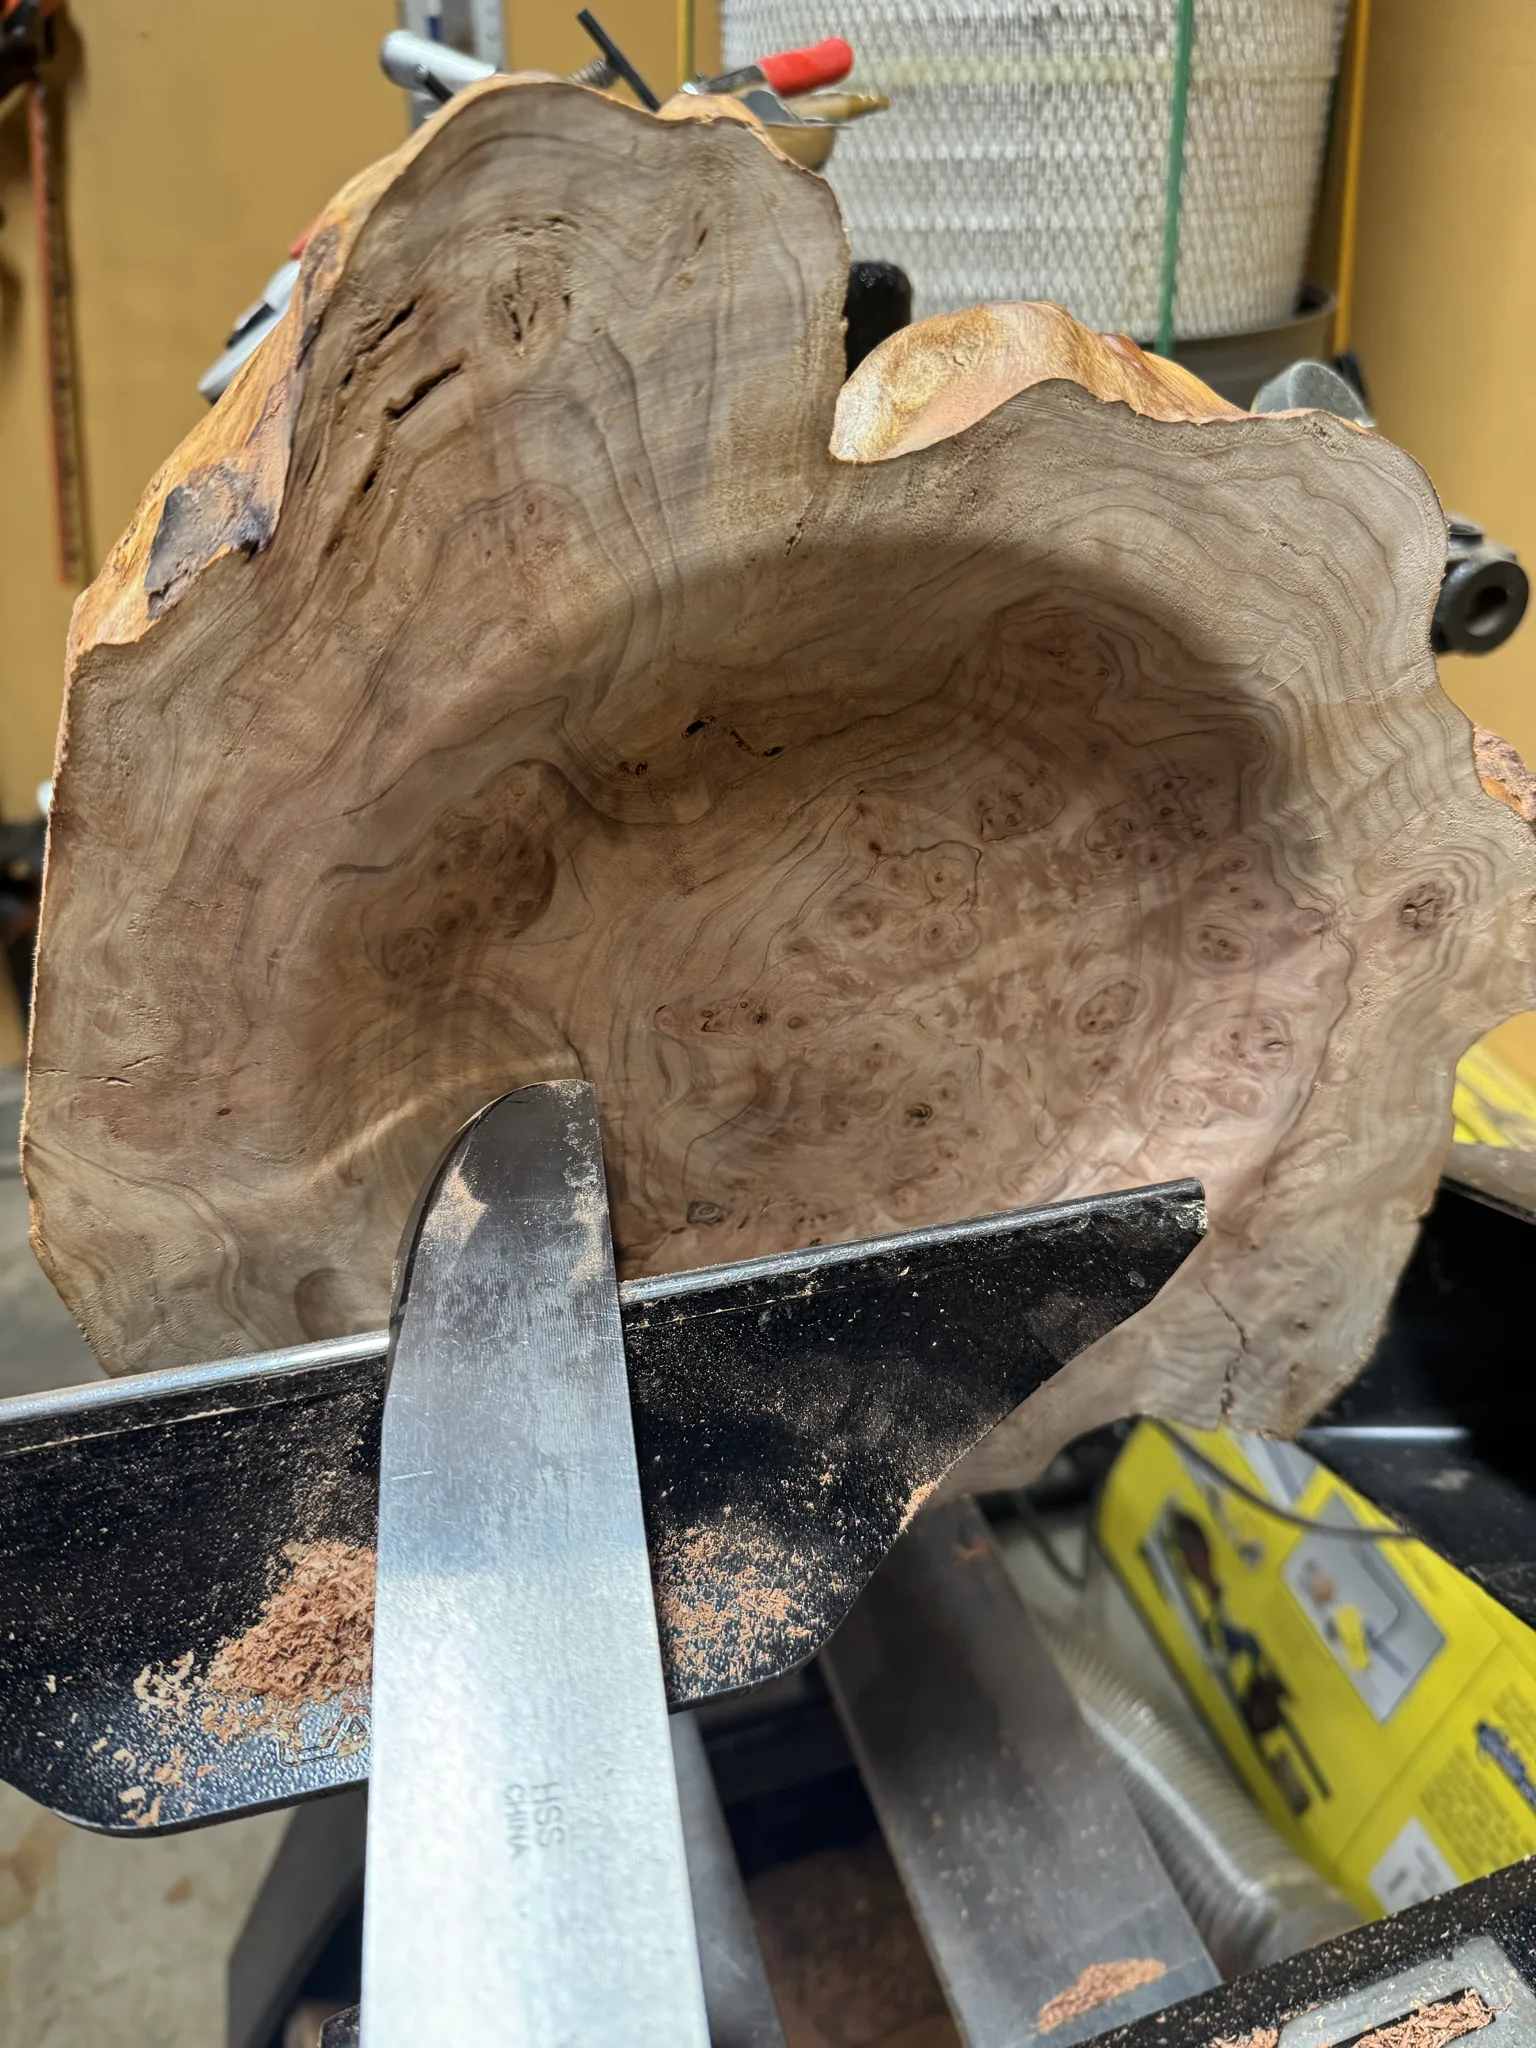
I use this scraper tool shown to barely shave off small shavings as a final pass on the surface.
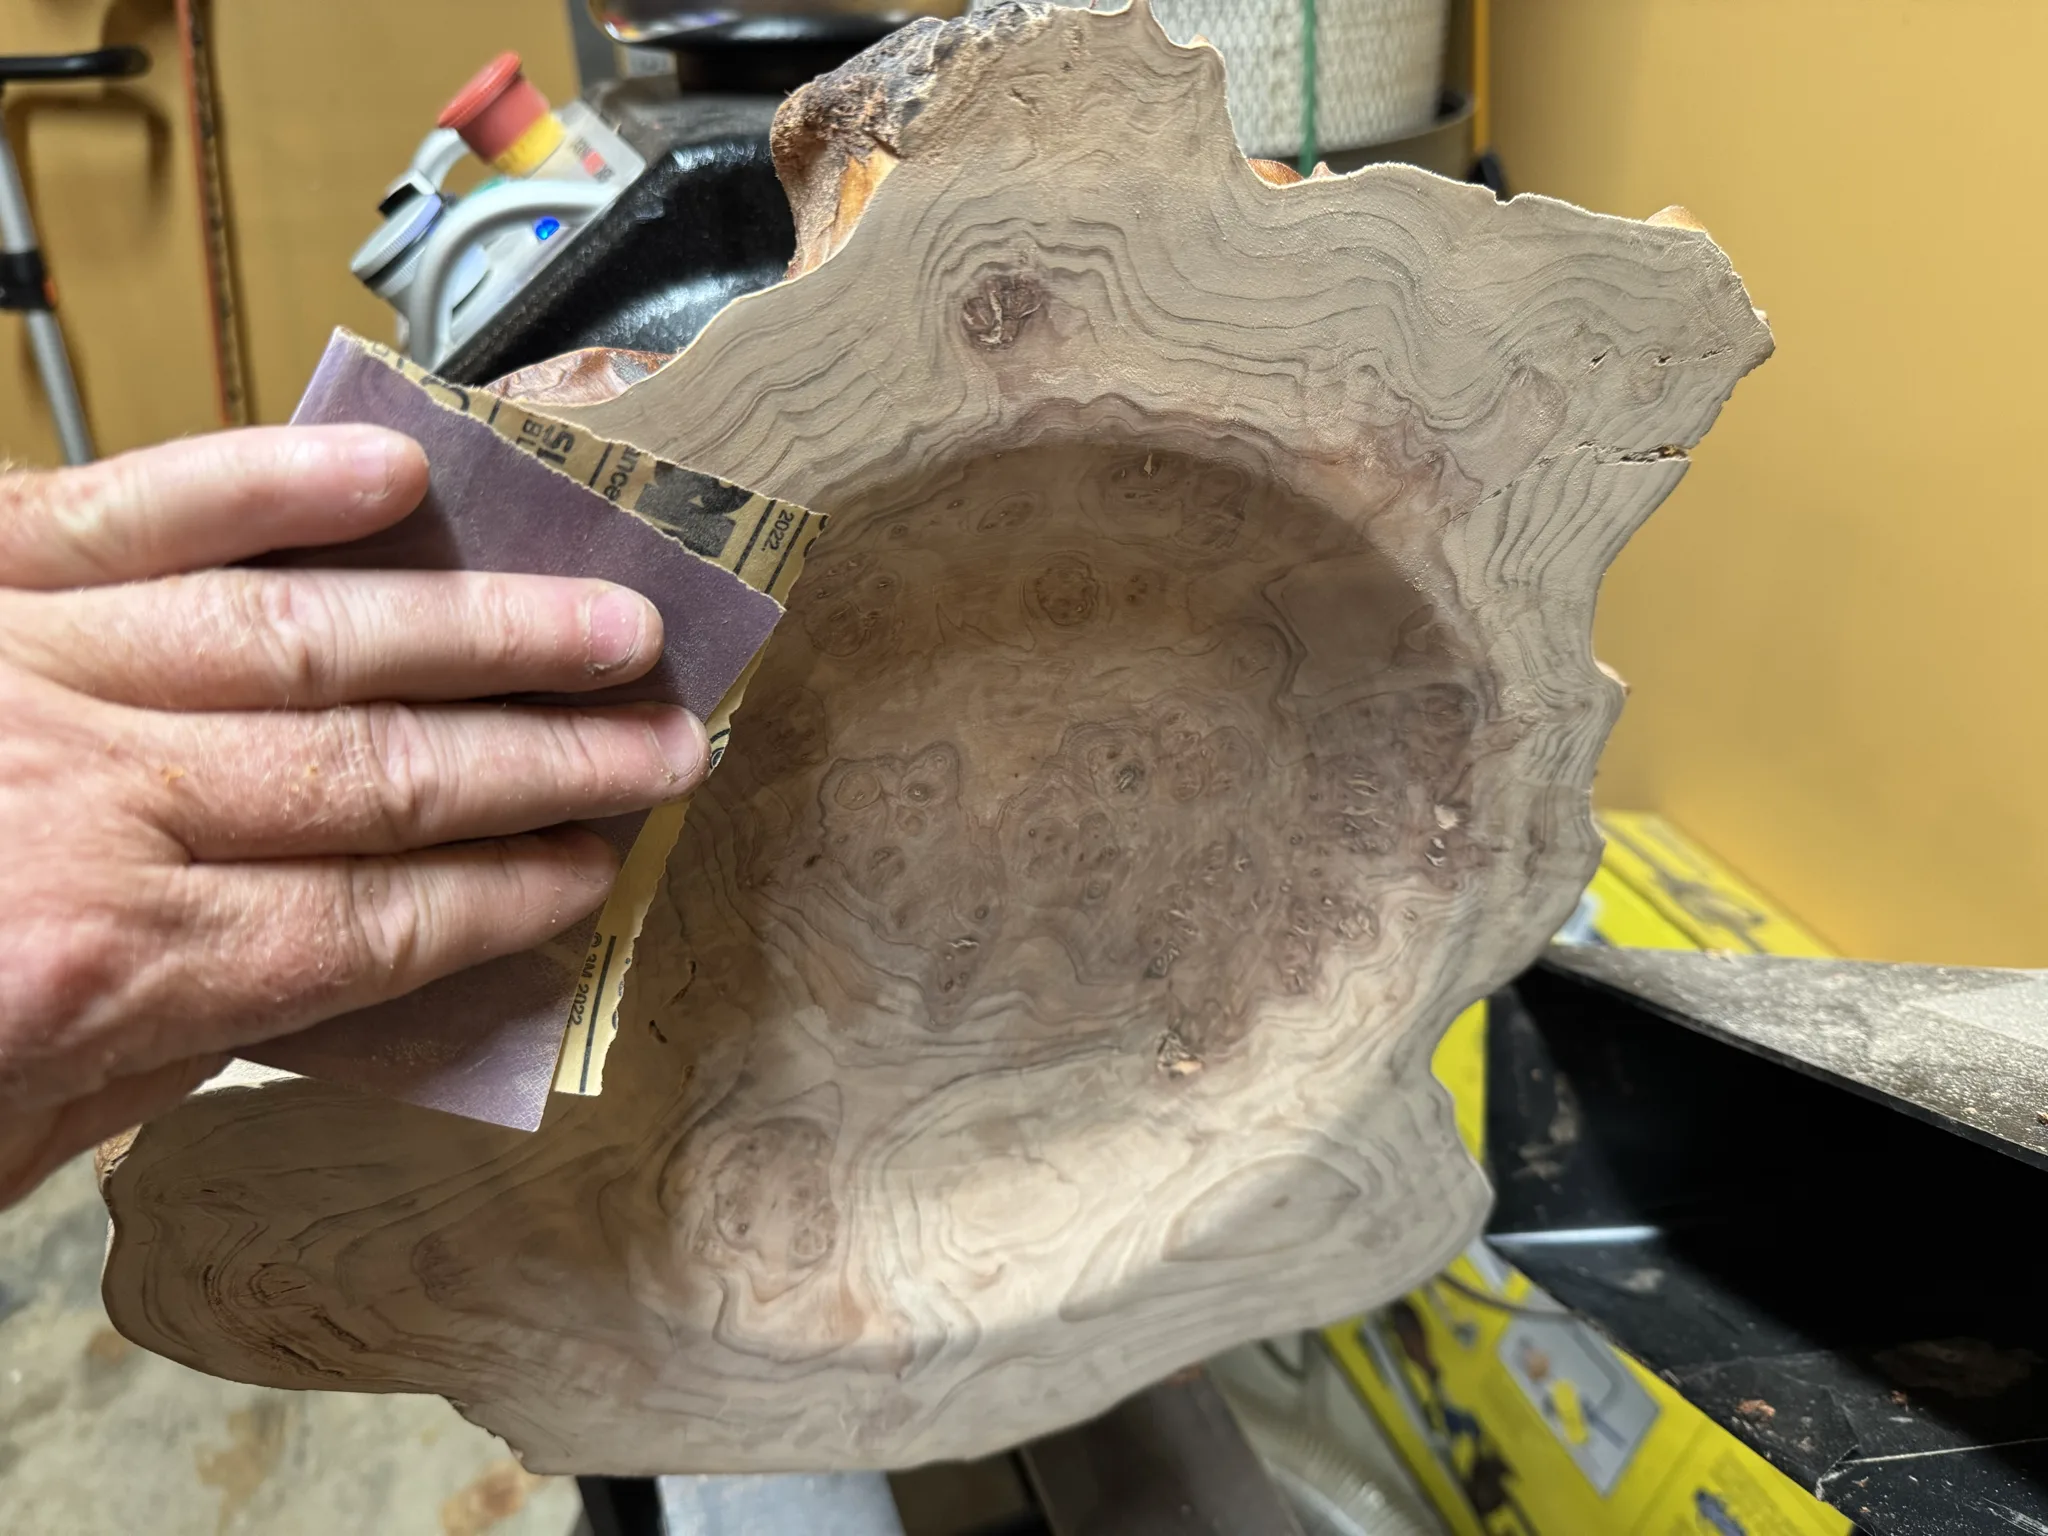
I do a combination of sanding while spinning and sanding by hand with the piece standing still. It is sanded to 150, 220, 320 and 400 grit.
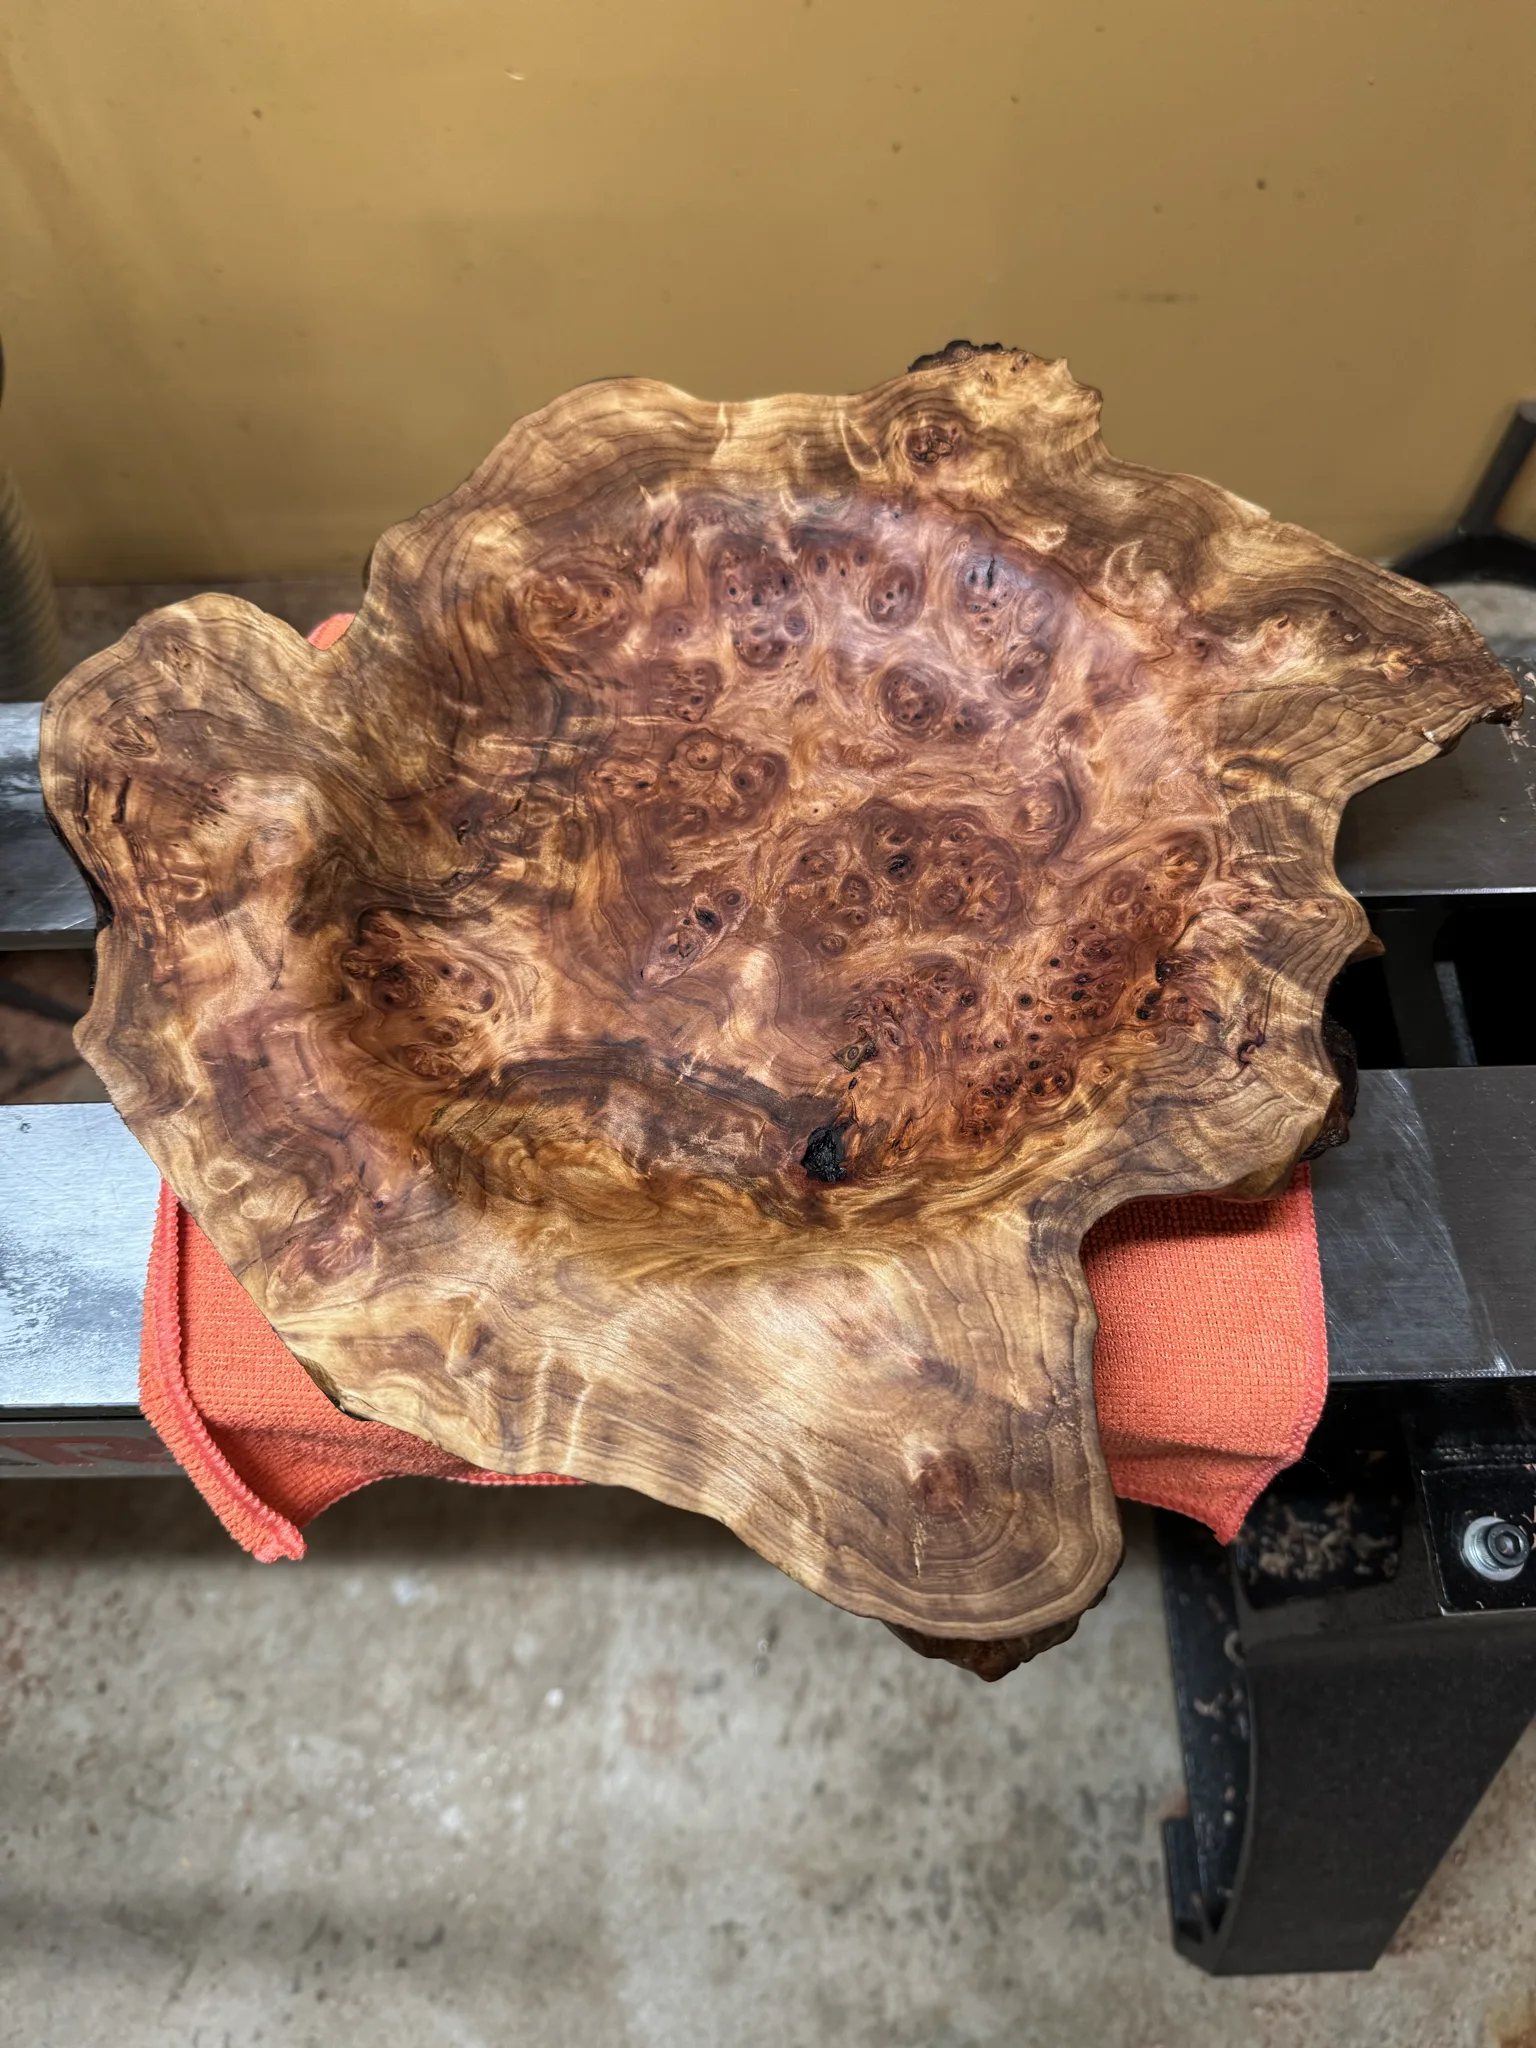
The finish is applied to the top.
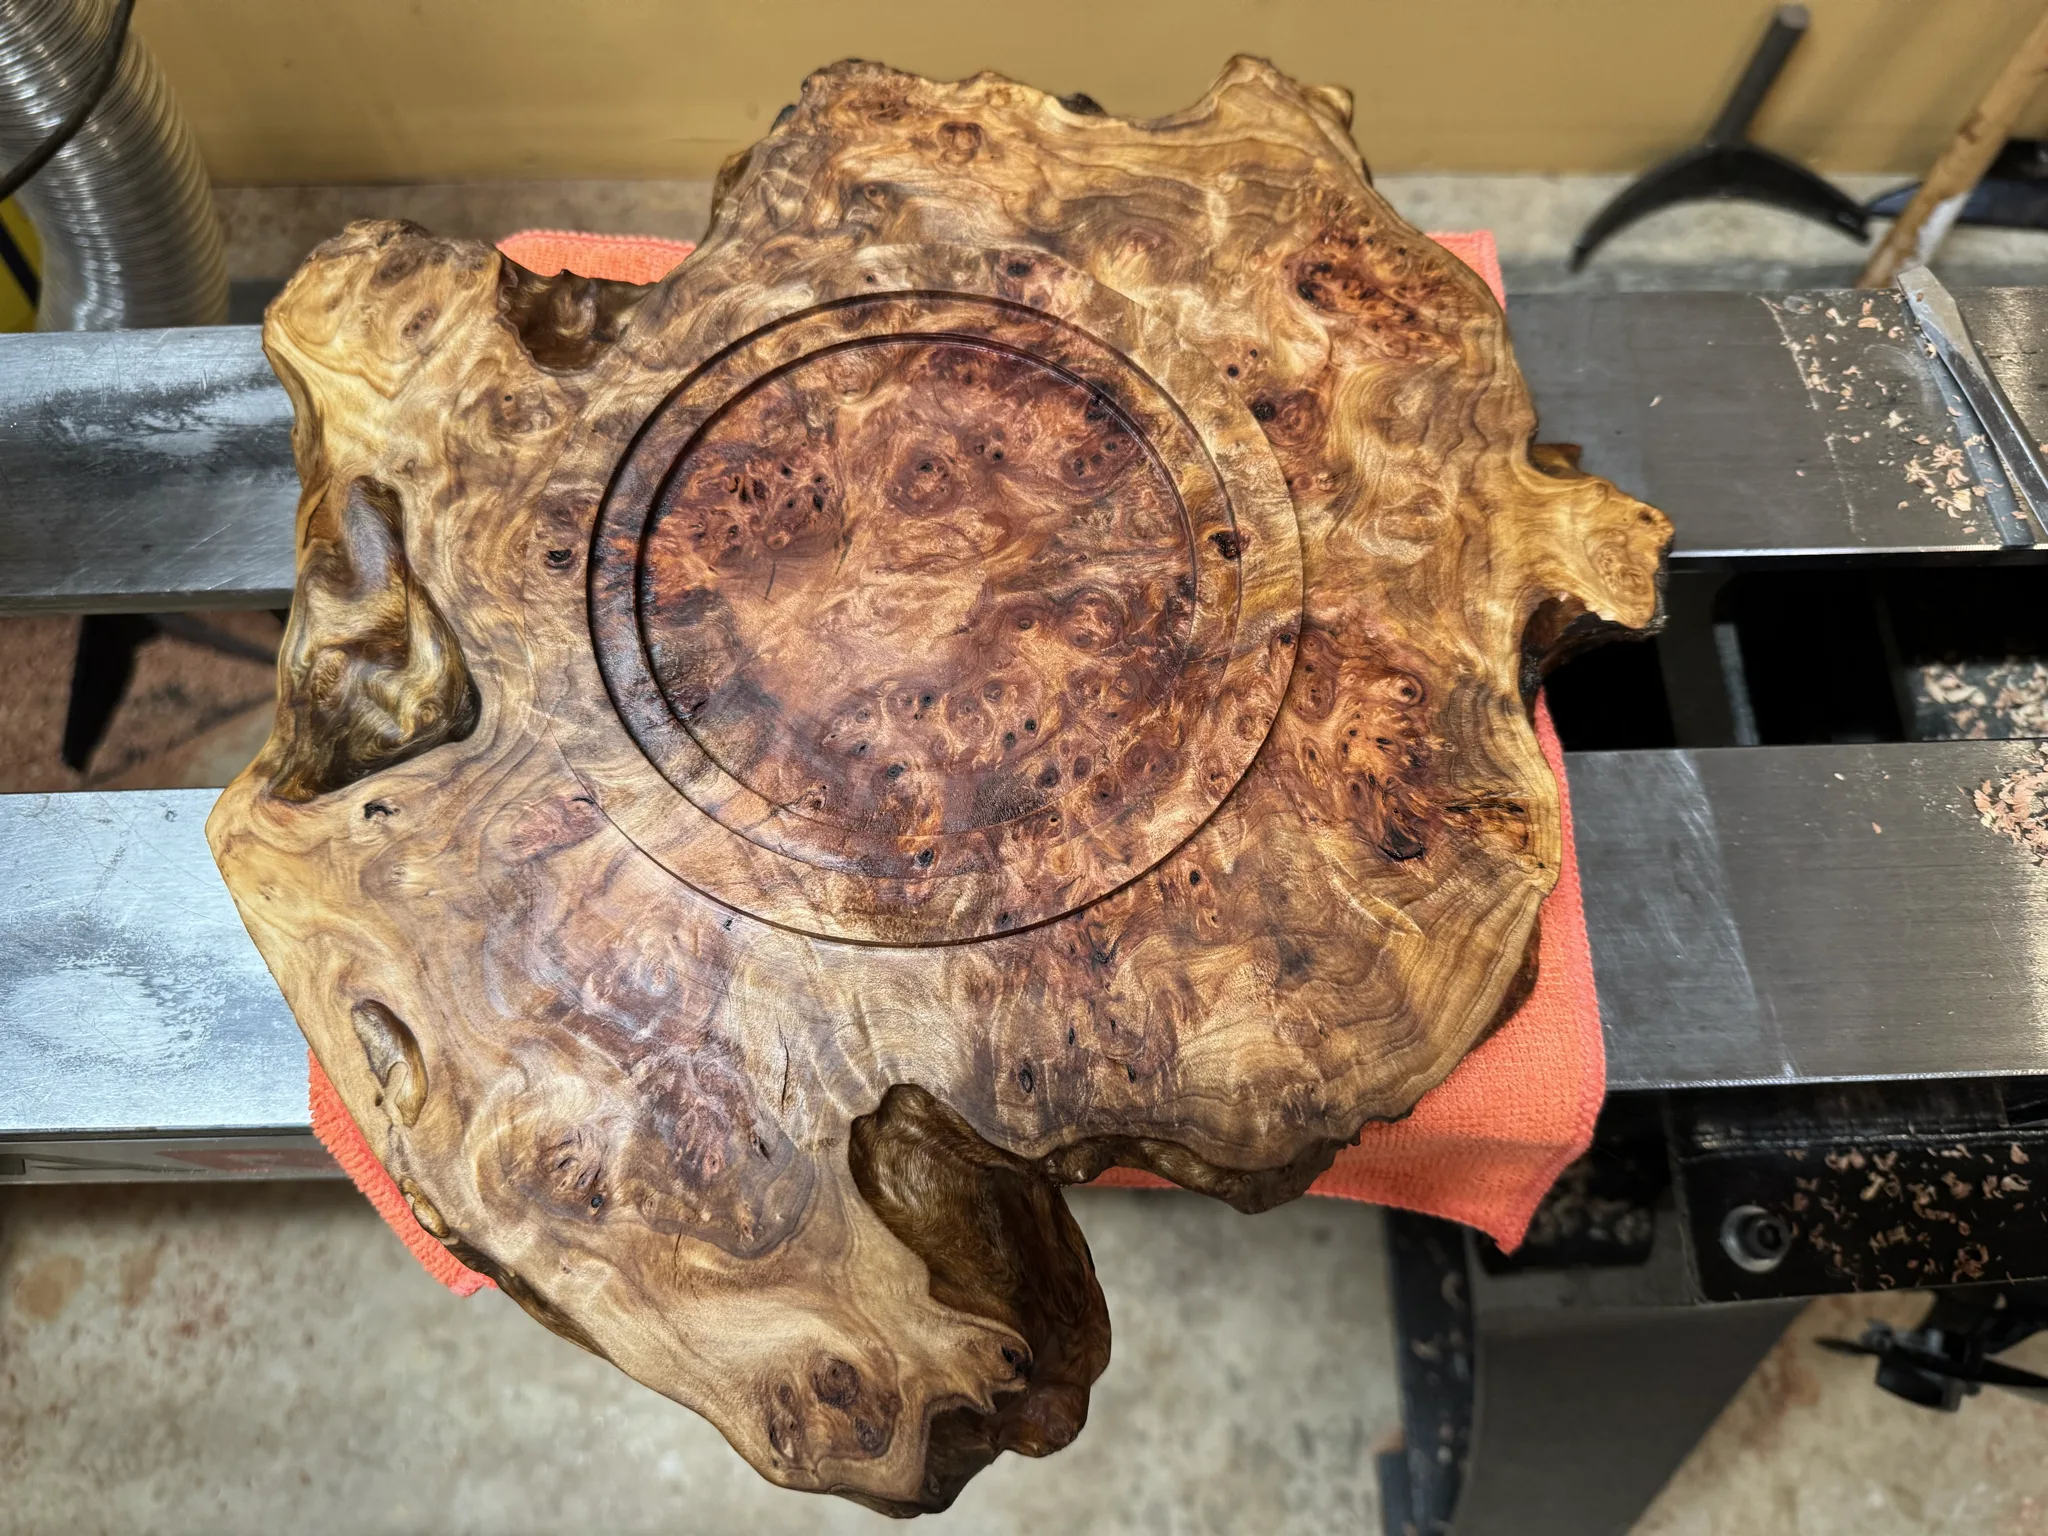
Here is the bottom again.
Here is a profile.
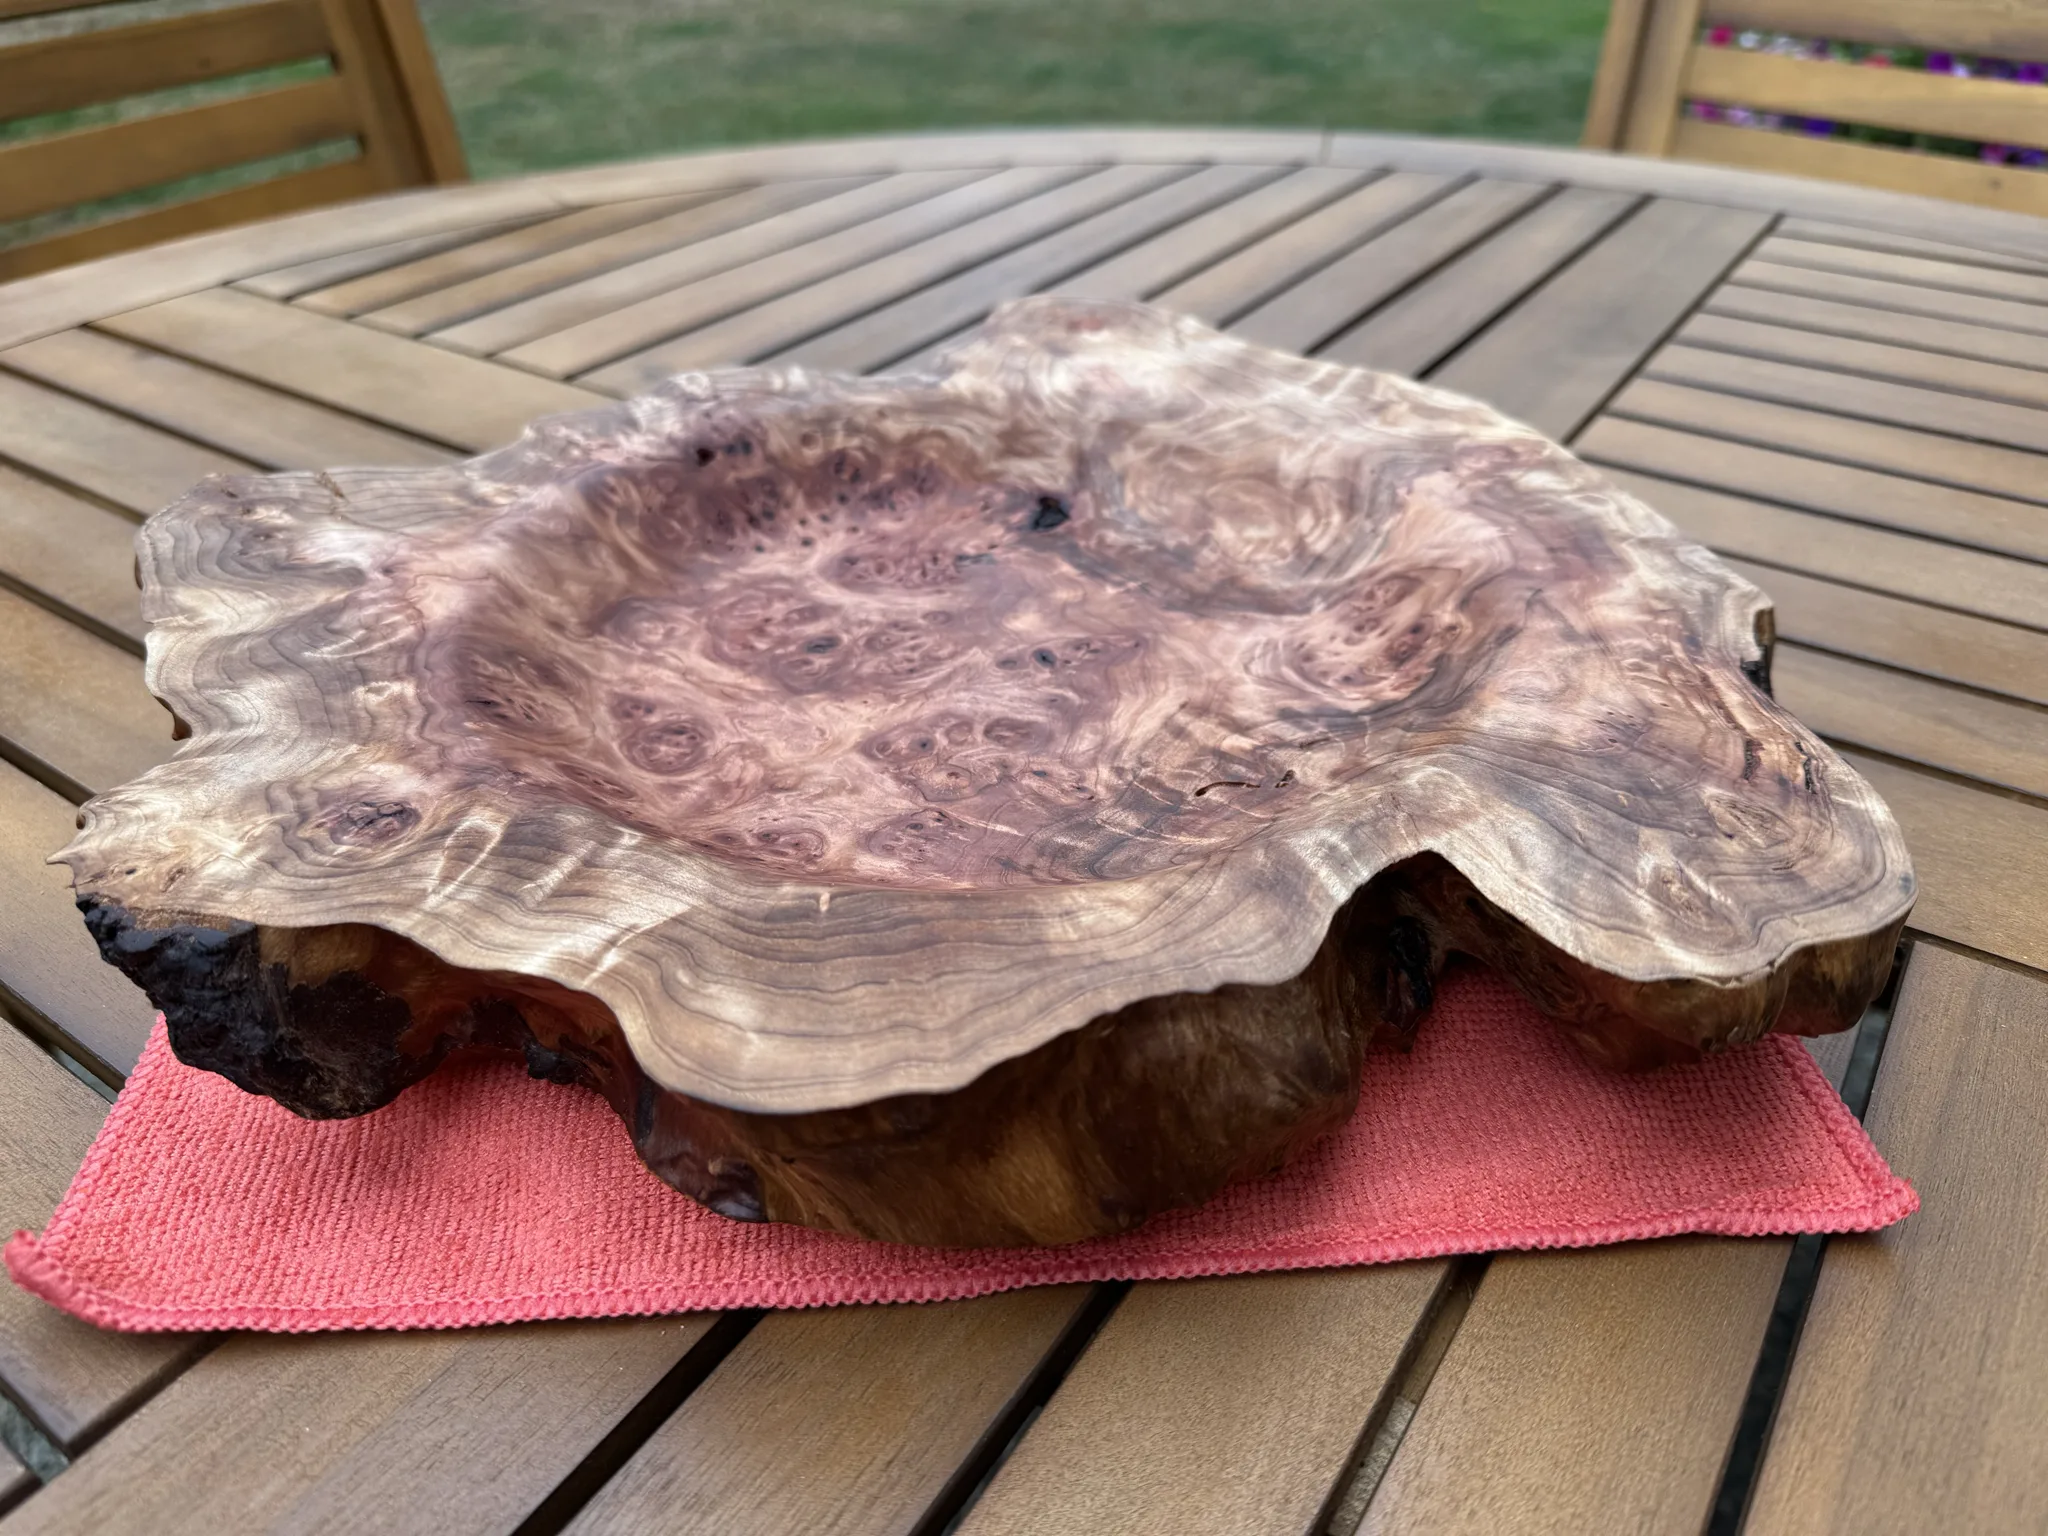
The bowl can be displayed standing on one of the edges.
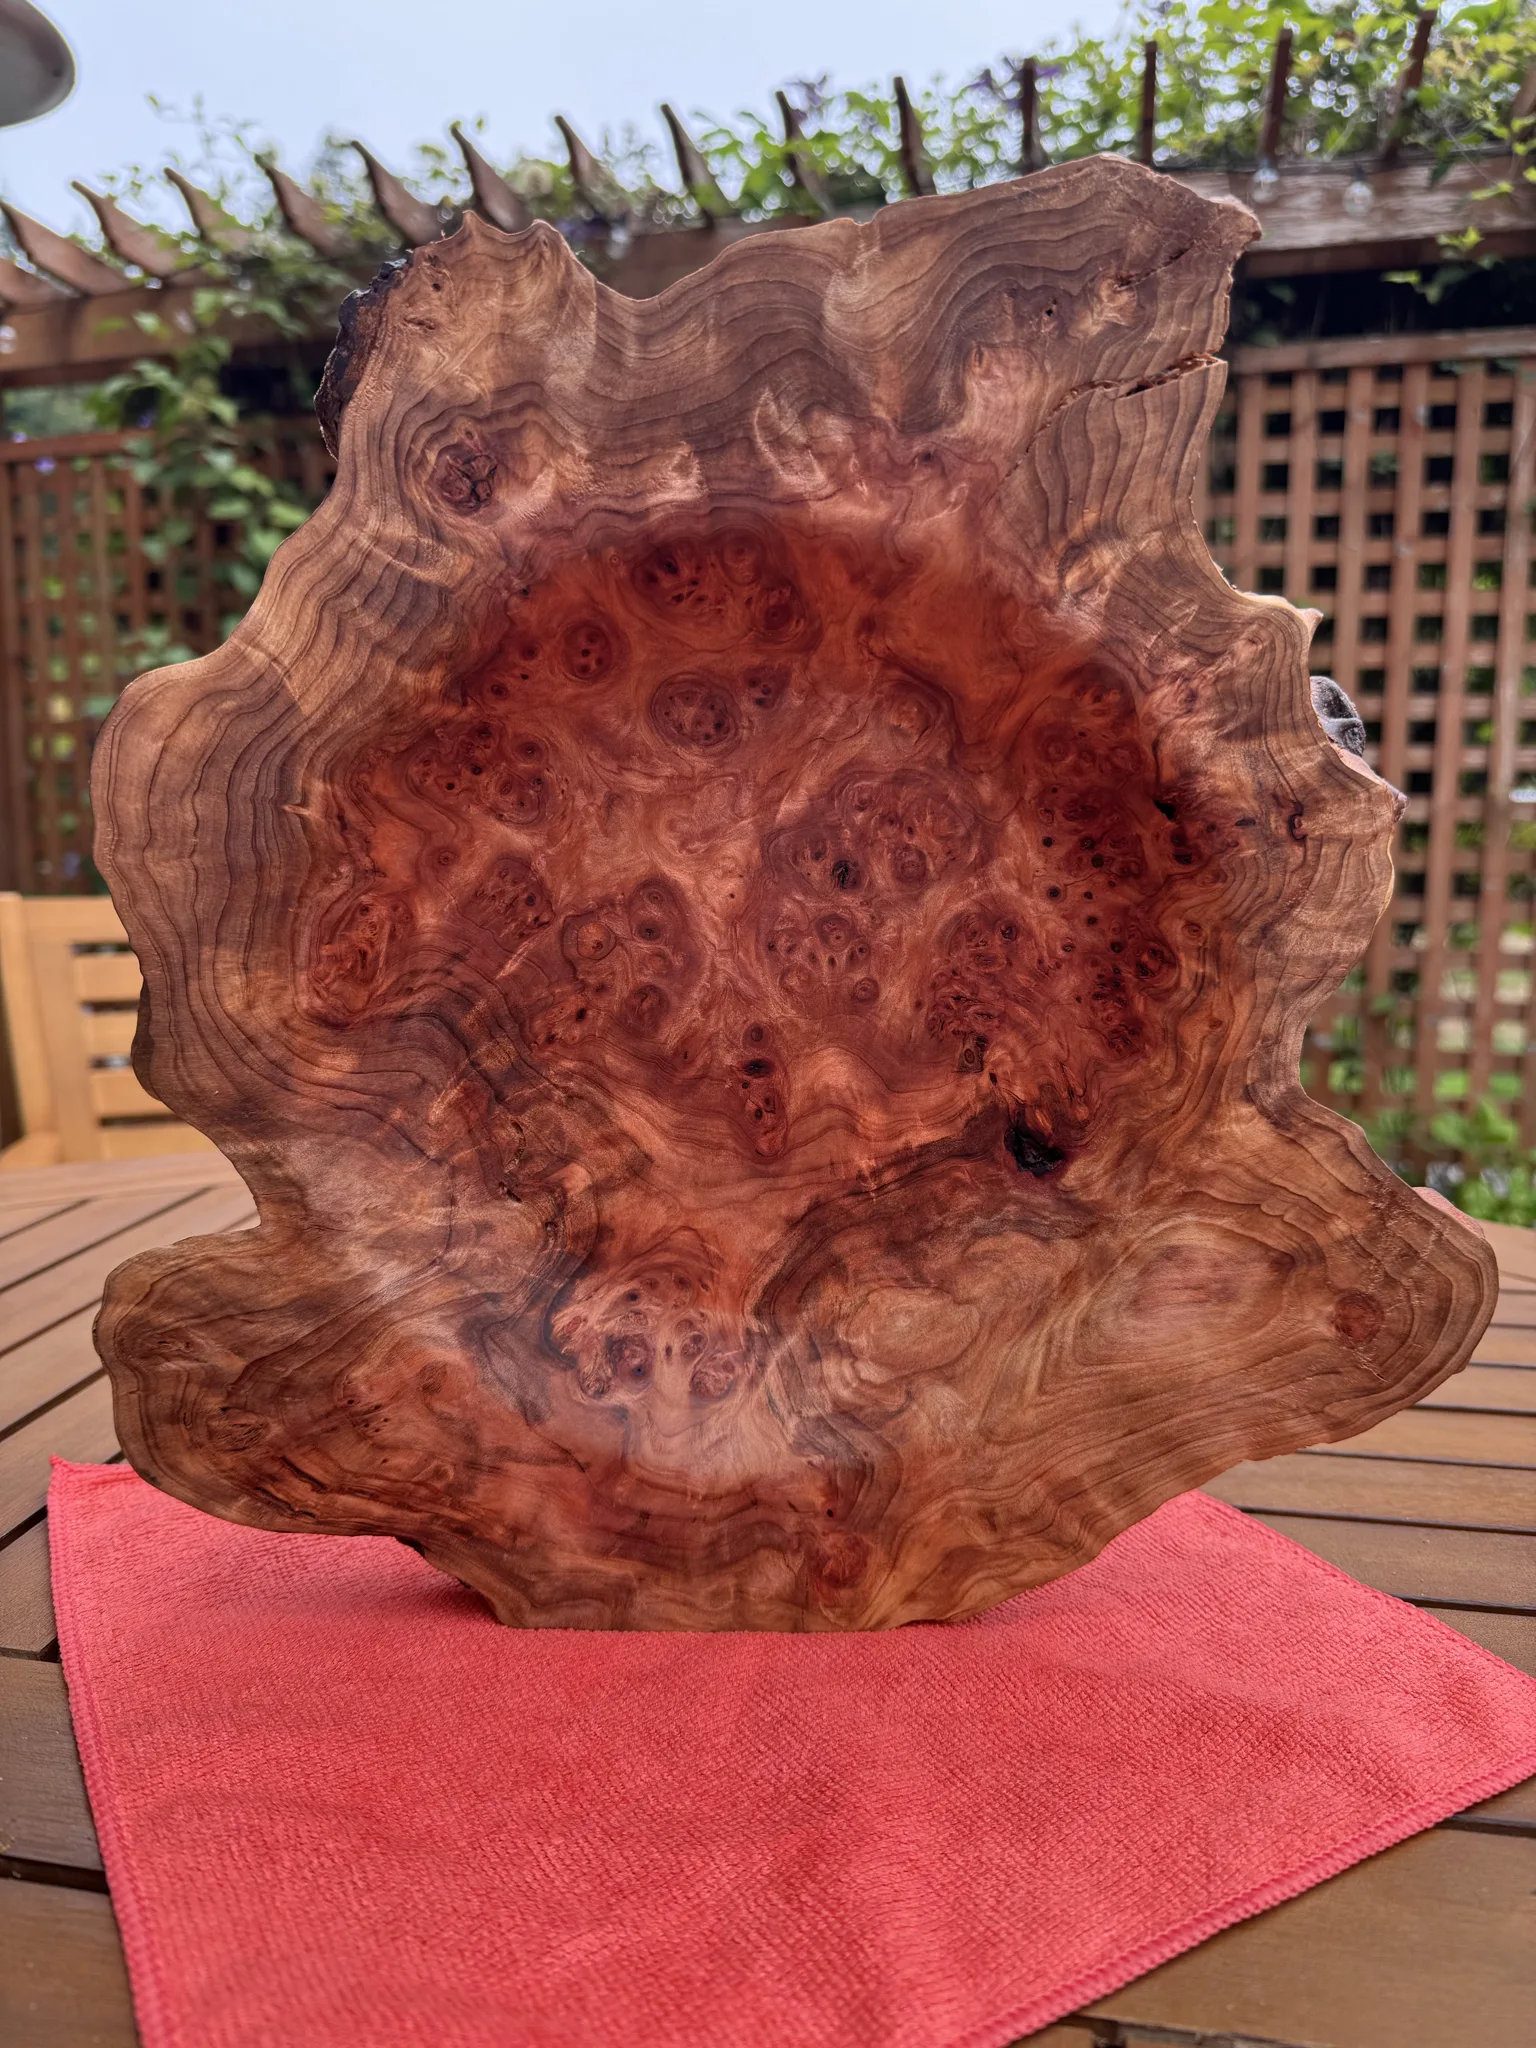
The days two projects. Feels like success and will make nice gifts for their owners.