Bowl for a Neighbor
August 8, 2026
My neighbor wanted to join me for a session with the woodturning lathe. He was curious about turning techniques and how the curve is developed for the shape outside and inside of the bowl.
Before starting the bowl, I demonstrated some basics on spindle turning, which to be honest, I’m quite rusty with and don’t consider myself to be an expert. After that we set out to create a bowl.
Spindle turning is when the wood runs along the length of the lathe bed. There are specific tools to be used for that type of turning. When I made legs for a table, I was spindle turning.
With bowl turning, the wood grain is running across the depth of the lathe and is cut in a mixture of cross grain and with the grain, depending on the orientation of the bowl as it spins around. It is generally referred to as cross-grain cutting. Tools specific to bowl turning are used, hence the terms “bowl gouge” vs. “spindle gouge”.
Not wanting to bore my neighbor; I chose a small blank so we could have time to do both the outside, the inside, and then hopefully finish the bowl in a single turning so he could observe the whole process and take a bowl home with him. A professional woodturner can do what takes me hours in as little as 20 minutes if not faster.
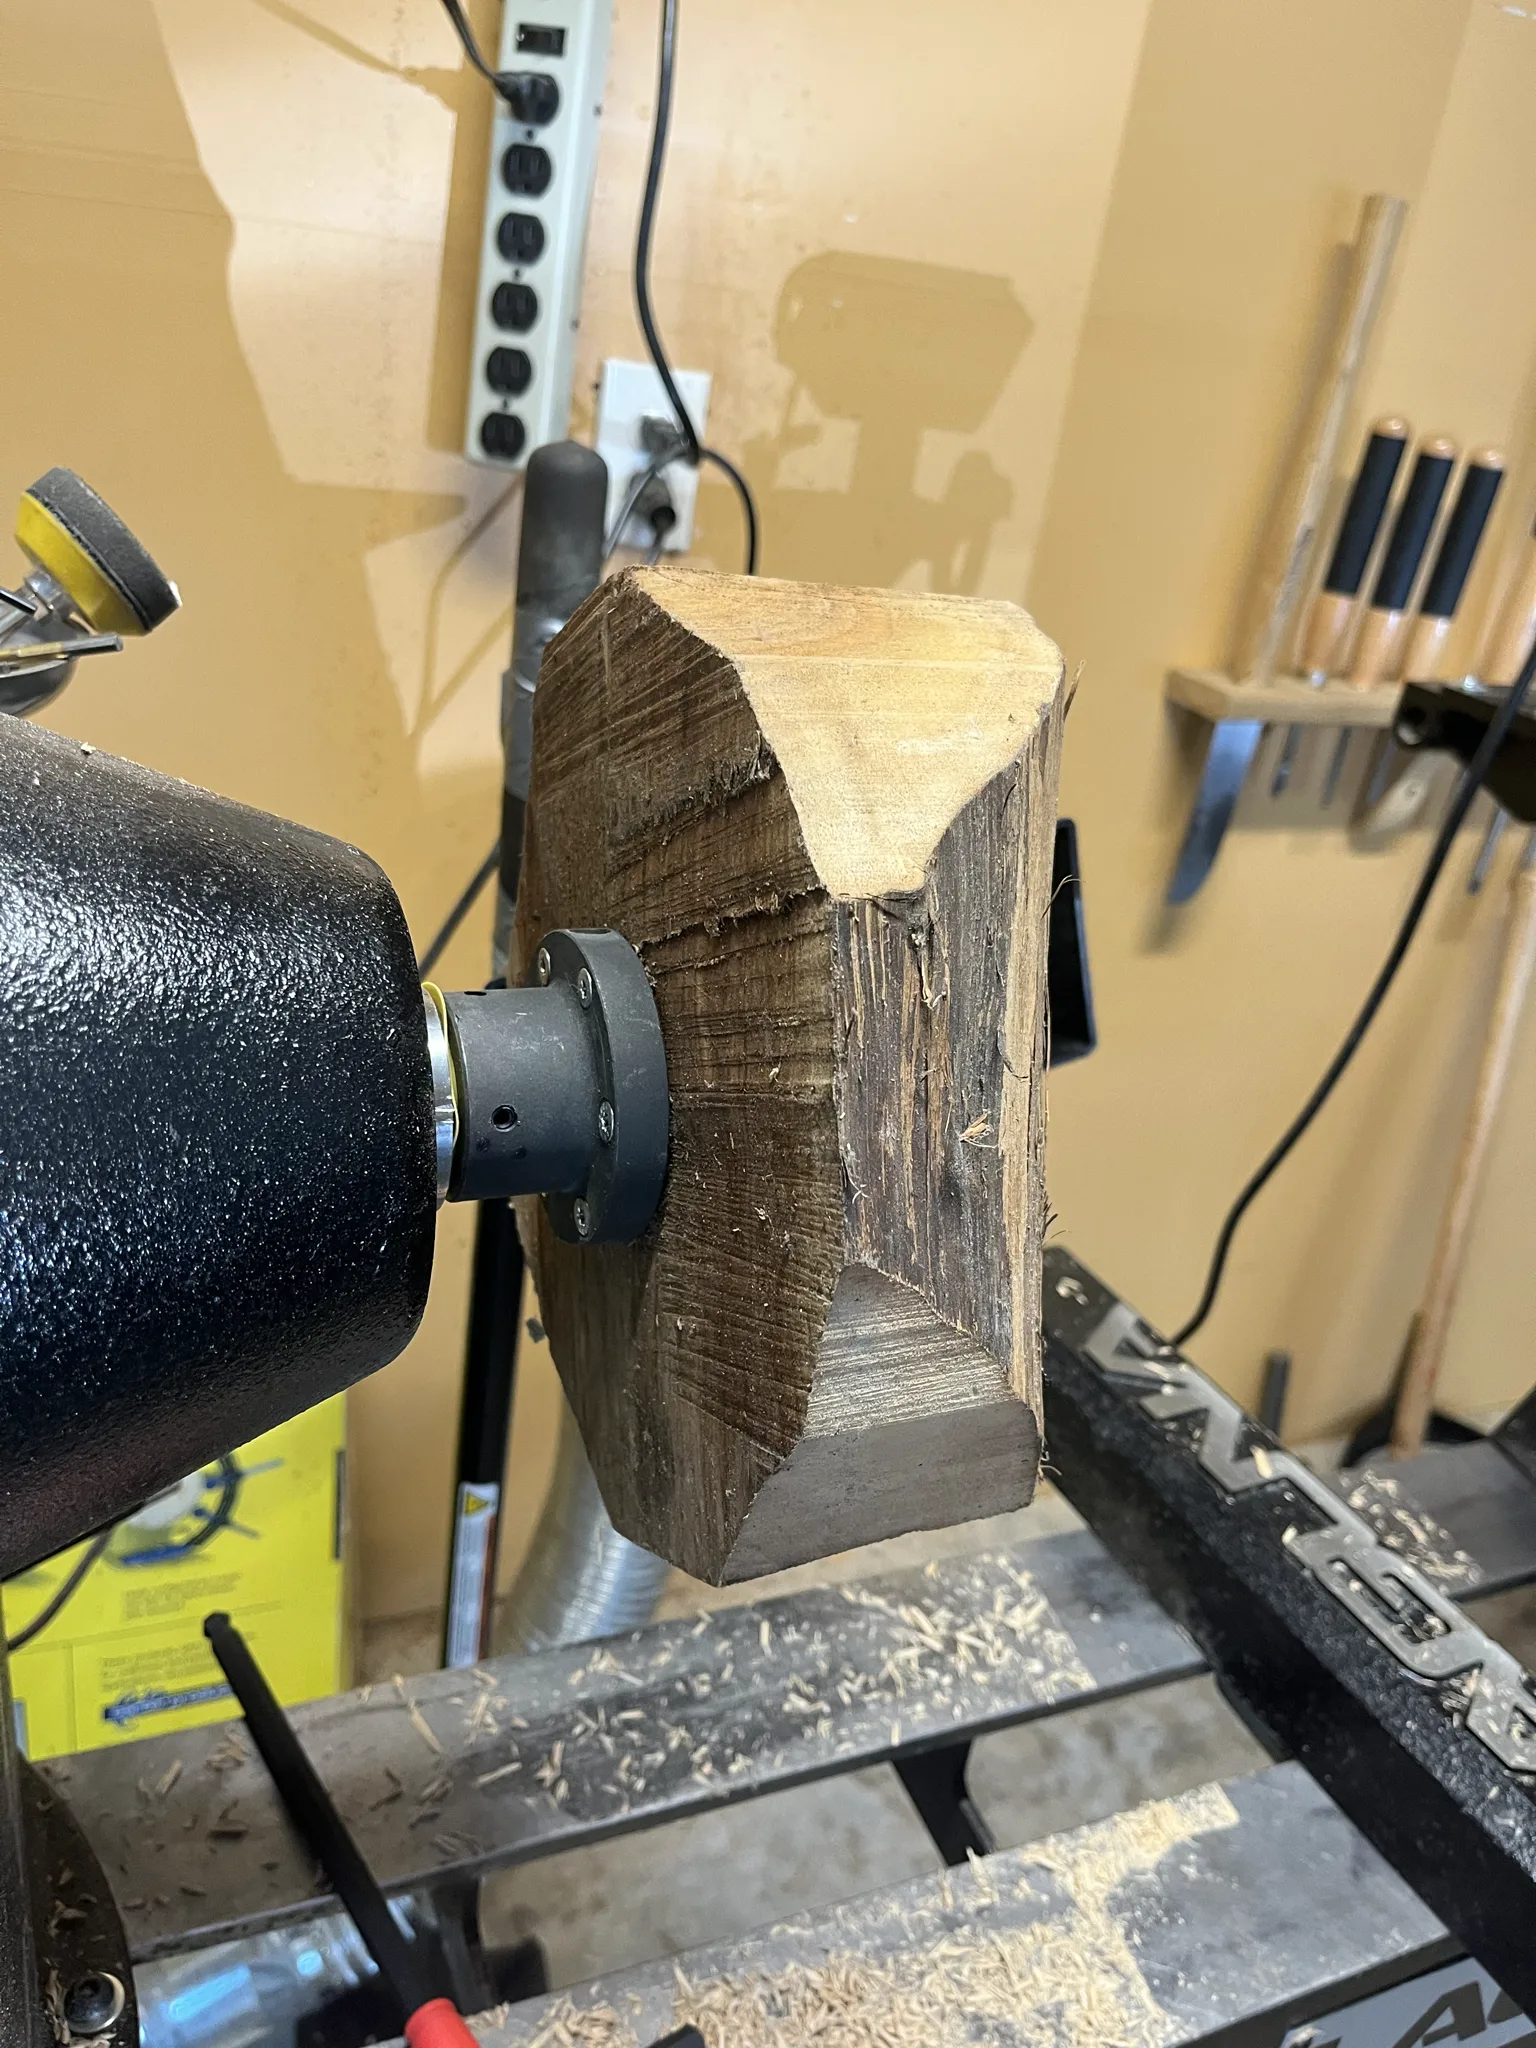
The blank looked awfully plain. Hopefully it would deliver an interesting bowl. The side the faceplate is attached to gives you some idea of what the grain will look like in the eventual bowl.
Here it is mounted on a faceplate with screws. The faceplate is threaded so it can be mounted on the lathe to hold the bowl.
The faceplate side will be the top of the bowl. The screws are not a problem as the holes created by them will be turned away when we hollow out the bowl later.
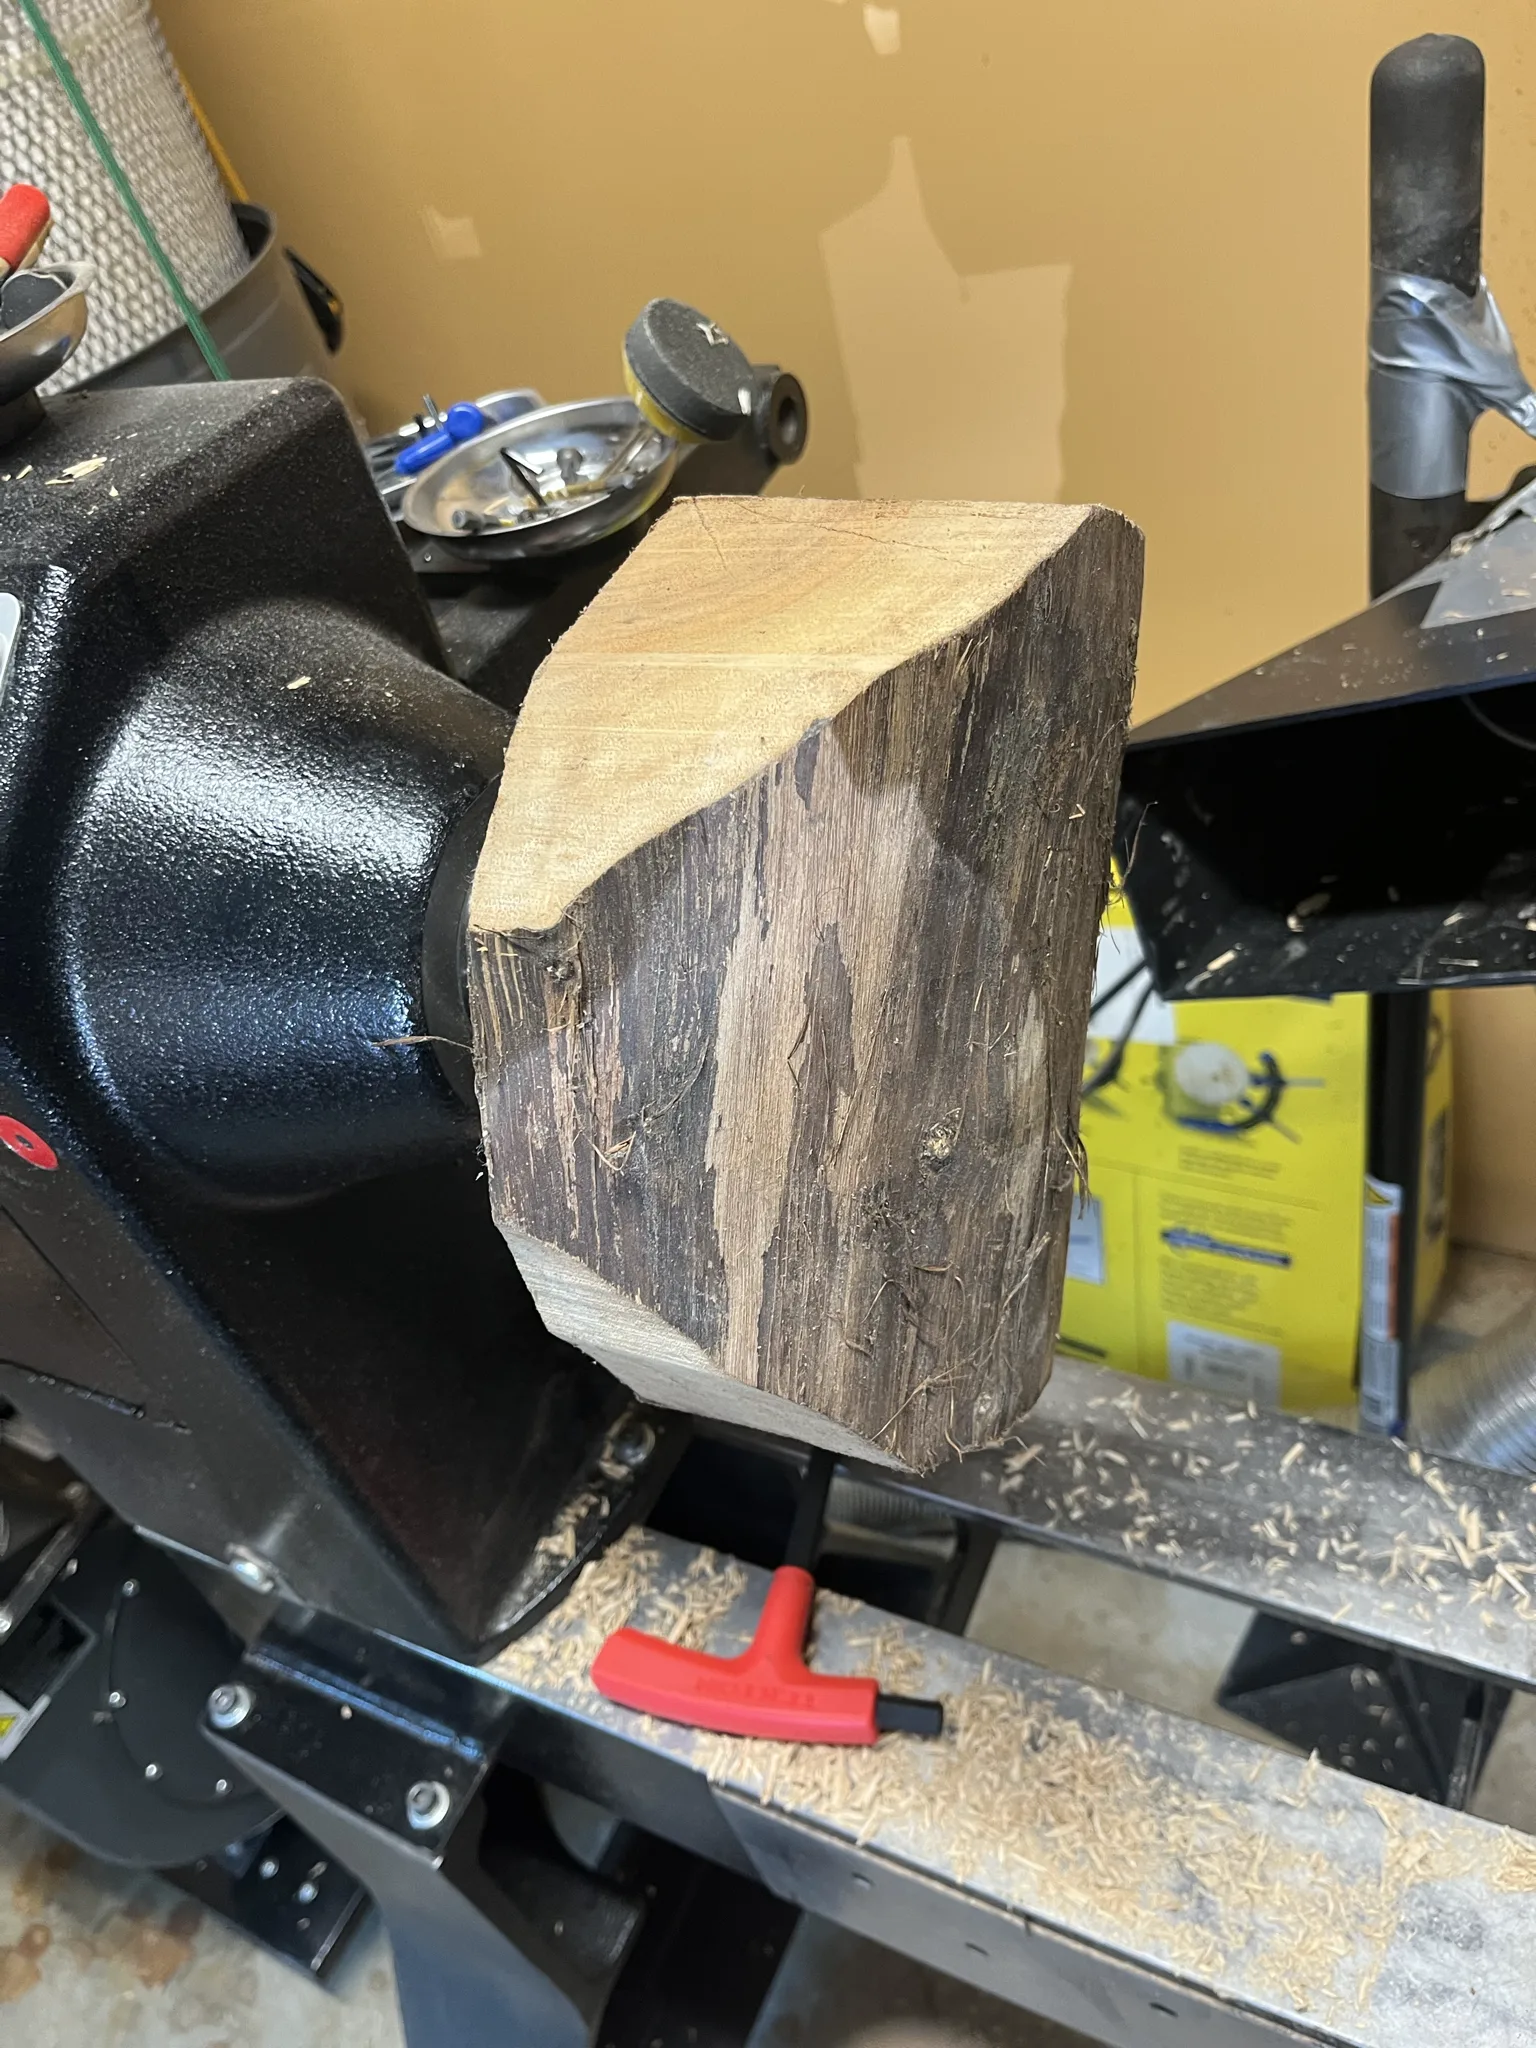
This is a shot of the outside of the bowl. We will be creating the “foot” of the bowl here along with either a recess or a tenon, as a means to allow a “chuck” to hold onto the bowl from this side. More on that later.
Nearly all of the pictures on this page were taken by my neighbor and I’m grateful to him for allowing me to use them on the website. He remarked that I don’t usually get to take pictures while the action is actually happening because I’m busy turning.
Here I’m adjusting the speed. As the bowl blank is already round from being cut on the bandsaw, it is only slightly out of balance. I turn up the speed to the point where it causes some wobbling or chatter and then turn it back down.
The tail stock is pushed in to hold the bowl steady as extra precaution, though the way this is attached to faceplate there is little risk of it flying off.
Here we have the outside formed and we have created a tenon in the center that the chuck will be able to clamp down on. Around the tenon is the foot of the bowl. I’m disappointed in myself a bit for making the foot quite thin. It ideally would be the same thickness of the sides of the bowl, but I made the foot a bit thin.
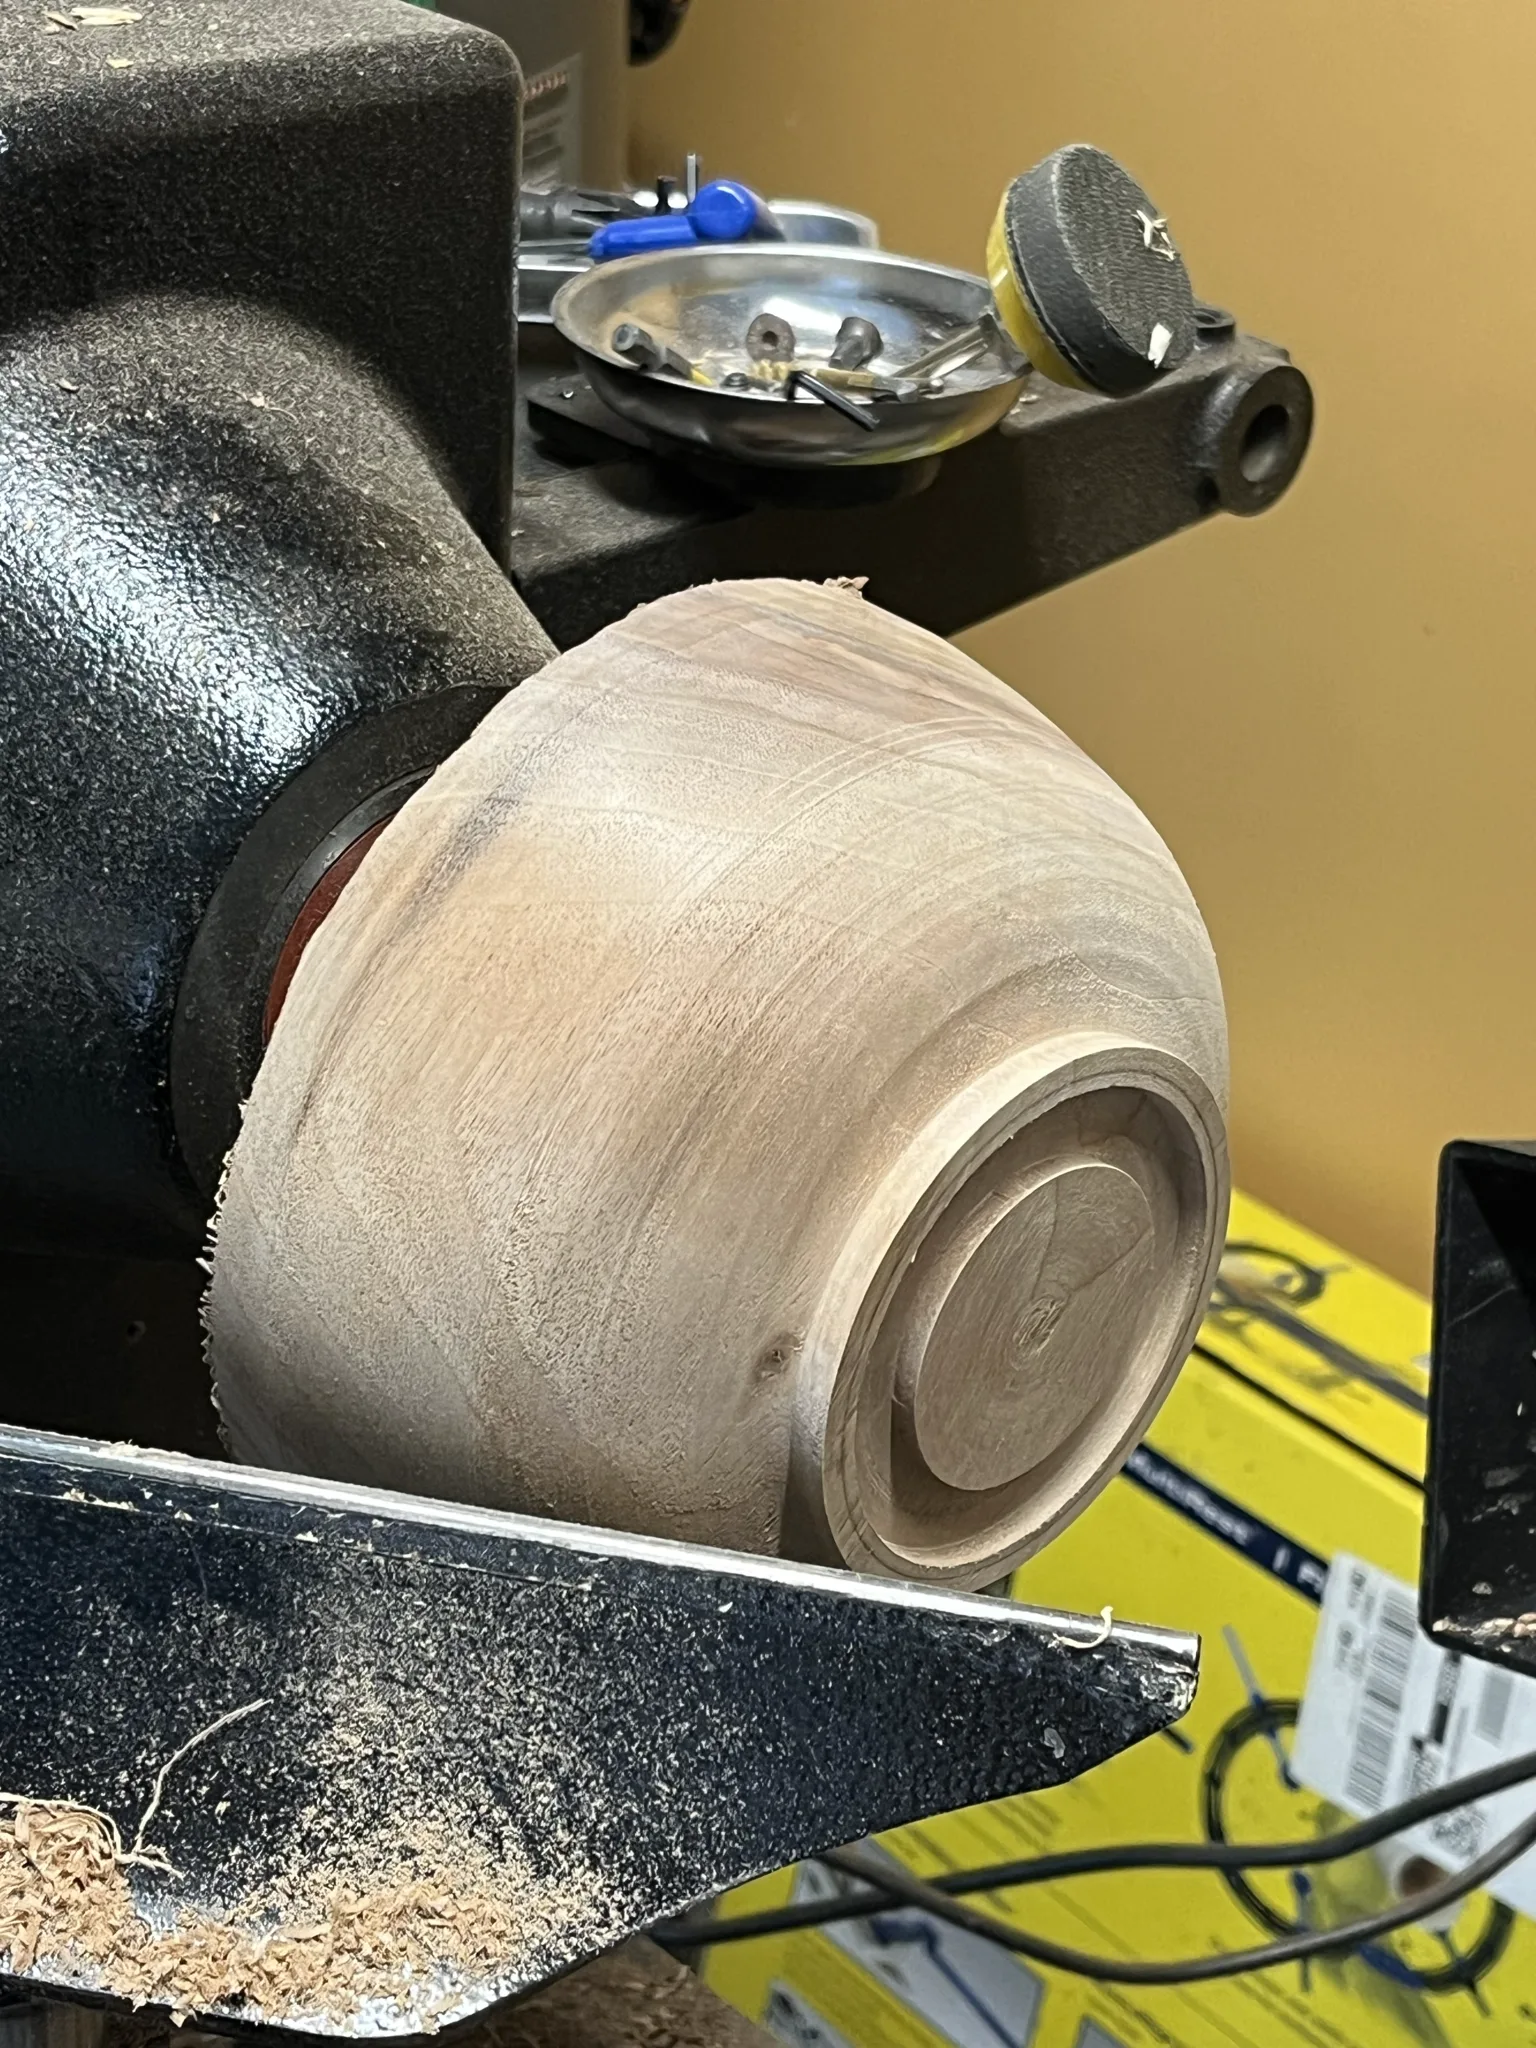
The bowl is sanded with 220, 320 and then 400 sand paper. I try not to sand to hard or too long because that tends to leave scratch marks; especially with the heavier grits.
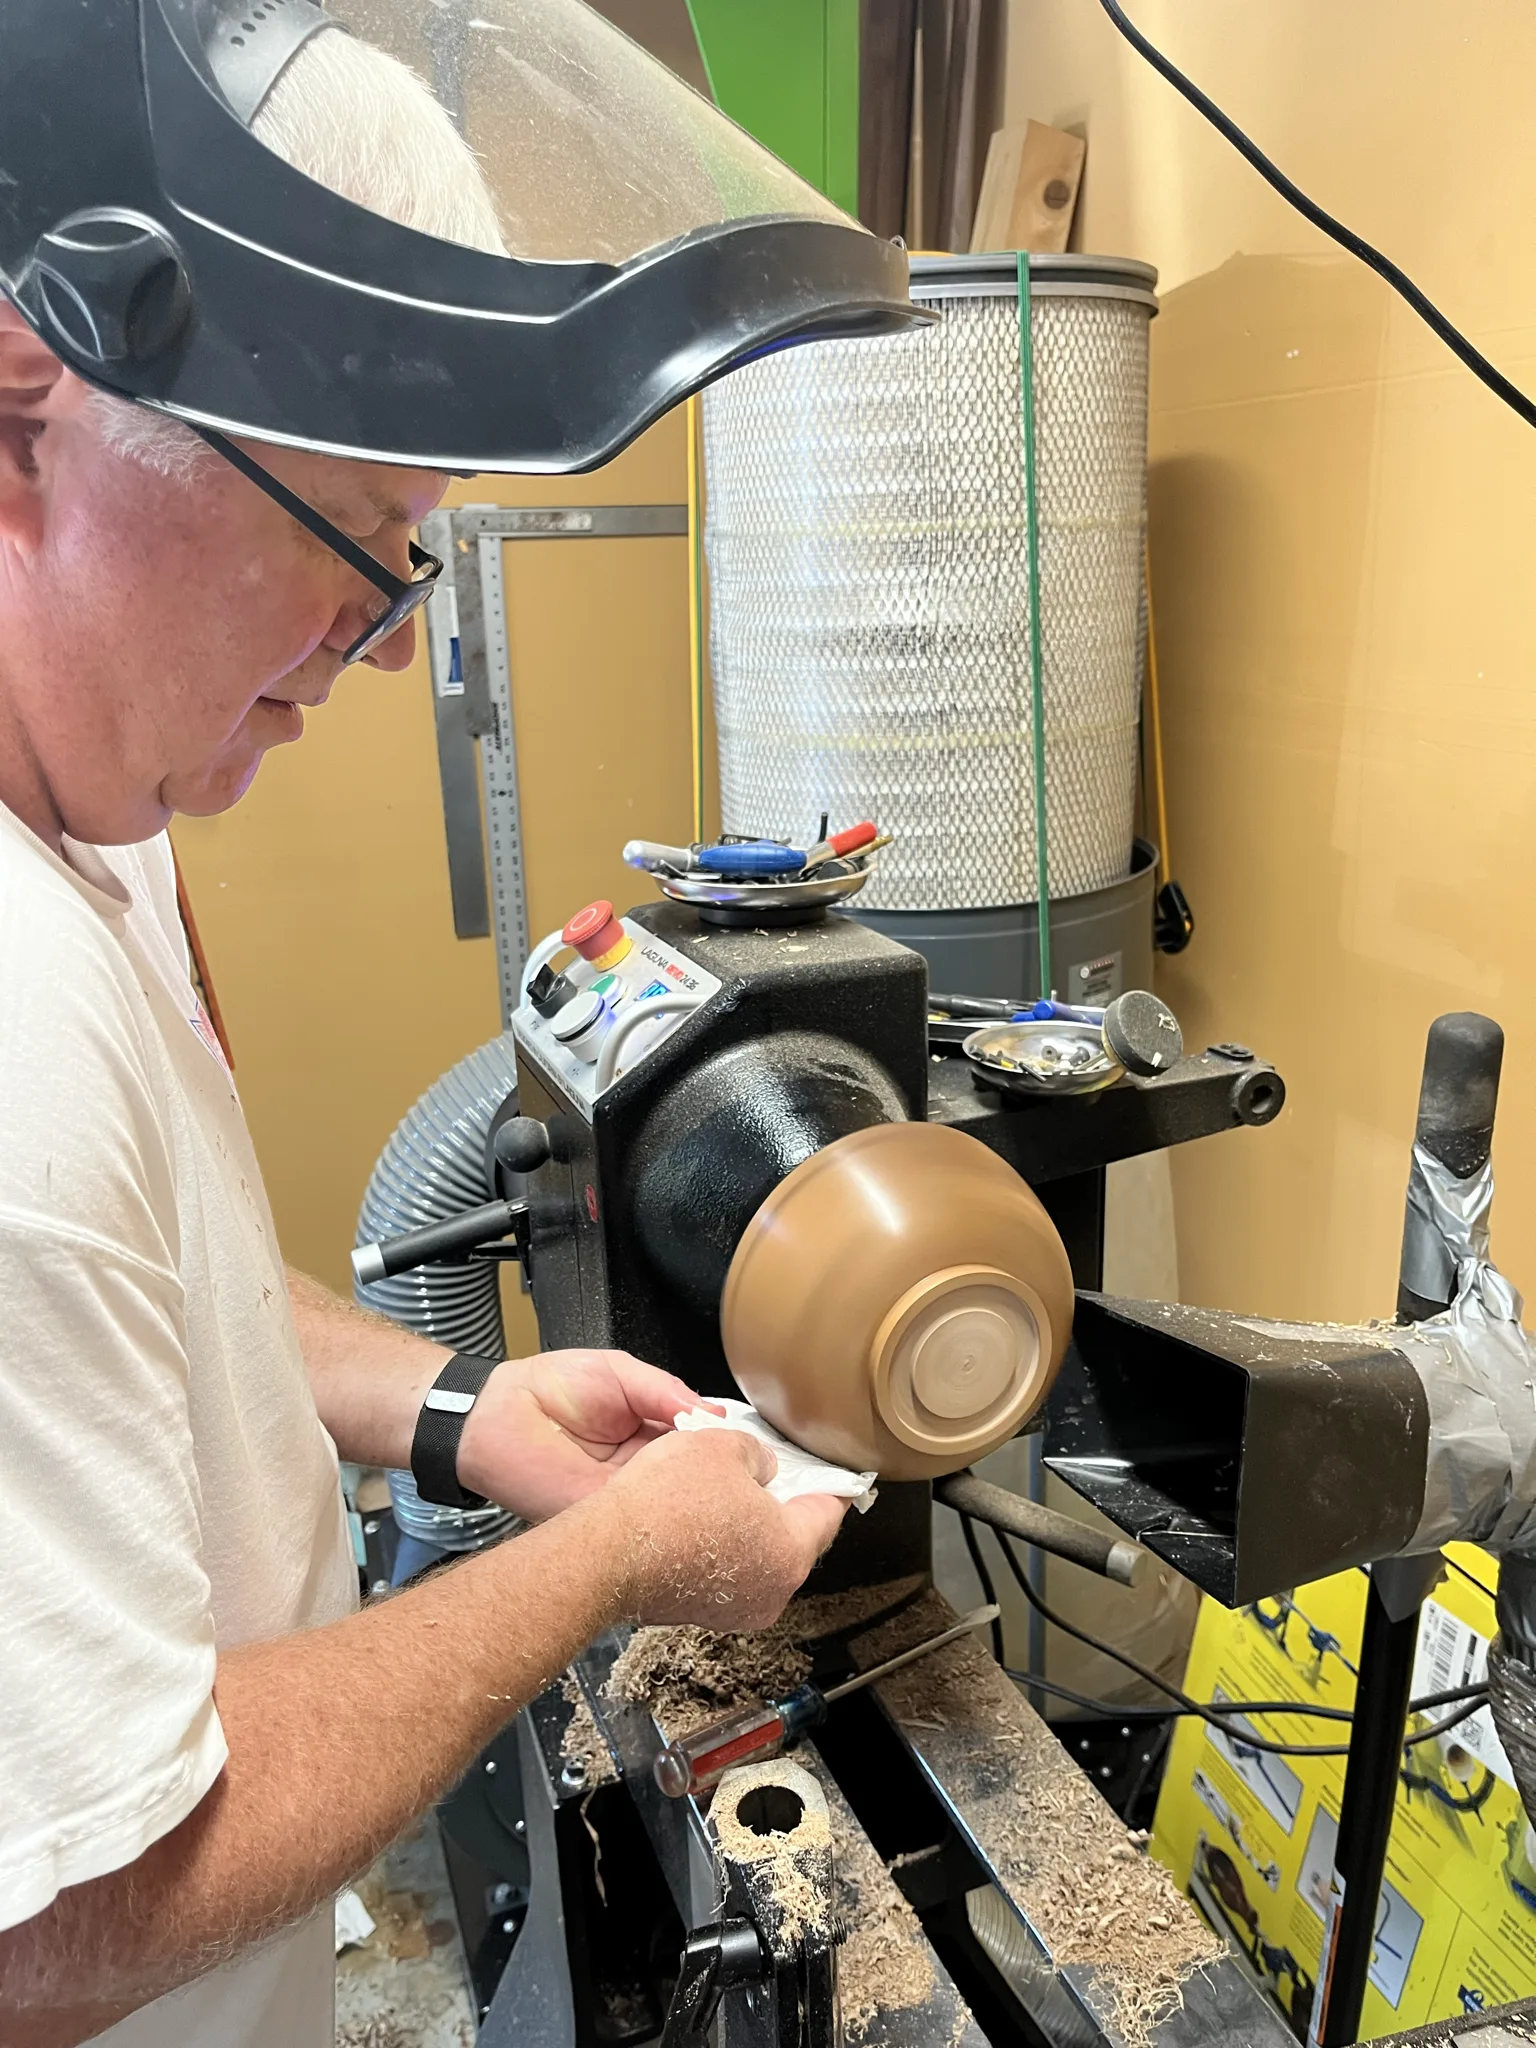
Here I’m using a homemade grit polish and then a polish to do a quick finish on the outside before we turn it over.
Paper towels are used as a pad to take off the grit and then to heat up the polish so it melts from the heat produced by friction. The grit polish is made with mineral oil, carnuba wax and diatomaceous earth for the grit. The grit acts as a final sanding. The polish is simply the same; mineral oil and carnuba wax, but no grit.
Now the bowl is turned around and a chuck is holding it so the bowl can be hollowed out. This is a fun but sometimes frustrating part of creating the bowl. When all is going well, the hollowing is fast and furious. However, I find it difficult to avoid “catches” as I start the edge of the inside of the bowl. I practice this further inside the bowl before committing to creating the final inside cut. If I mess up and get a catch, the top of the edge of the bowl is scratched and I have to make it a shorter bowl.
My first attempt was bad but I got it right on the second attempt. Someday I’ll learn how to get this right consistently but not today.
Also, shame on me in this shot for not having my facemask down. The whole point in wearing them is to keep yourself safe from flying obstacles.
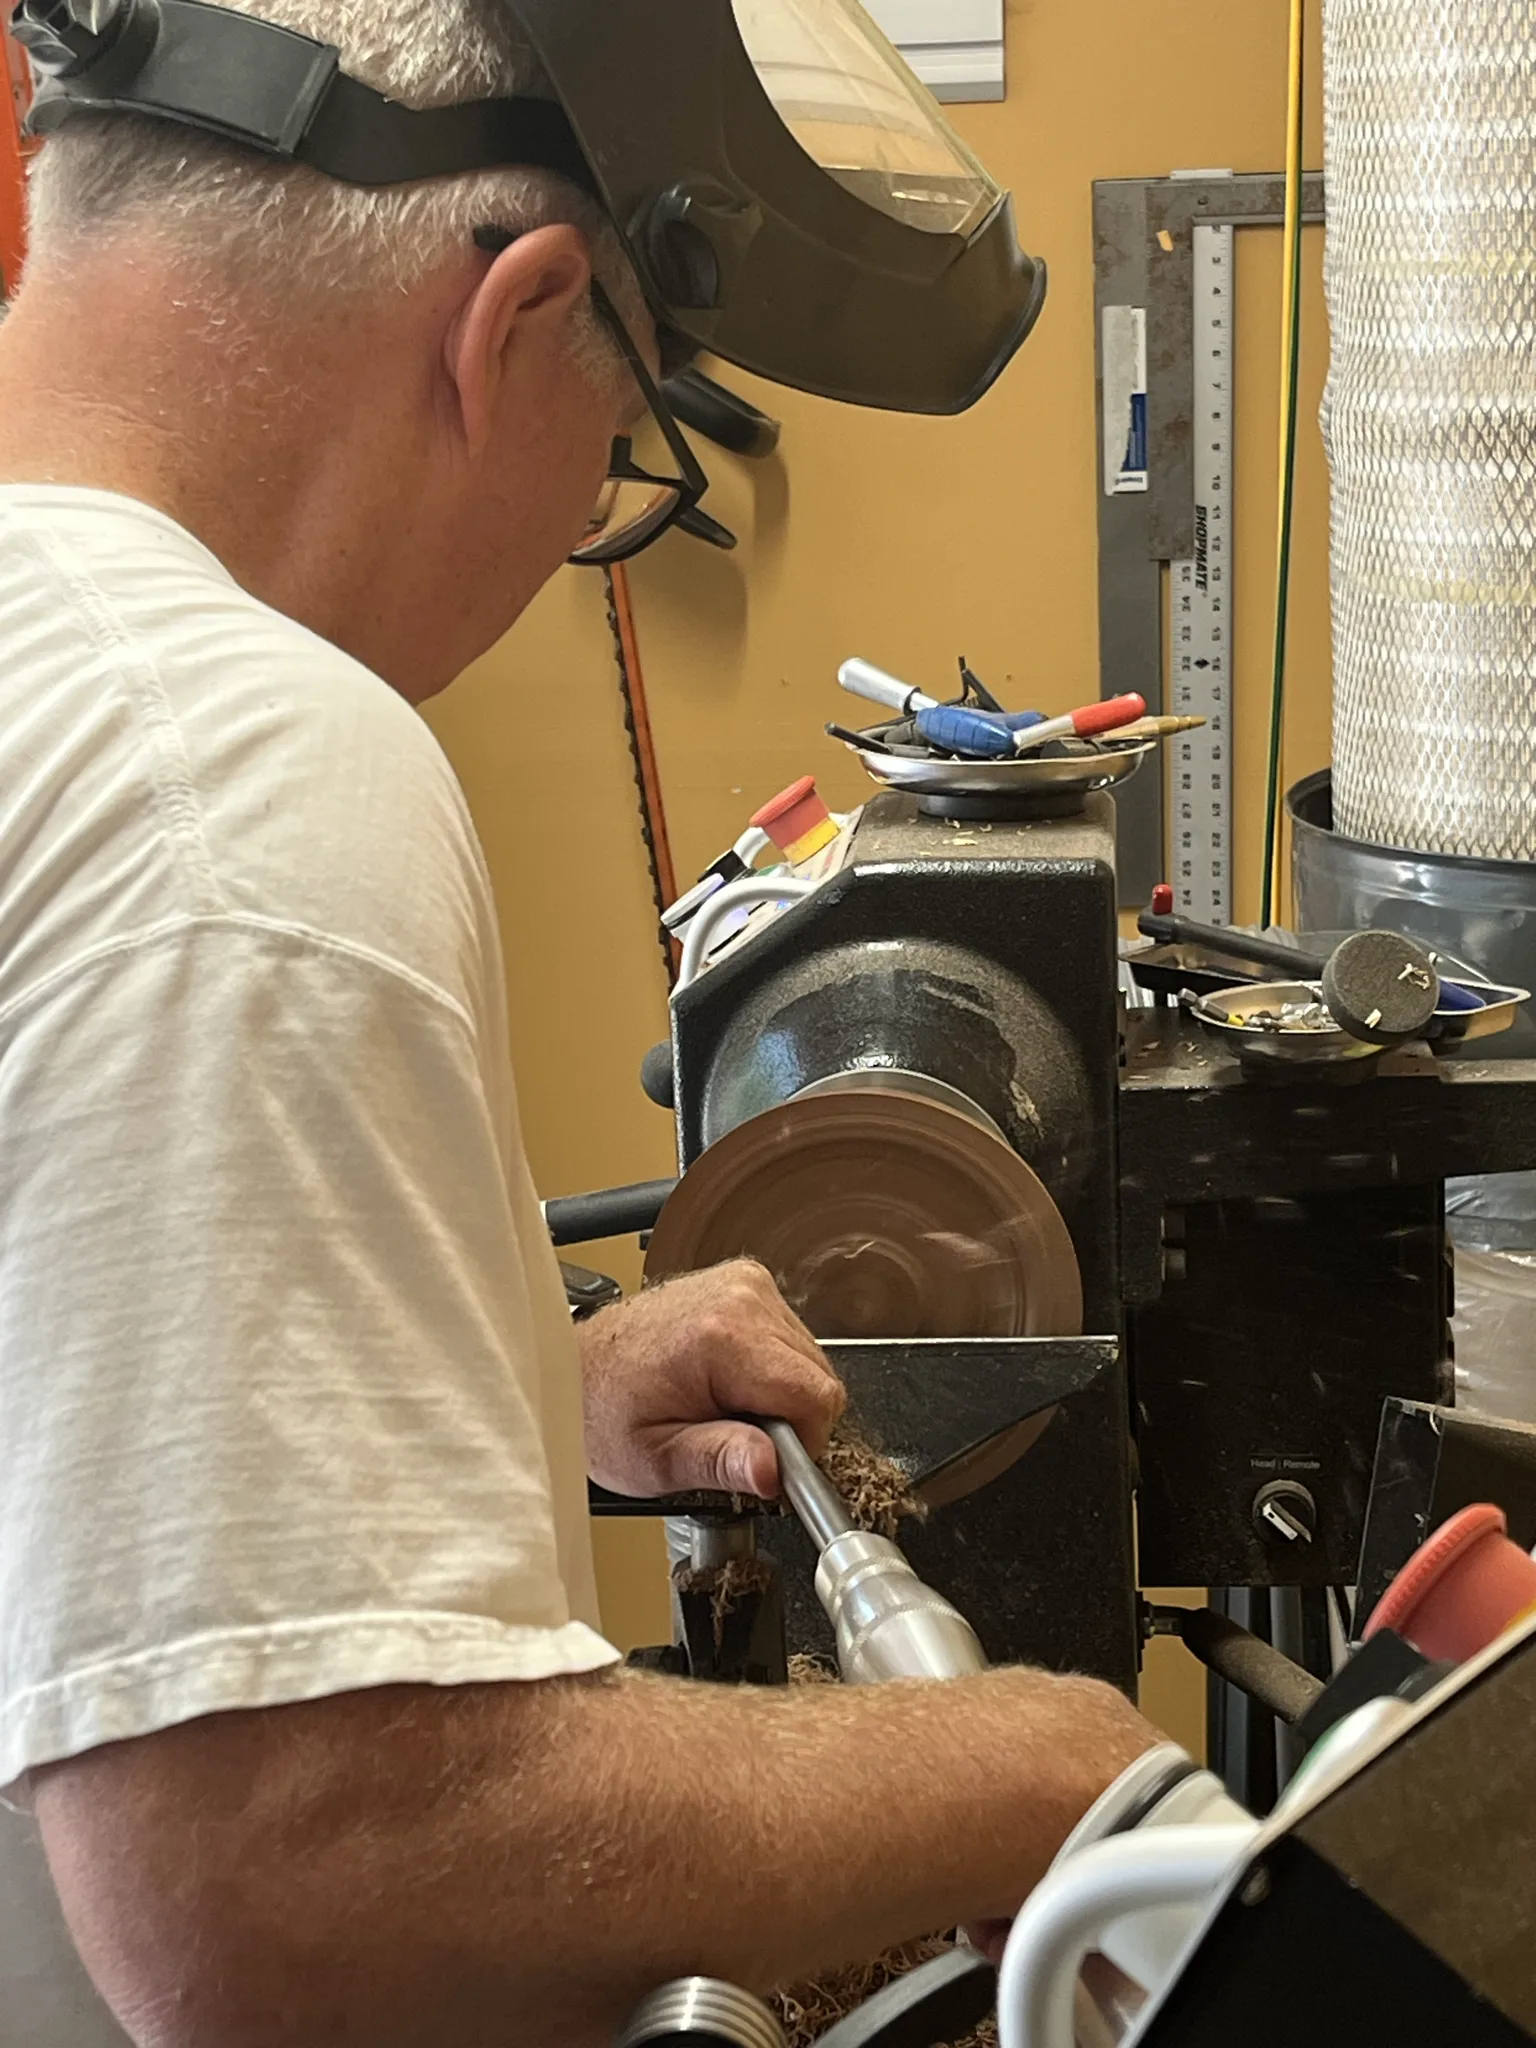
We finished hollowing out the inside. We then turned the bowl around and use some paddng material to push the top against the chuck so the bottom can be cleaned up. The tenon needs to be turned away. We used a chisel to remove the remaining stub and used sand paper to clean up the bottom. It honestly wasn’t the cleanest execution by any means. I’m going to have to hone my techniques so I can do these things with higher quality and speed.
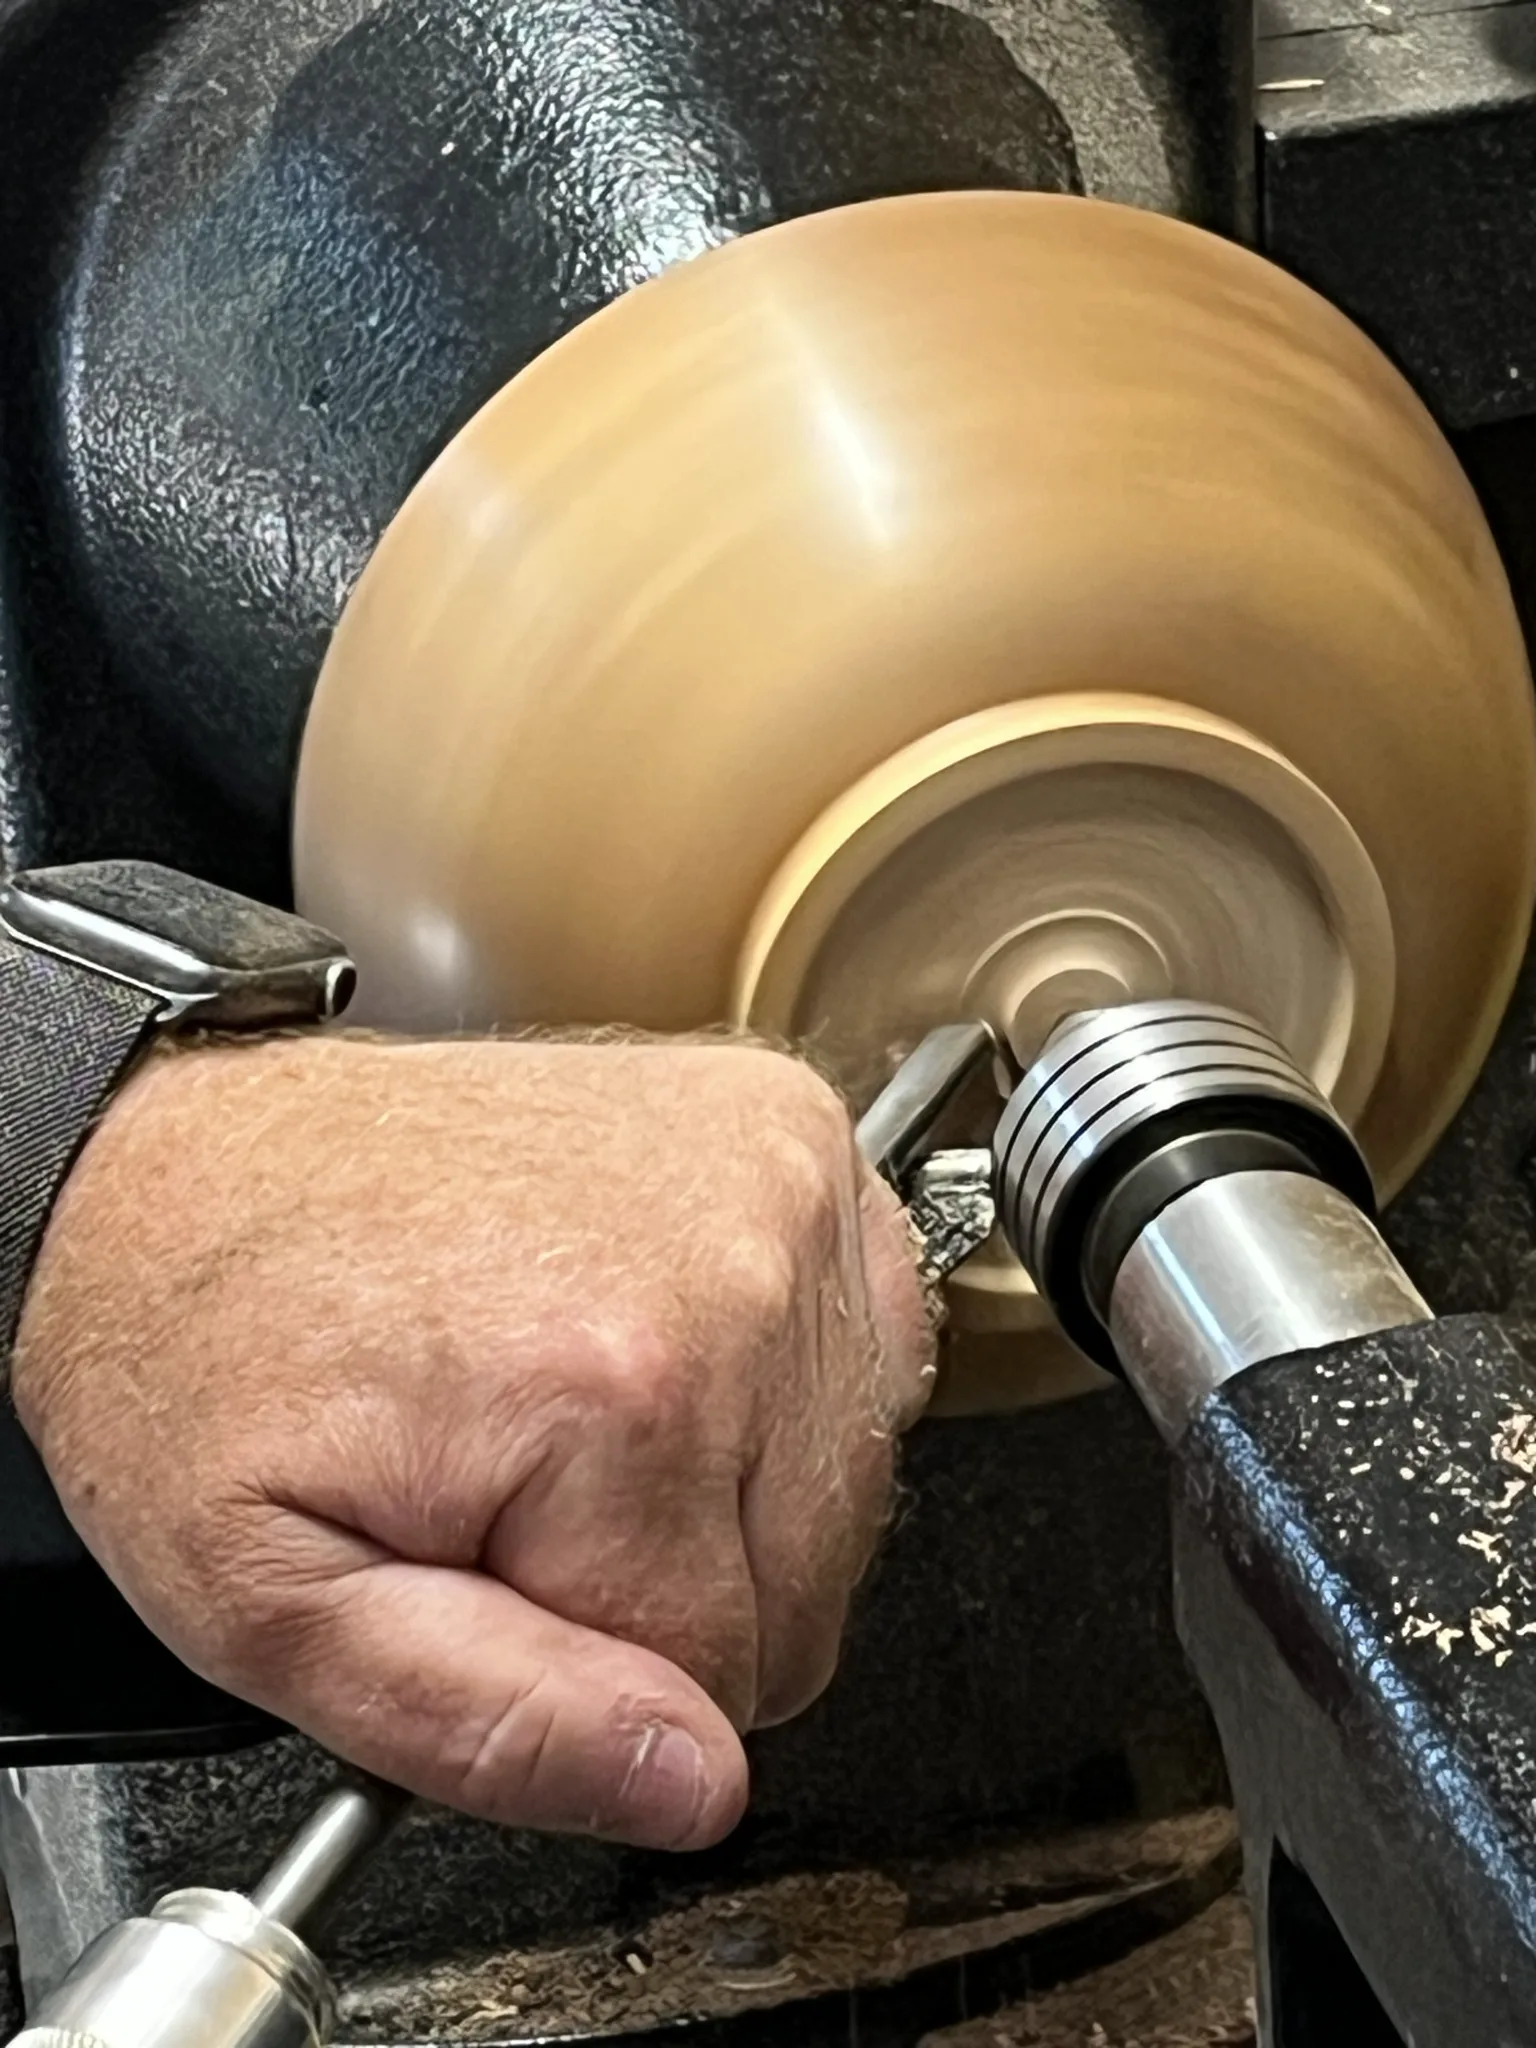
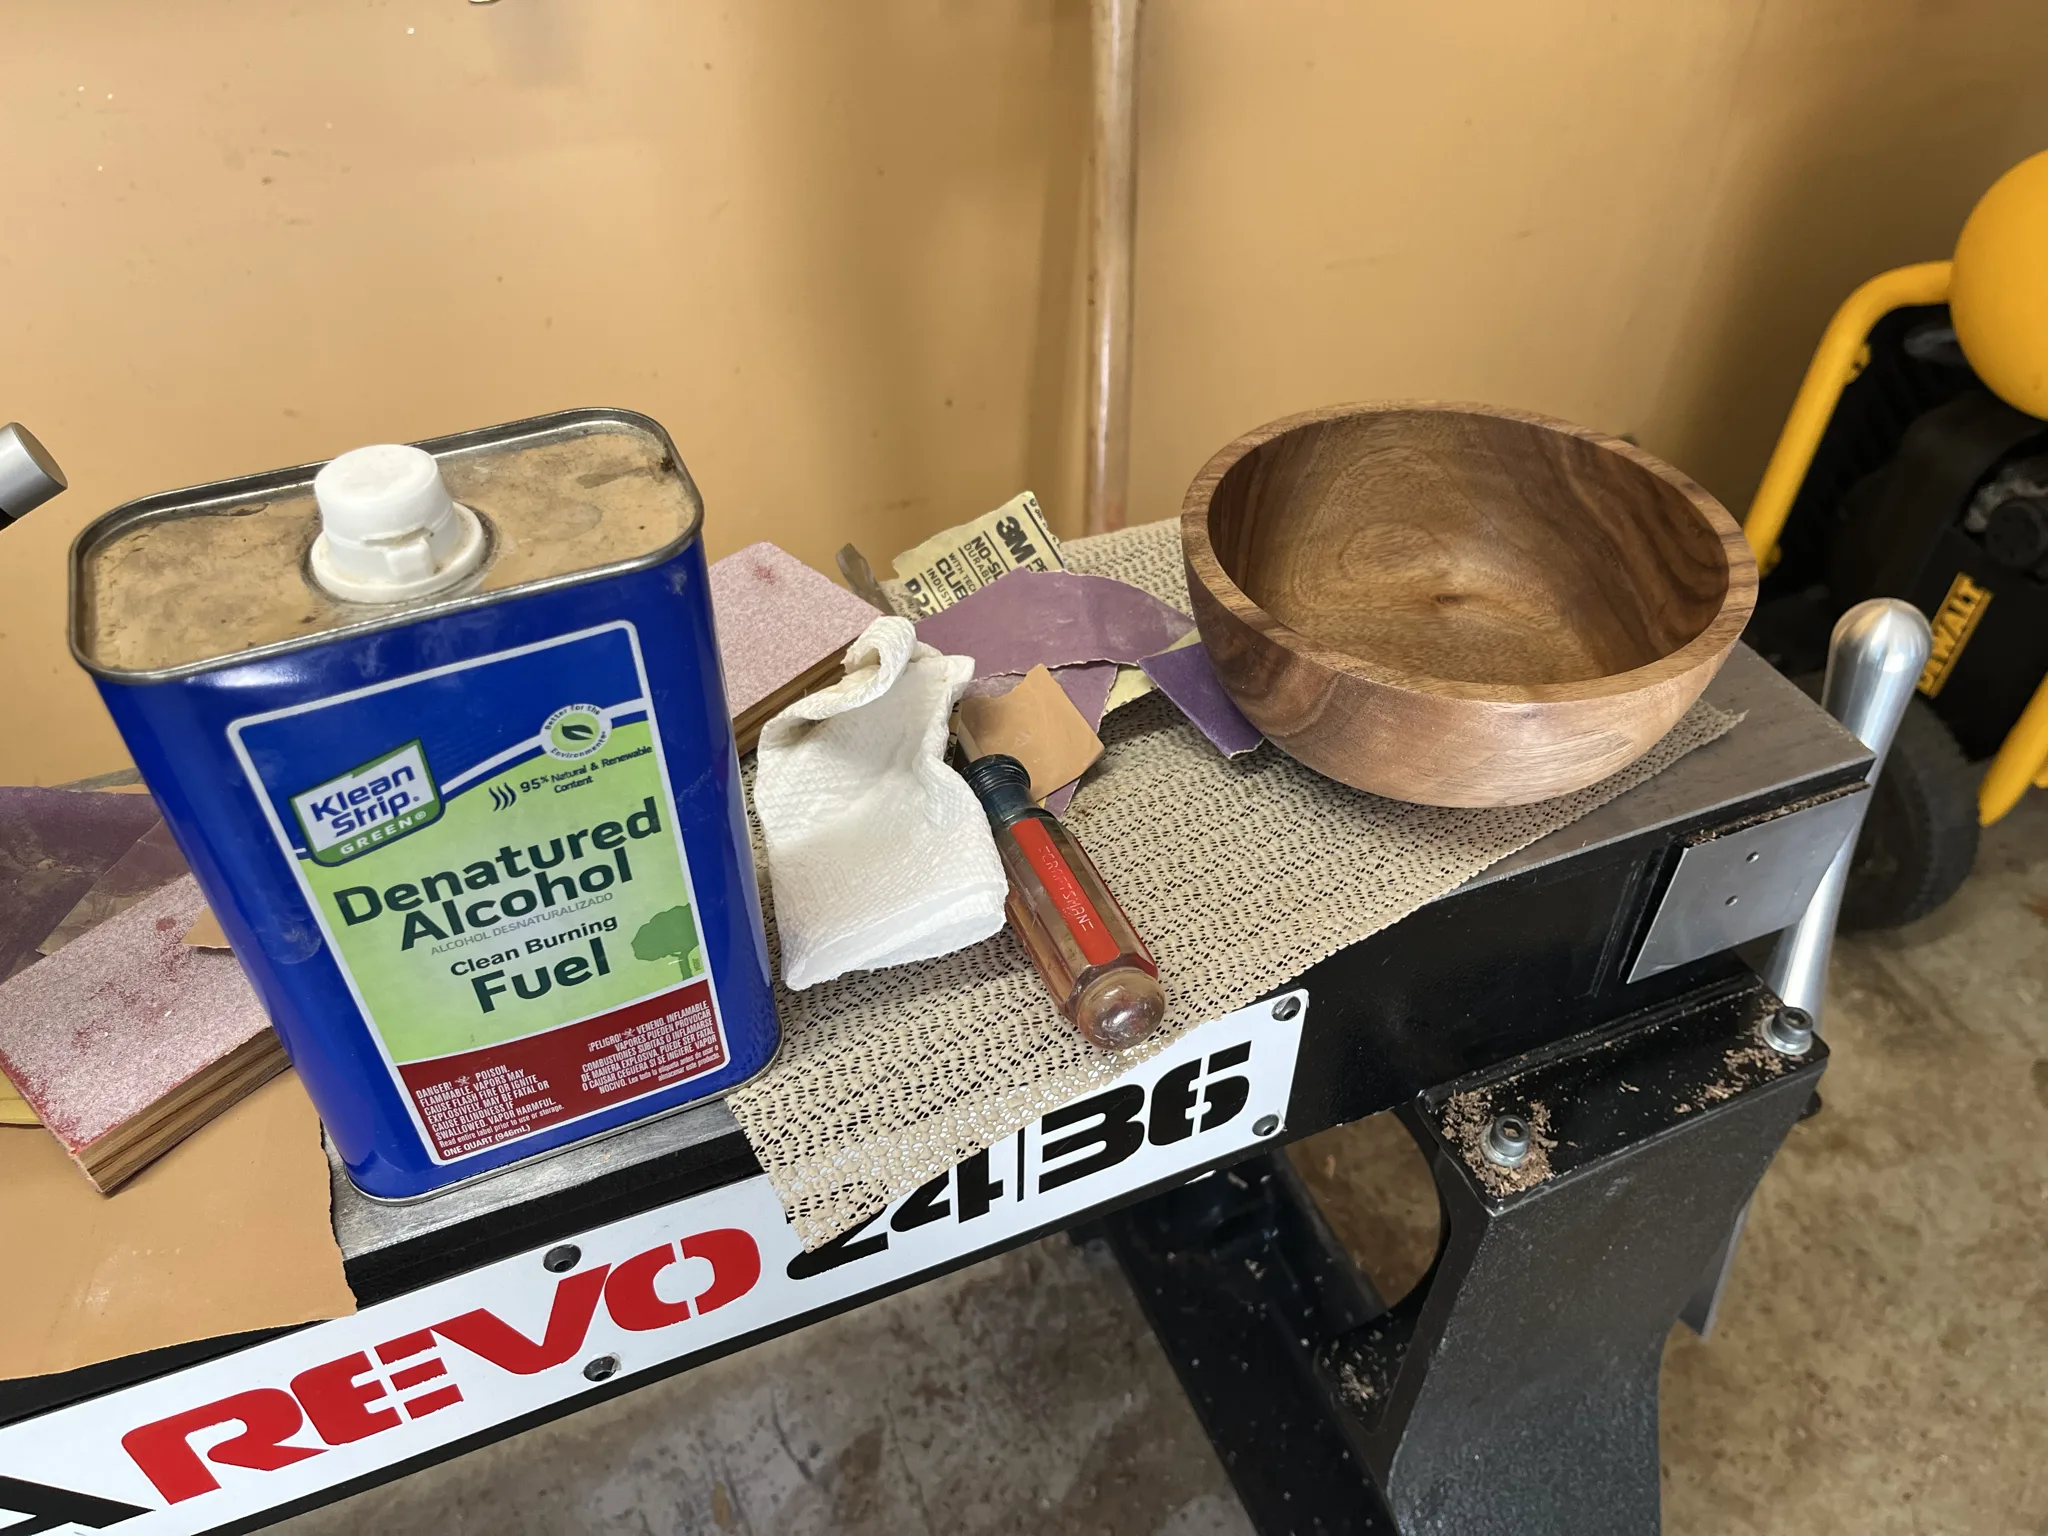
Here is the bowl setting on the edge of the lathe. We are really liking the wood grain and how it turned out. I put walnut oil on it and then walnut oil wax so it was a slippery gooey mess when my neighbor took it home. I let him know that overnight the appearance will change as the oil dries. Also warned him not to put the bowl on good furniture until the finish is fully cured as it could leave a mark. (Ask my wife how I know this.)
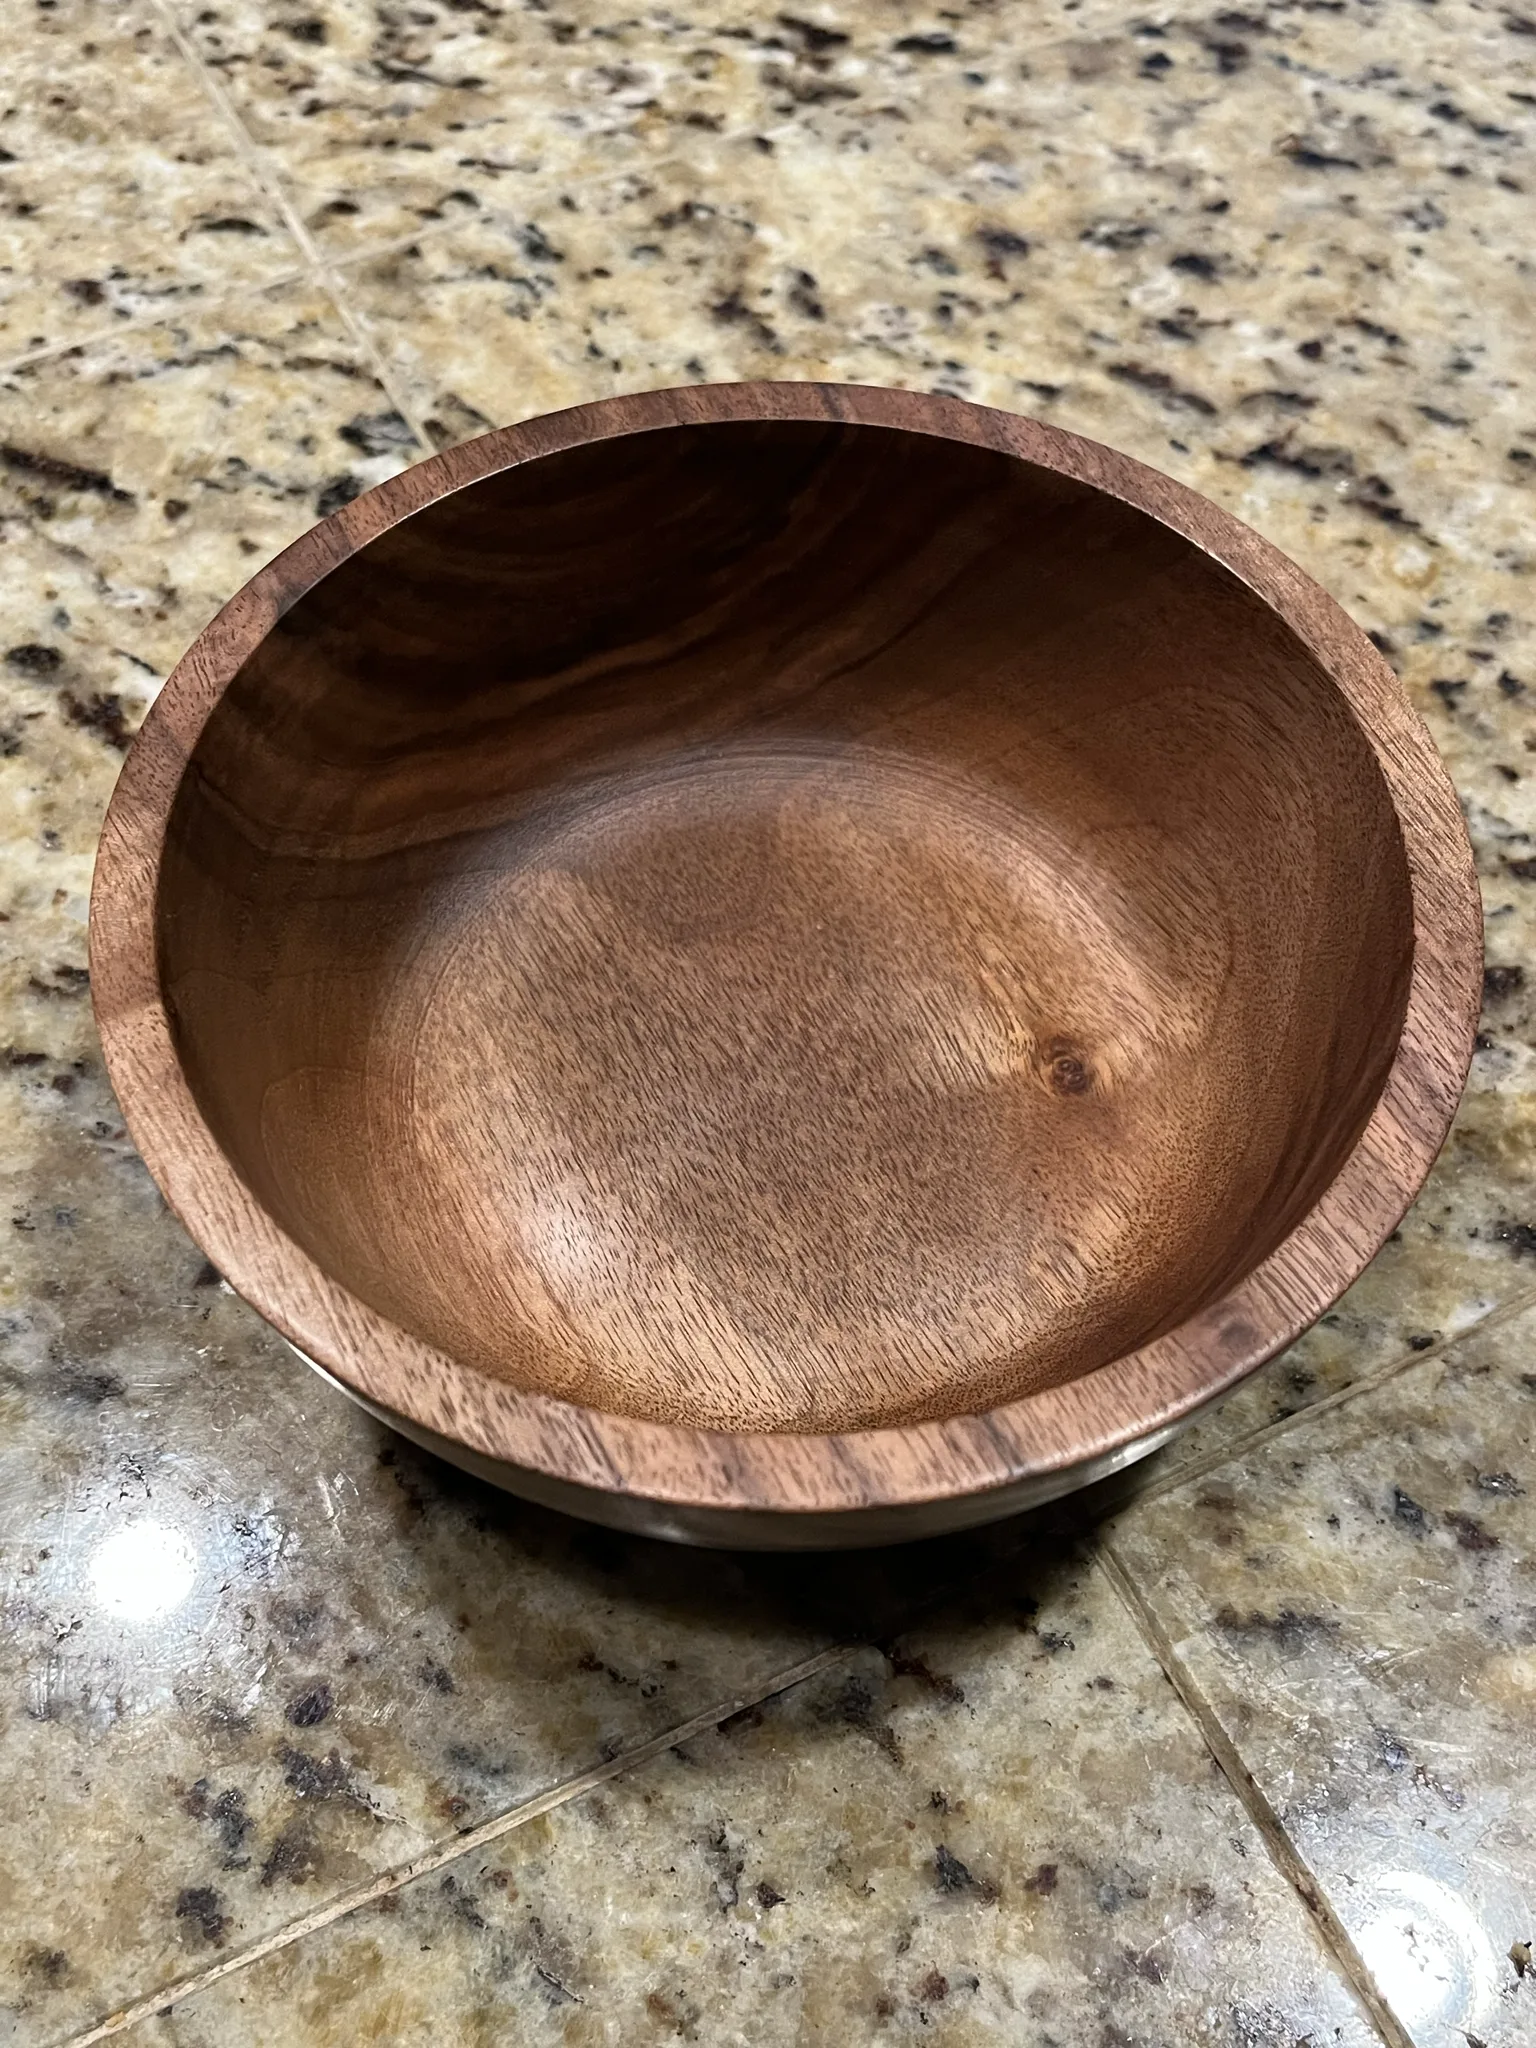
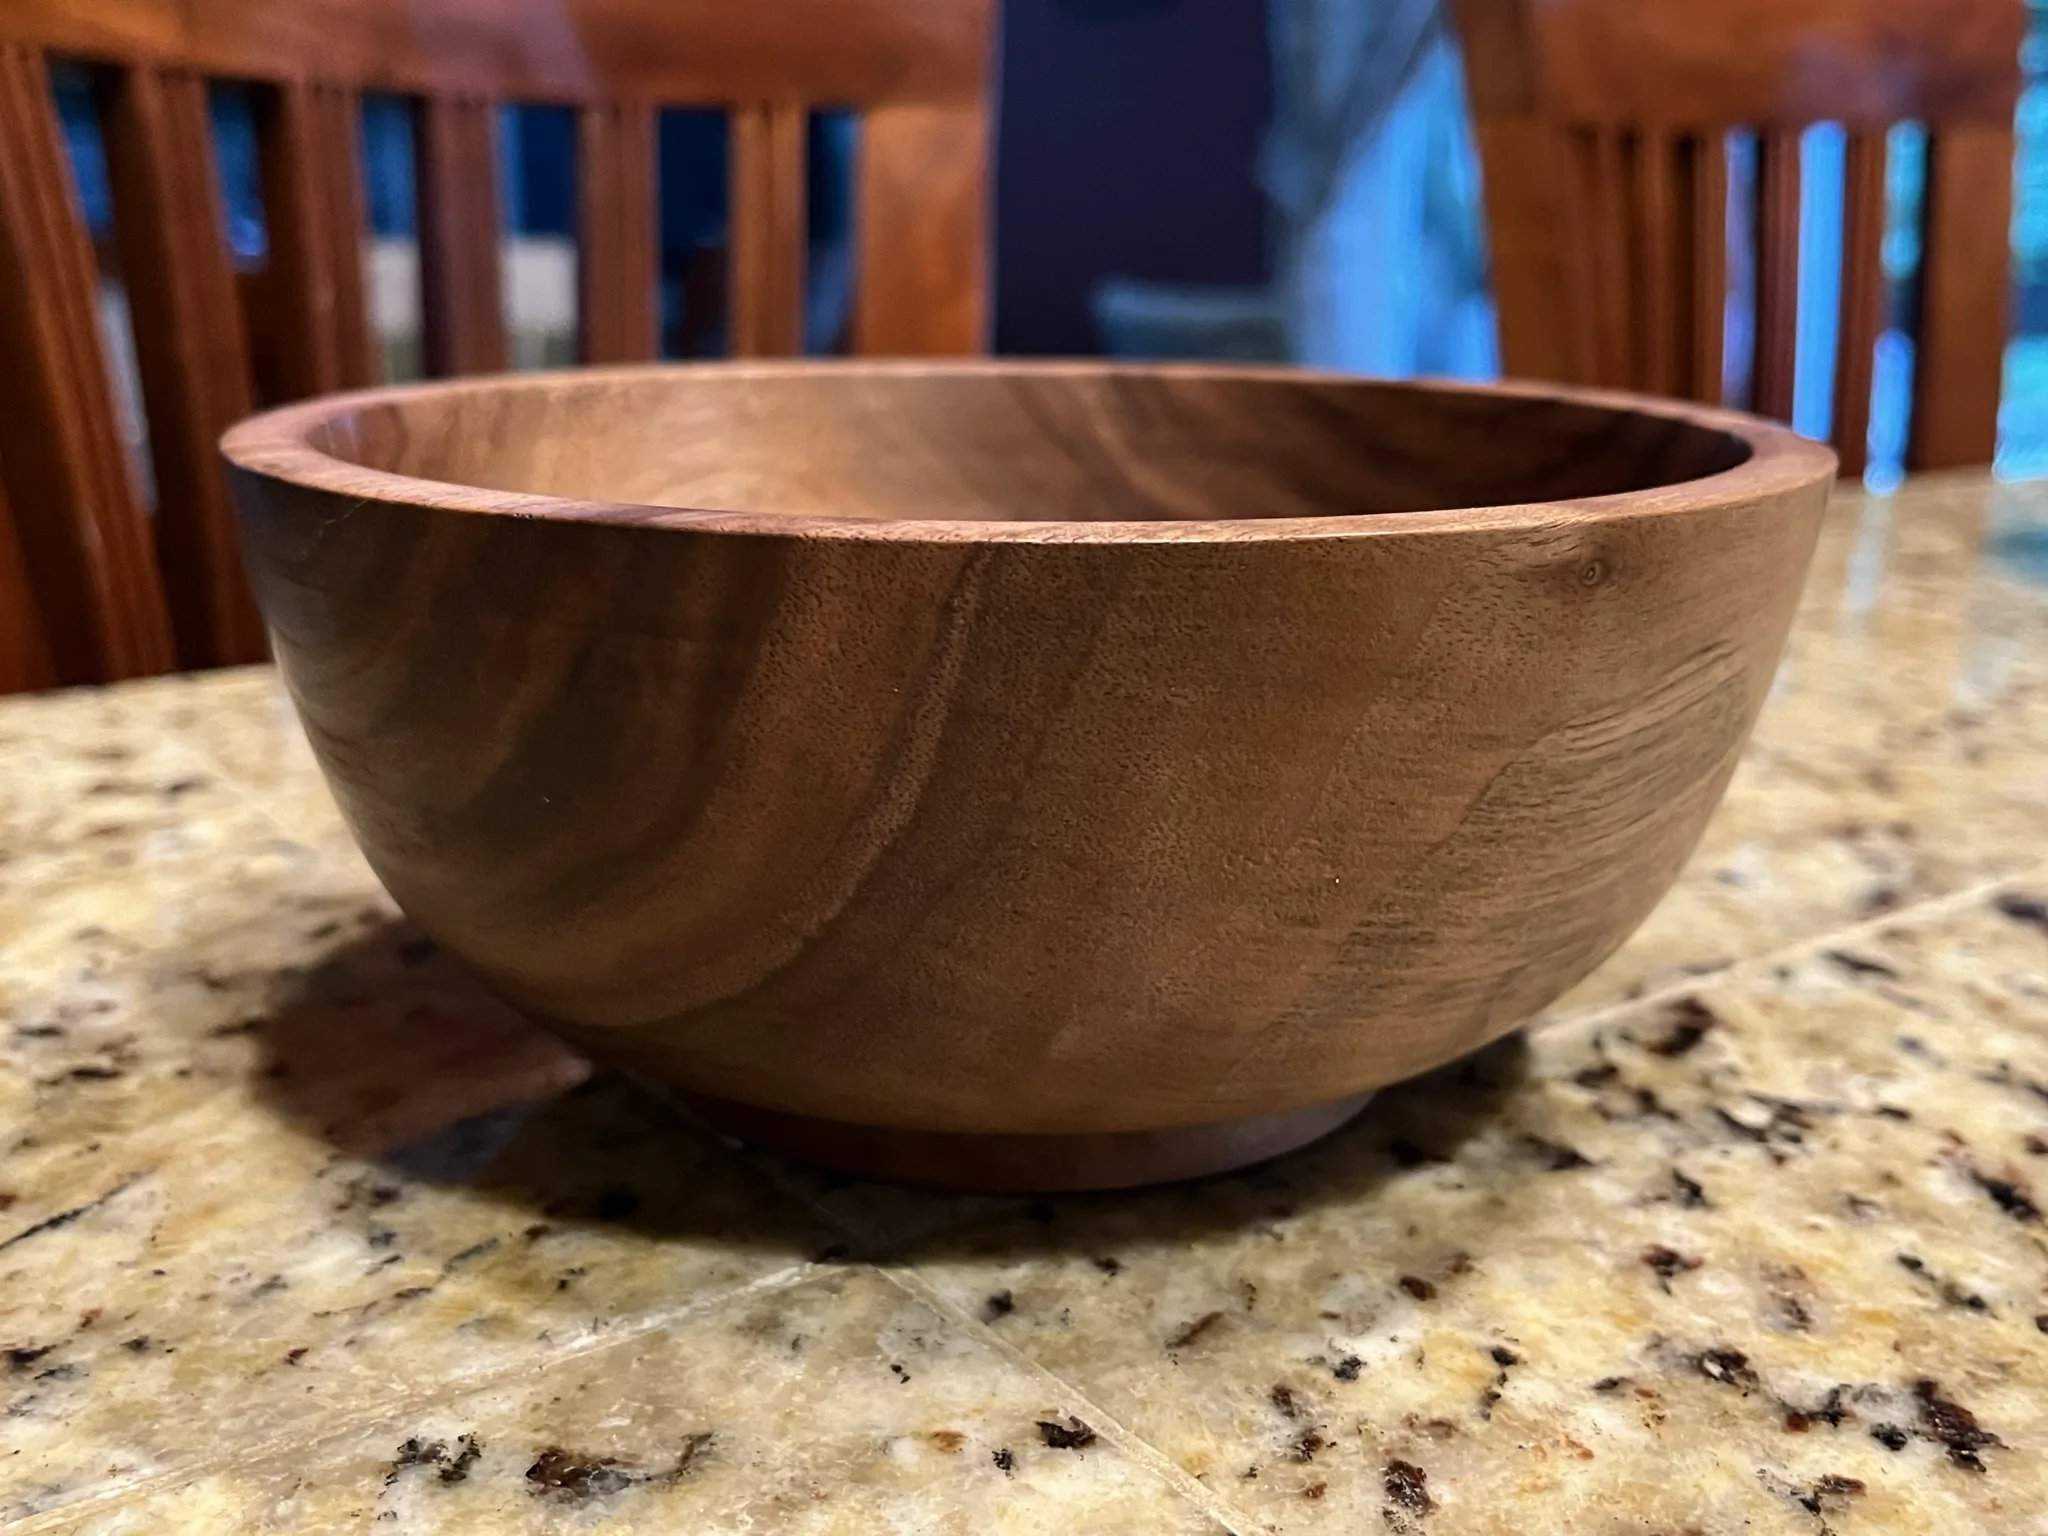
My neighbor sends a couuple pictures of the bowl the next day. It is looking great.
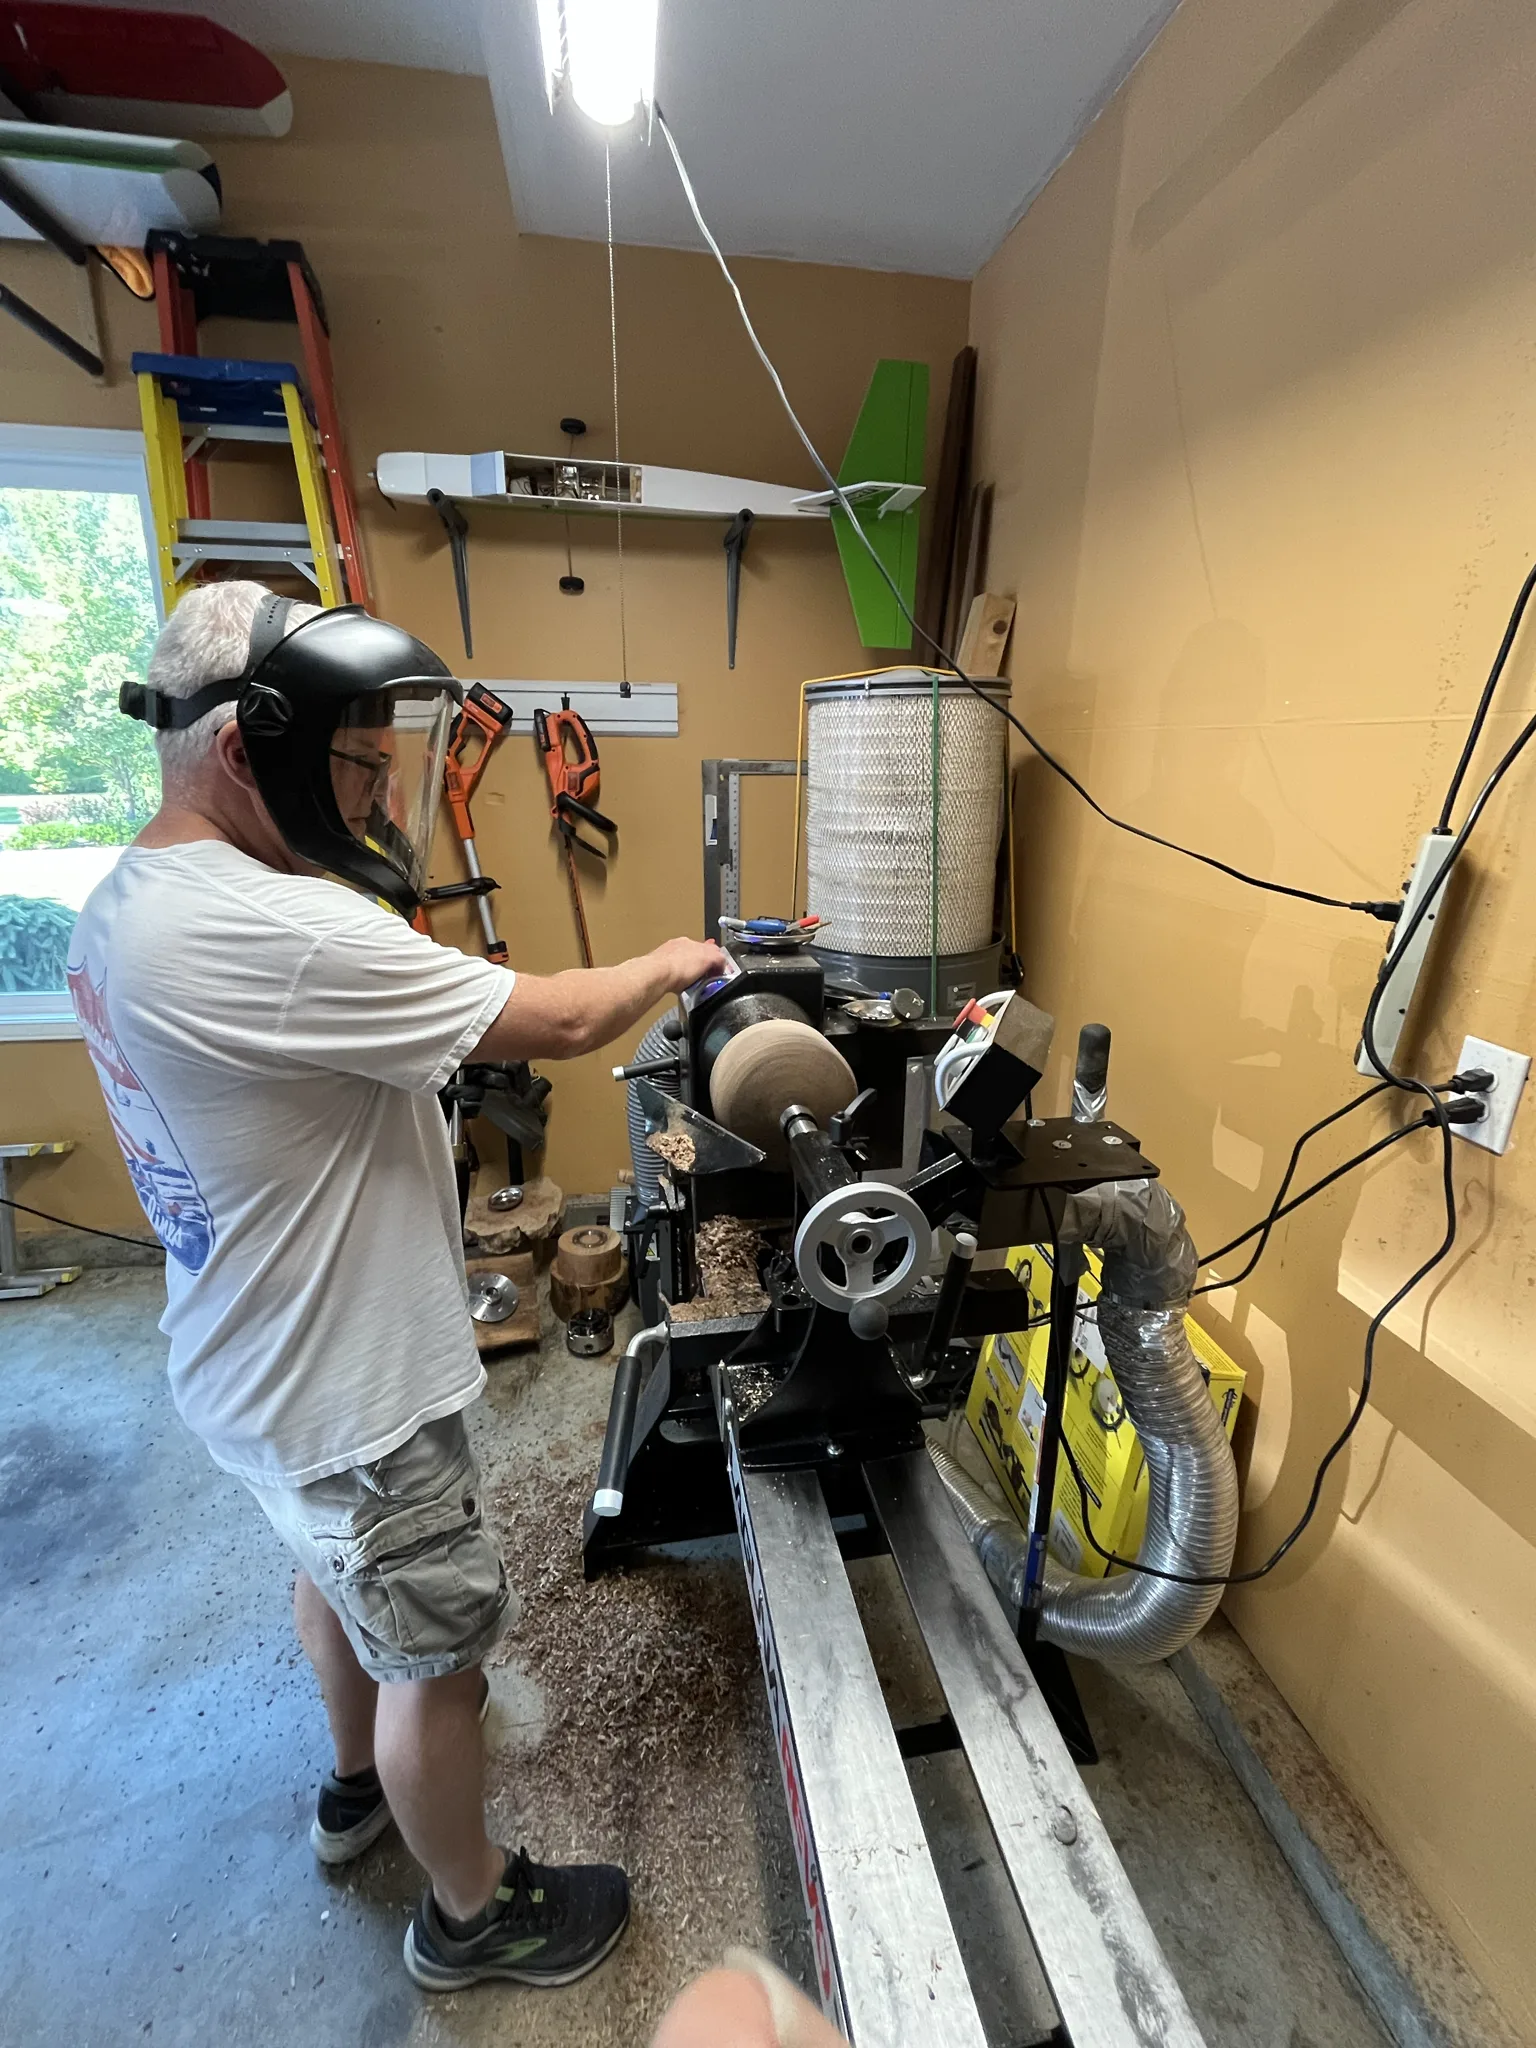
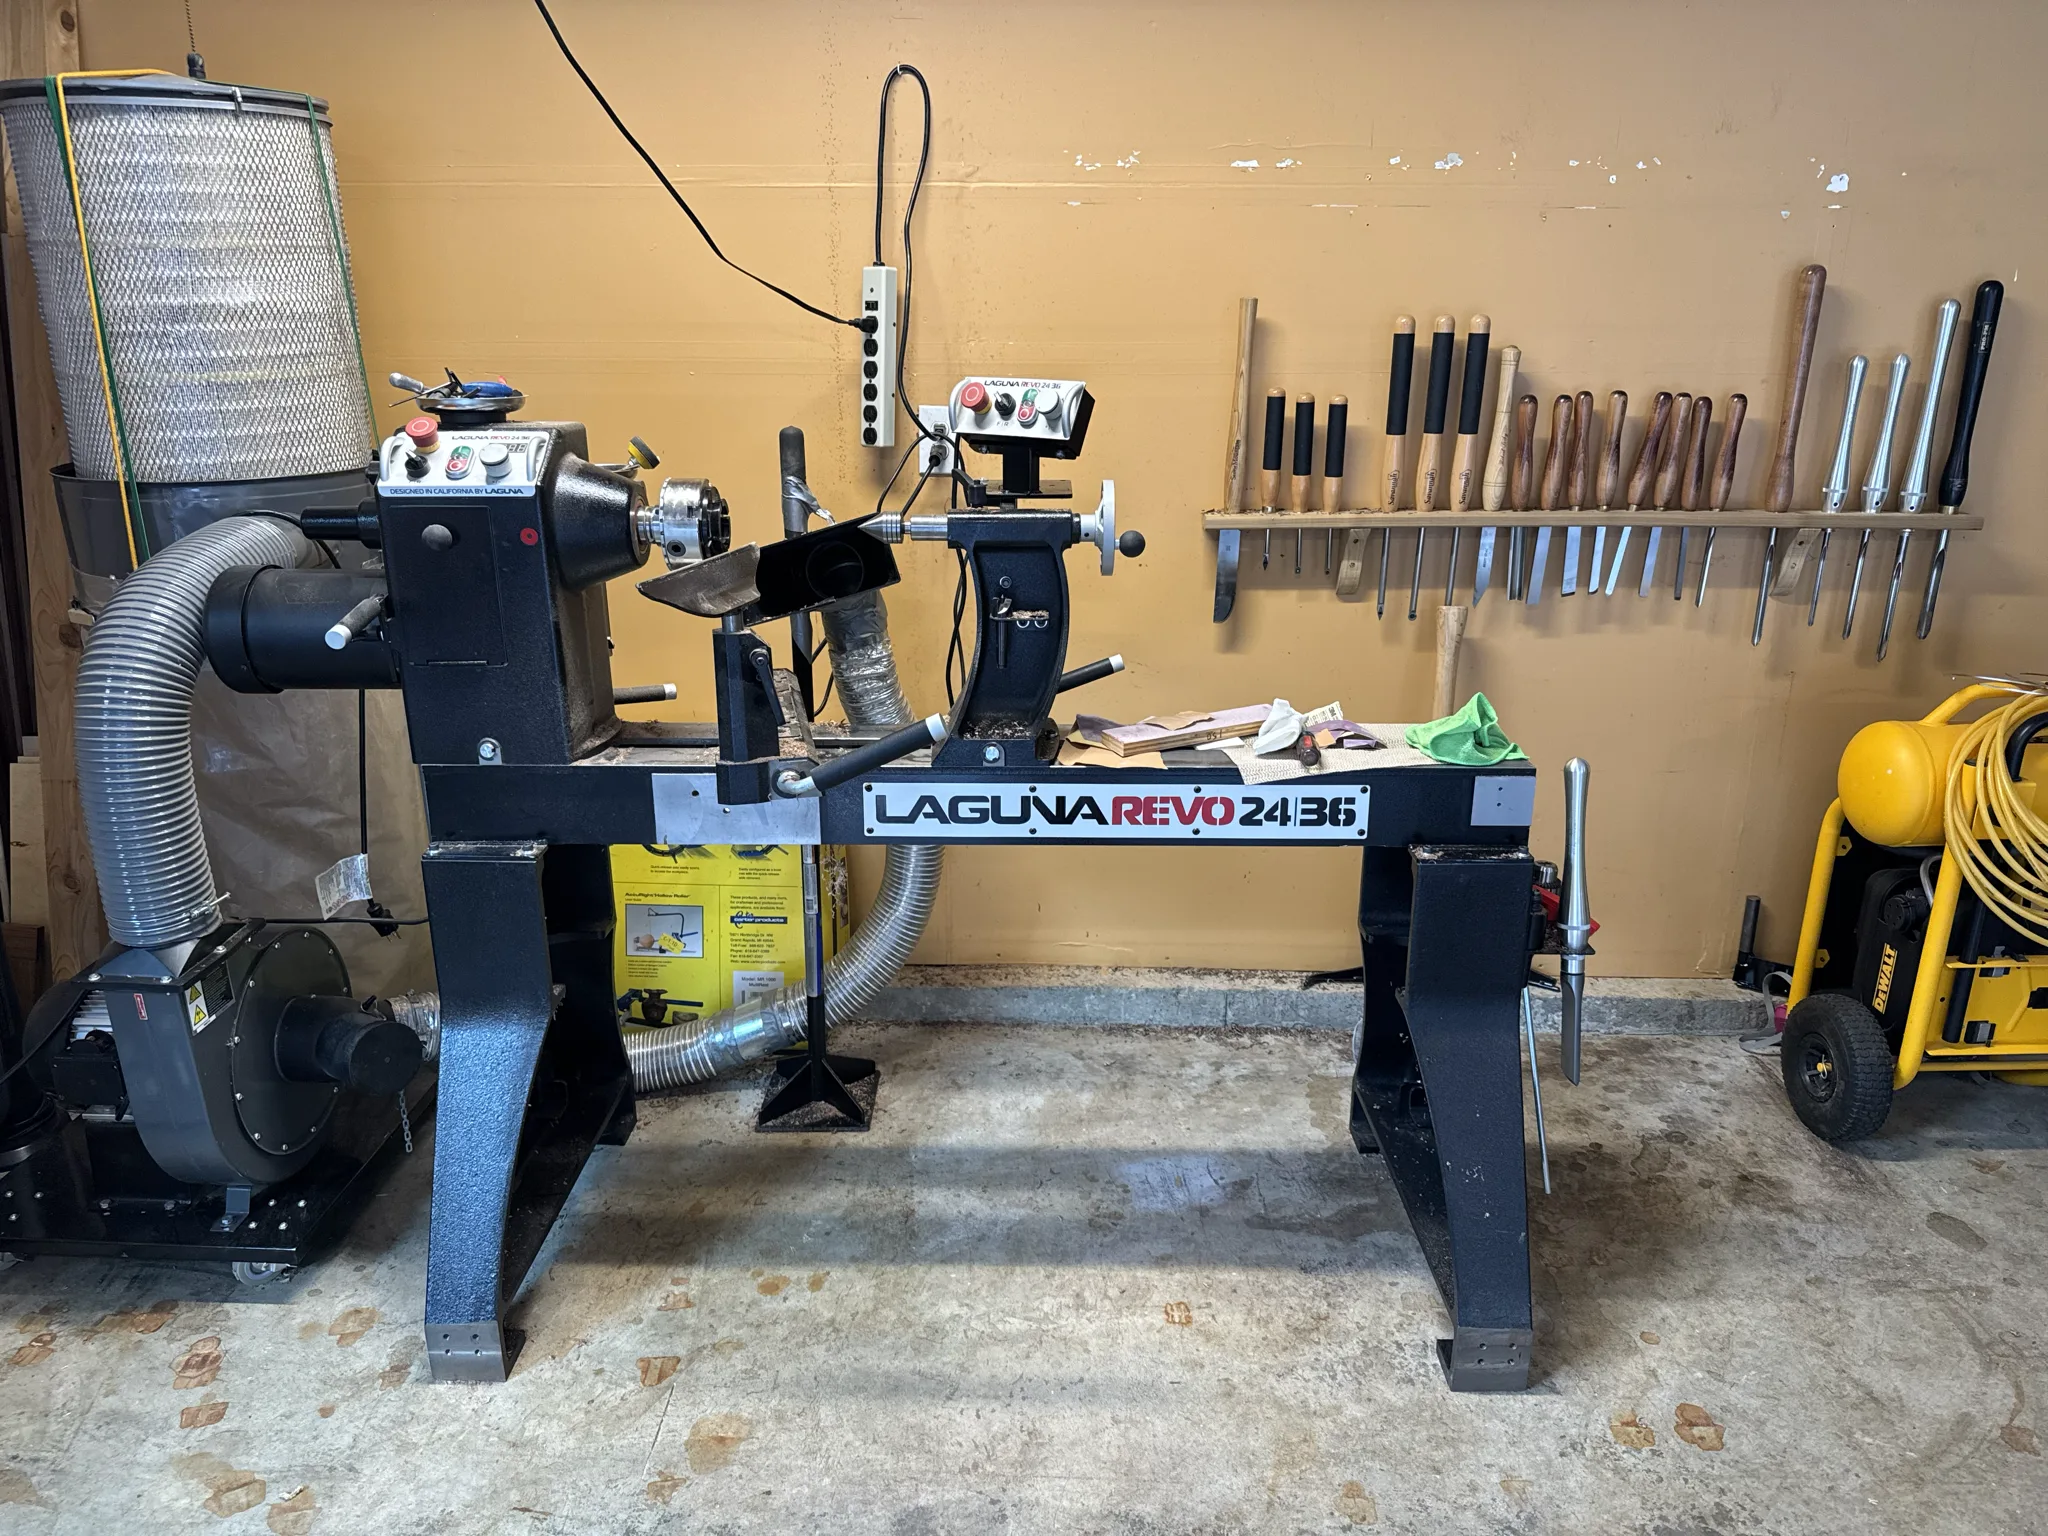
This is a full shot of my lathe while cleaning the area up. The lathe is in the garage so after every turning I clean the area up so we are comfortable parking our cars in it again.
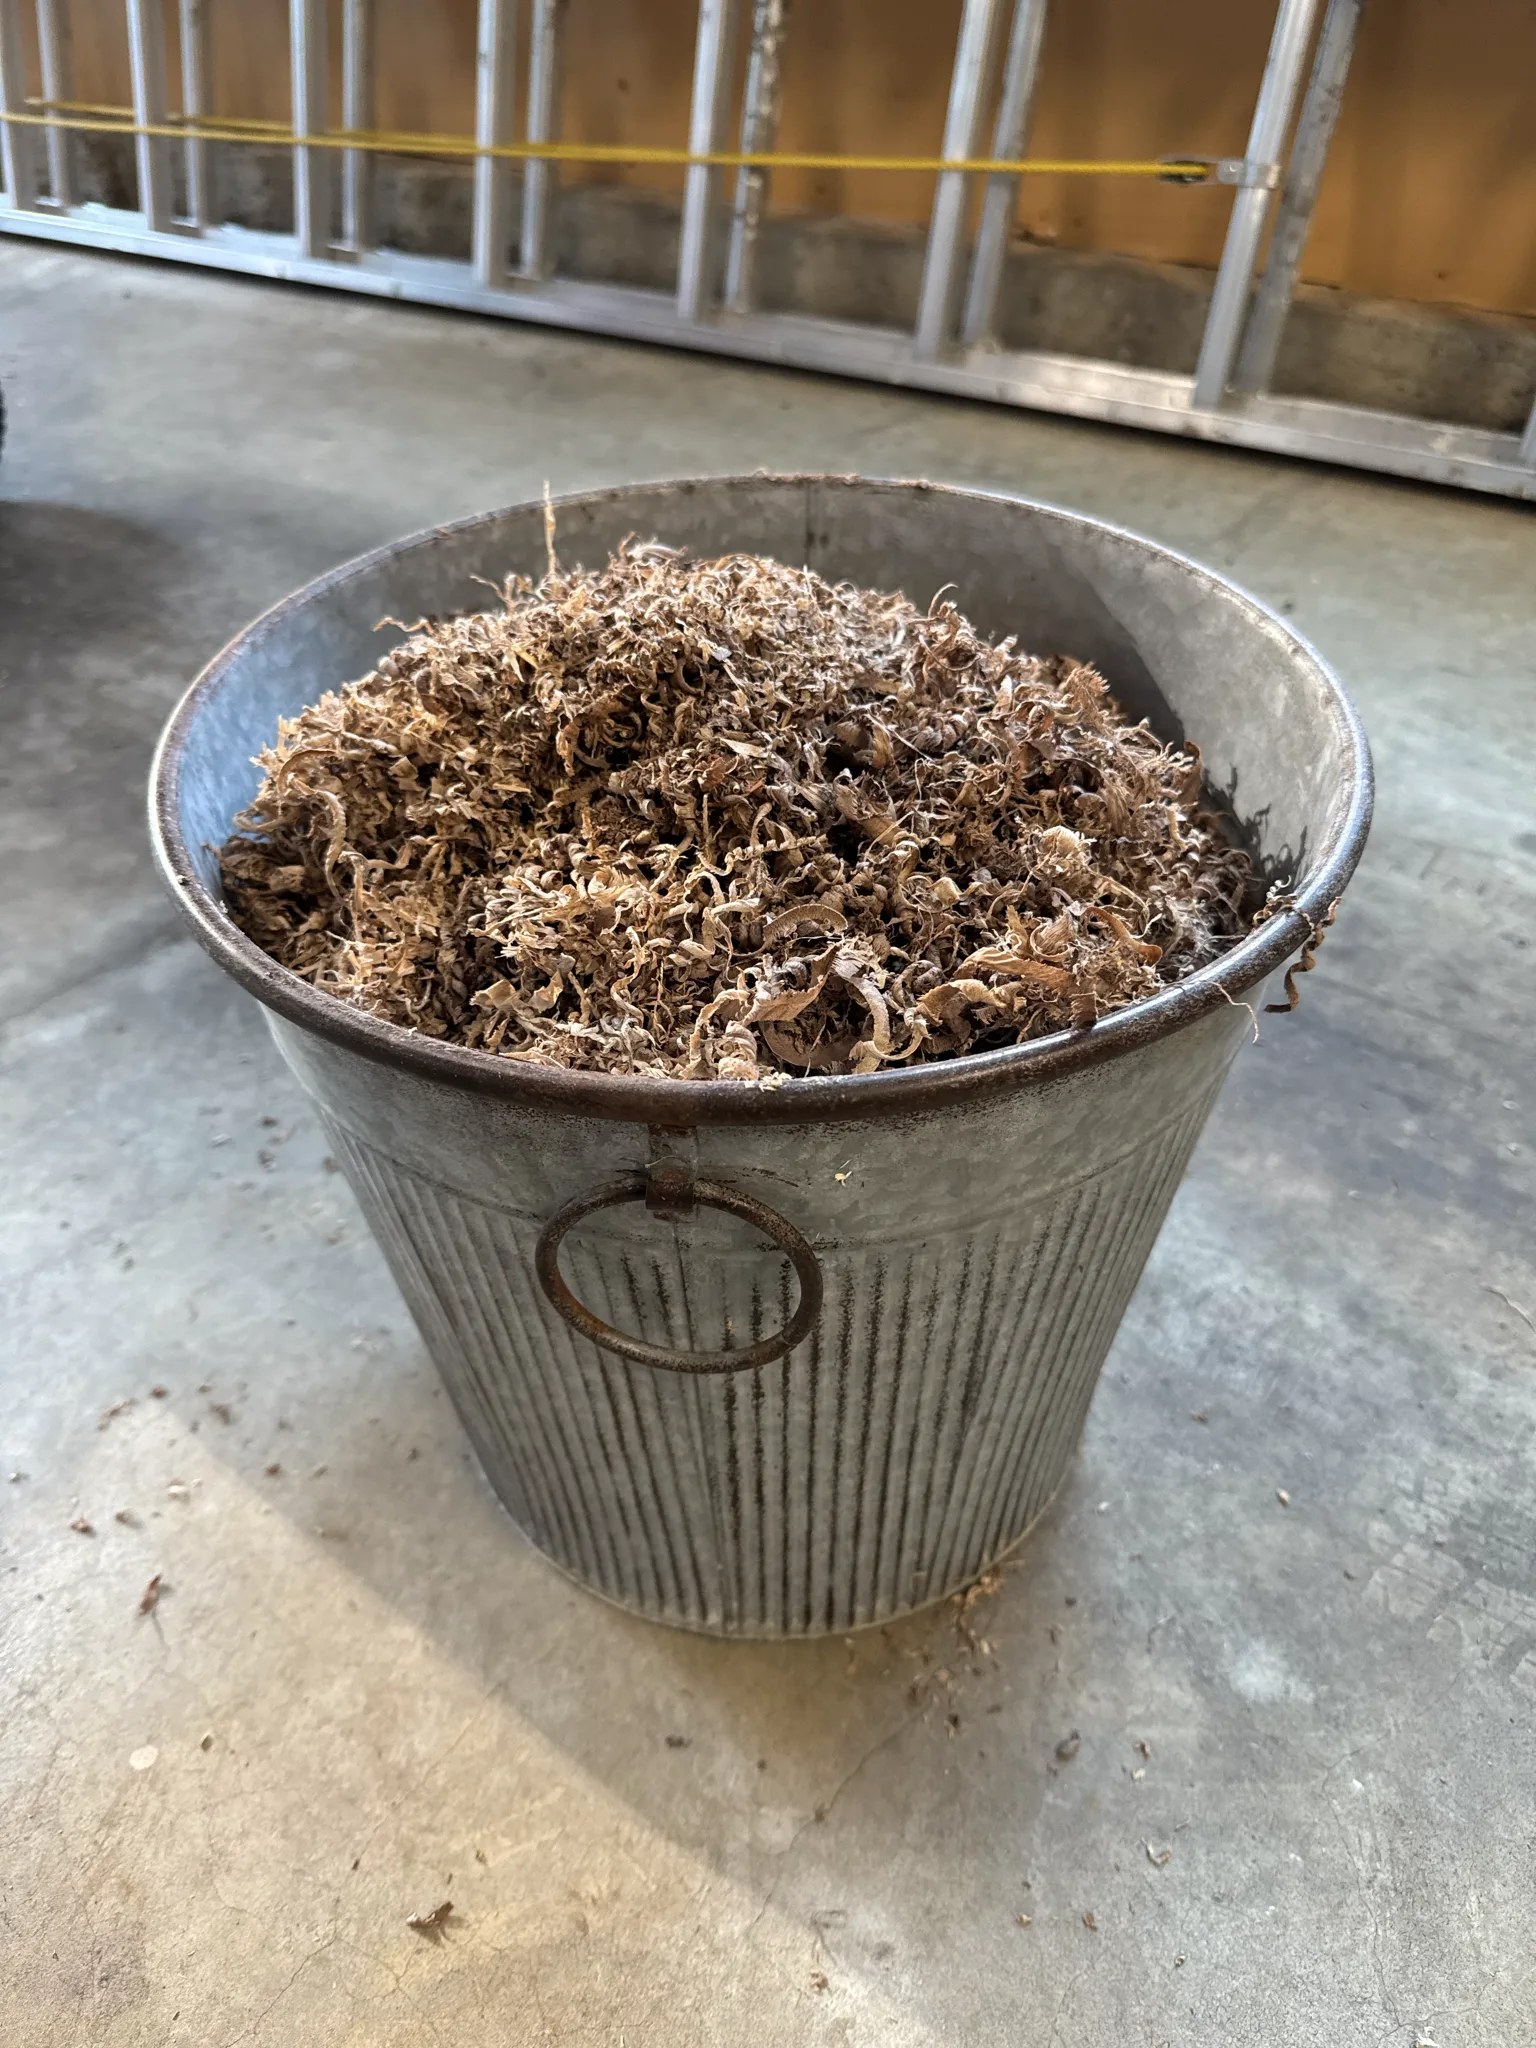
These are the shavings that came from that chunk of wood. They get tossed in the woods behind our house where they will break down and be reused by nature.