Restoring a Texas Instruments TI-99/4a Computer
August 11, 2026
A gracious coworker gifted me some retro computing equipment knowing that I was going in retirement and have always been nostalgic about the 8 bit computer days. He gifted me a TI-99/4A which was a computer I had heard a lot about but never go the chance to explore. He also gifted me a Commodore 1702 monitor which I’ll eventually do a write up about also. I have various Atari and Commodore computers and I’ll write about those too.
For historical background, see the Wikipedia article of the The TI-99/4A computer. Briefly, it was a failed experiment as a business but did manage to sell 2.8 million units. In an attempt to be competitive with the Commodore Vic 20 and later the Commodore 64, the hardware was drastically price cut which enabled it as a cheap purchase that ended up in a lot of homes. The TI-99/4A is remembered fondly by many as their first computer that eventually led to careers in IT. It is justifiably berated by some for its inferior design and slow performance.
For me, it is exciting to explore as the TI-99/4A was another early computer within the days of the home computing revolution. It has the kind of early home computing documentation, books and magazine articles written for that that were full of enthusiasm for what people dreamed to be possible with the newfound technology whether fully practical or not; it was truly a new era with the dawn of computers in the home, not just as business machines in the office.
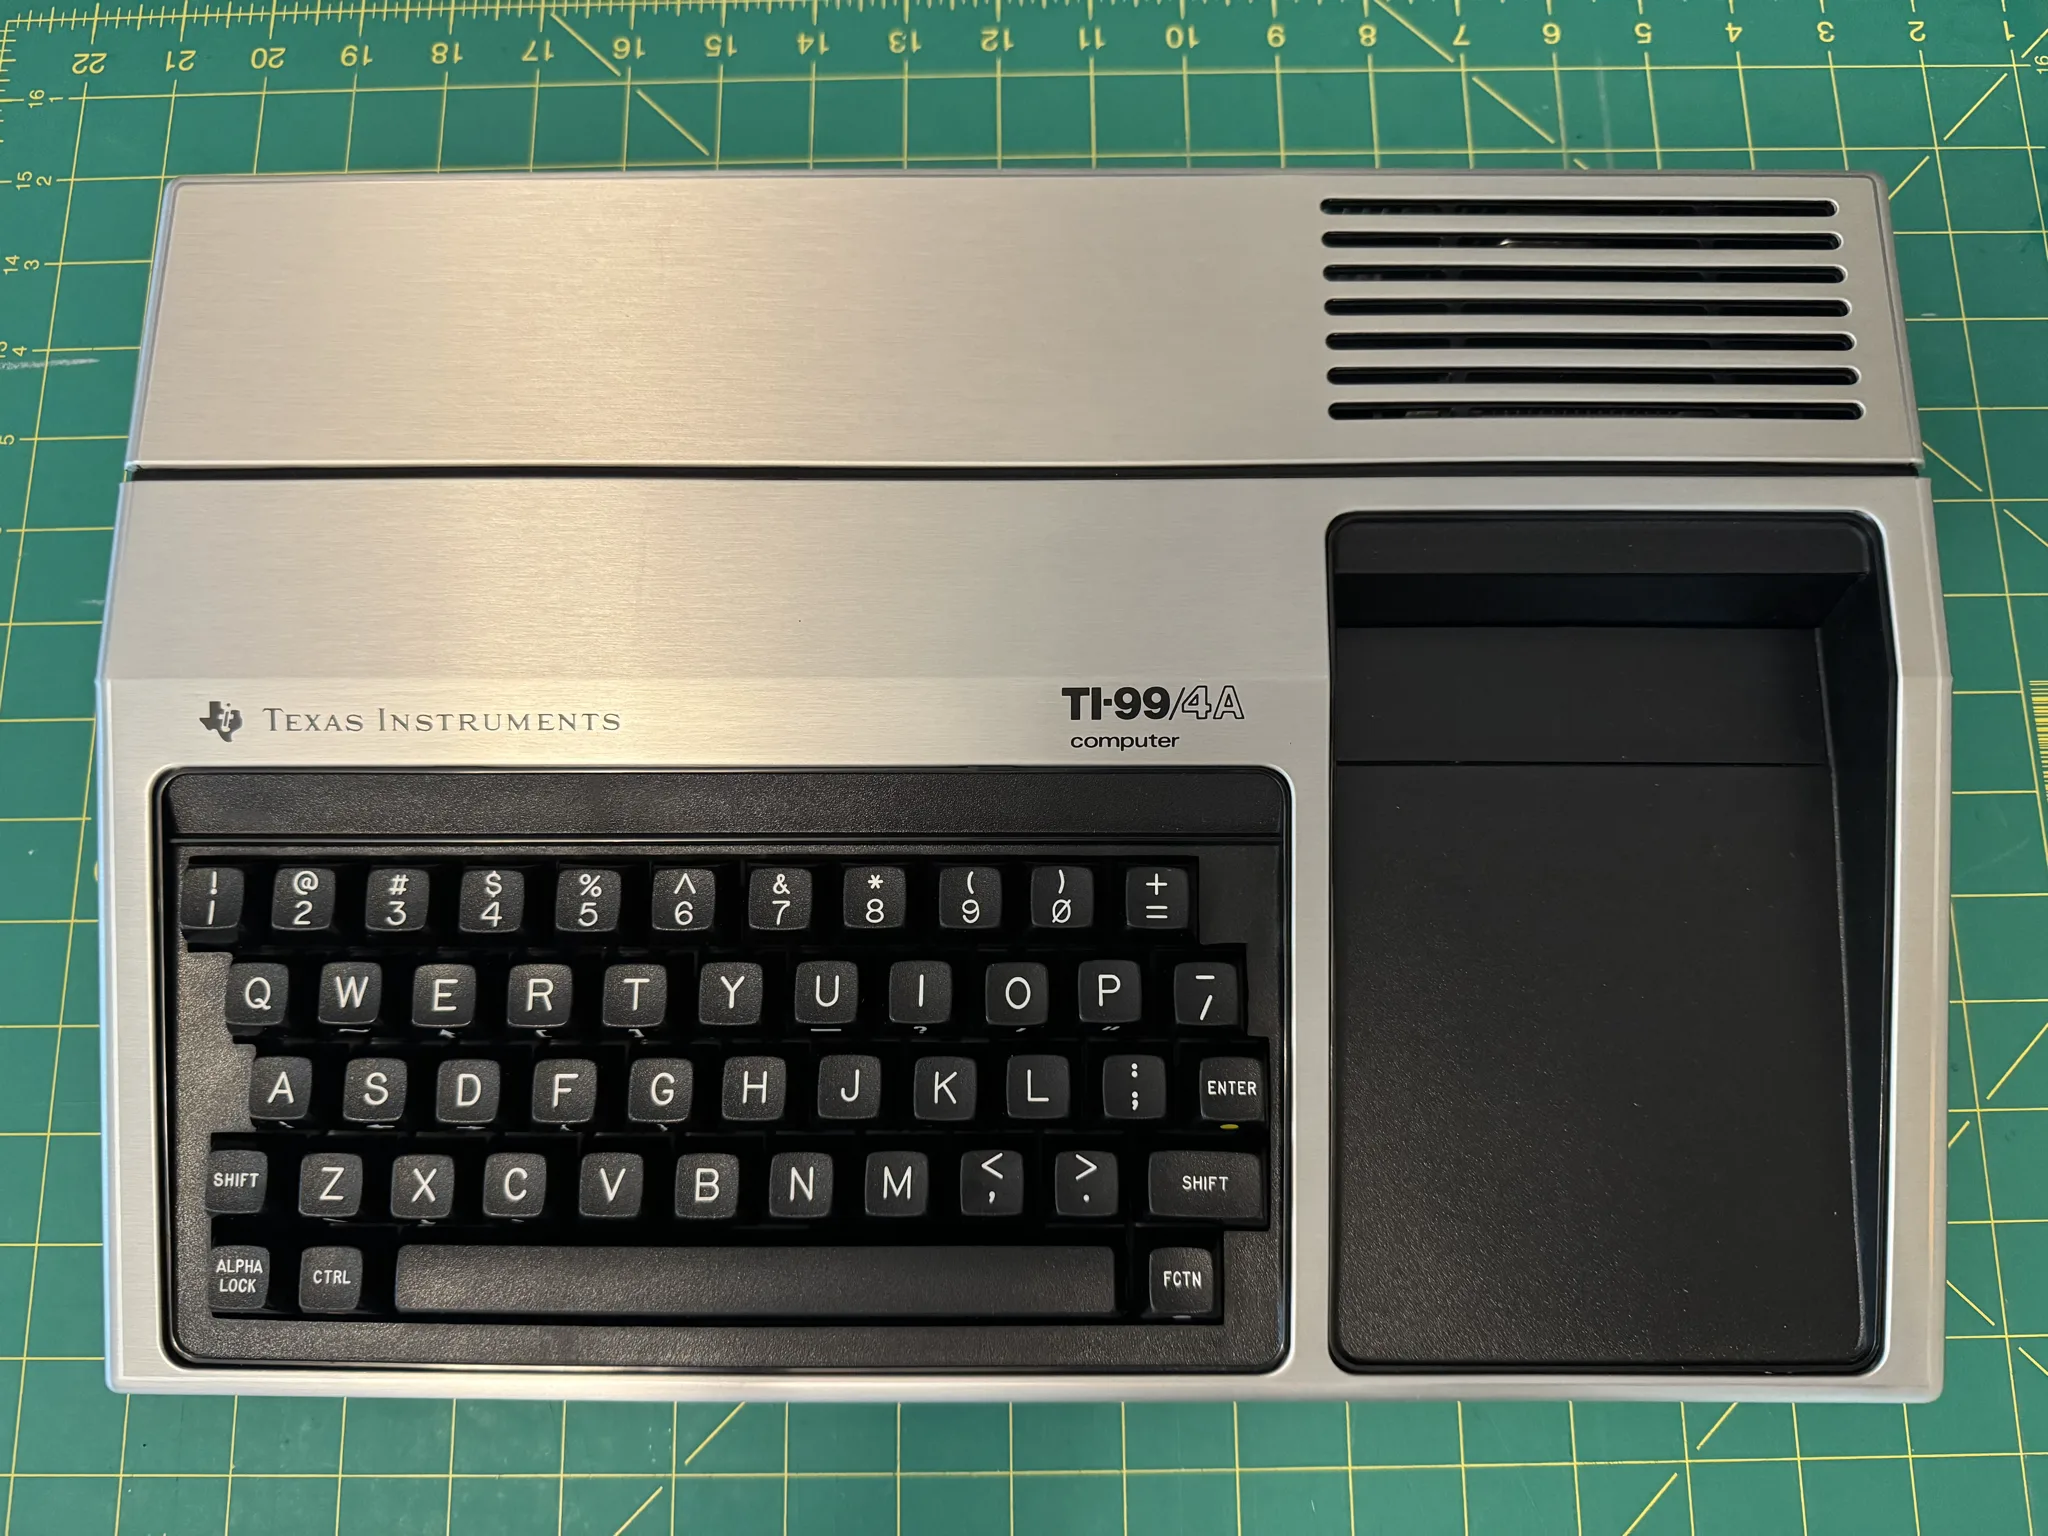
Here is what the computer looks like.
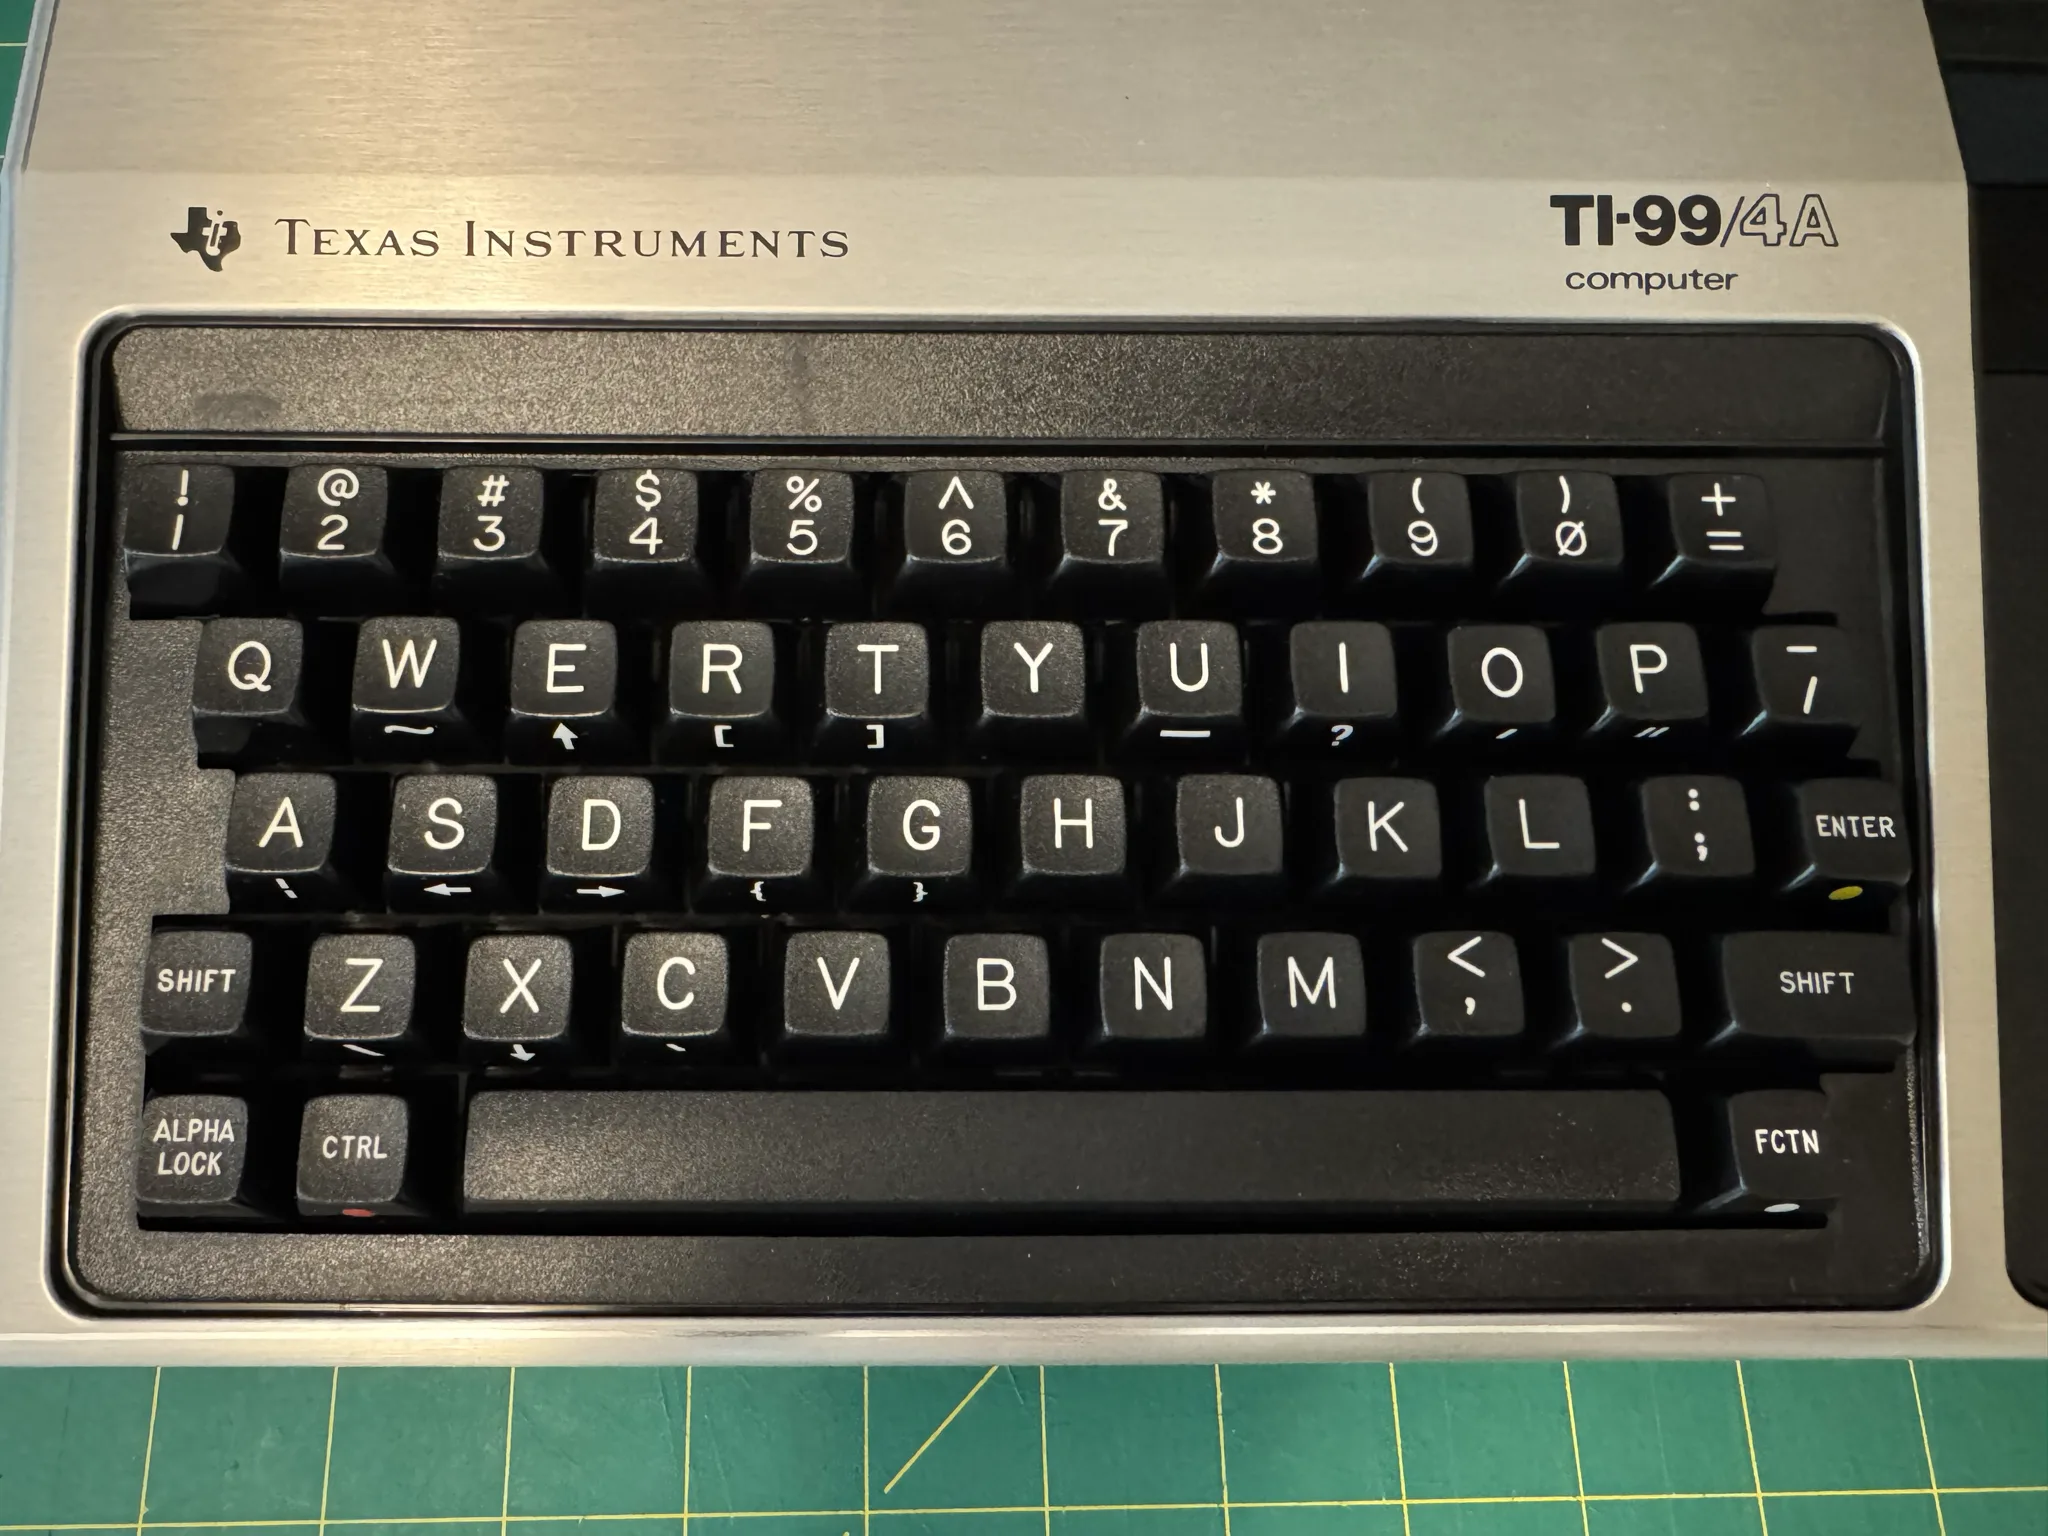
This is one of the smallest computer keyboards I have ever seen. There are only 48 keys. Look at the size of the Enter key!
The right side top of the computer has some kind of cartridge loading deck. It is a signature feature of the layout of this computer and I don’t understand why they did this other than they really wanted to emphasize that you needed to buy cartridges in order to get the benefits of the computer. Home users were not typists so it was acceptable to focus users on the use of cartridges that they would hopefully purchase to make the system profitable for Texas Instruments.
This does point out one of the flaws in the launch of the TI-99/4A. Texas Instruments kept it a closed environment as they wanted to be the sole provider of cartridges. They would learn as others in the industry (including Atari) that this was a losing strategy and the better route would be to build a thriving 3rd party industry of software providers.
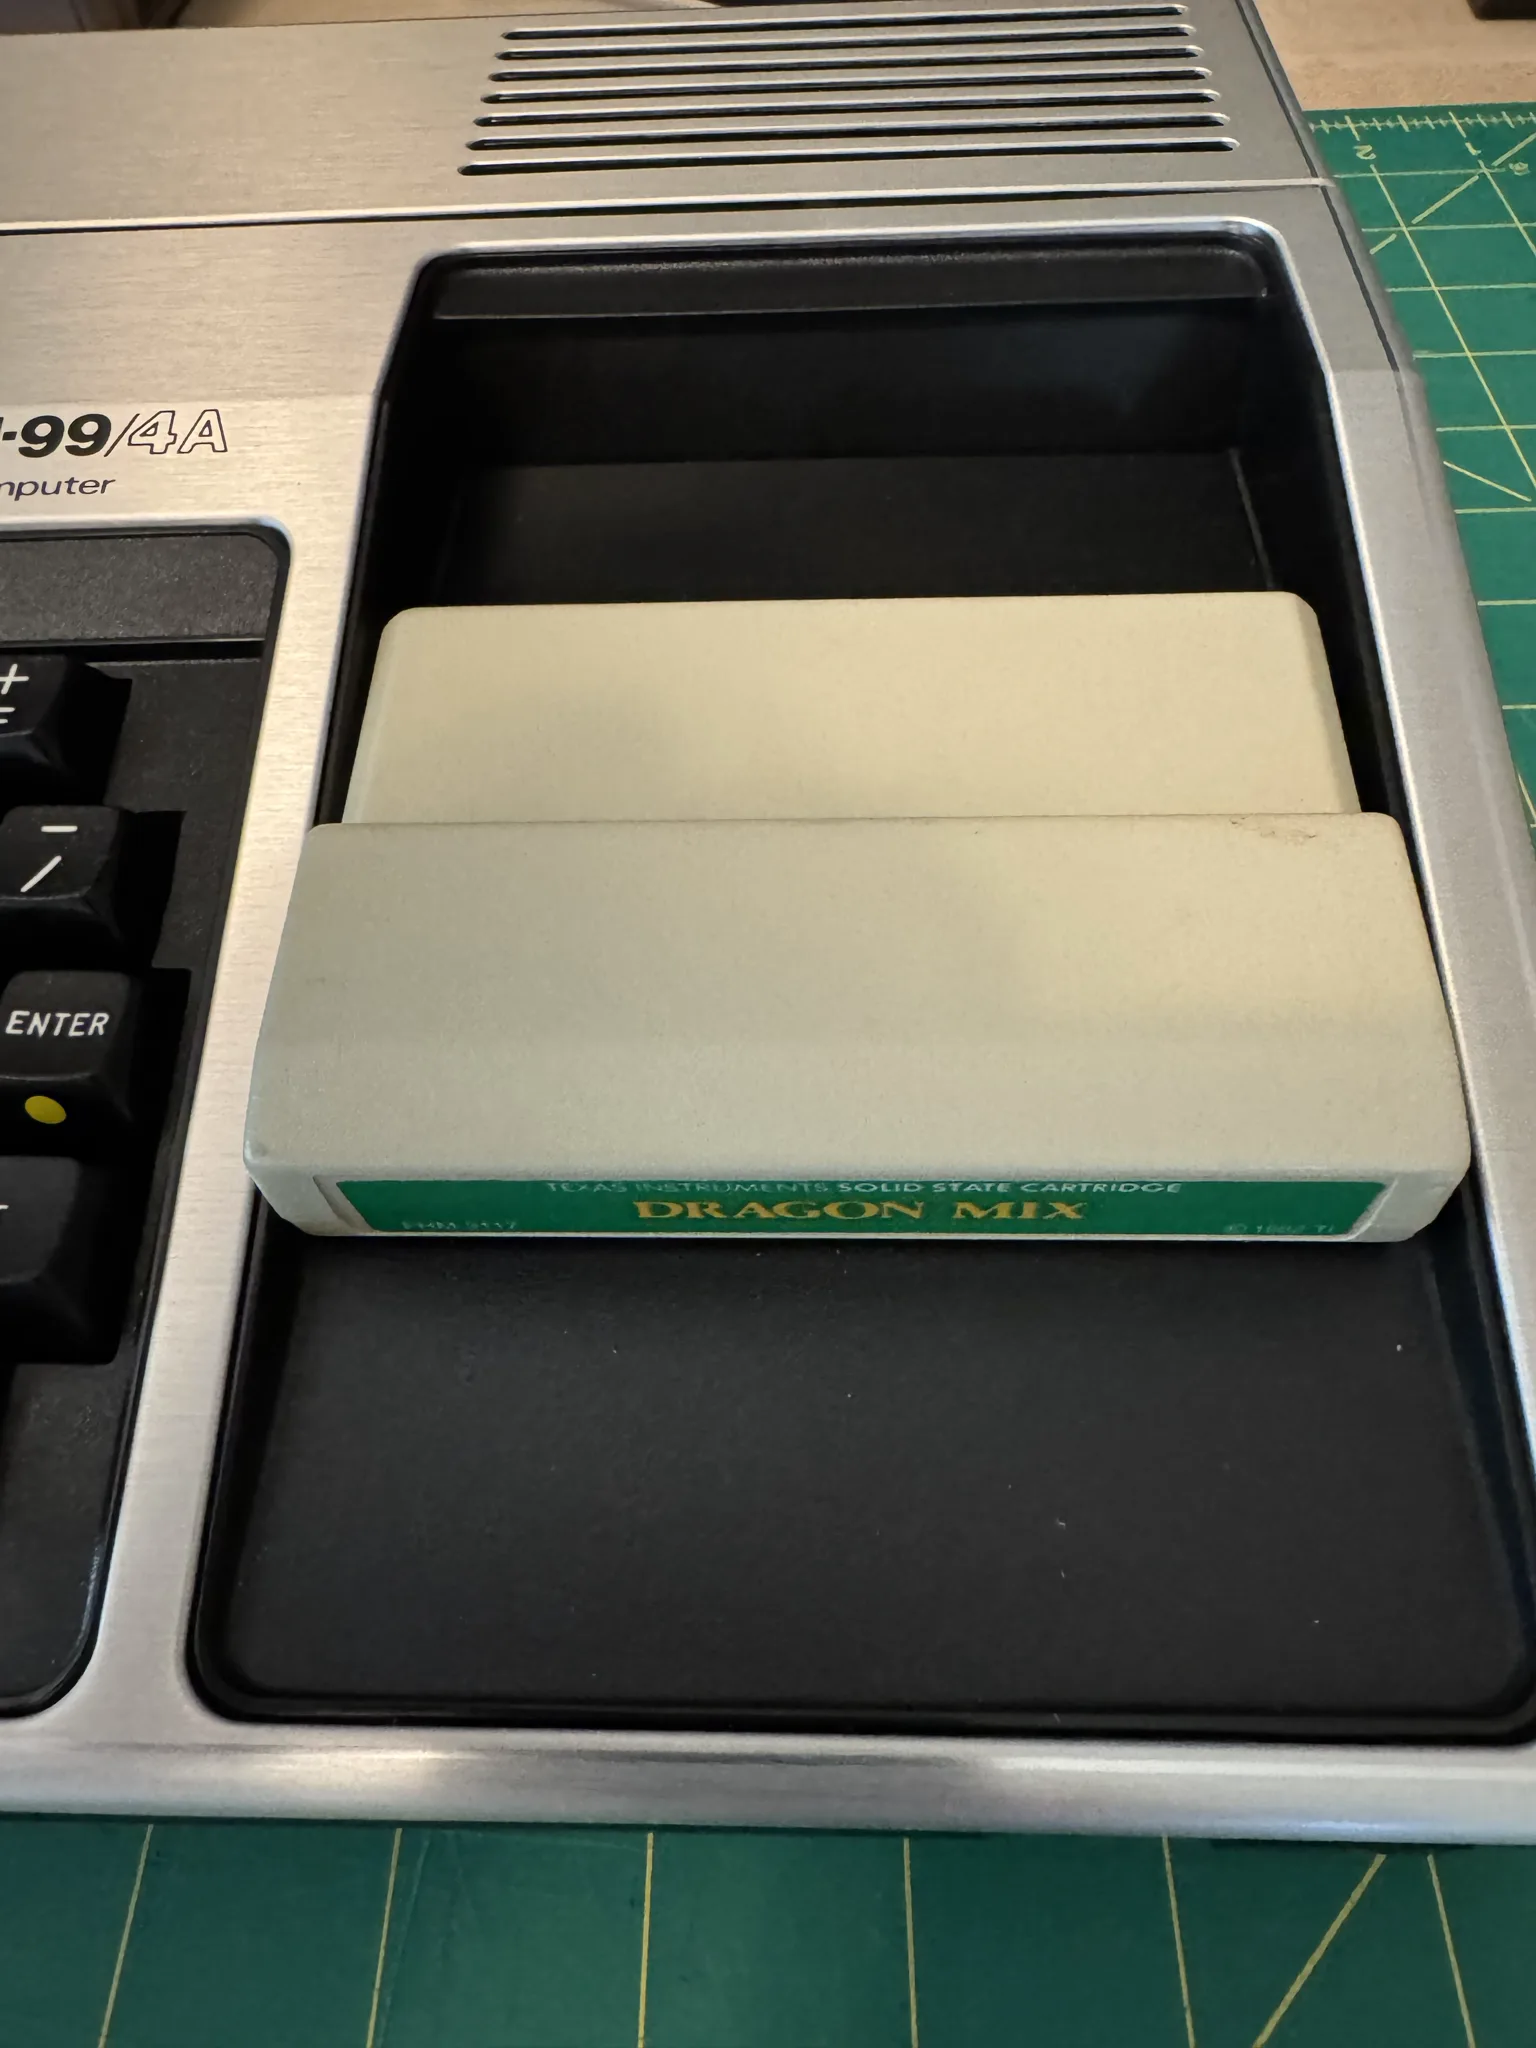
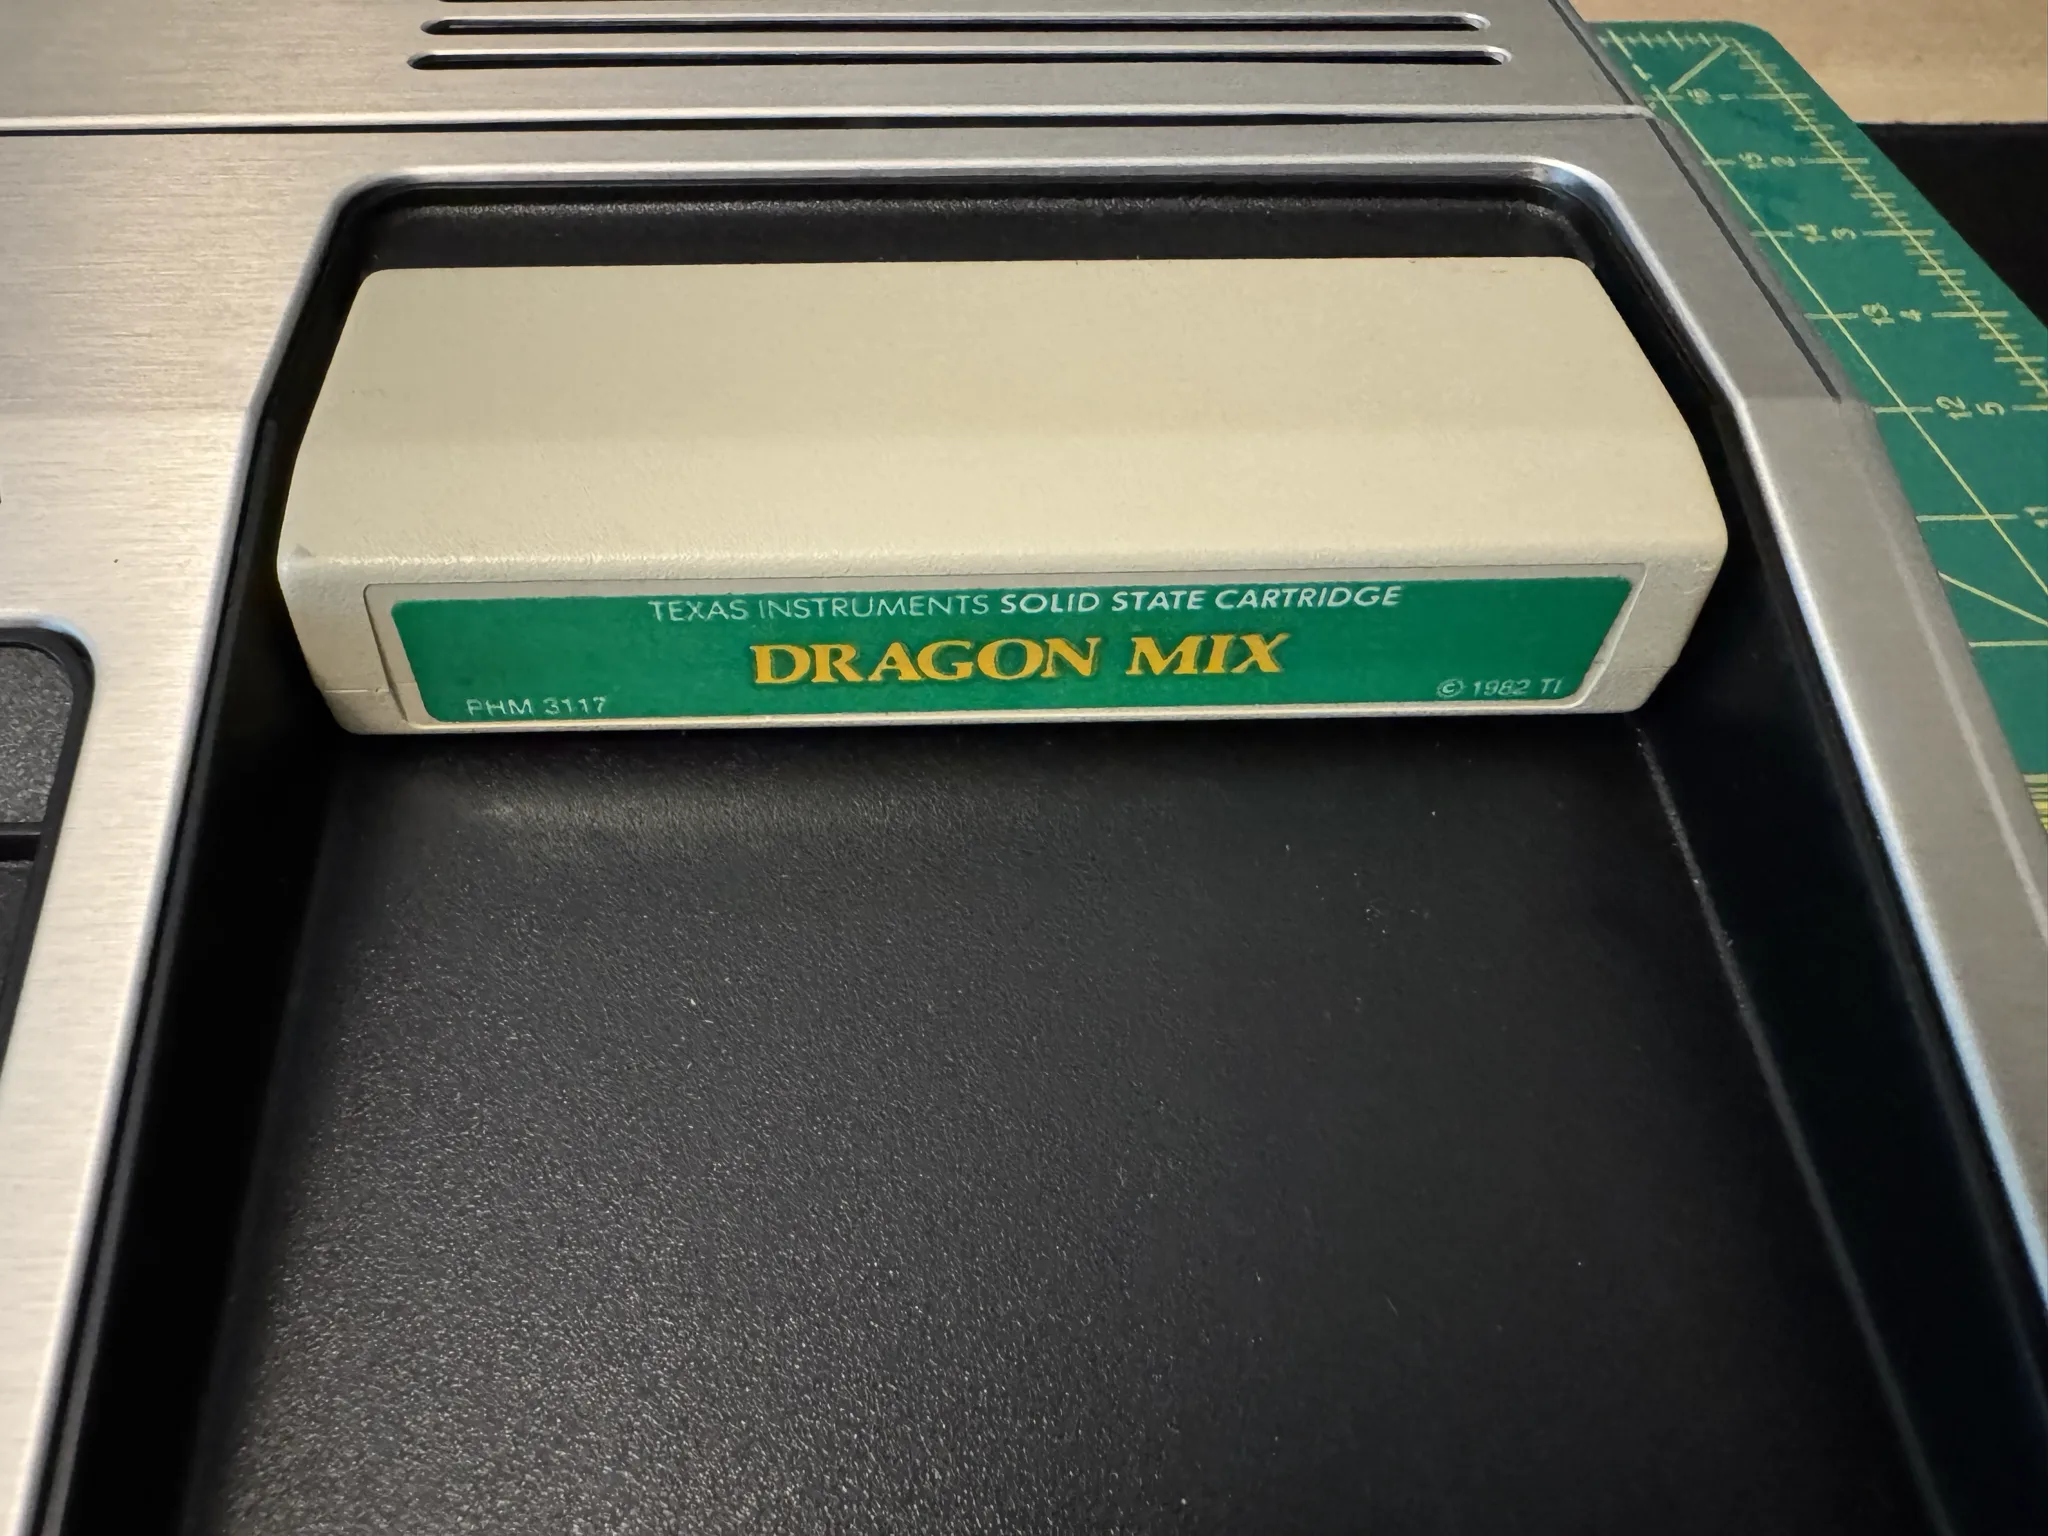
Here a cartridge went down the ramp and is inserted. It is a simple educational game as educational software was a big selling point.
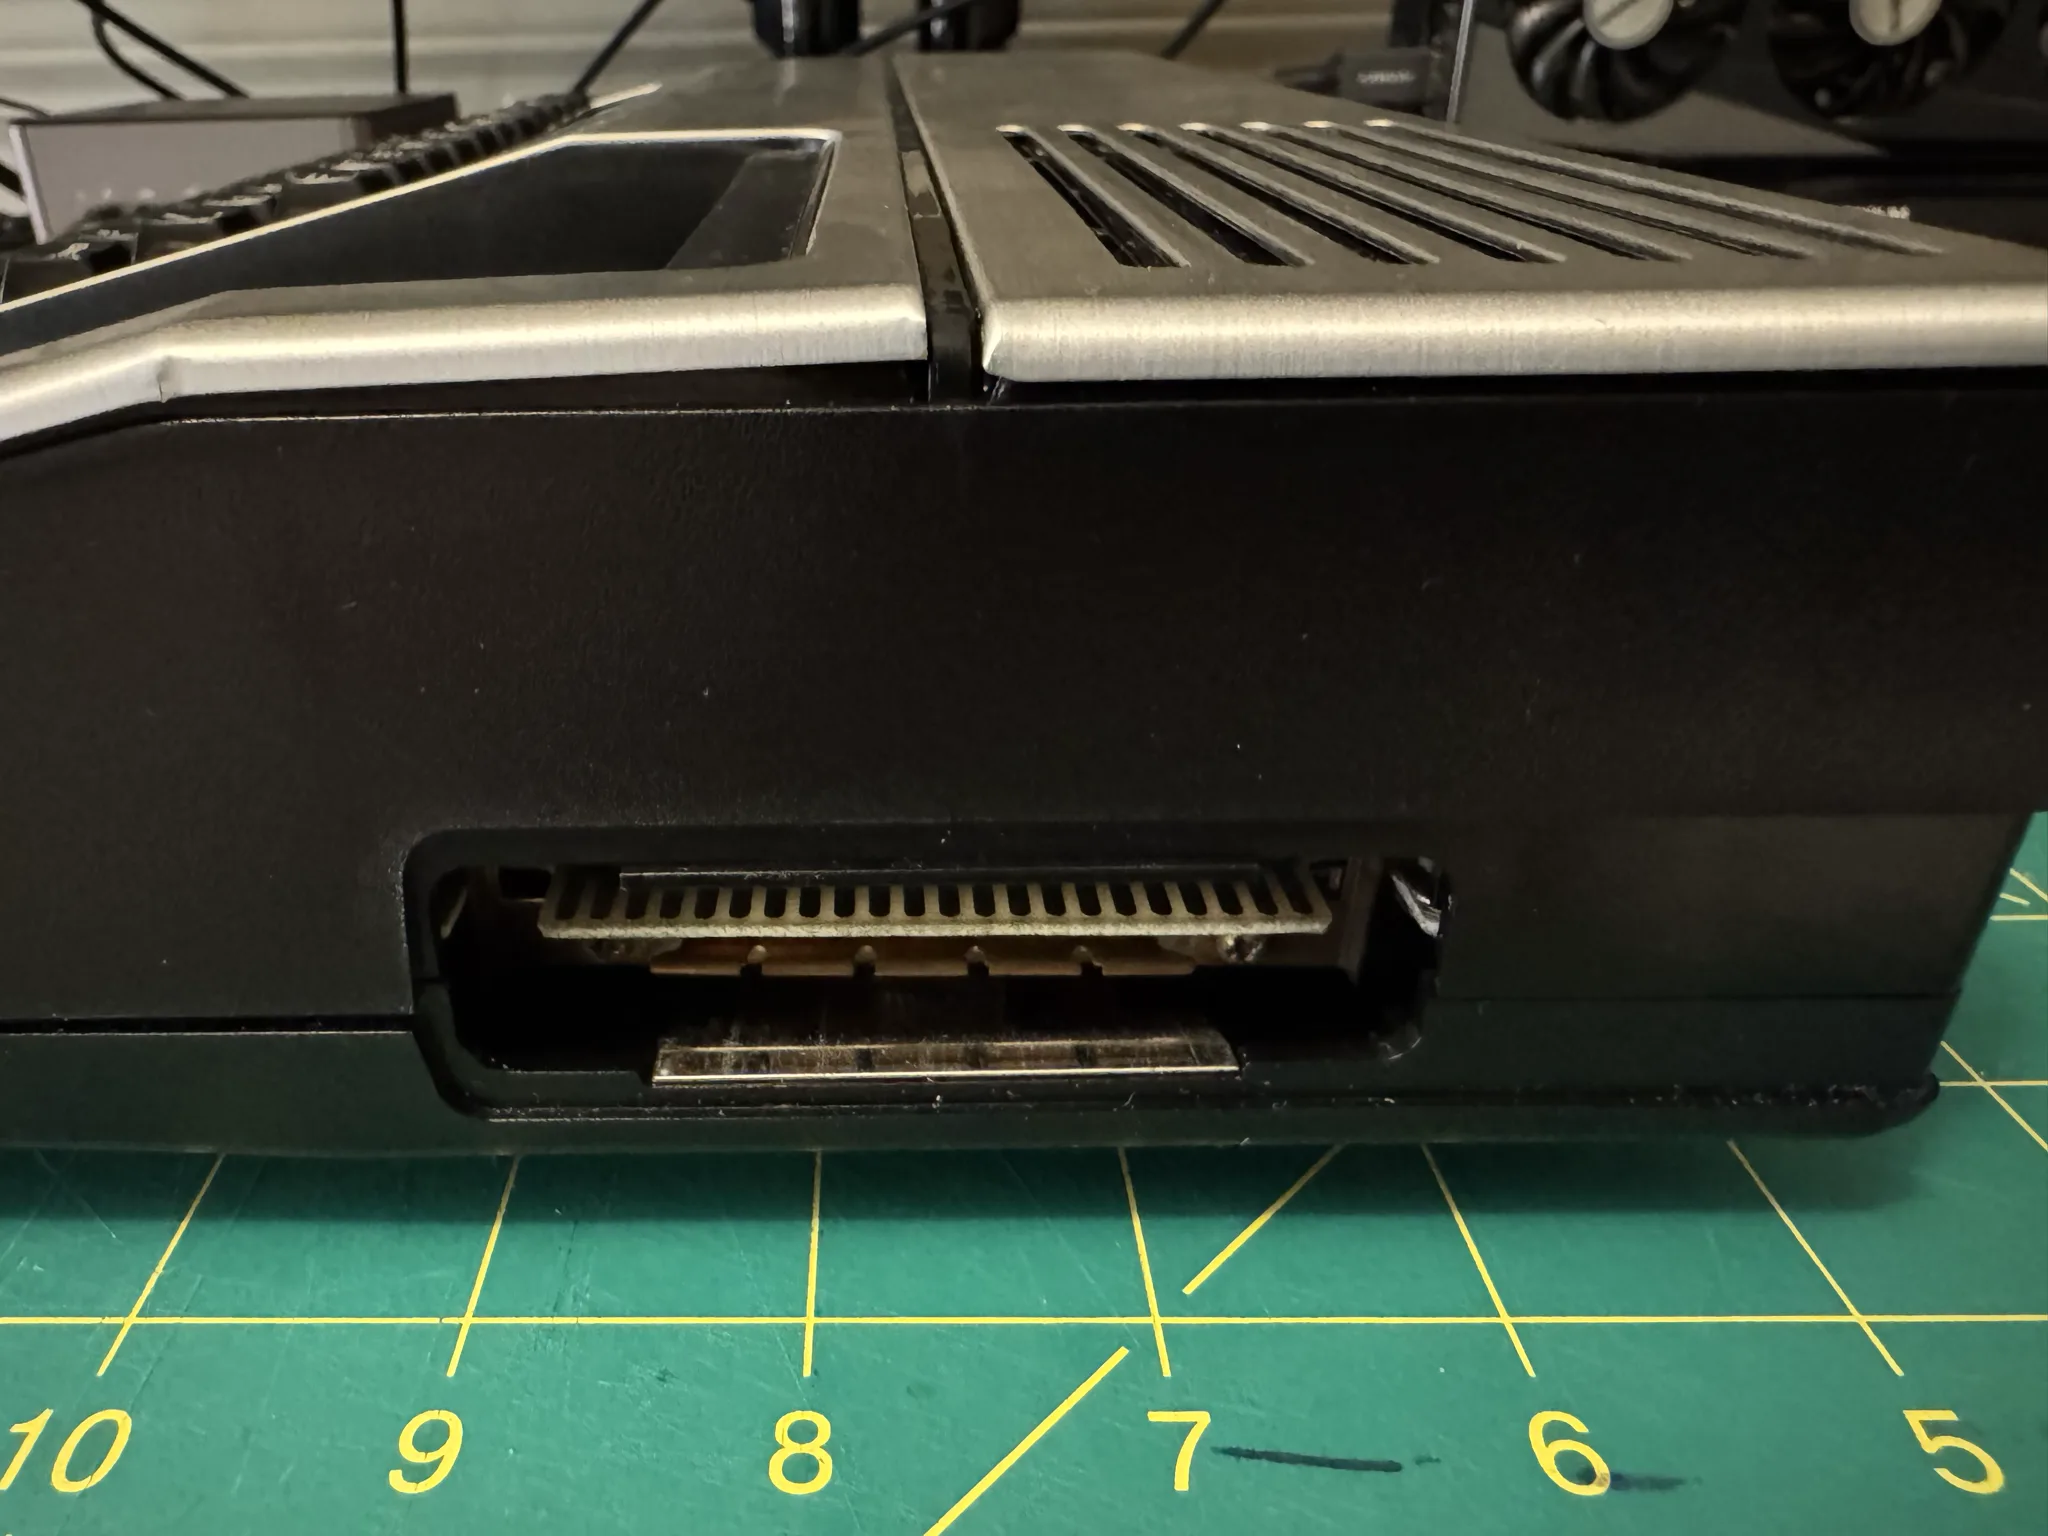
Along the right side is a side expansion slot with a sliding door covering it.
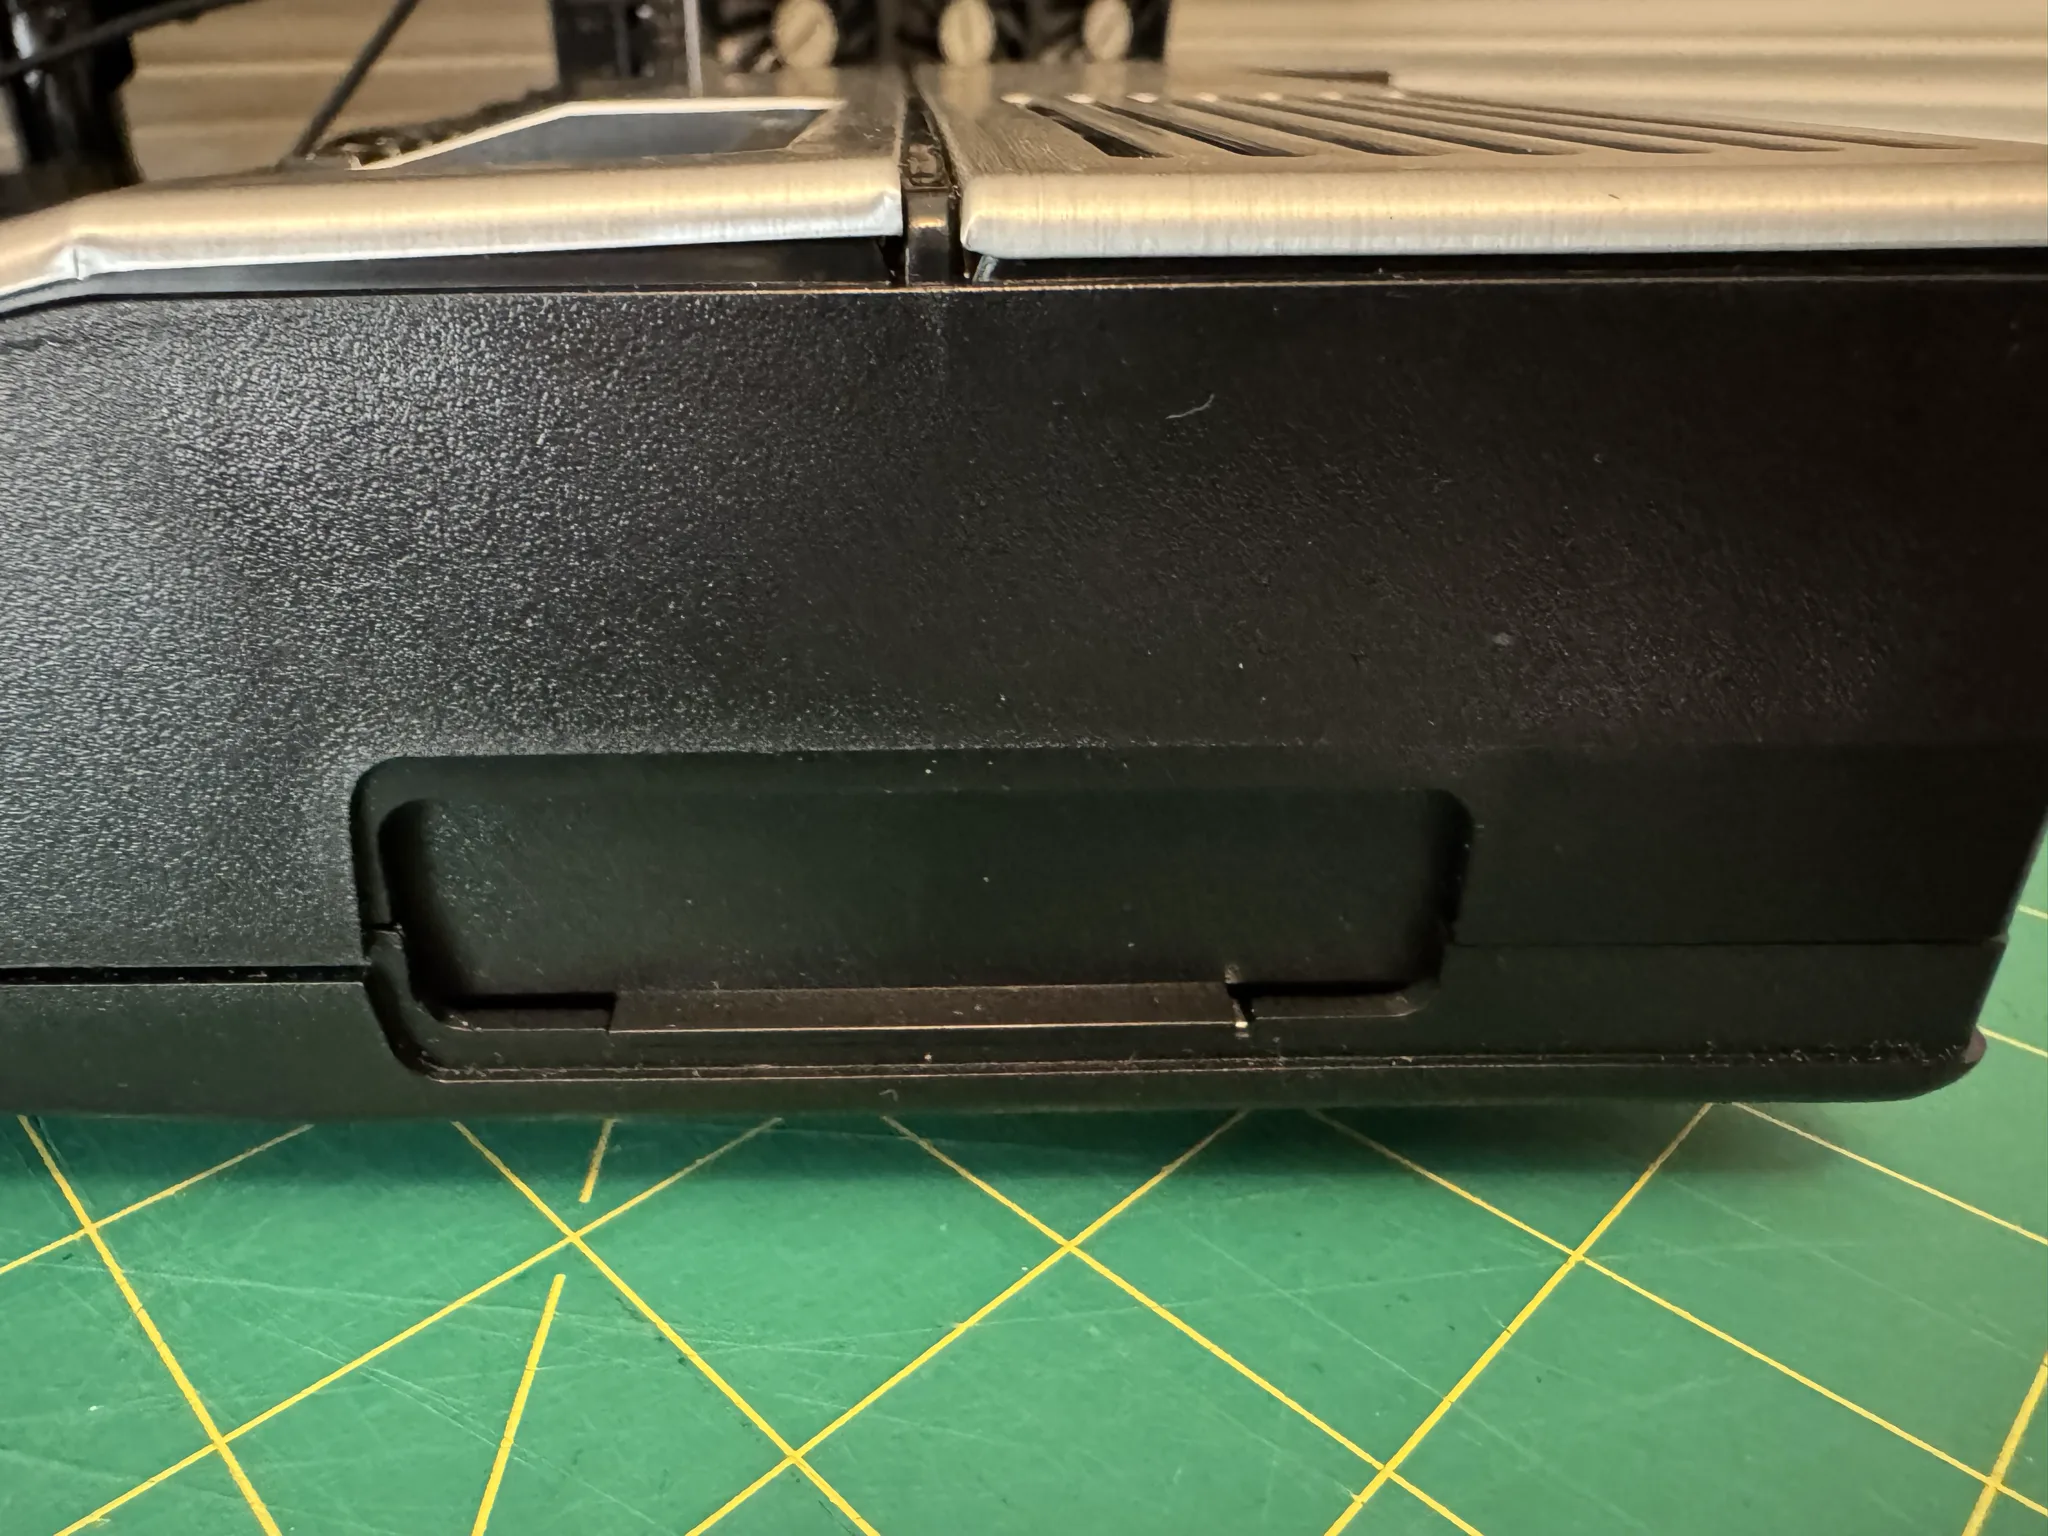
If you slide open the door, you can plug in peripherals here. The peripherals can be chained along side resulting in a very large desk footprint. Eventually a large external peripheral box could be purchased for a more practical desktop solution.
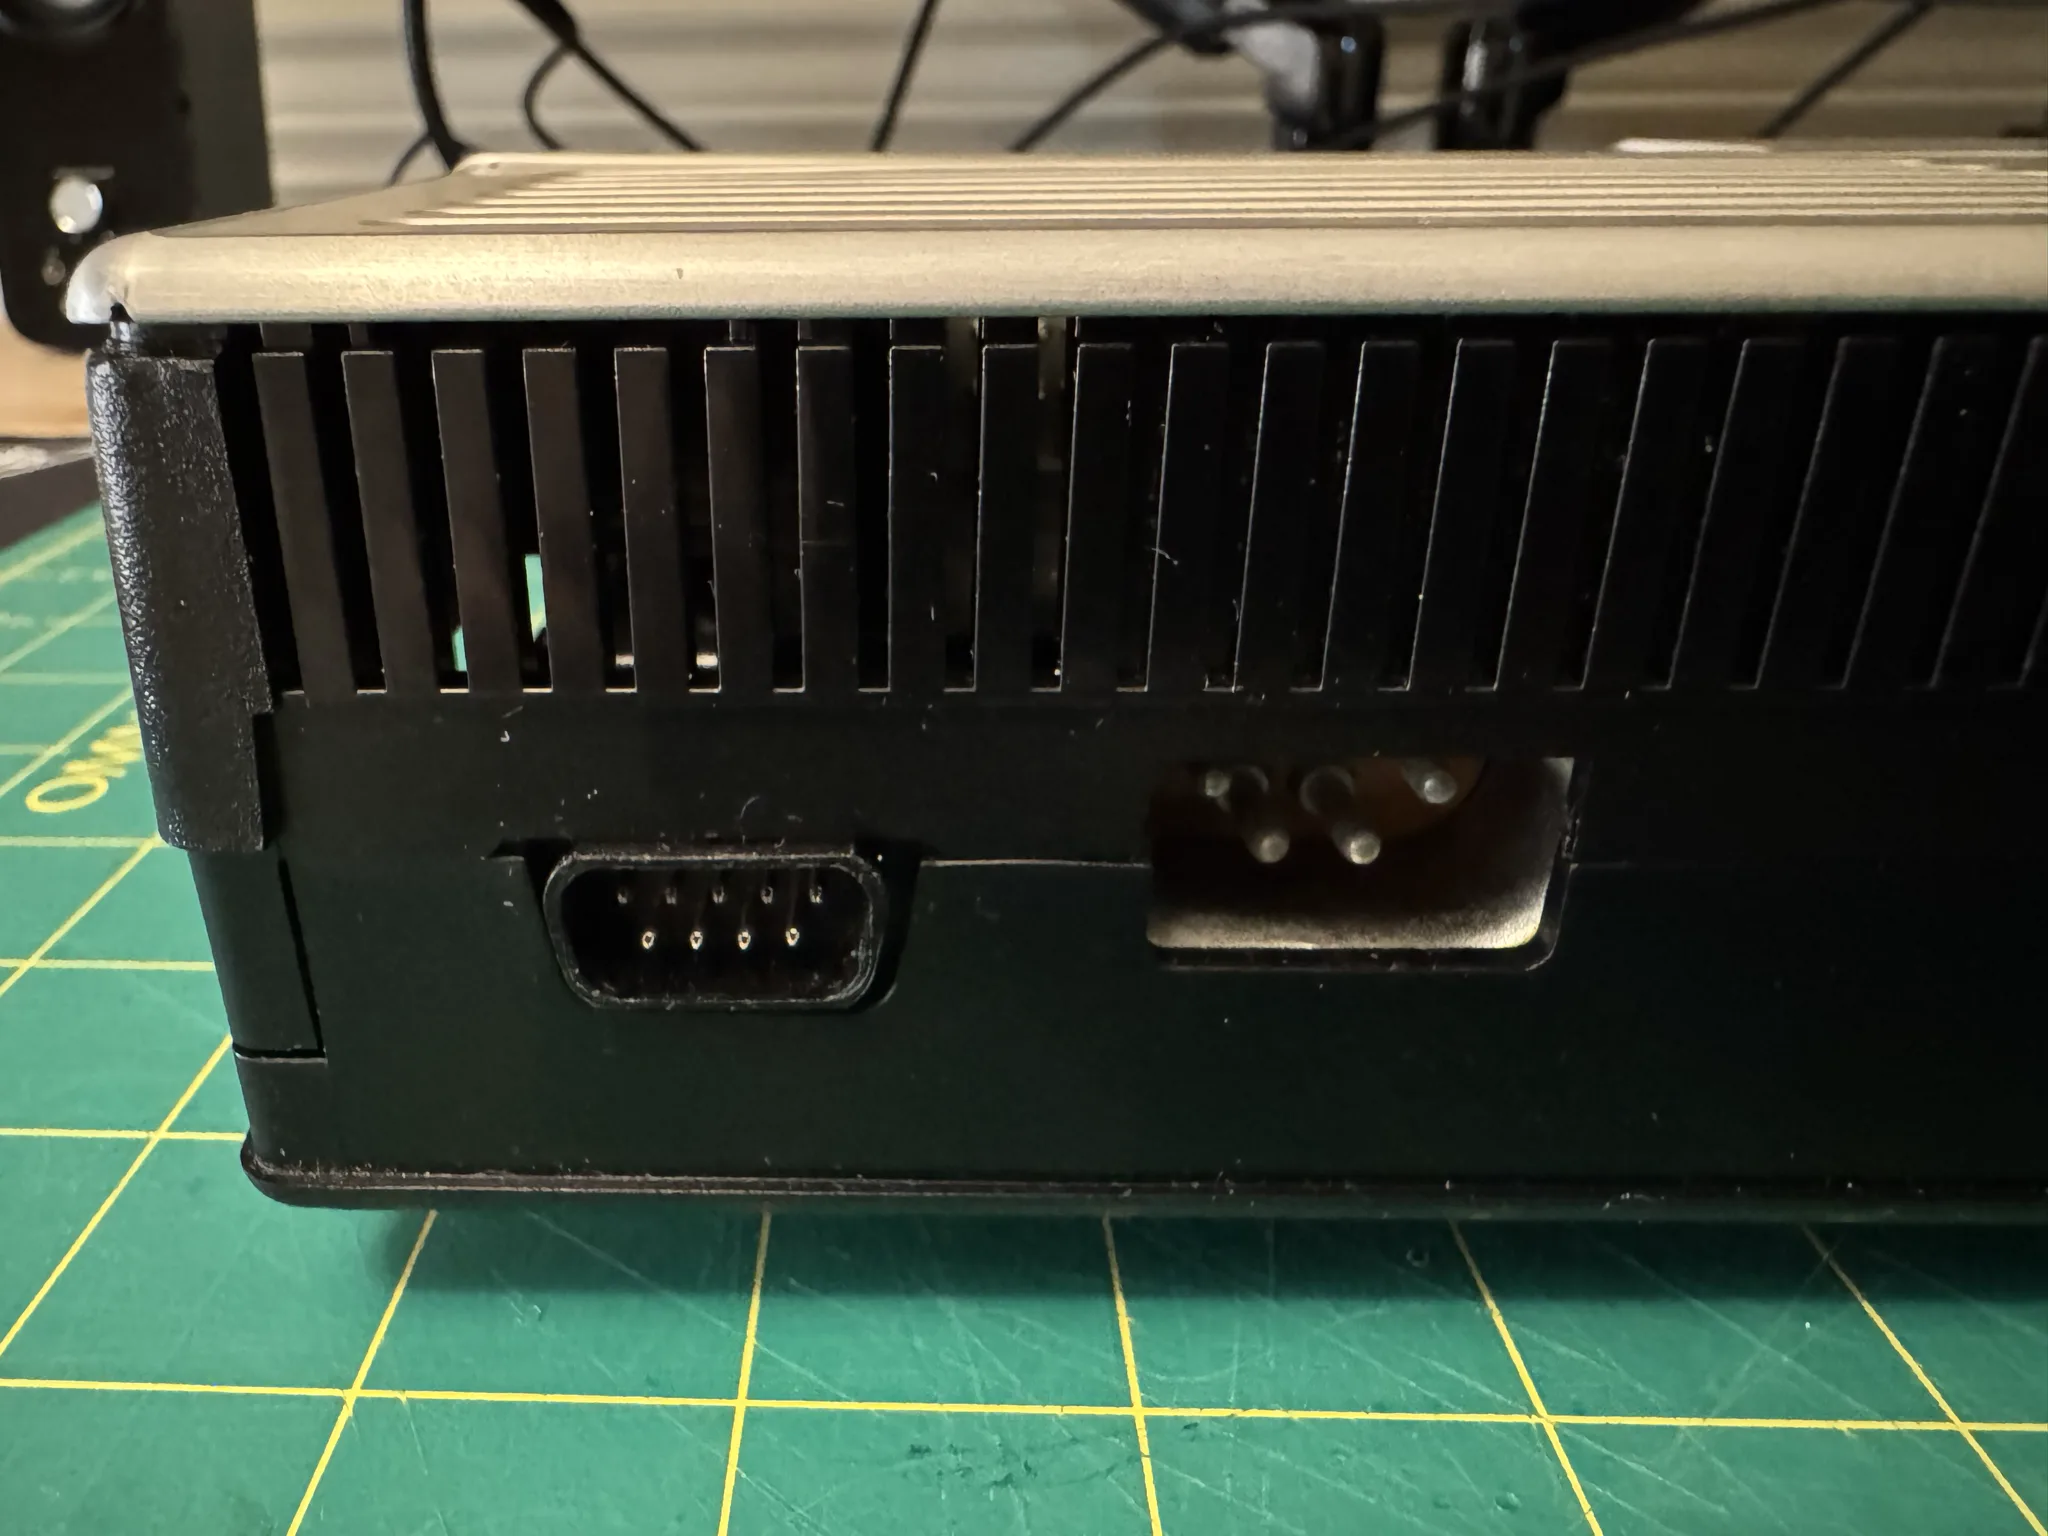
Along the right side back of the computer is a power adapter port with four pins and a nine pin joystick like connector that is actually for plugging in a cassete interface to load and save programs.
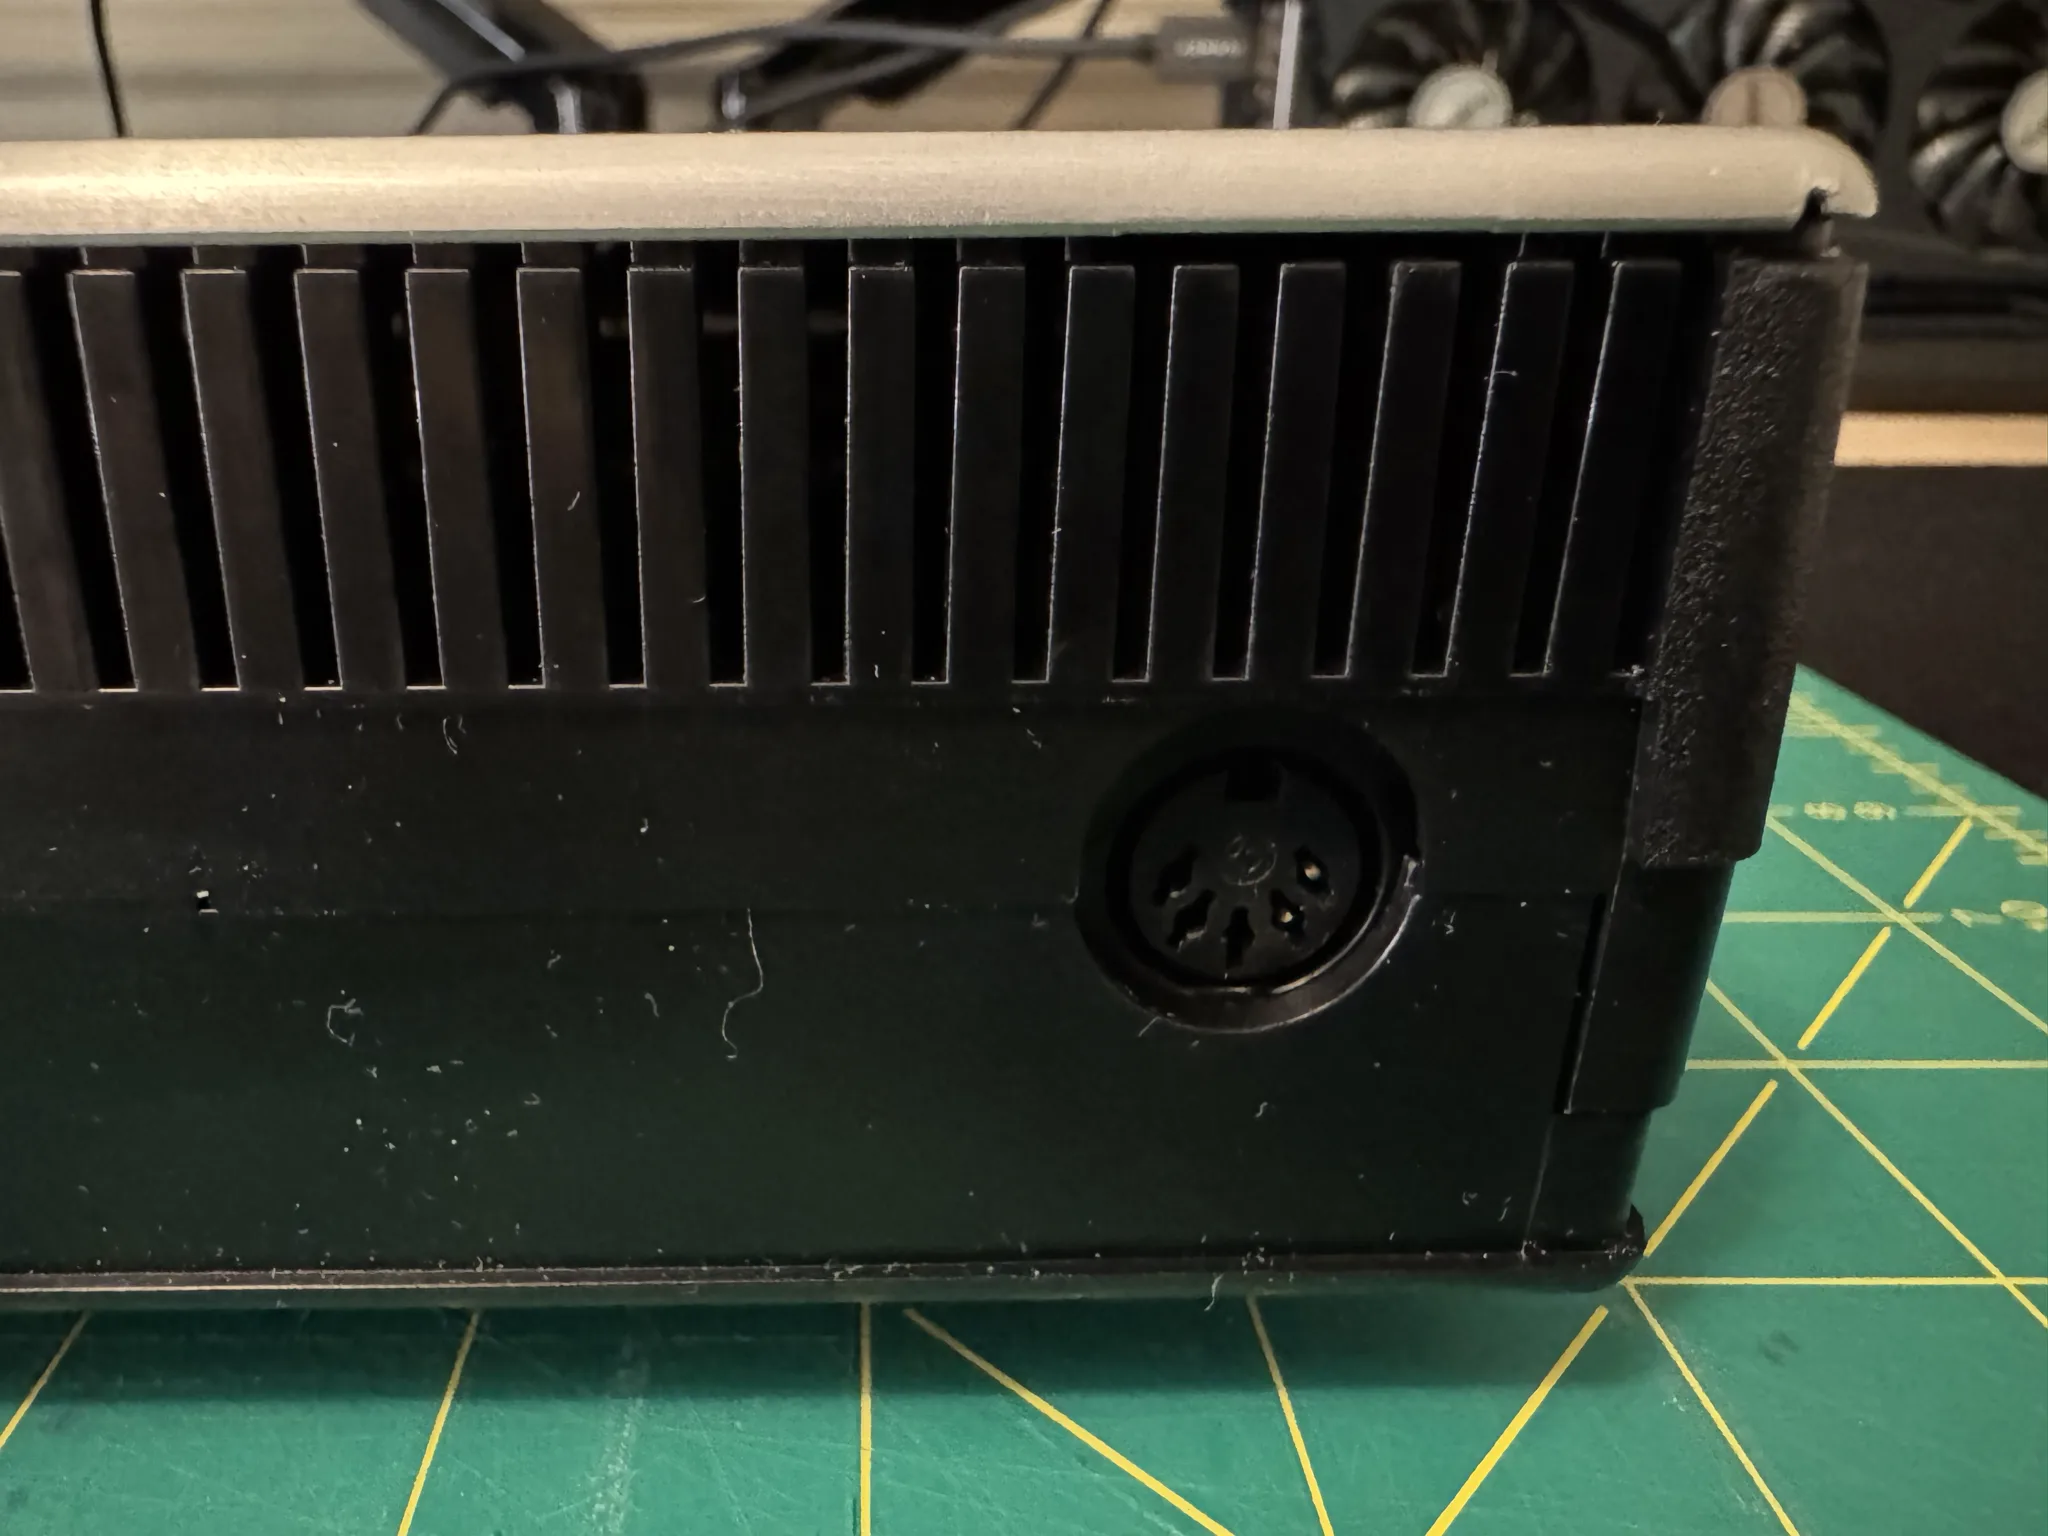
Along the left side back of the computer is a 5 pin DIN connector used to connect a monitor. My understanding is that this is compatible with a Commodore monitor cable though I haven’t gotten it to work yet.
The left side of the computer has a nine pin port for joysticks, however, these are not compatible with the standard Atari joysticks, so users would need to buy an adaptor as TI joysticks were inferior in quality.
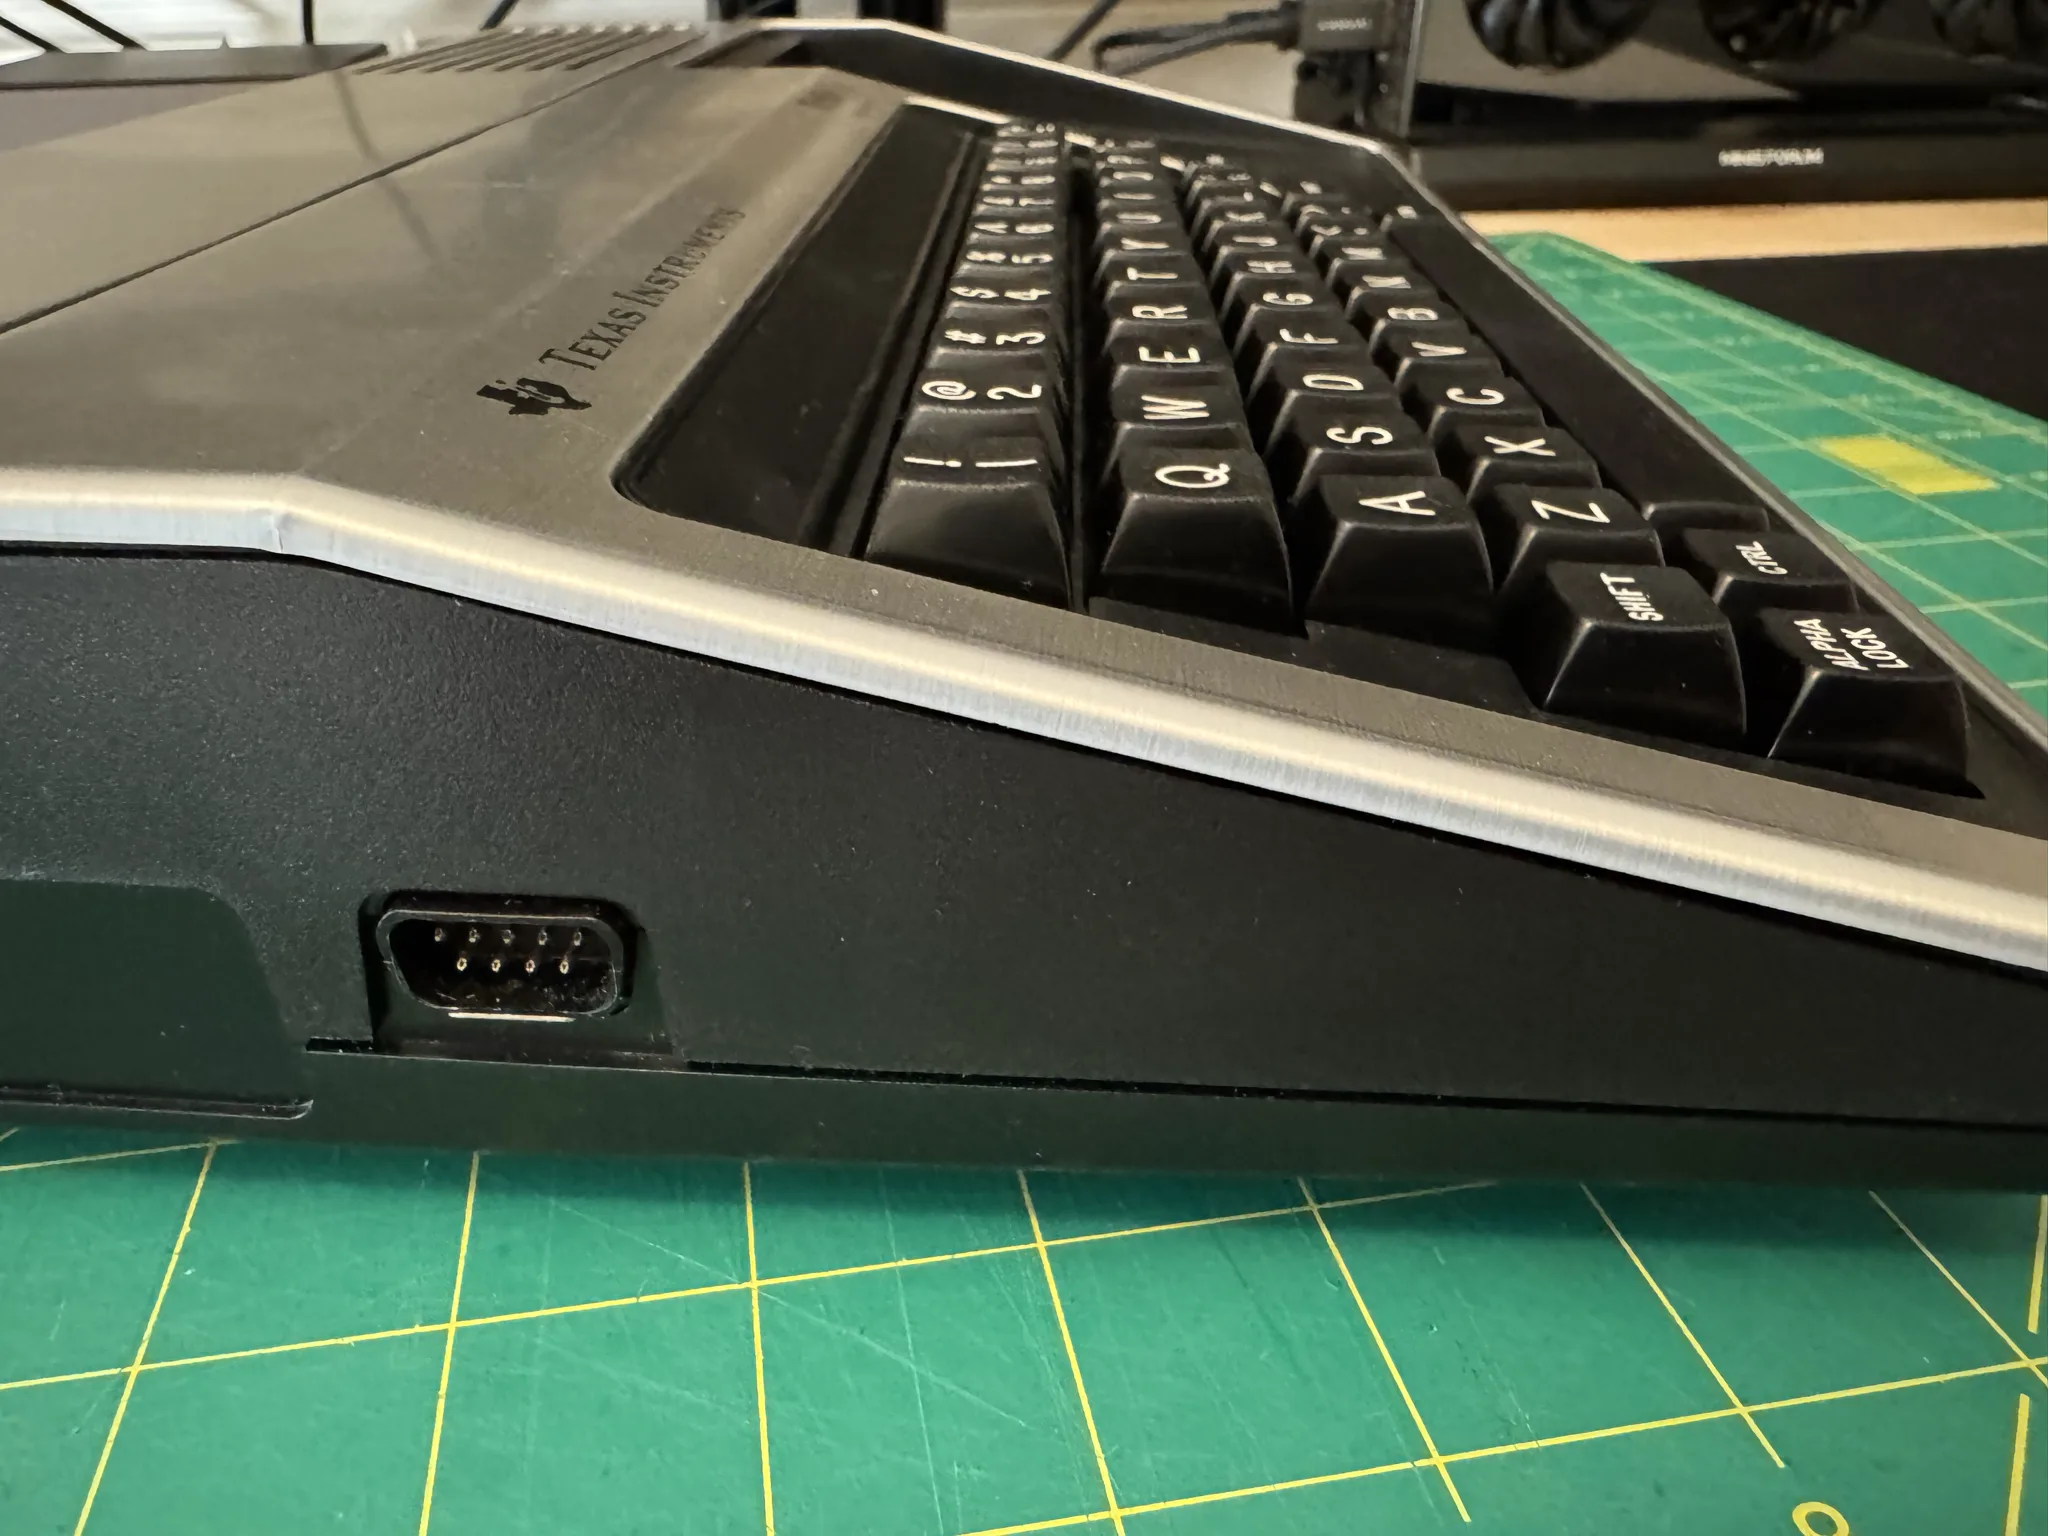
The red dot on the Ctrl key signals that it can be used in combination with other keys (top row) for various software functions.
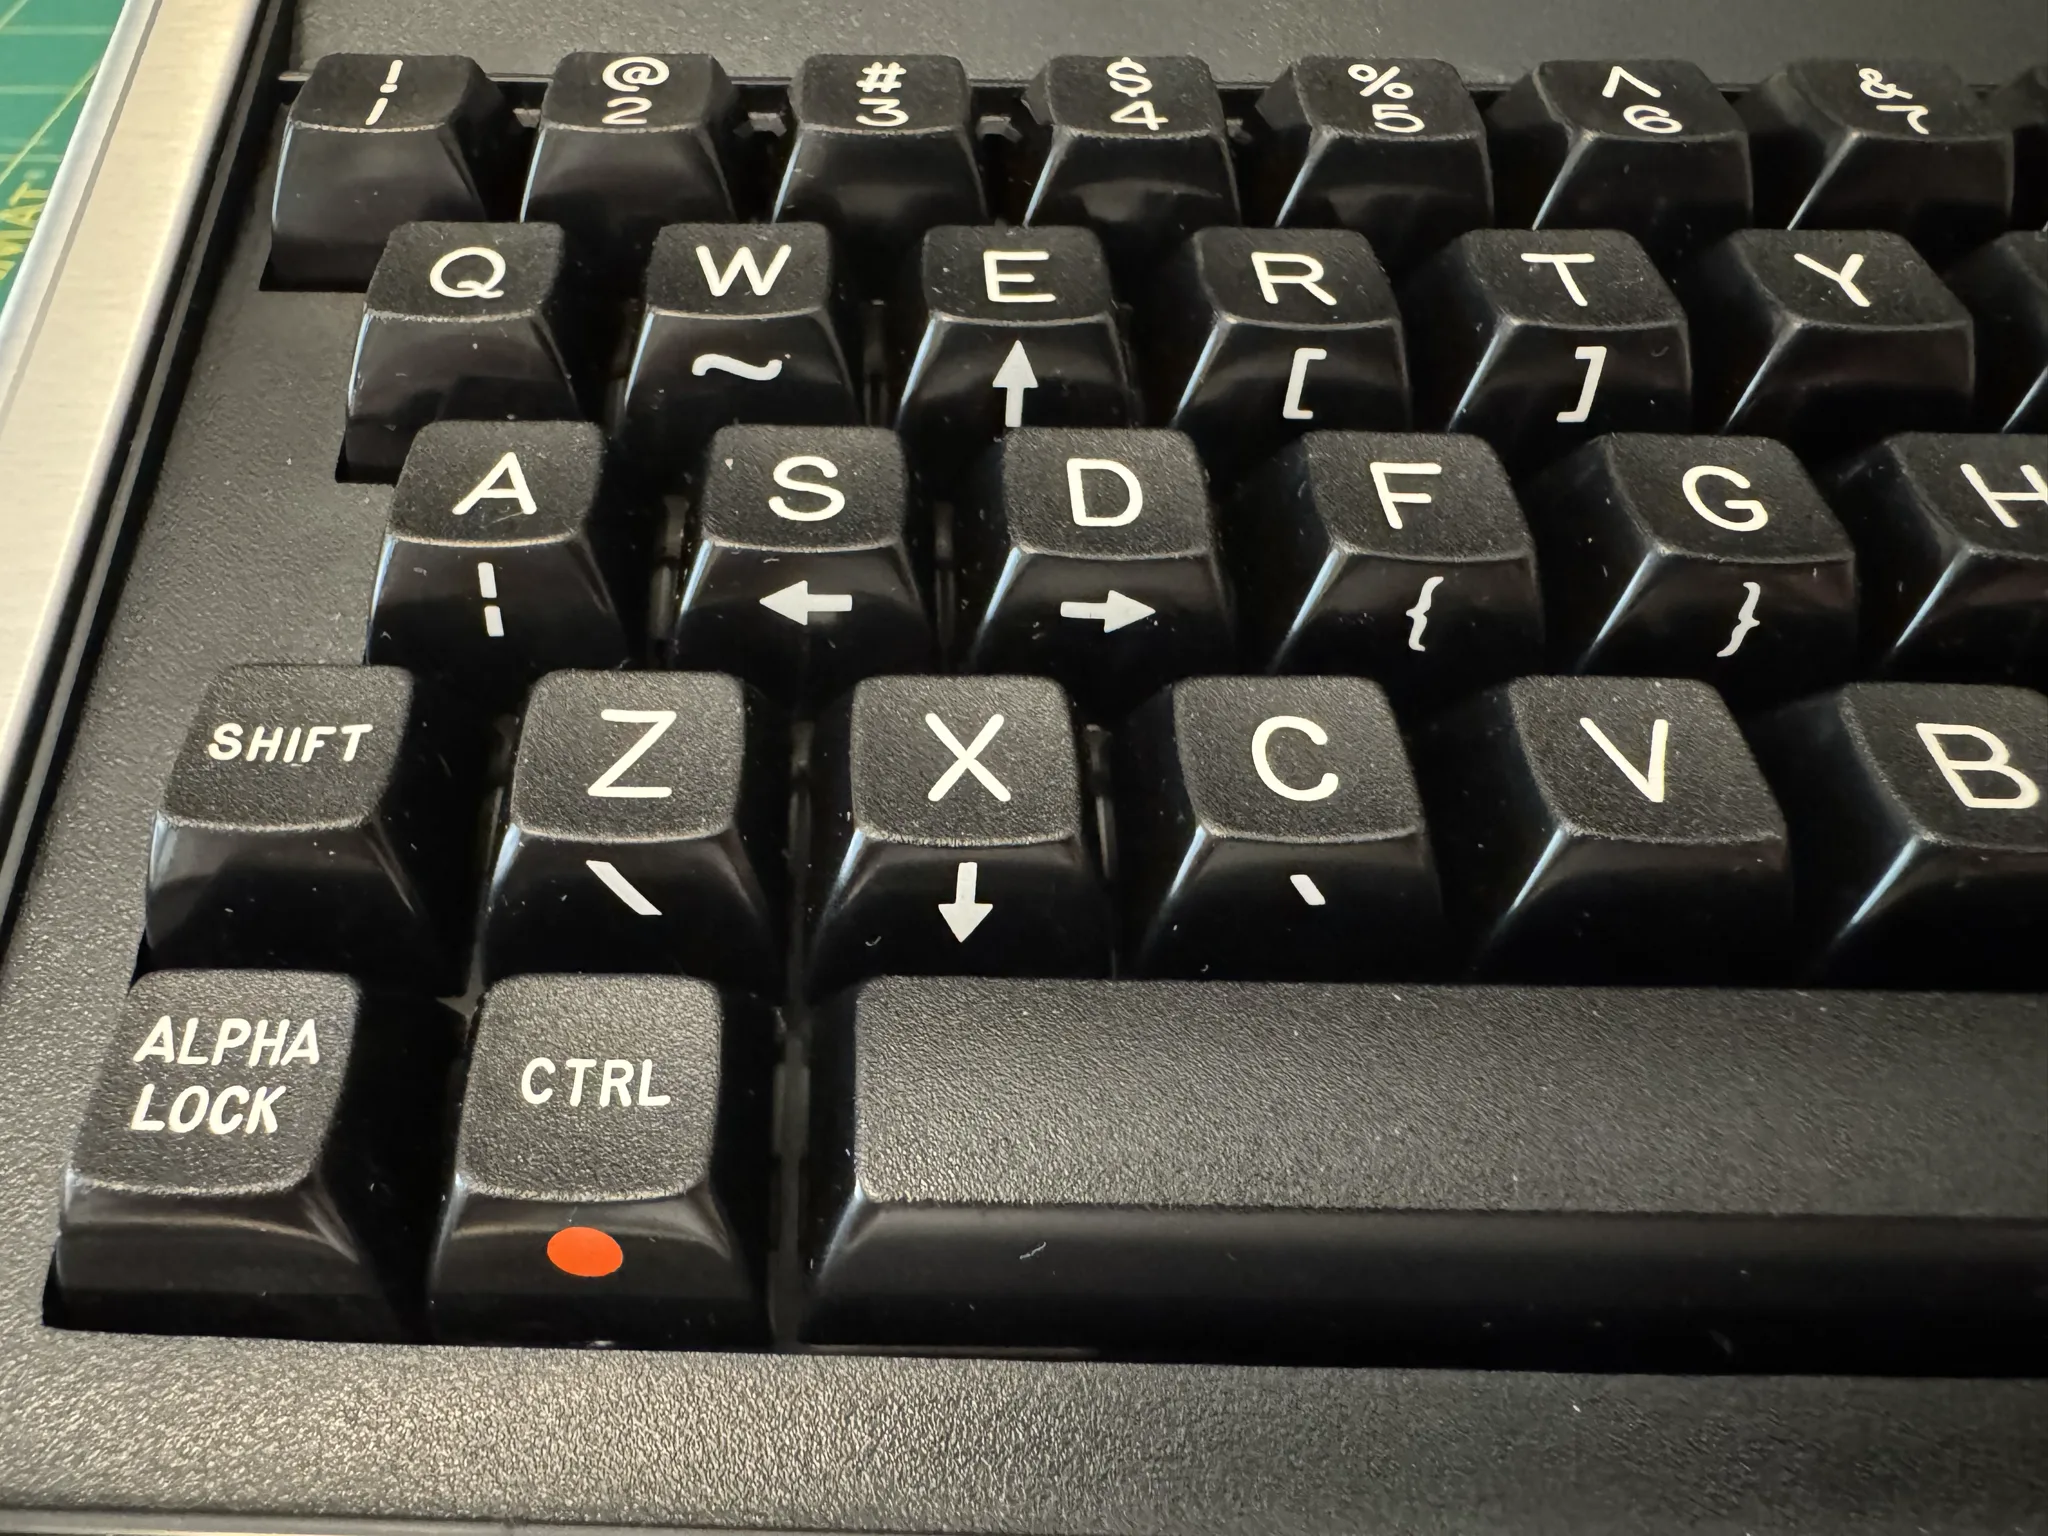
Likewise, the white dot on the FCTN (function) button signals it can be used in combination with other keys (including top row) for various software functions. You would also use the FCTN button to trigger actions identified on the left side keyboard keys such as the cursor movement.
To enter a quote (“), you press FCTN and the P button, which is awkward really as they are both on the right side of the keyboard.
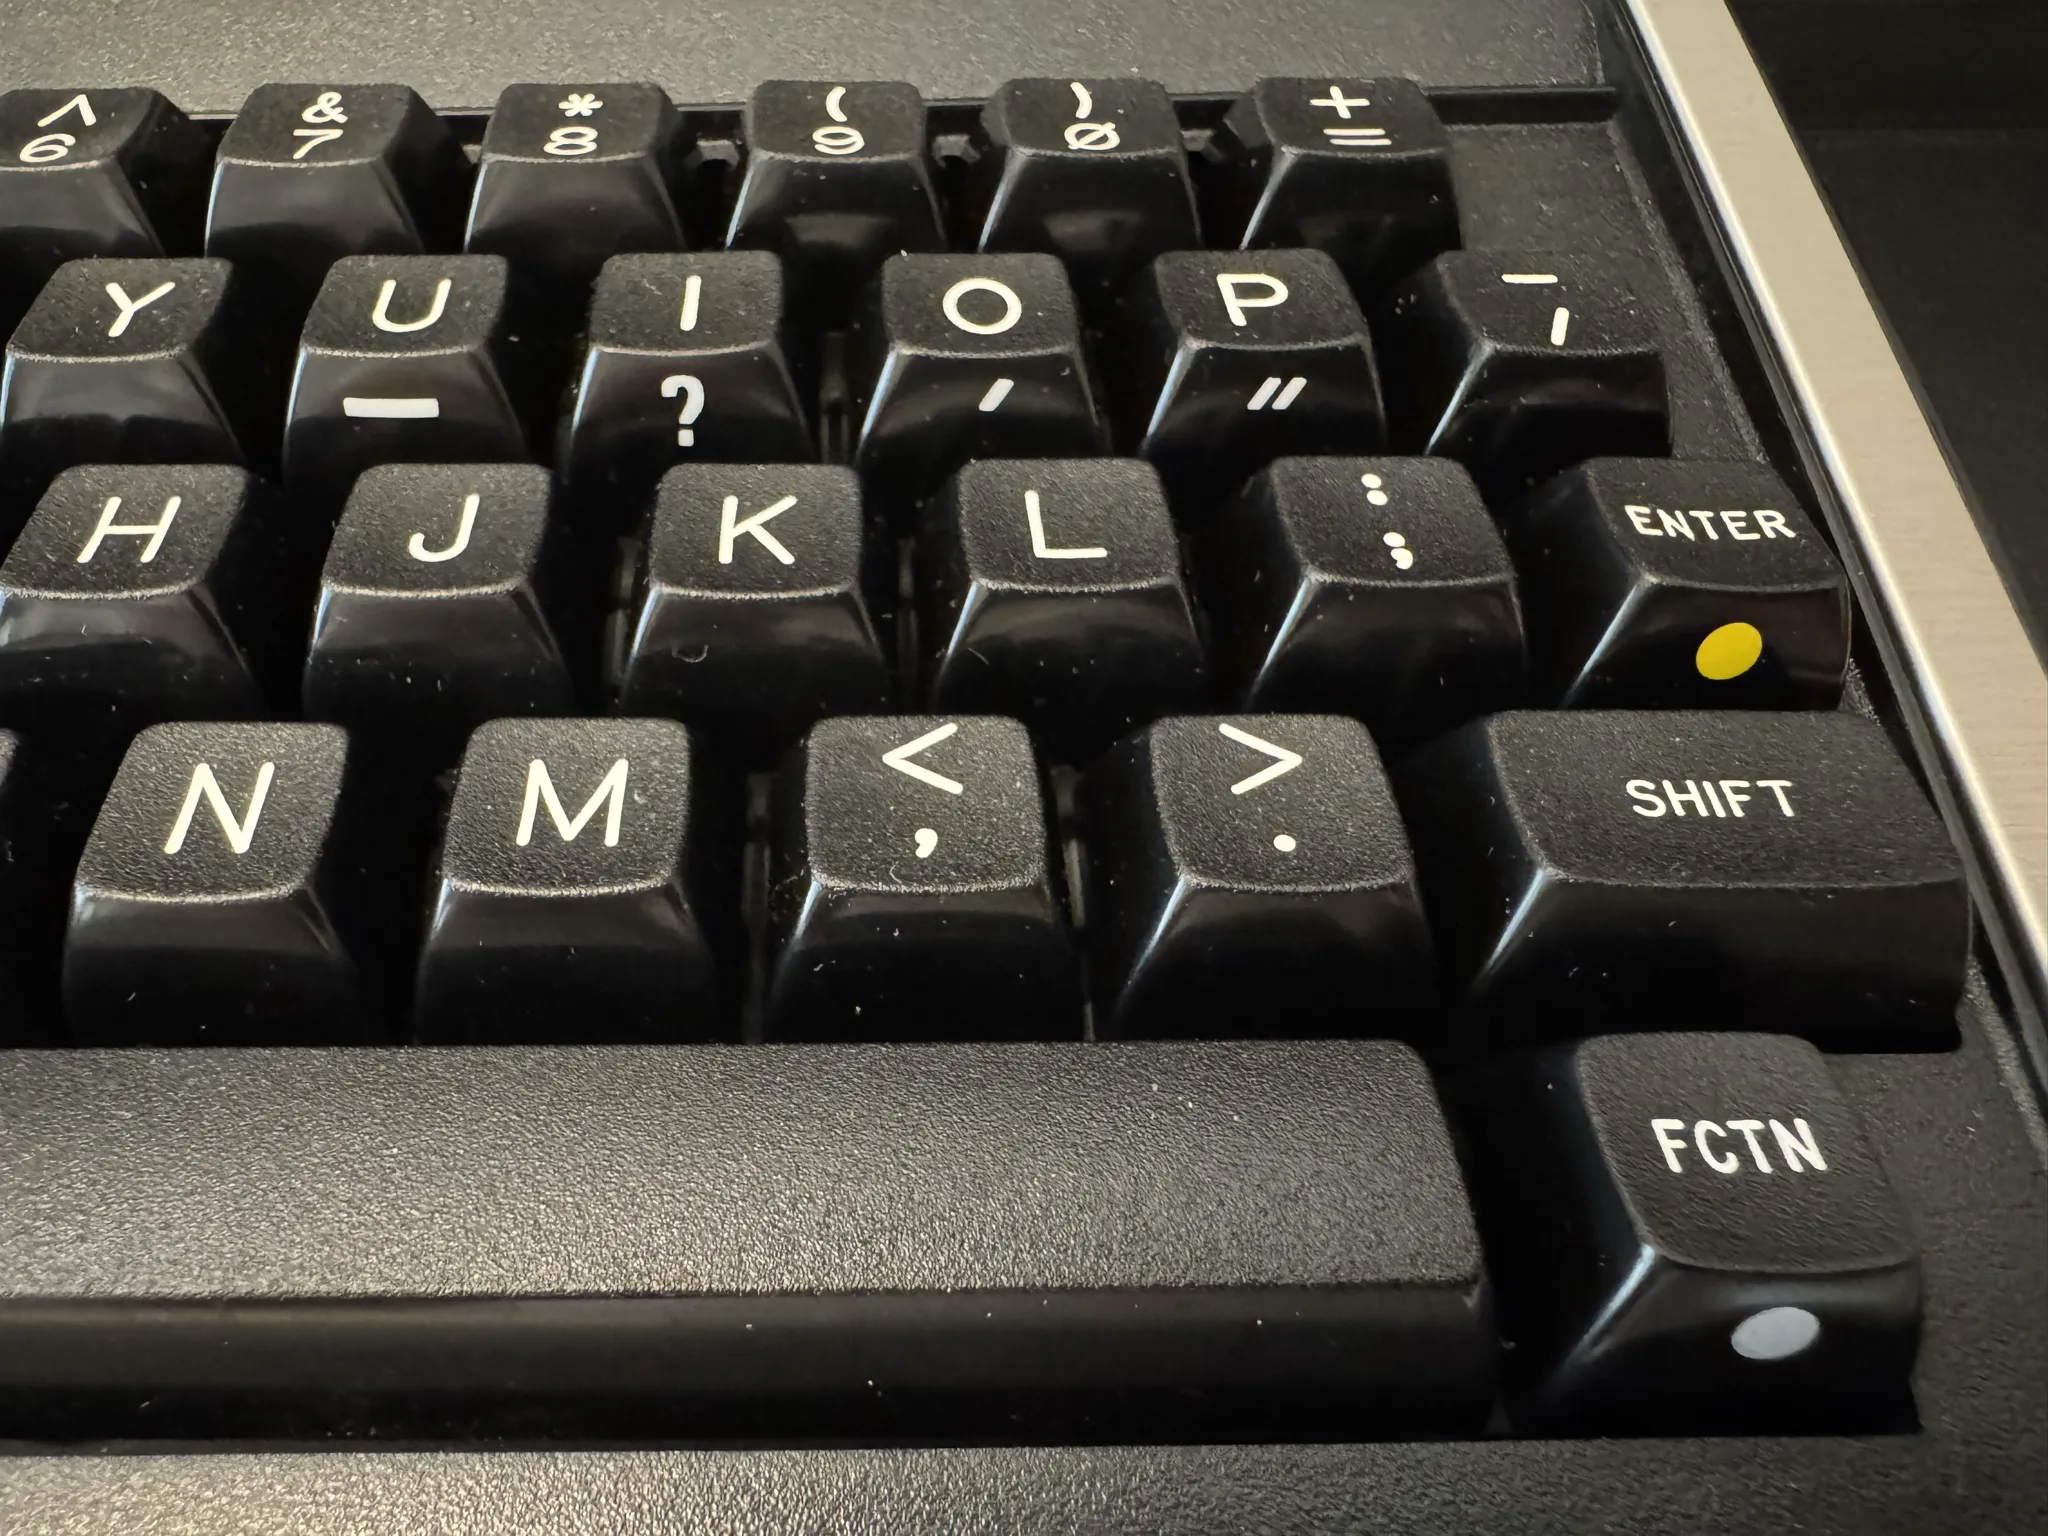
Here is a useful cheat sheet generated by Copilot.
TI-99/4A Keyboard Cheat Sheet
Cursor Movement
- FCTN + I — Cursor Up
- FCTN + J — Cursor Left
- FCTN + K — Cursor Right
- FCTN + M — Cursor Down
Editing Keys
- FCTN + S — DEL (Delete / Backspace equivalent)
- FCTN + D — INS (Insert space at cursor)
- FCTN + E — ERASE (Clear line)
- FCTN + W — CLEAR (Clear screen)
Mode & Navigation Keys
- FCTN + 6 — REDO (Repeat last command)
- FCTN + 8 — BACK (Return to previous menu)
- FCTN + 9 — BEGIN (Return to main menu)
- FCTN + . — QUIT (Exit current program or mode)
Program Control
- FCTN + 4 — BREAK (Interrupt BASIC program)
- FCTN + = — PAUSE (Pause execution)
- FCTN + 2 — HOLD (Freeze screen)
Special Characters
- SHIFT + number keys — Punctuation (e.g., SHIFT + 1 = !)
- CTRL — Some graphics characters (Extended BASIC or software-dependent)
Joystick/Game Keys
- FCTN + 1 — FIRE
- FCTN + 2 — UP
- FCTN + 3 — DOWN
- FCTN + 4 — LEFT
- FCTN + 5 — RIGHT
File & I/O Keys
- FCTN + 7 — AID (Help screen in some software)
- FCTN + 0 — DELETE FILE (Used in TI Writer and similar applications)
Miscellaneous
- FCTN + SPACE — TAB
- FCTN + ENTER — RETURN (Some software distinguishes from regular Enter)
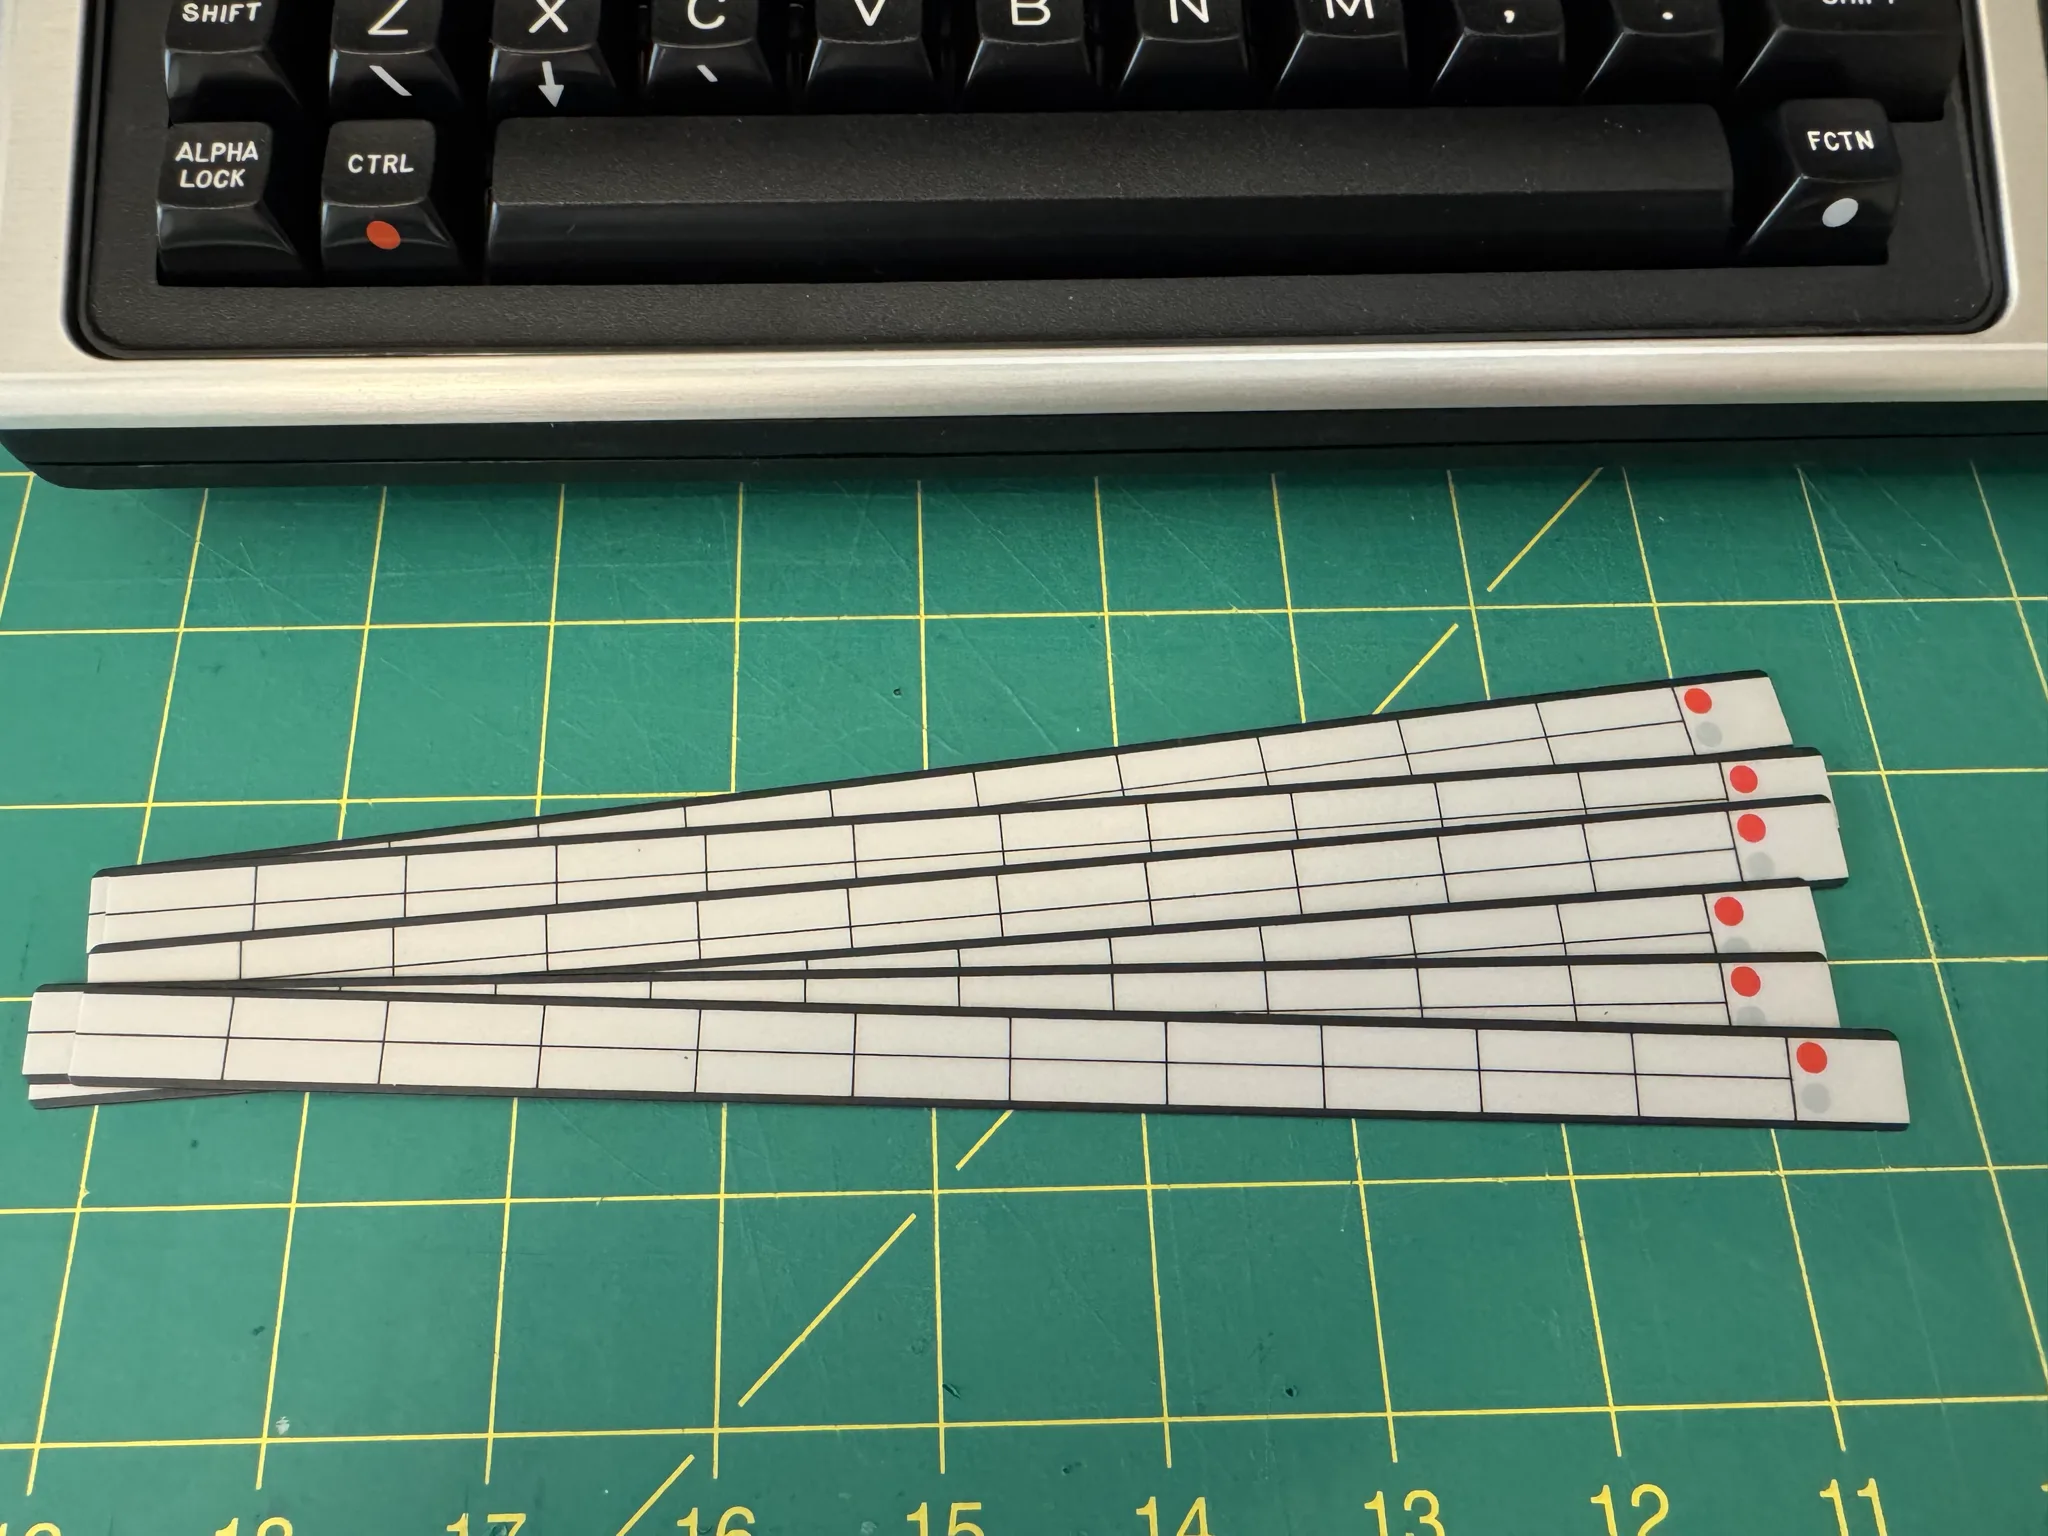
Another very unique approach for the TI-99/4A is the use of a small tray to hold a Ctrl and FCTN key guides for the first row of keys. One is provided with shortcuts to use in the TI BASIC program language.
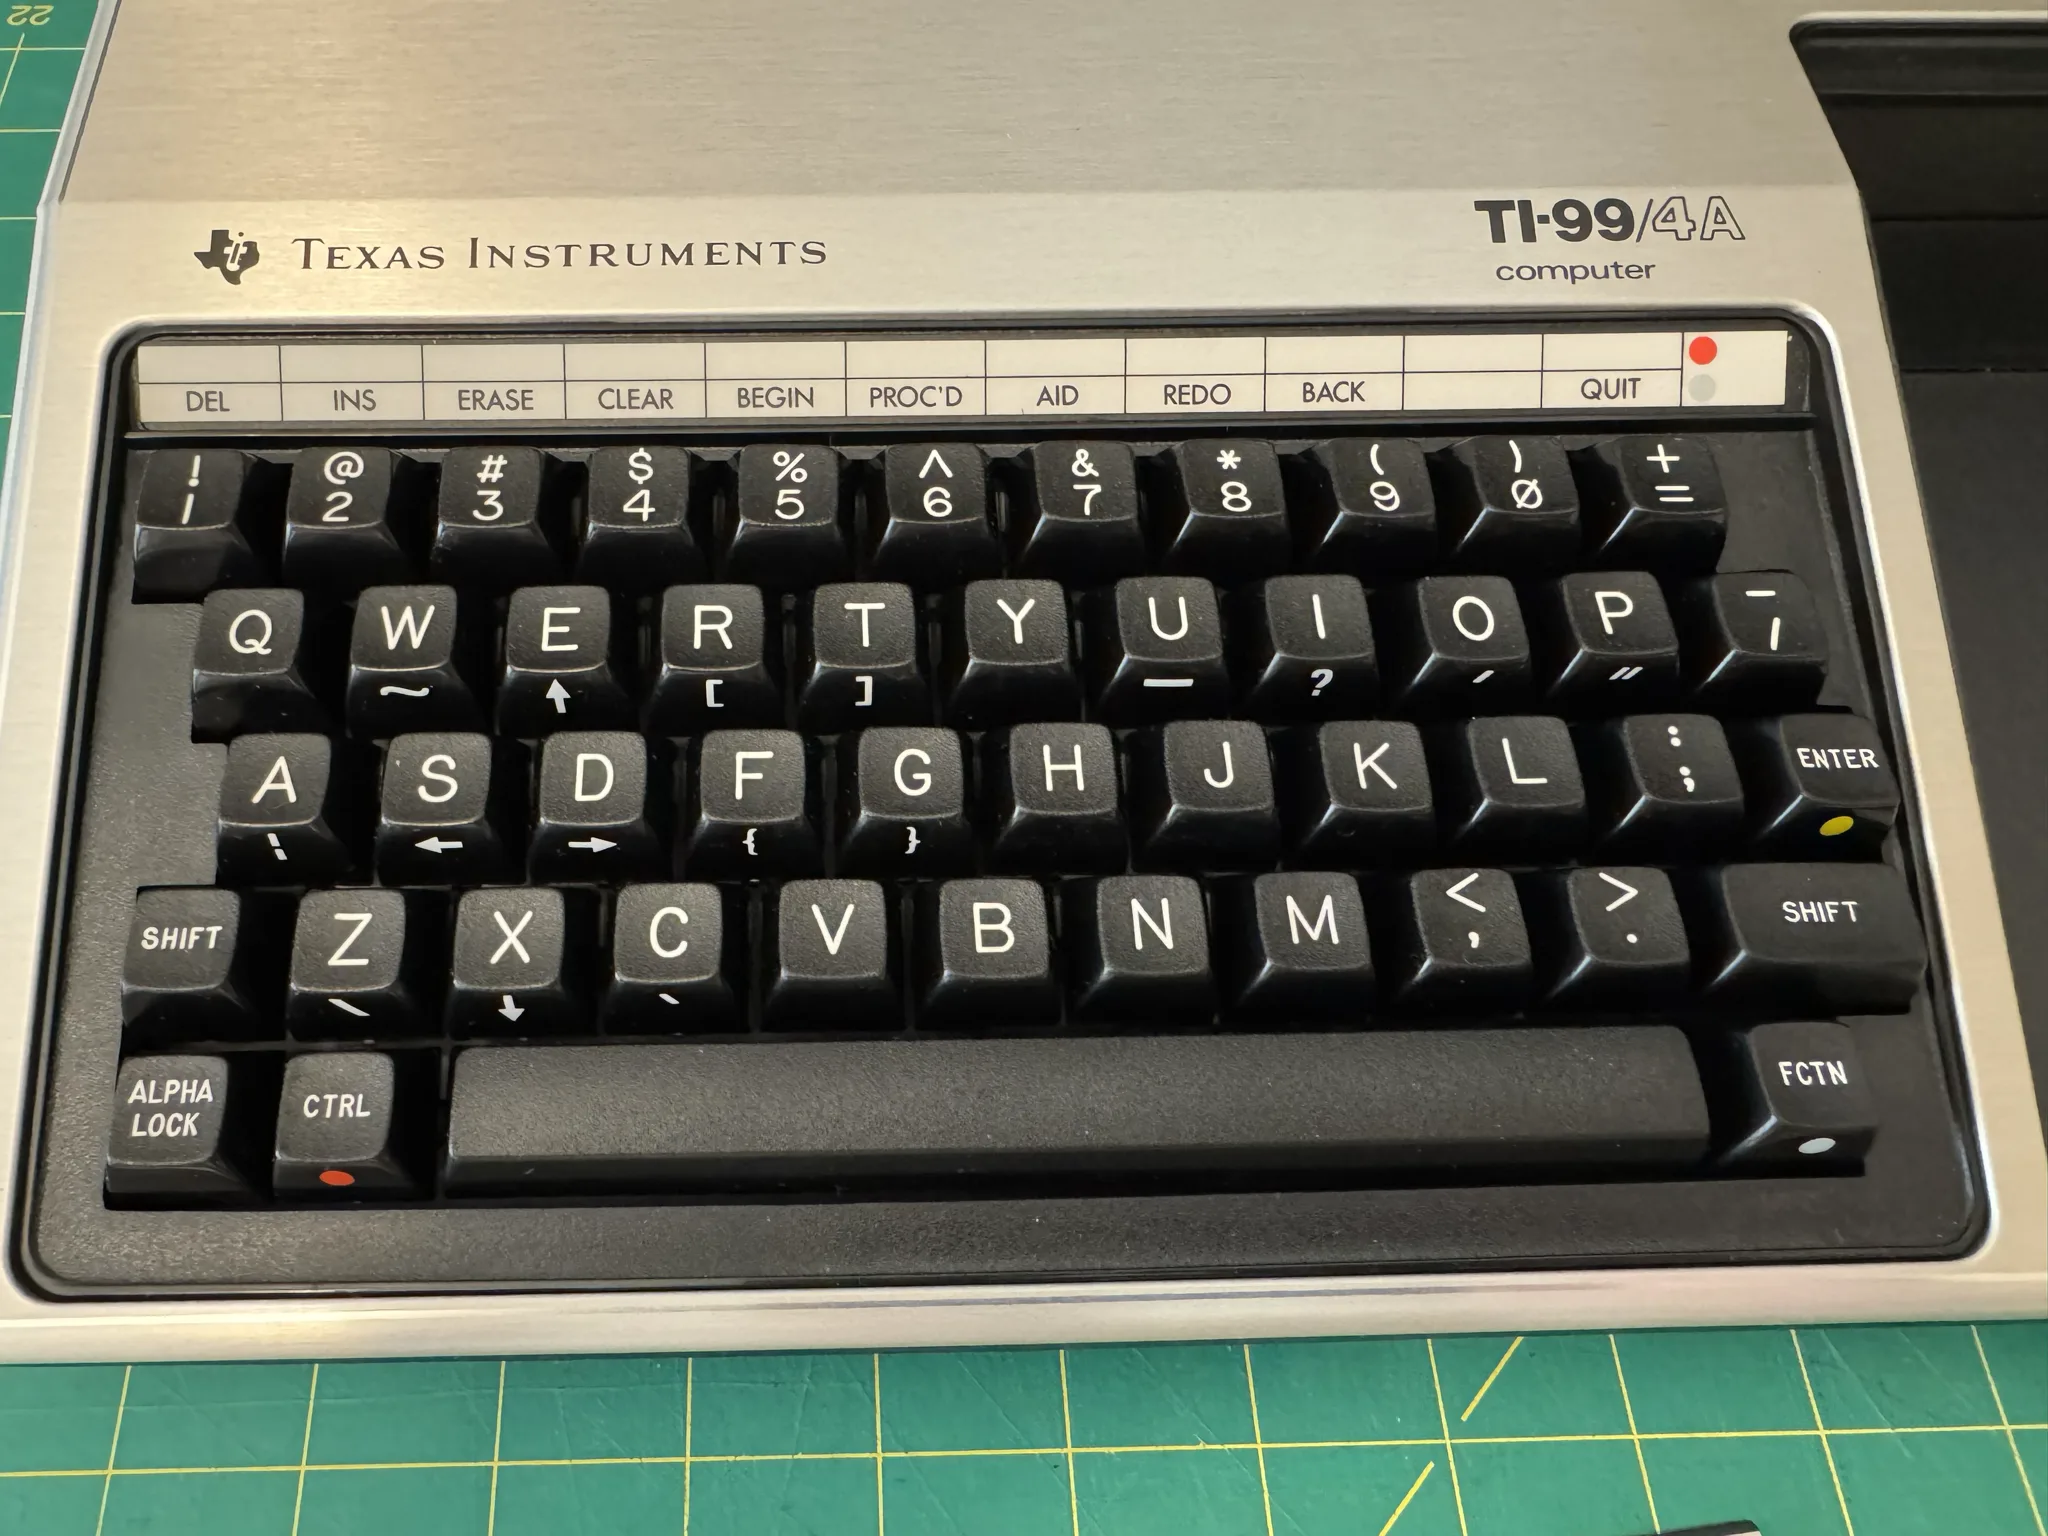
The computer comes with six extra empty guides that you may use for other software. I was fortunate to get my computer with all of the documentation goodies still shrinkwrapped, so these keyboard guides are like new as is all of the documentation.
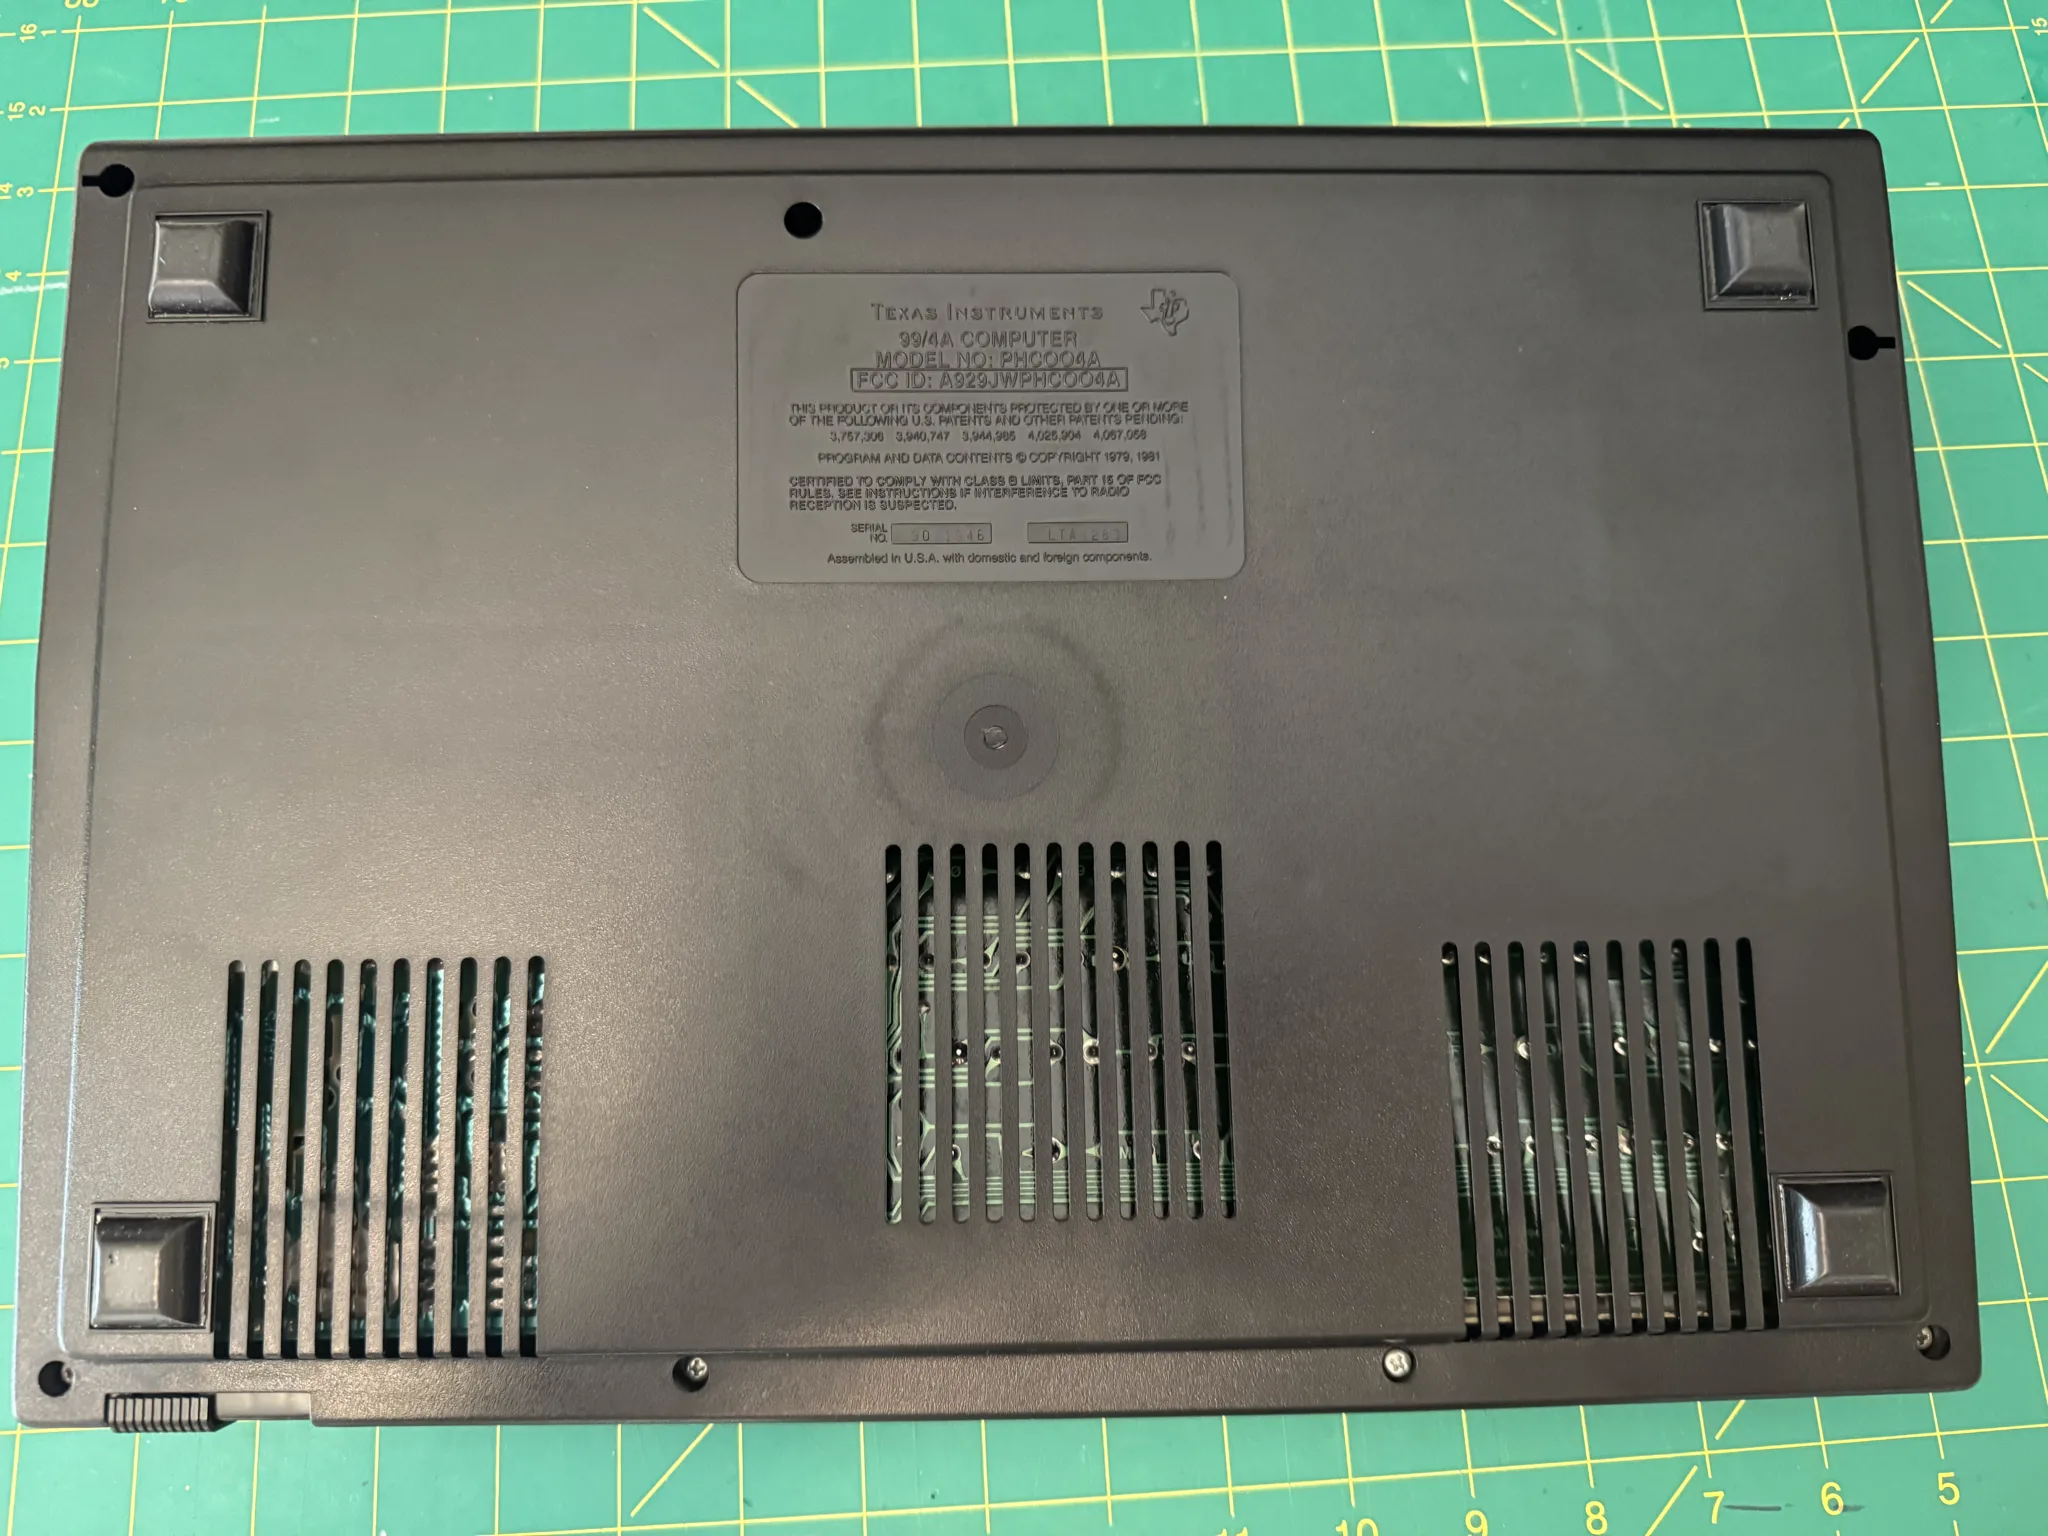
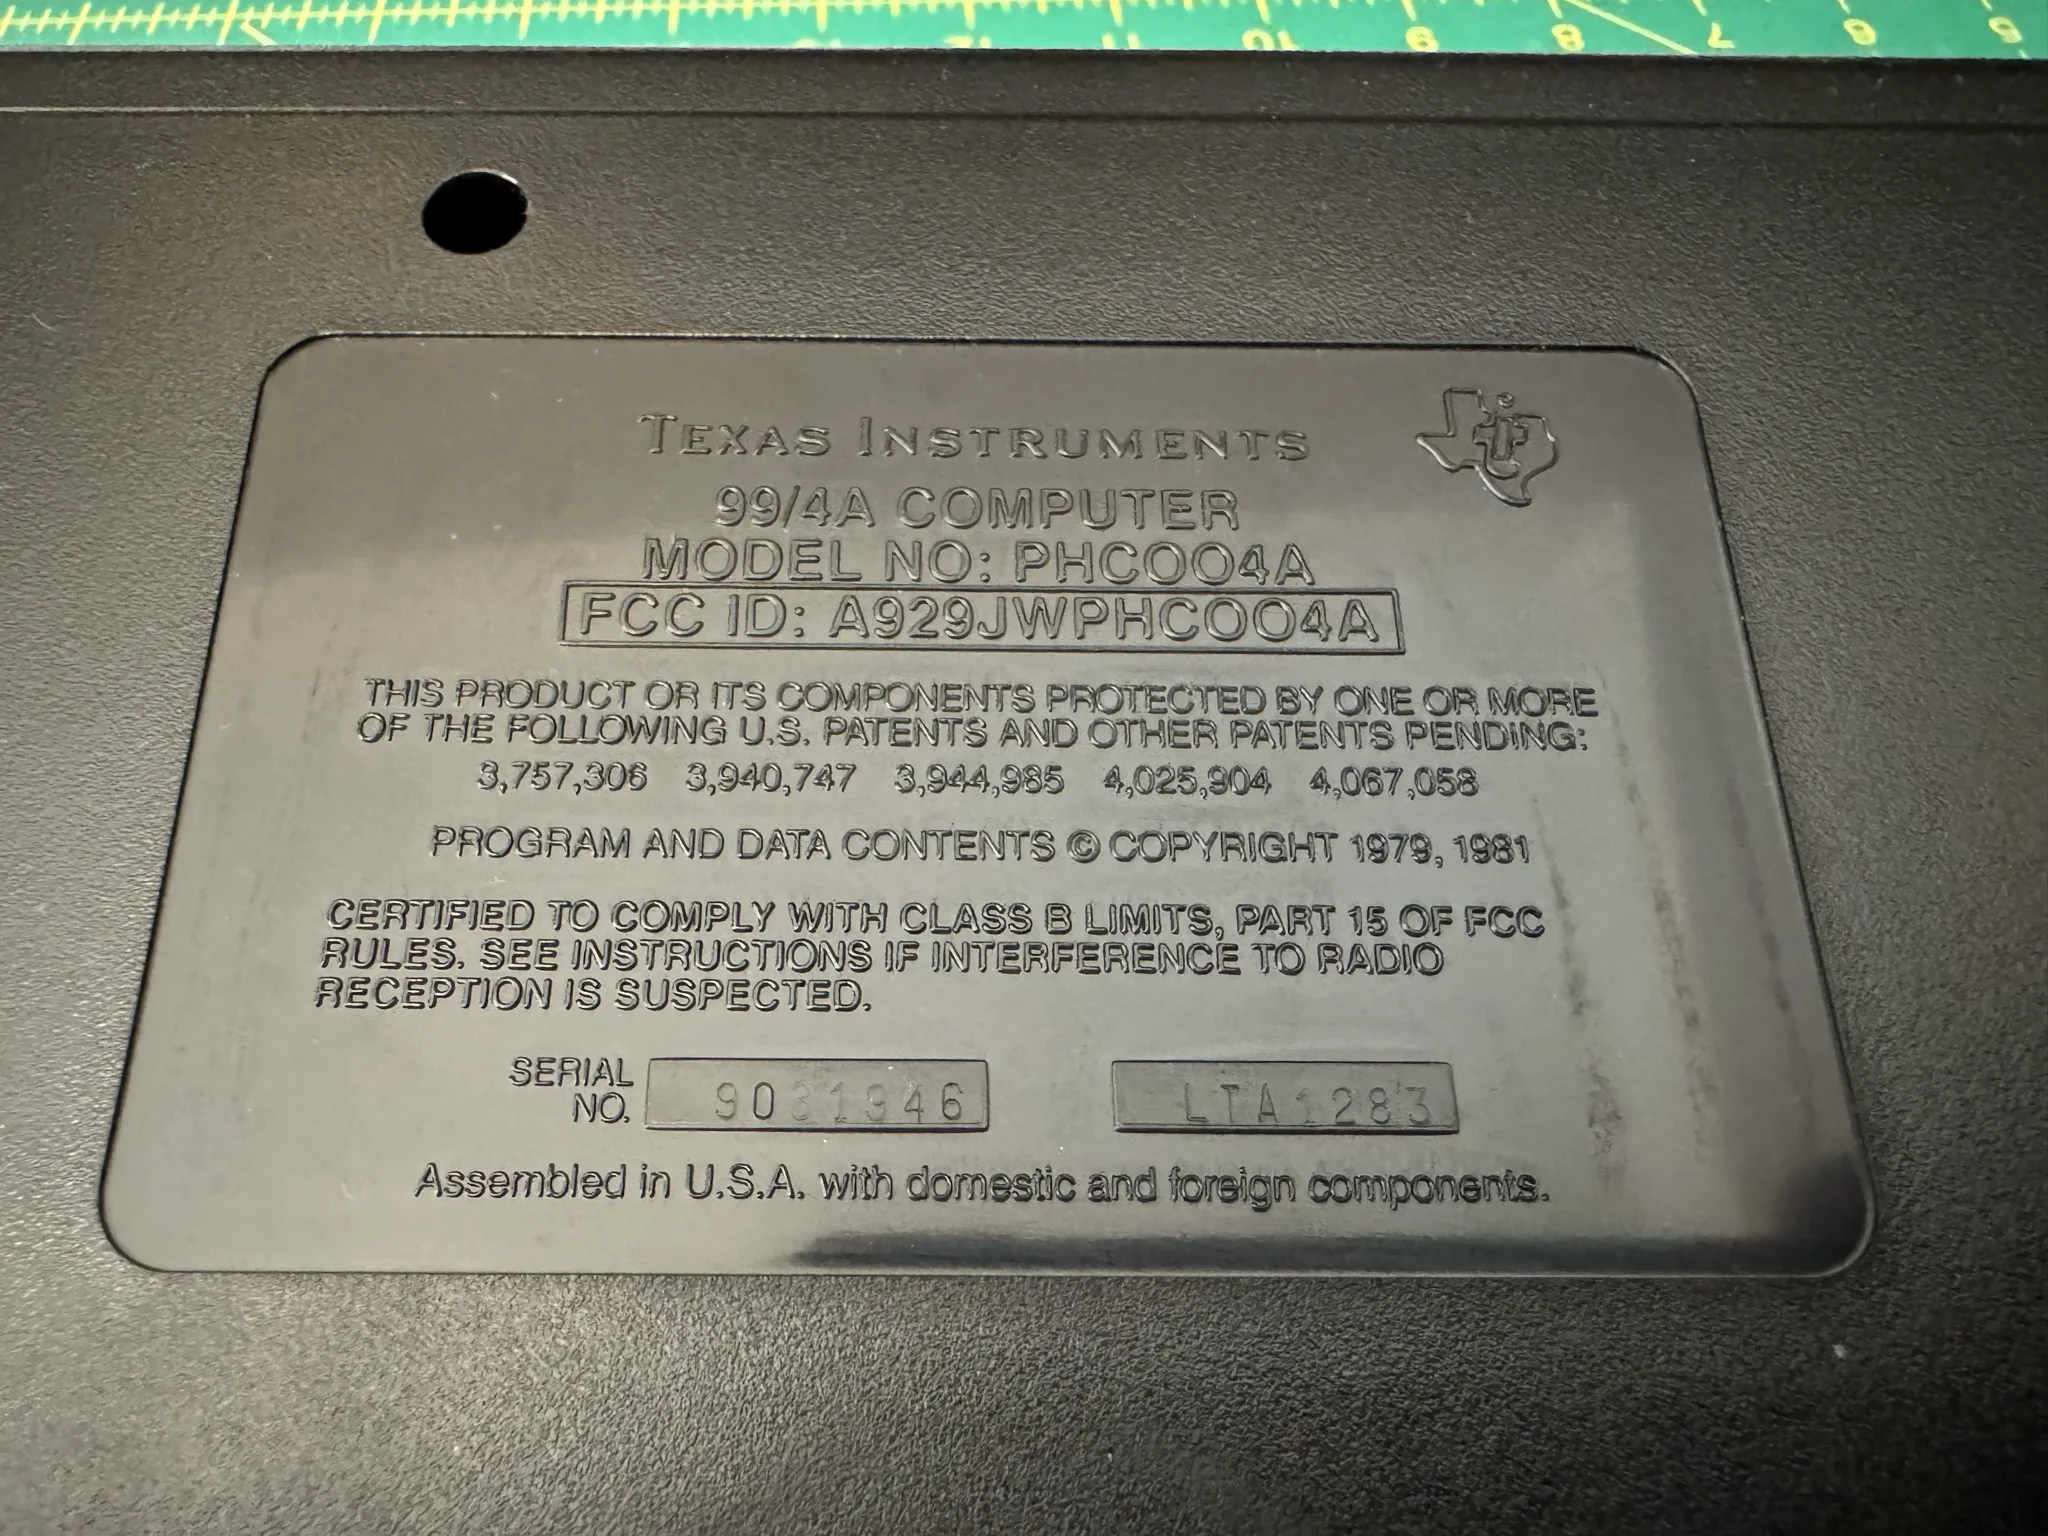
Looking at the underside of the computer we see ventilation slots and an identification tag. Rather than a paper indentification page as we see on Atari and Commodore computers, this one is part of the plastic case but has an individual serial number stamped in.
The “LTA” indicates Lubbock, Texas Assembly plant. The LTA number is in WWYY format, so in this case the computer was built on the 12th week of 1983.
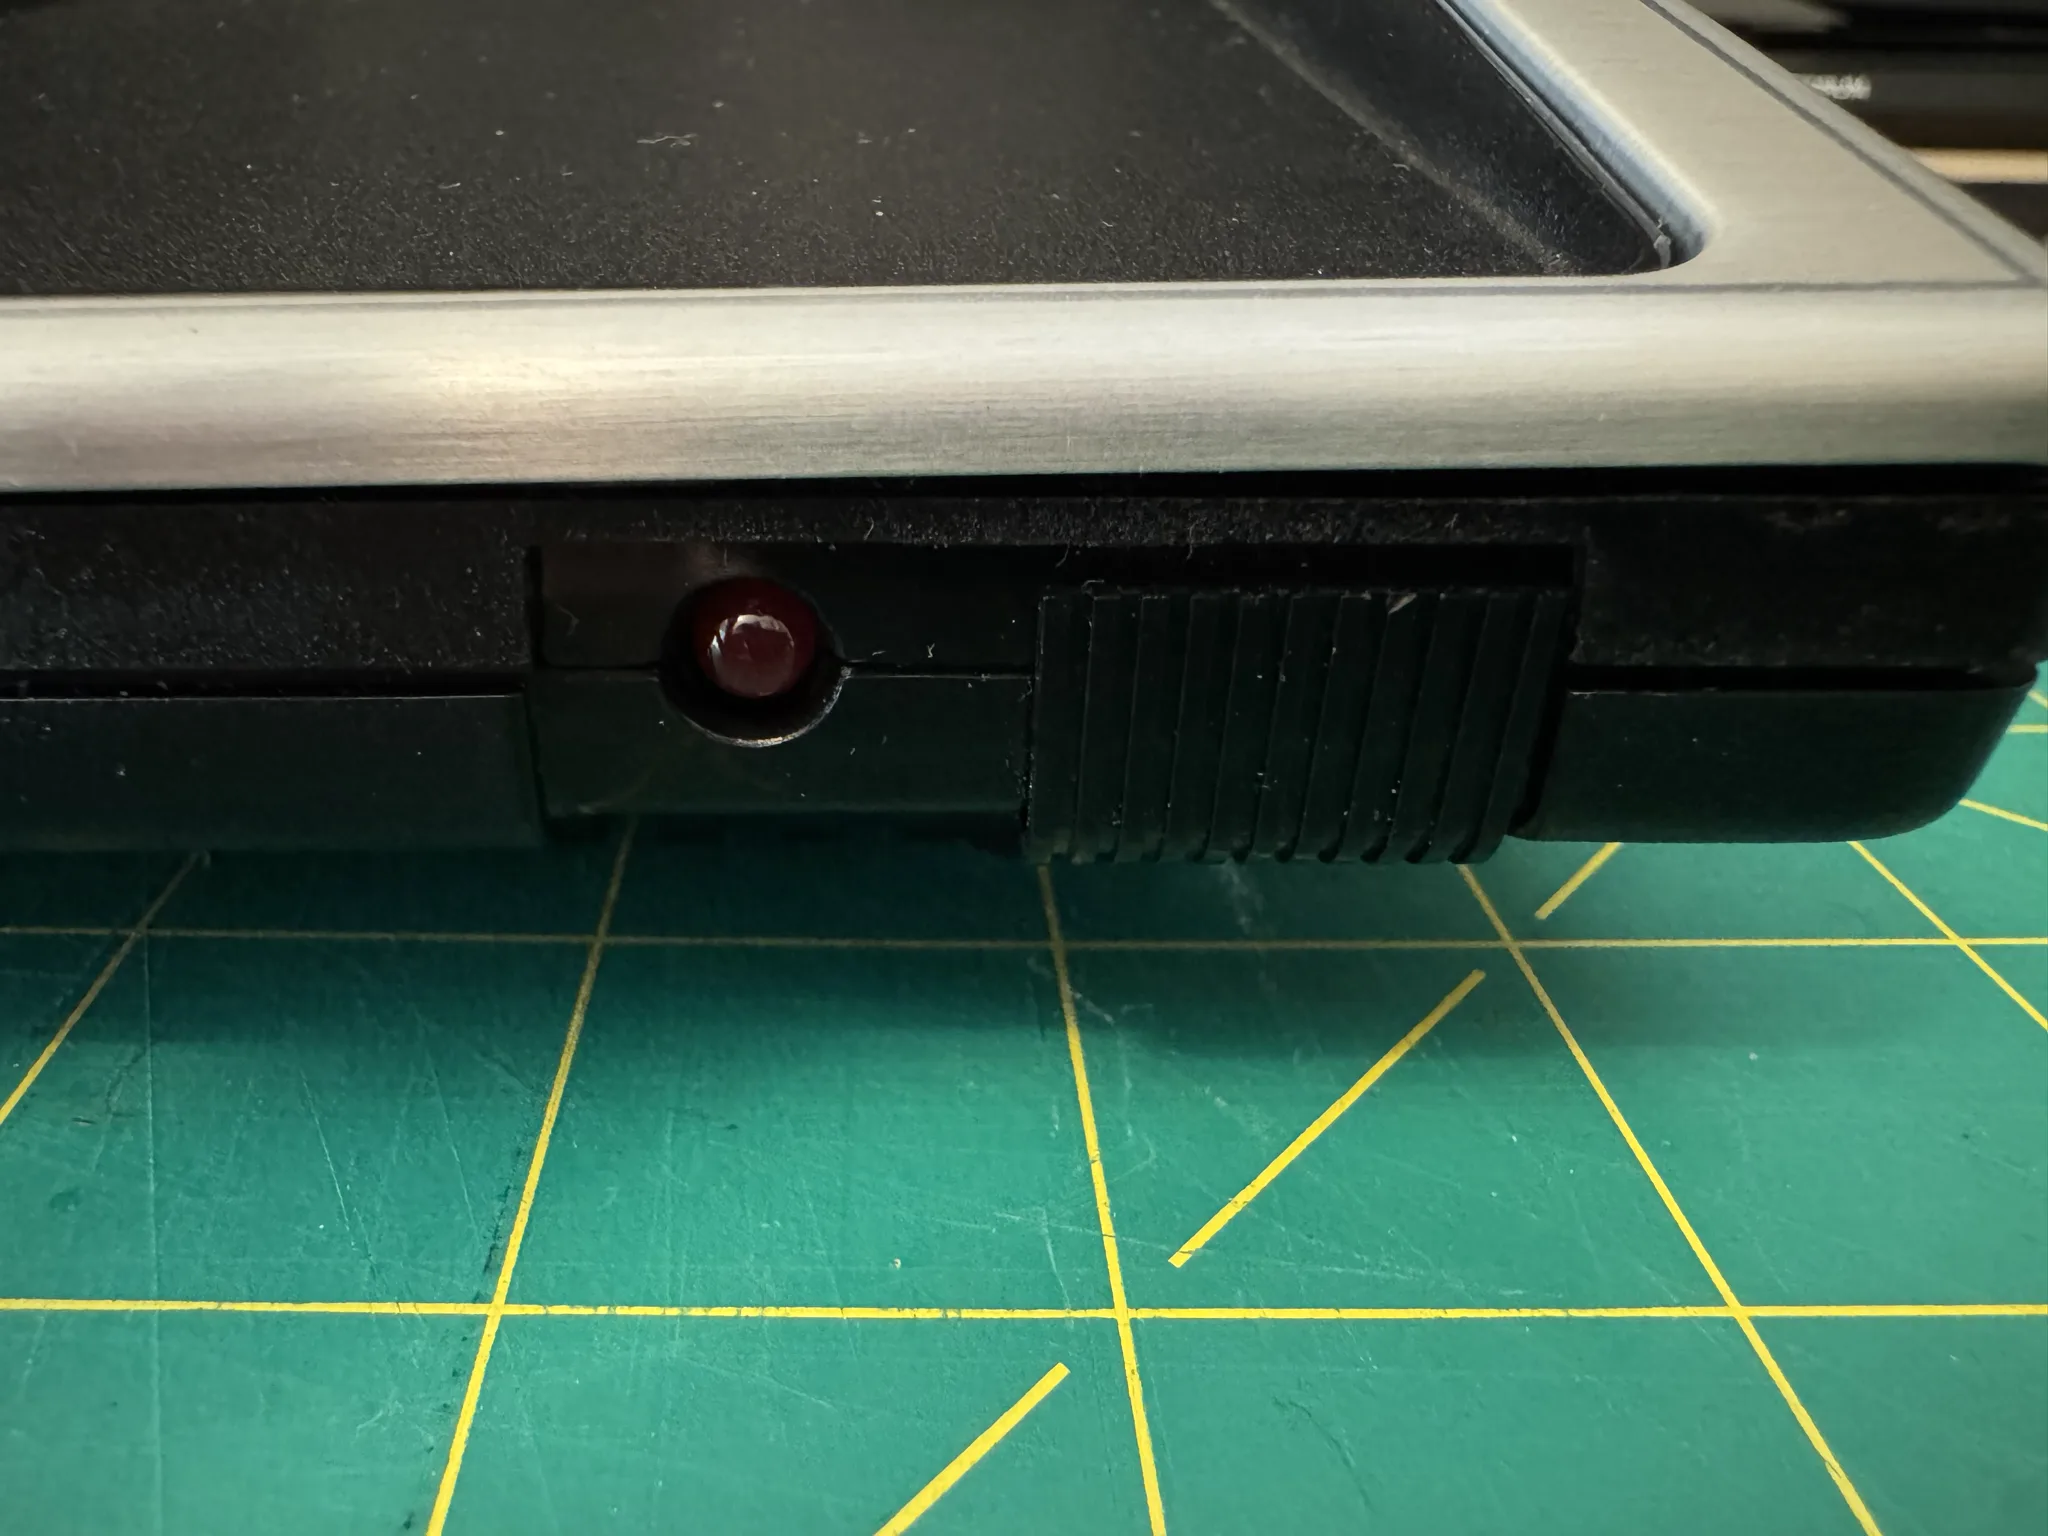
The front of the case has a slider power switch with a red LED to indicate when the computer is powered on.
As you can see, I’m using my iPad to watch a YouTube video created by a retro enthusiast. The video helps me understand how to take the computer apart without damaging it. From this video I discover that I am lucky to have an earlier unit with a PCB keyboard which are determined to be much more reliable than the later cheaper brown mylar keyboards. Woo hoo!
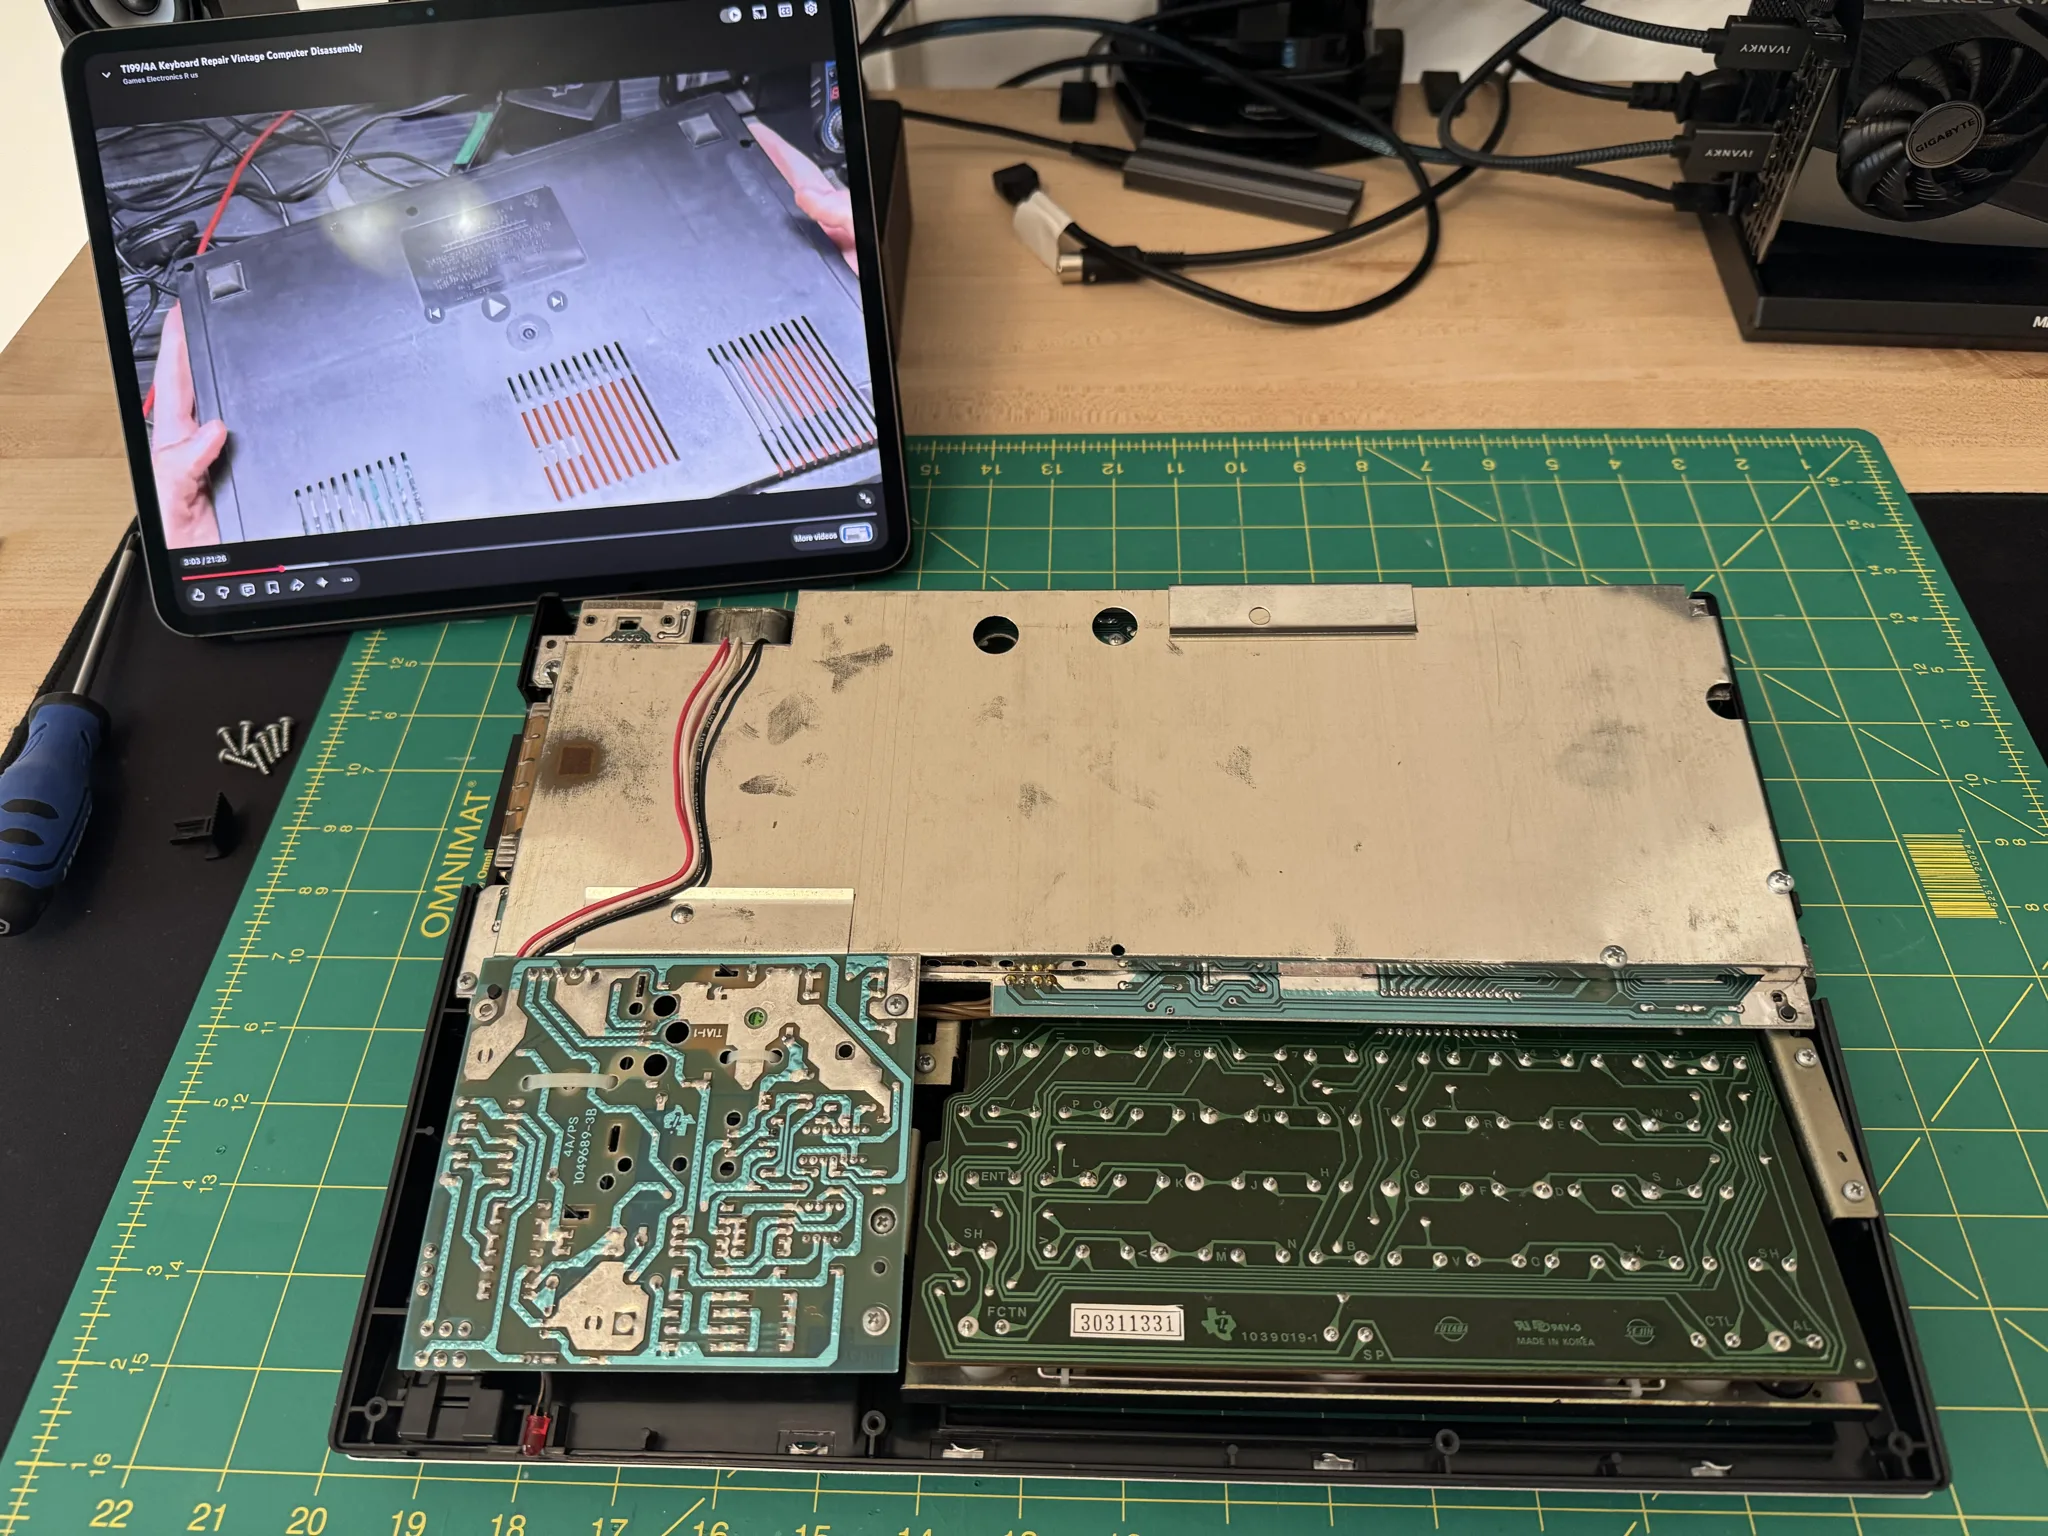
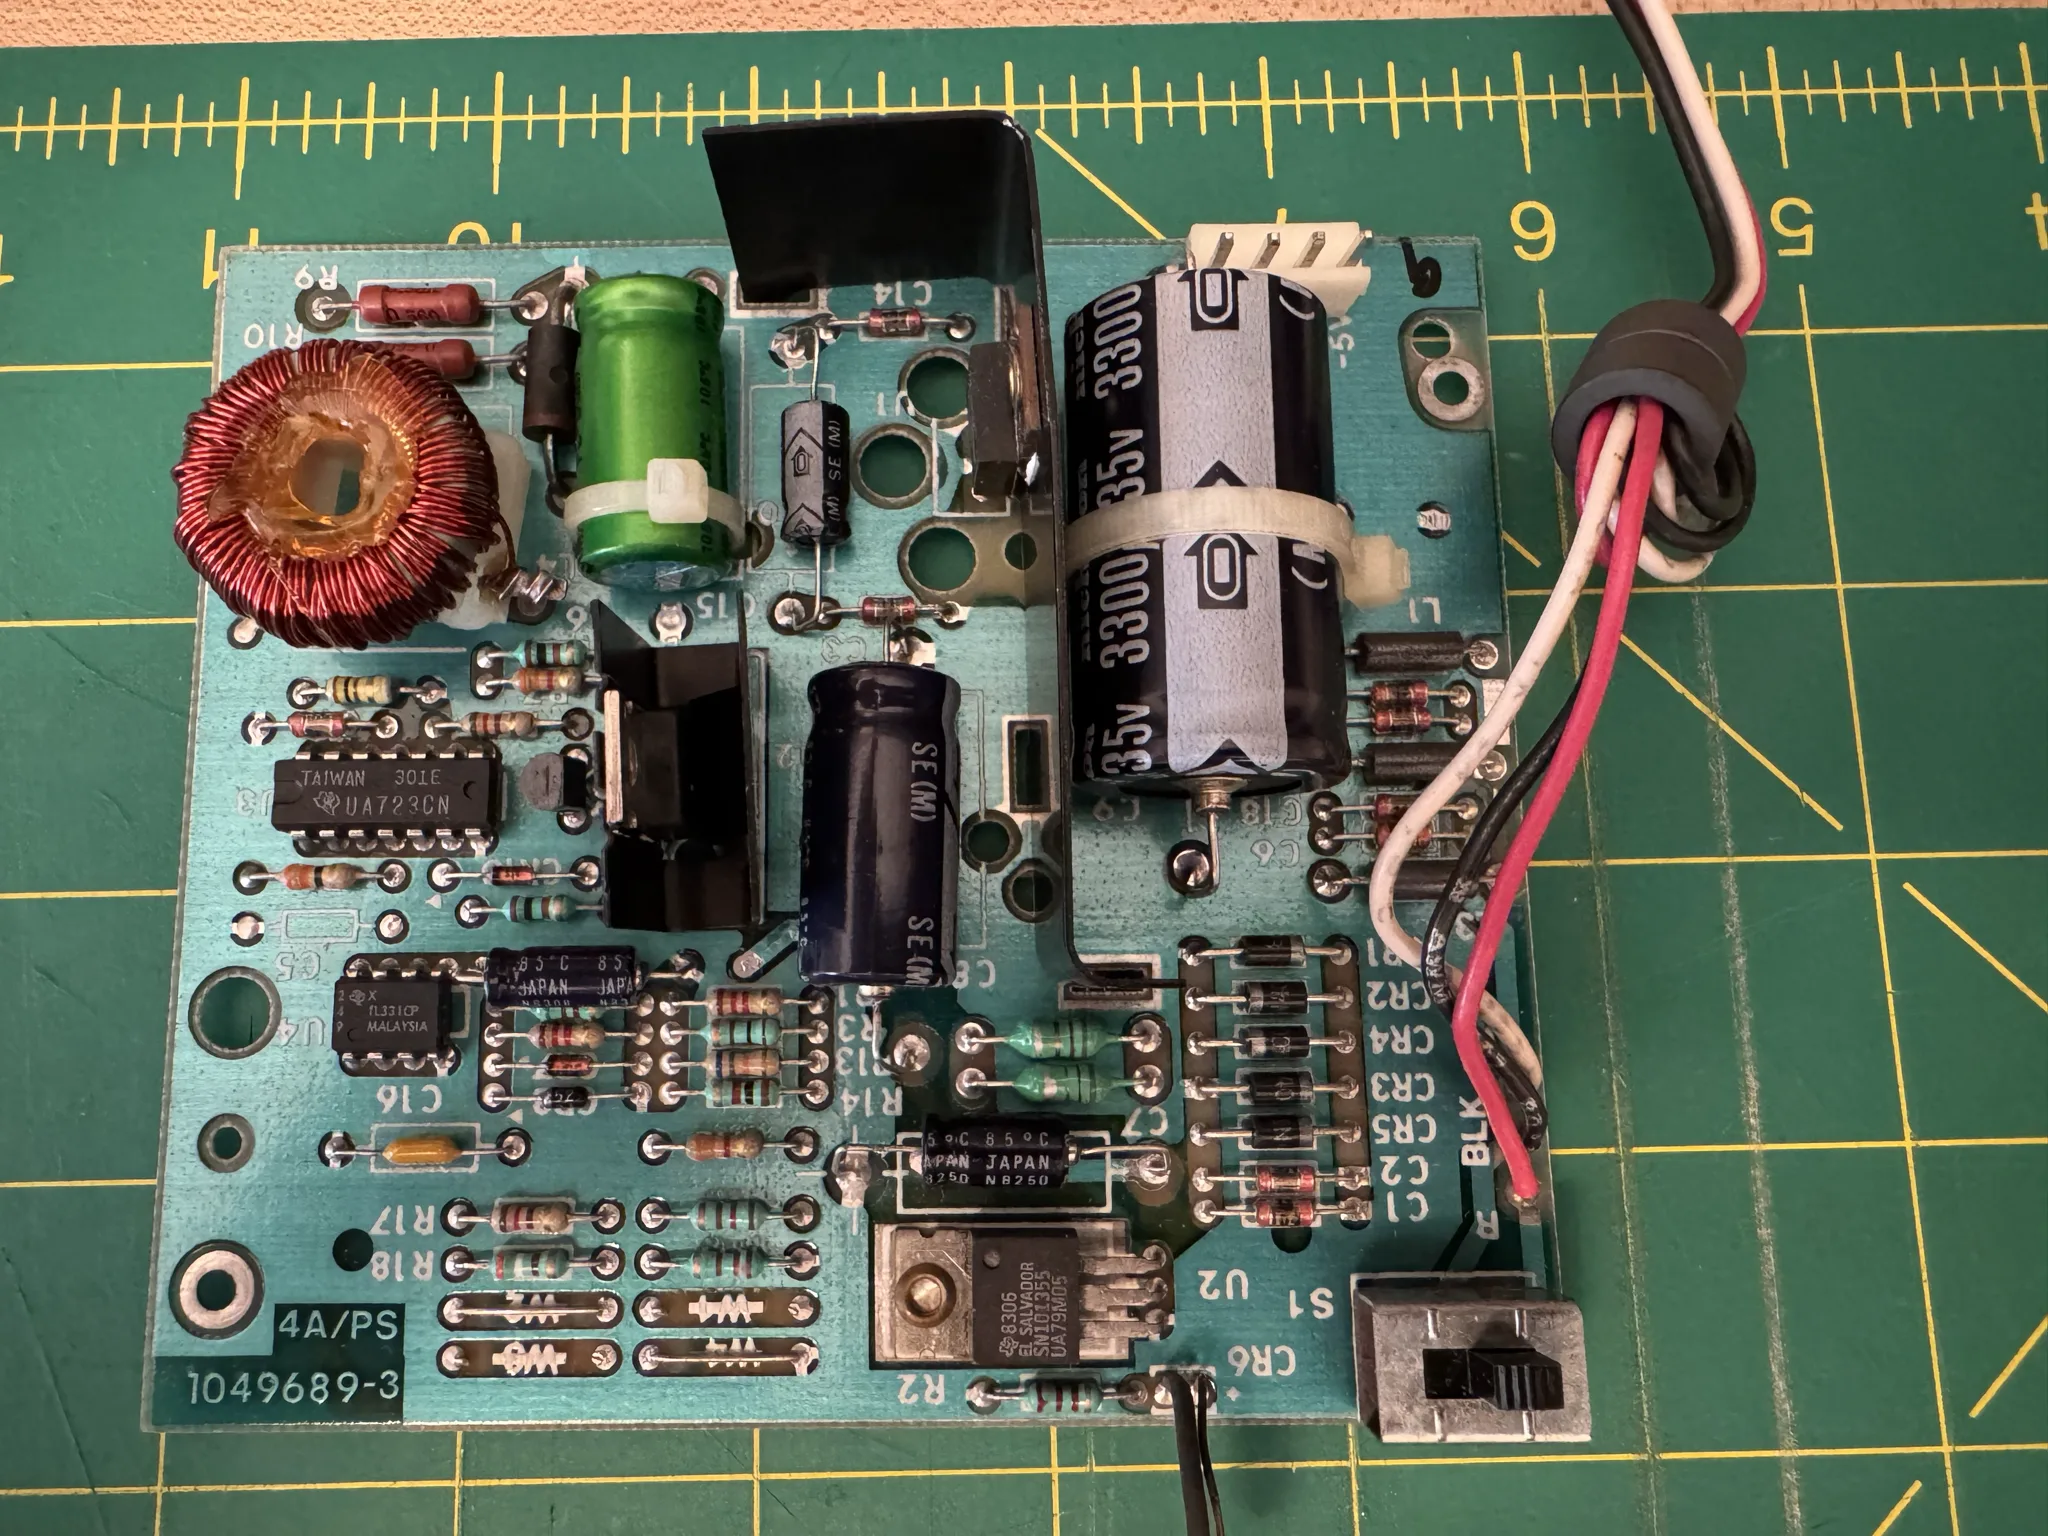
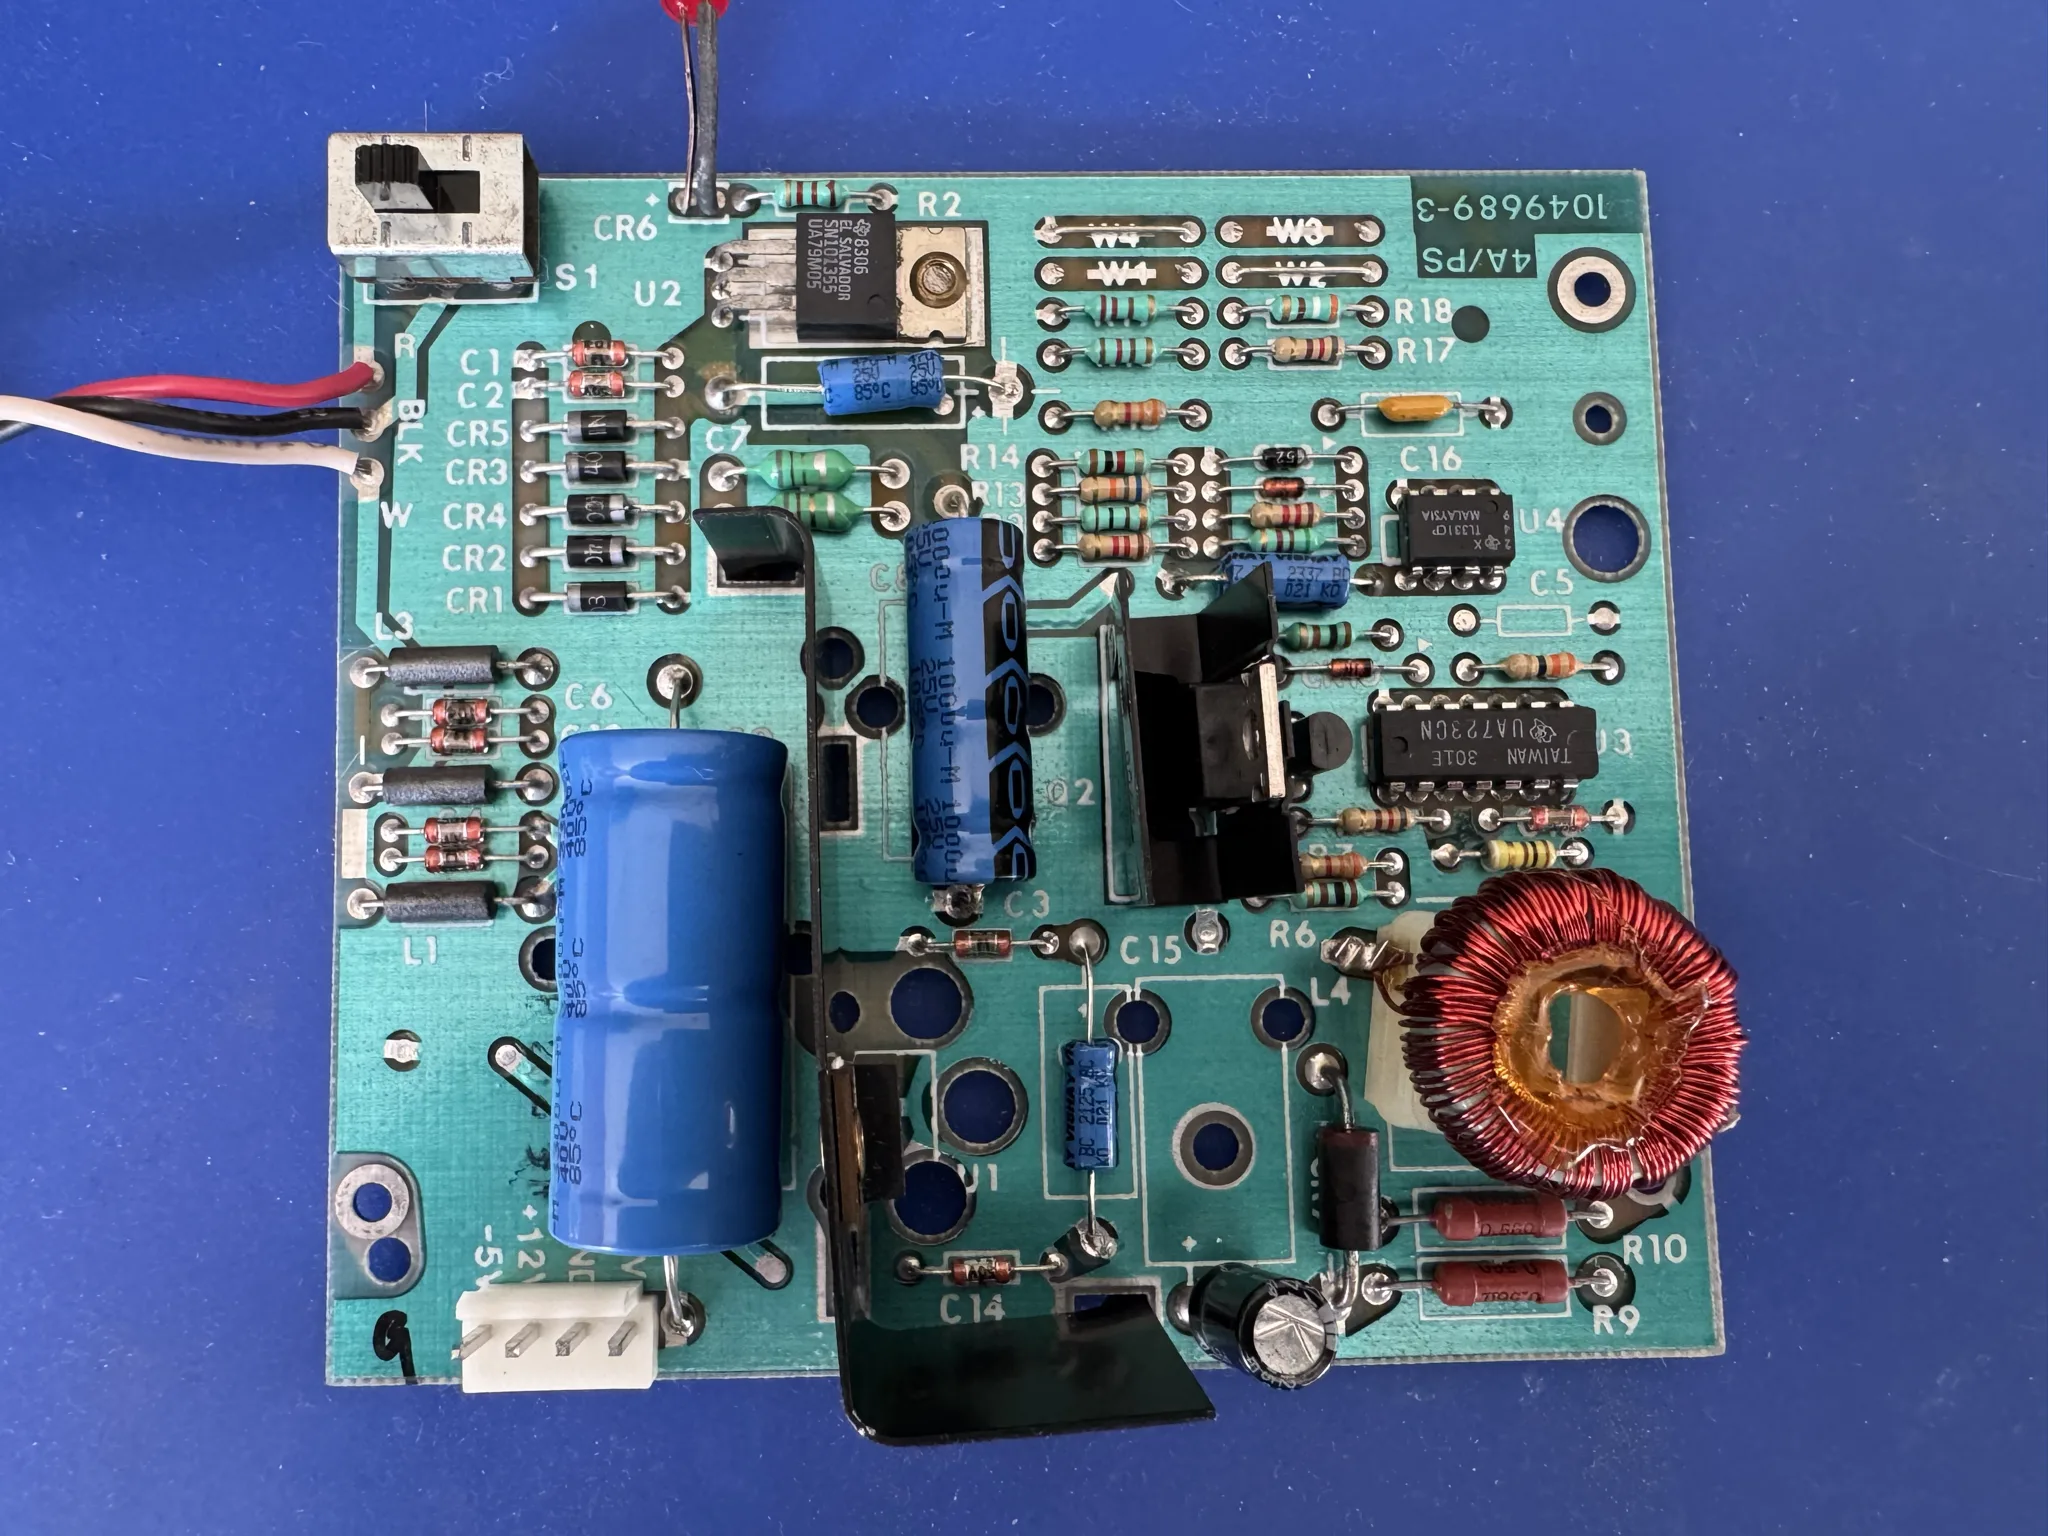
Here is the power supply circuit board. There are six capacitors. I had ordered capacitor replacement kits from Console5 for the power supply and the main board. Apparently, capacitors can dry out even when not in use. Your mileage may vary on this one as I’ve heard differing opinions. When I get some old hardware I opt to future proof it by removing the old capacitors and replacing them with new ones. That is the primary reason why I opened the computer, though, I also want to know if it is in good shape before I power it on.
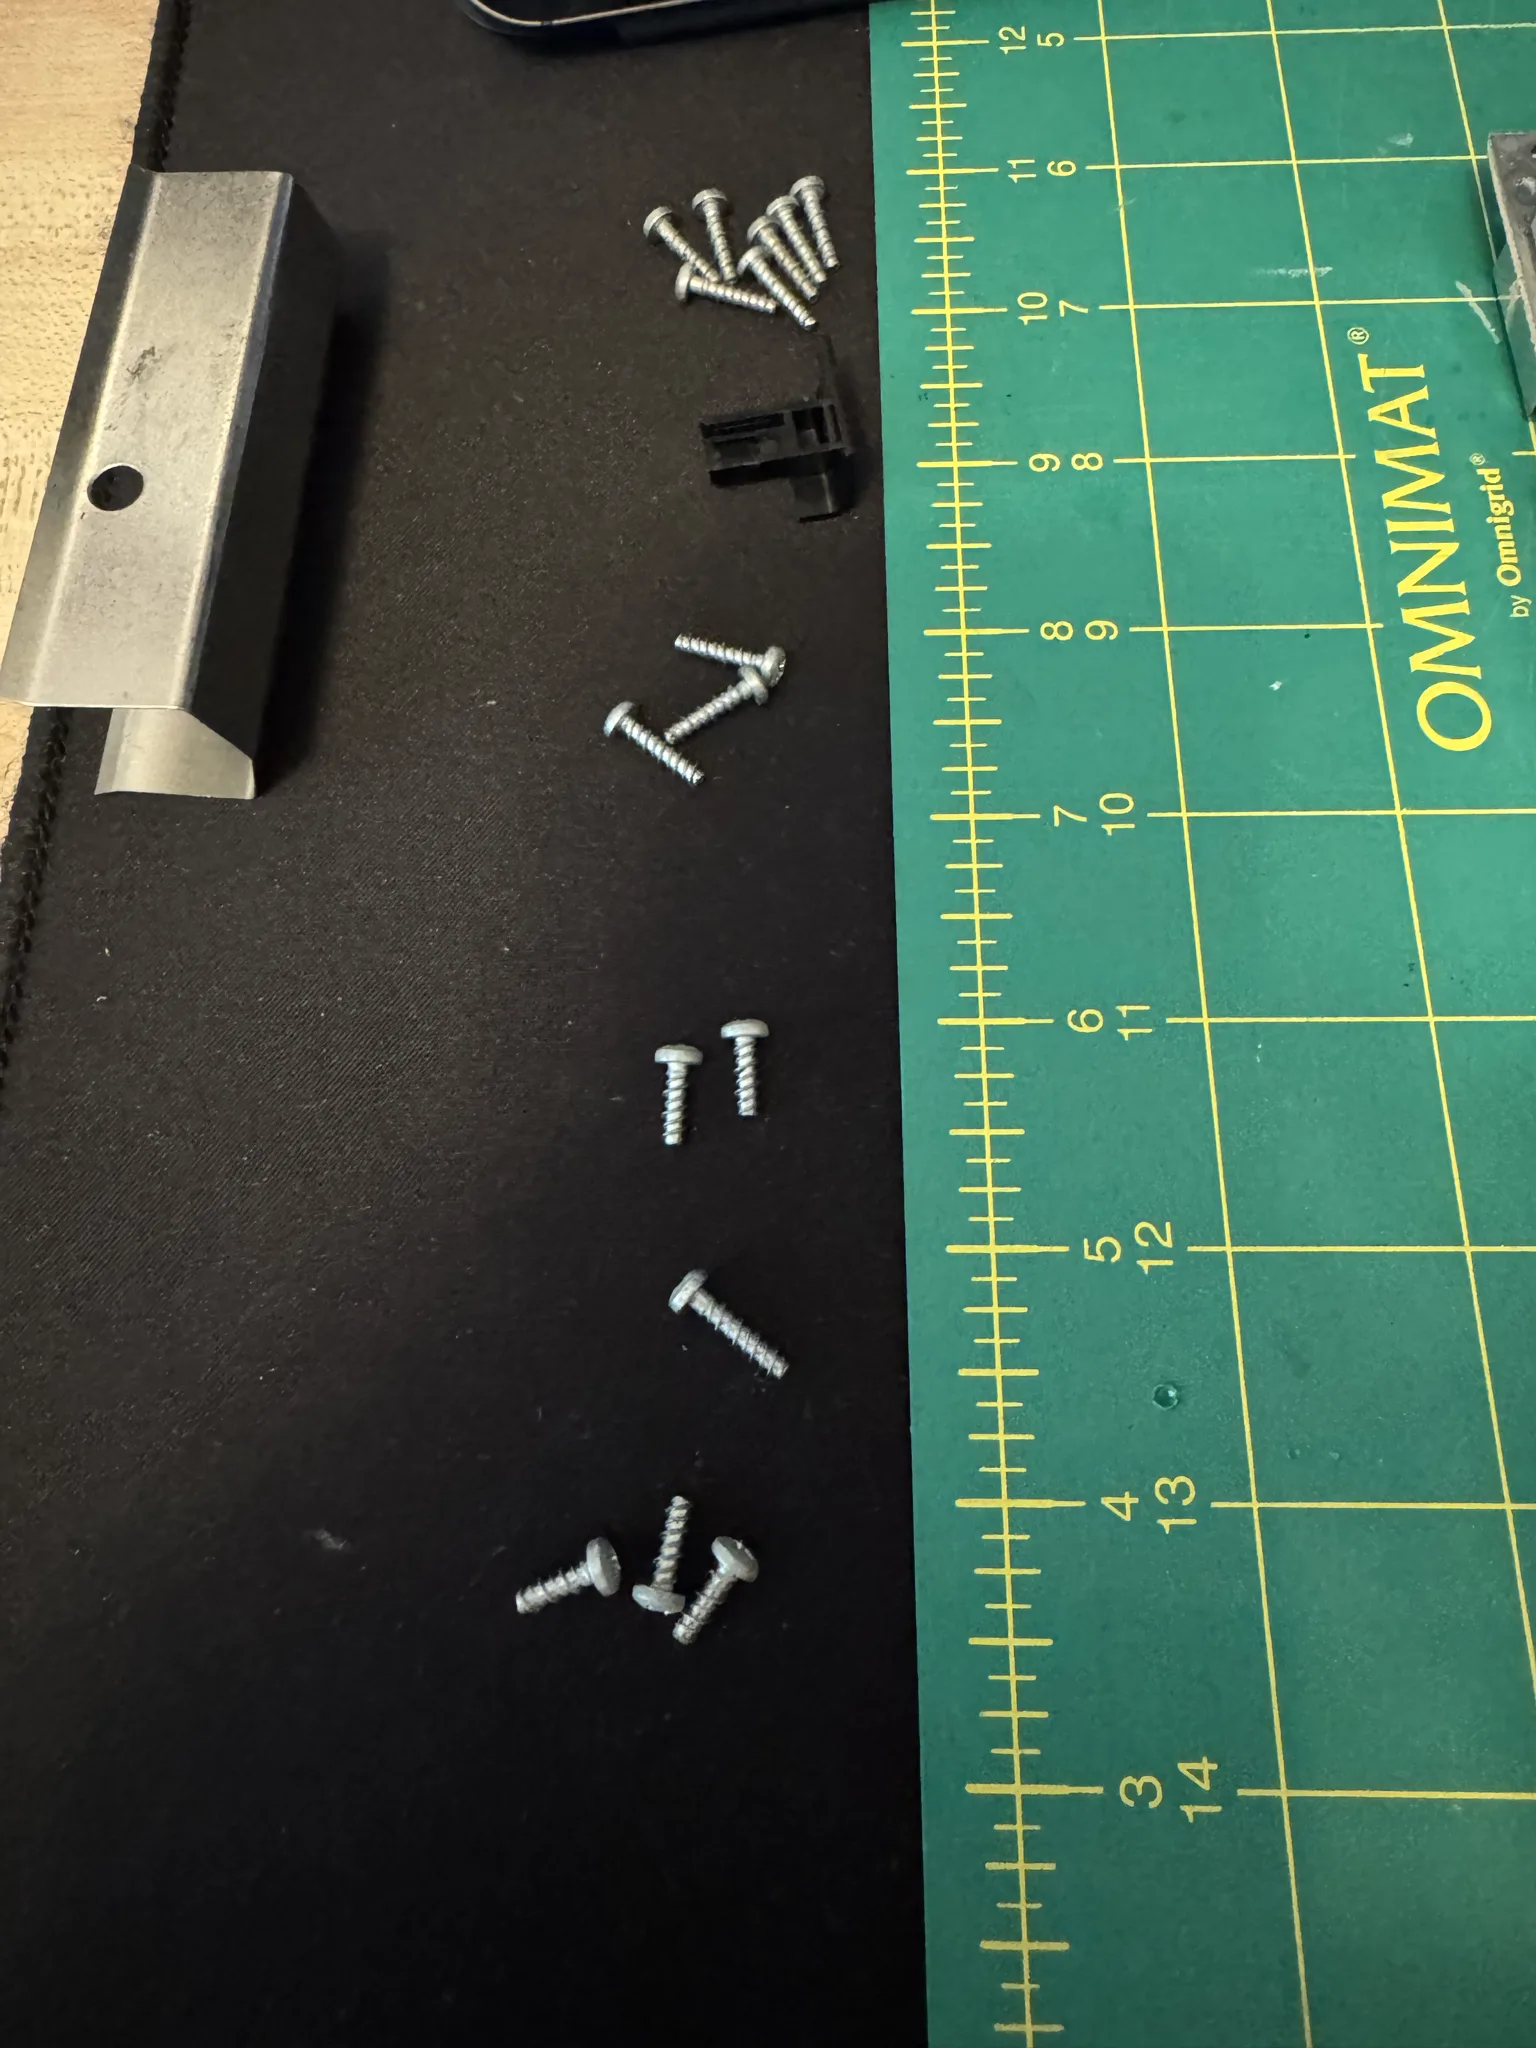
When I take electronics apart, I lie down the screws in the order they are removed. I also like to take pictures to help me recognize where things go if I forget. If I fail to record or remember how to put it back together, I search YouTube for videos of repairs so I can watch how someone else took it apart and put it back together.
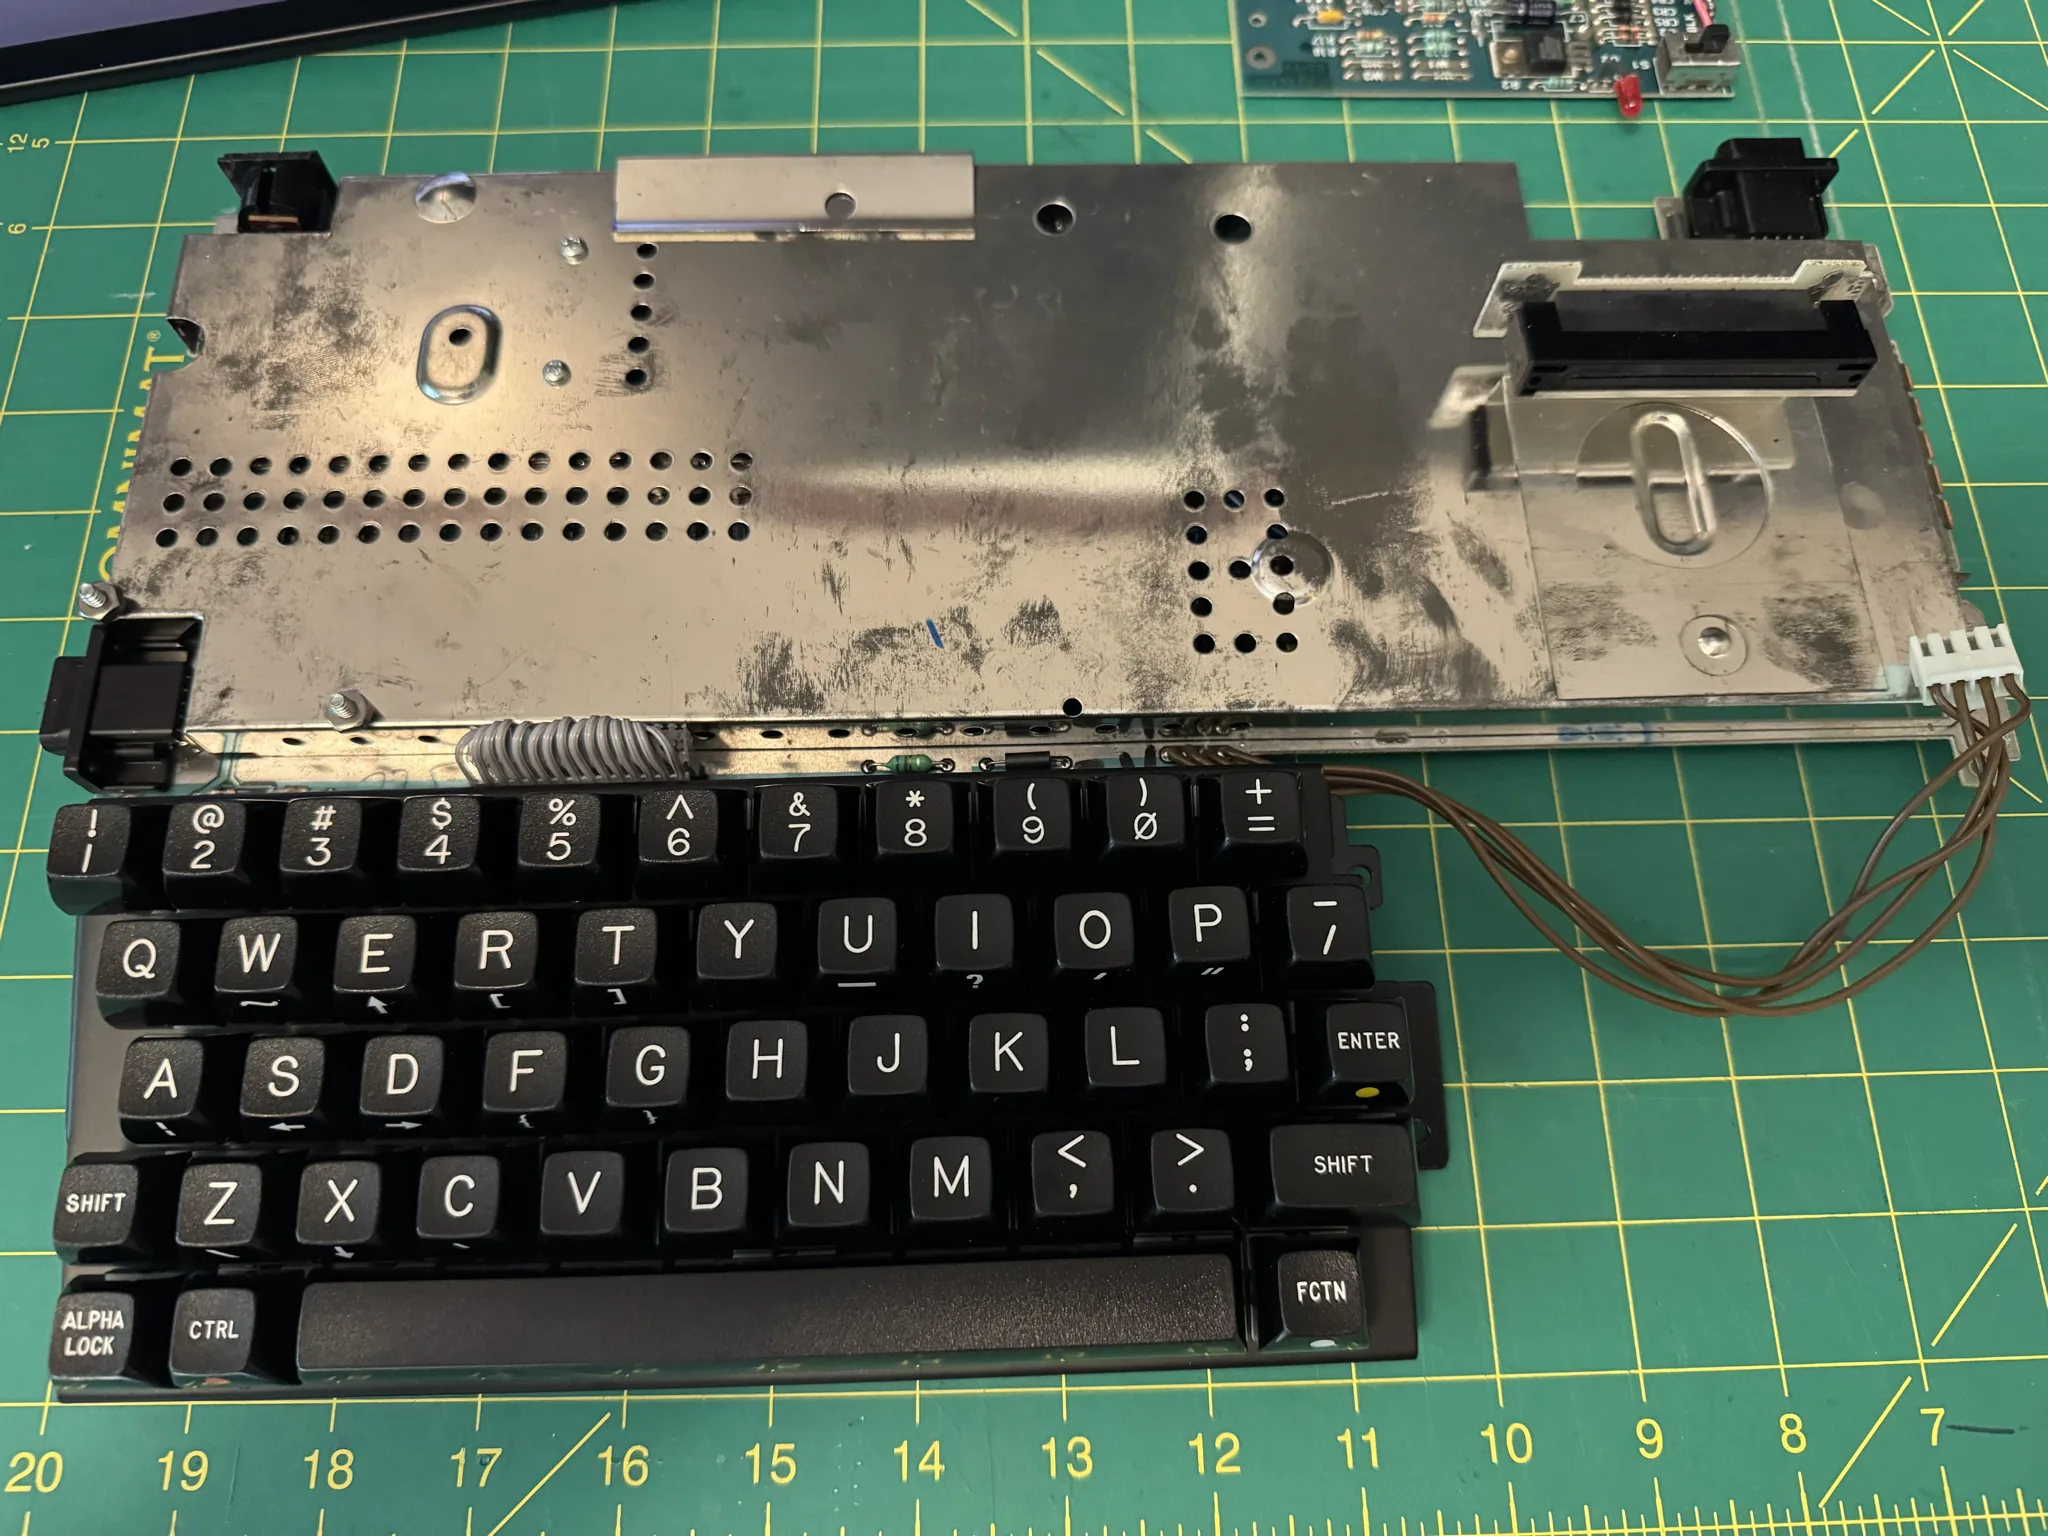
Removing the computer from the plastic case, the circuit board is still surrounded by metal shielding. The FCC forced computer makers back then to shield their electronics to avoid interfering with transistor radios and televisions. These were added costs to the computer makers. Today, many people throw these things away as I have done on my Atari 800XL and my Commodores; however, on this machine I think the shield is going to have to stay as it has a role in how the board is positioned within its plastic case.
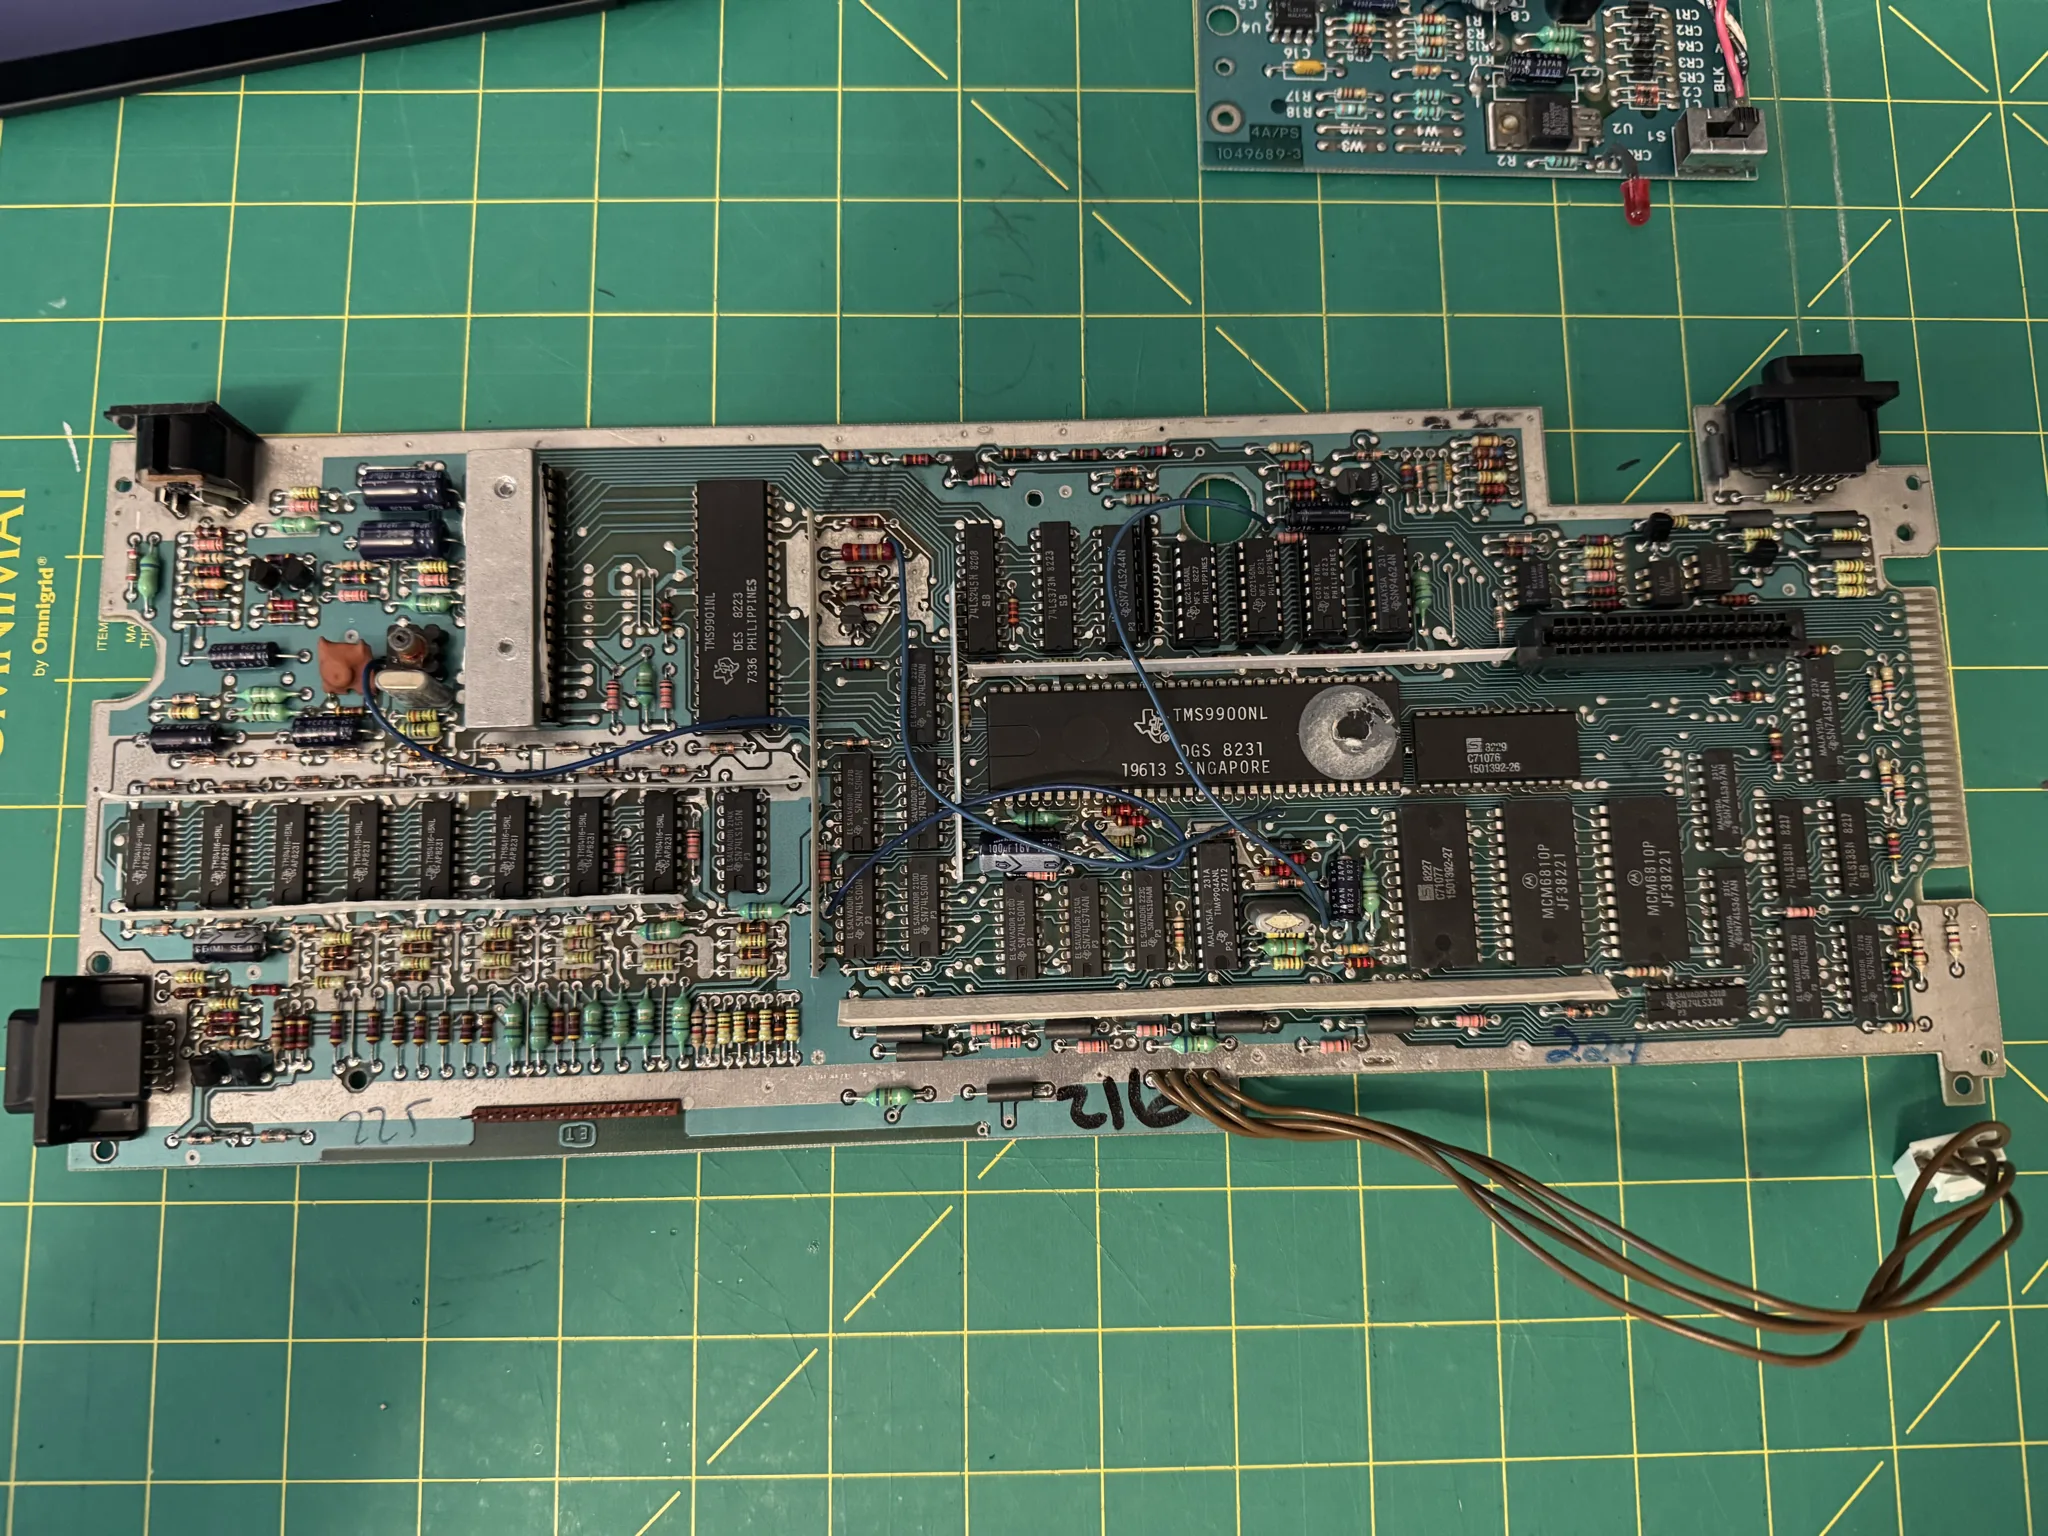
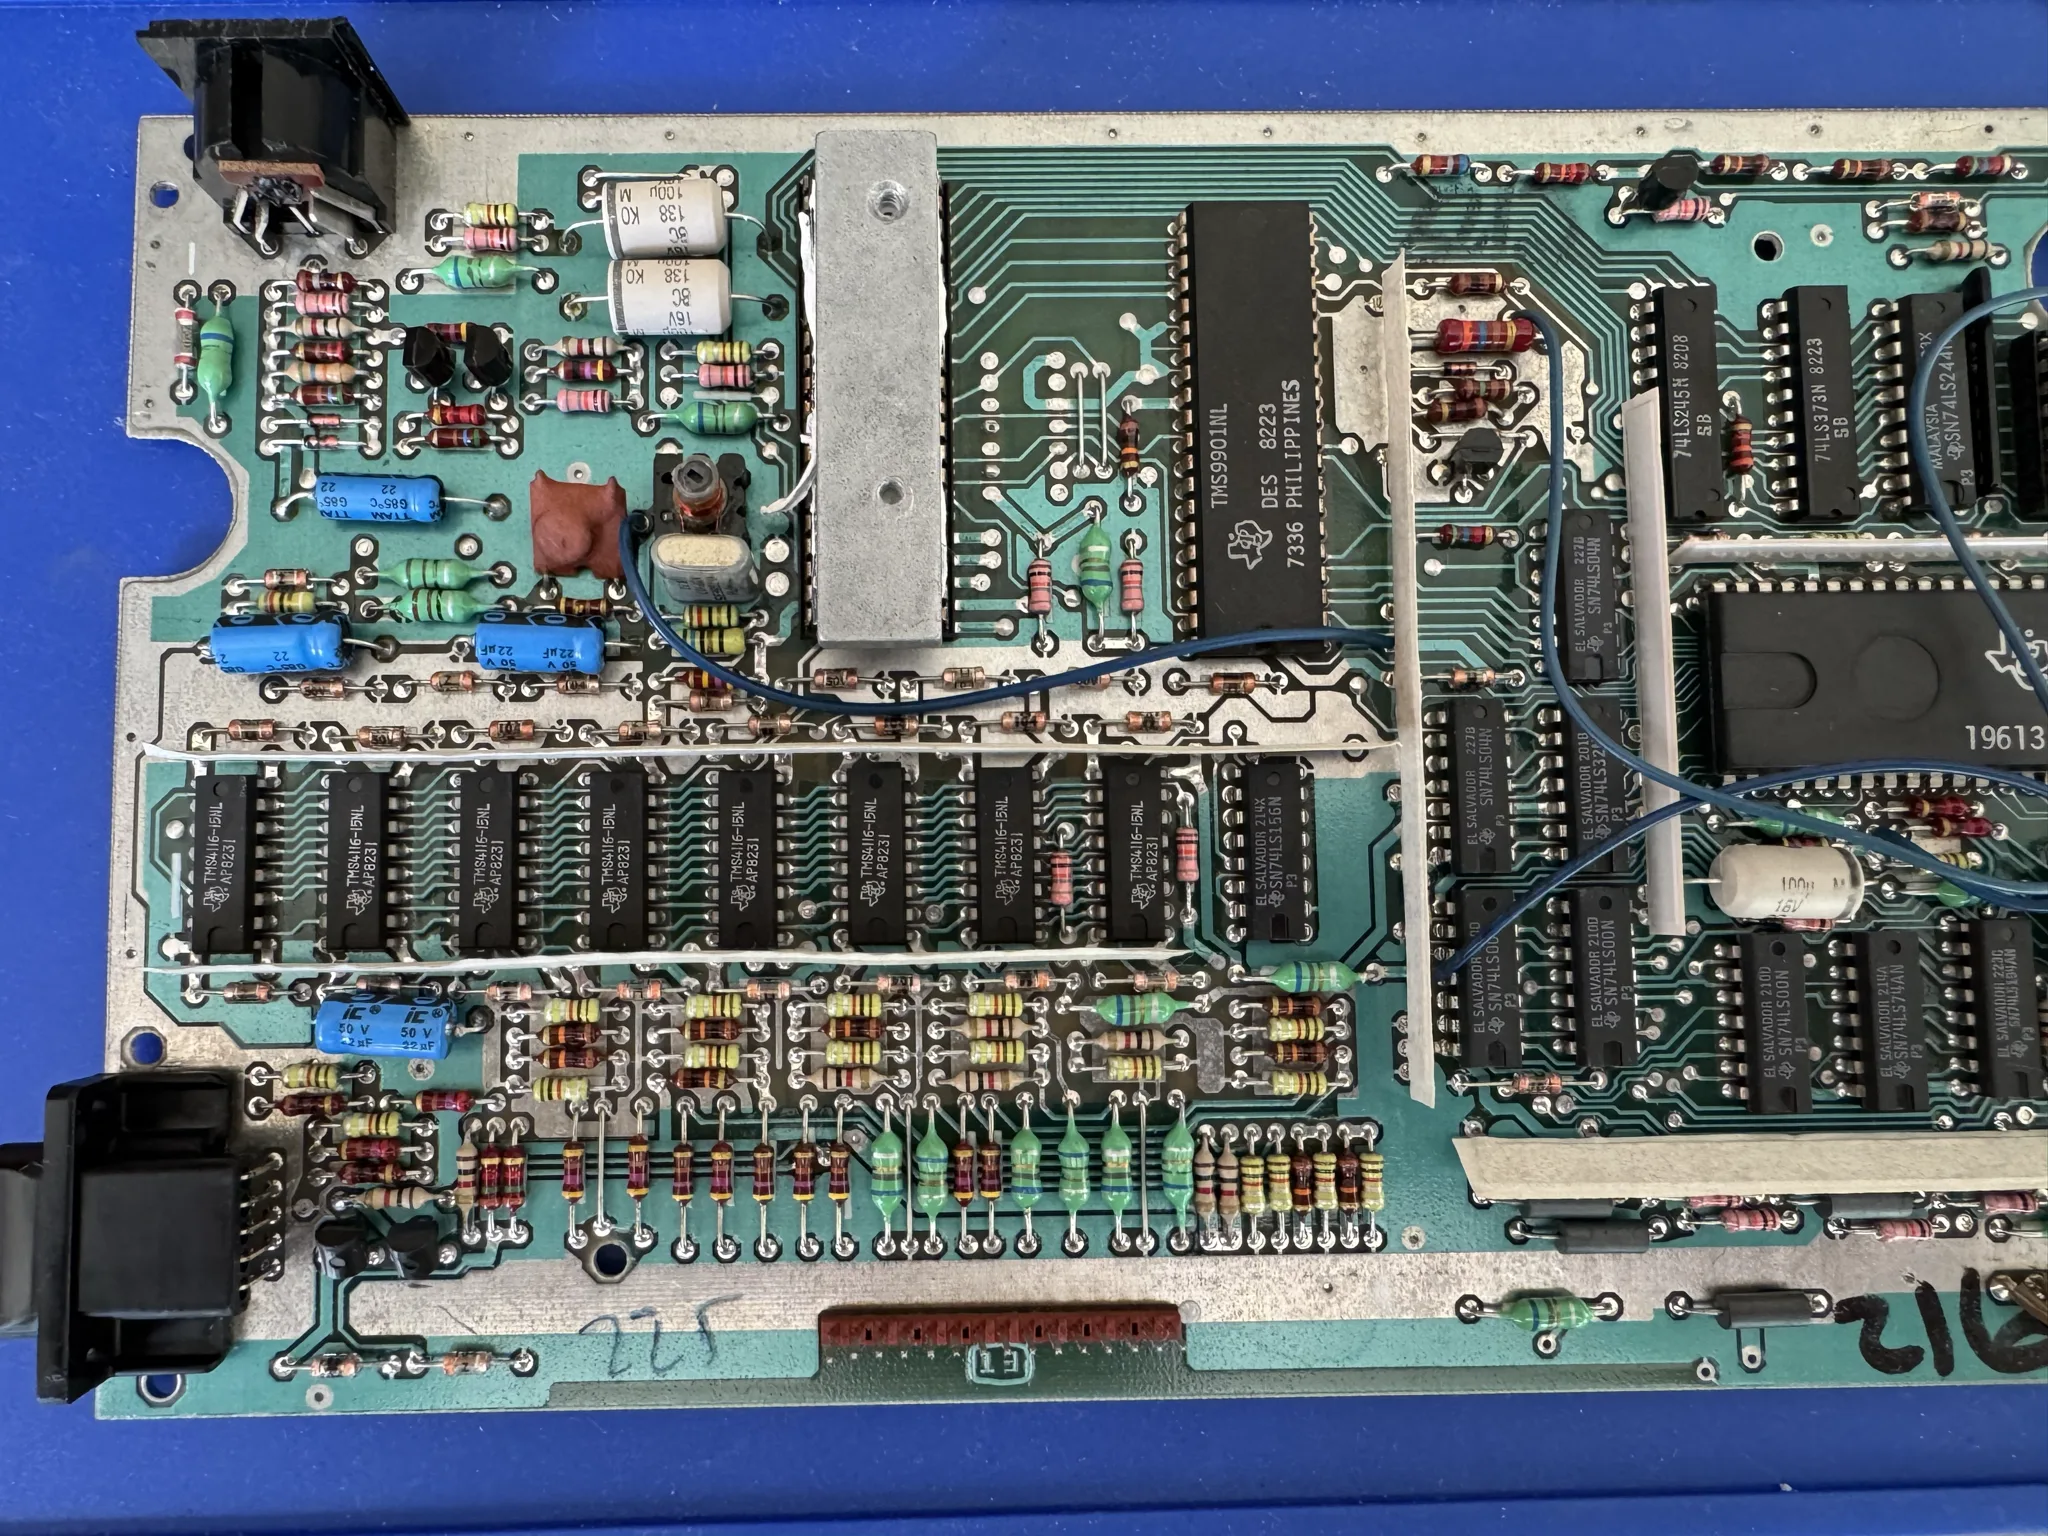
Finally, here is the circuit board for the computer. It is very clean for being over 40 years old. The extra blue “botch” wires appear to be done at the factory and are not some hobbiest modification.
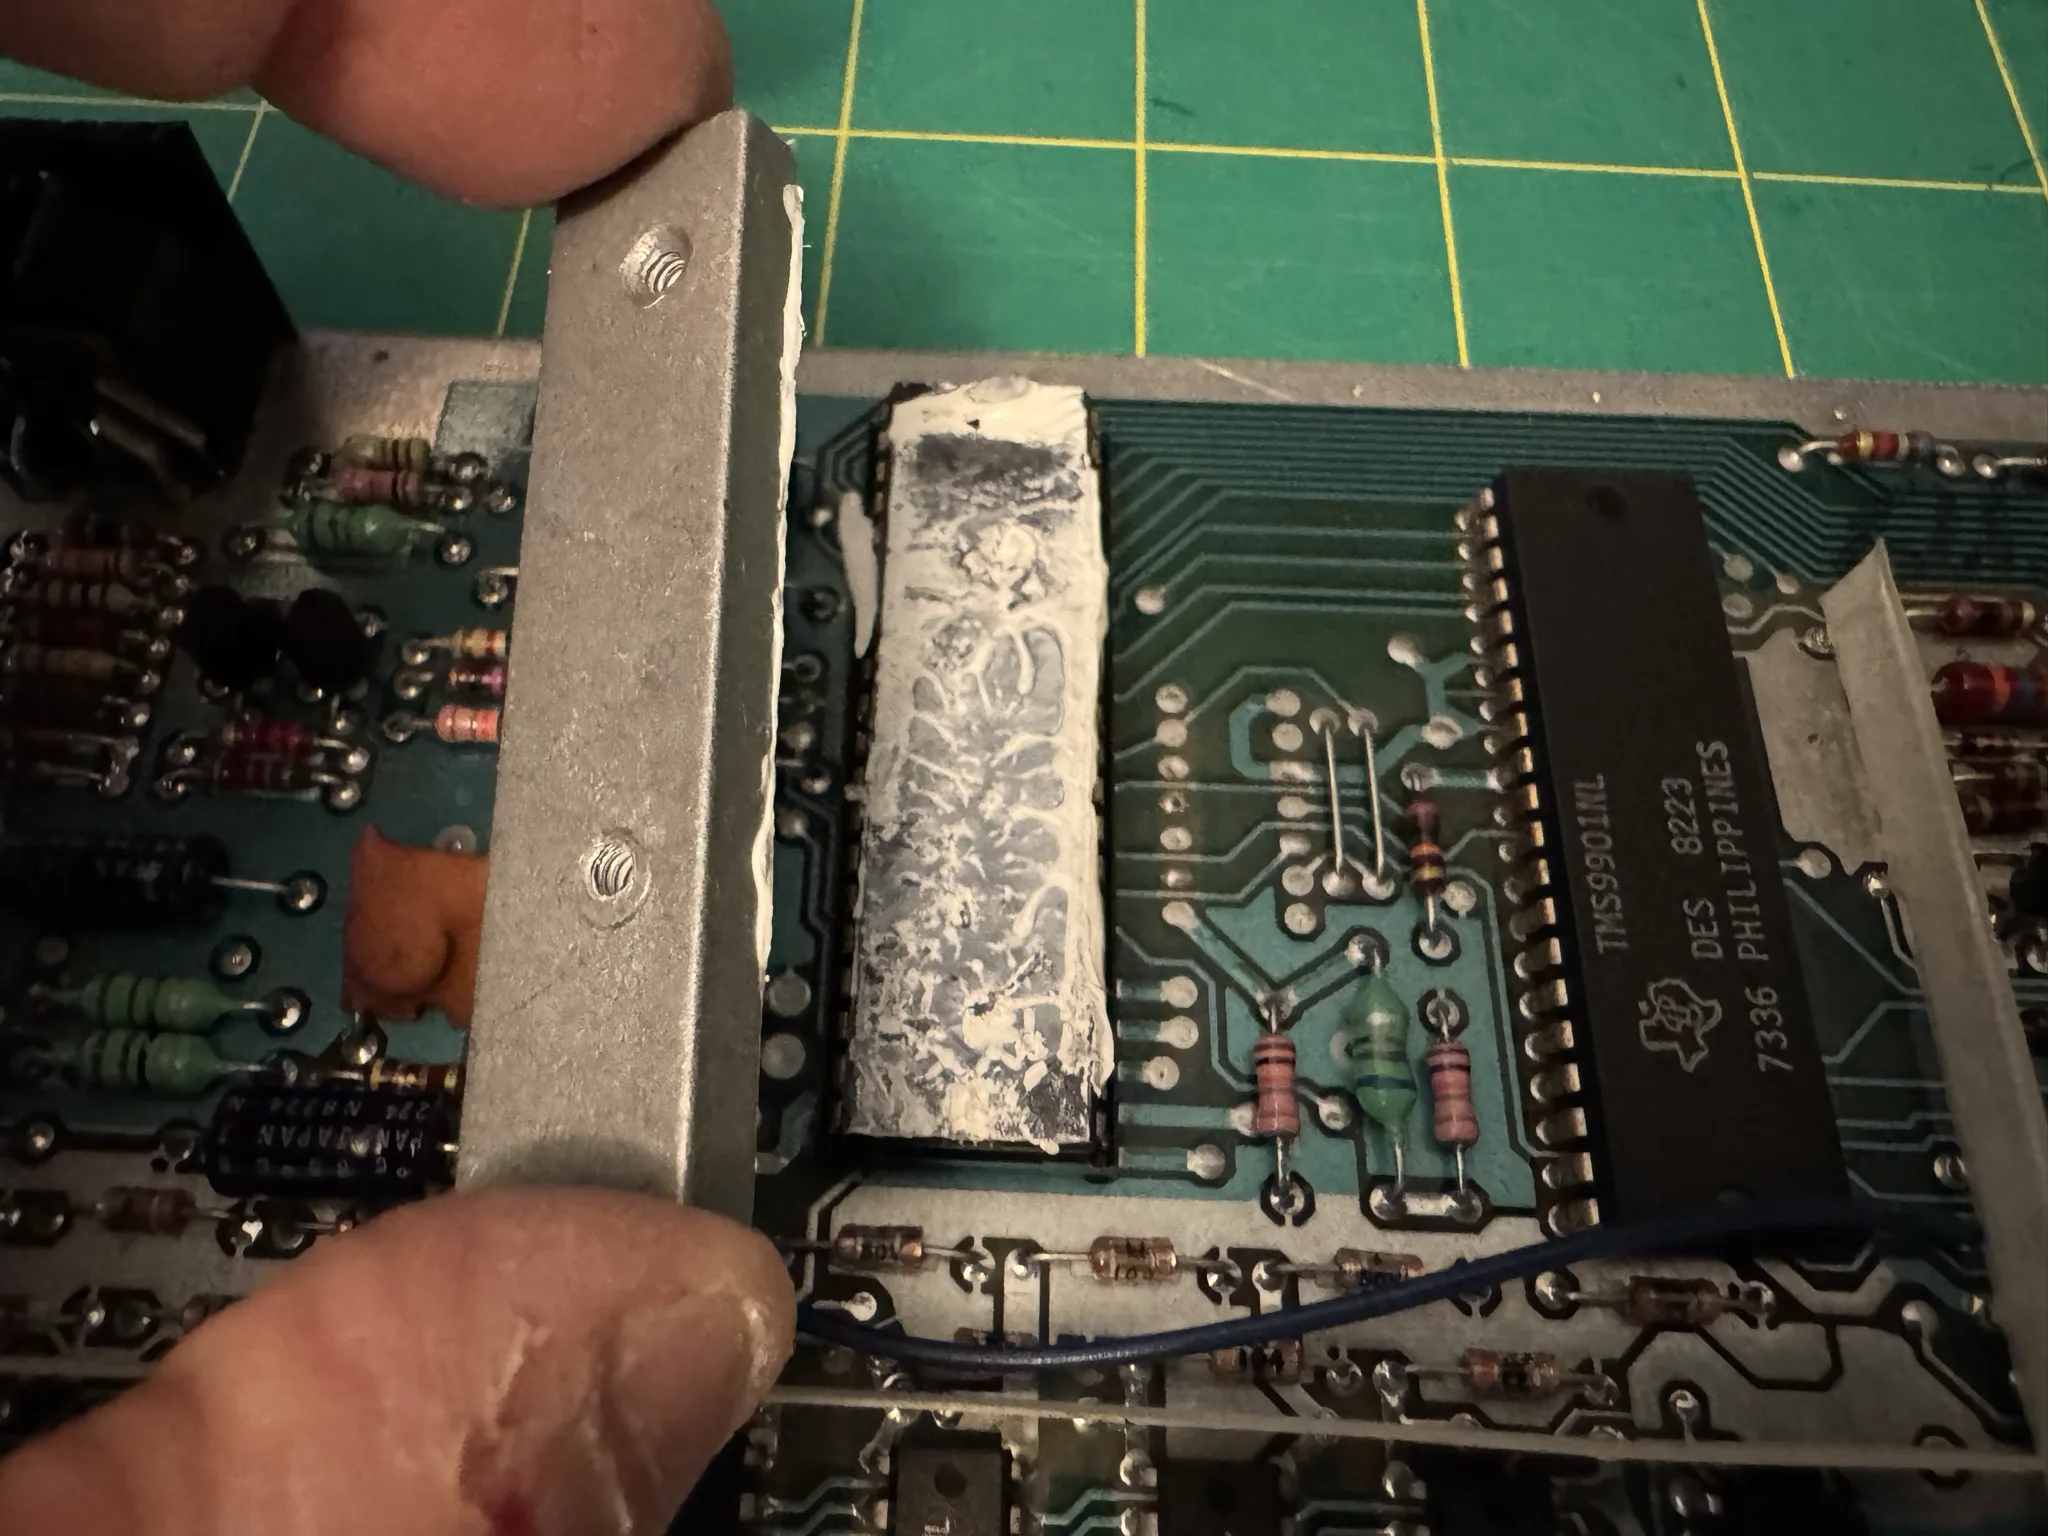
The 9918 graphics chip apparently gets hot so was cooled by this aluminum block. The white stuff is some kind of conductive thermal paste to assist with the heat transfer I assume. The aluminum block was attached to the outer shielding which then also acted as heat disapation.
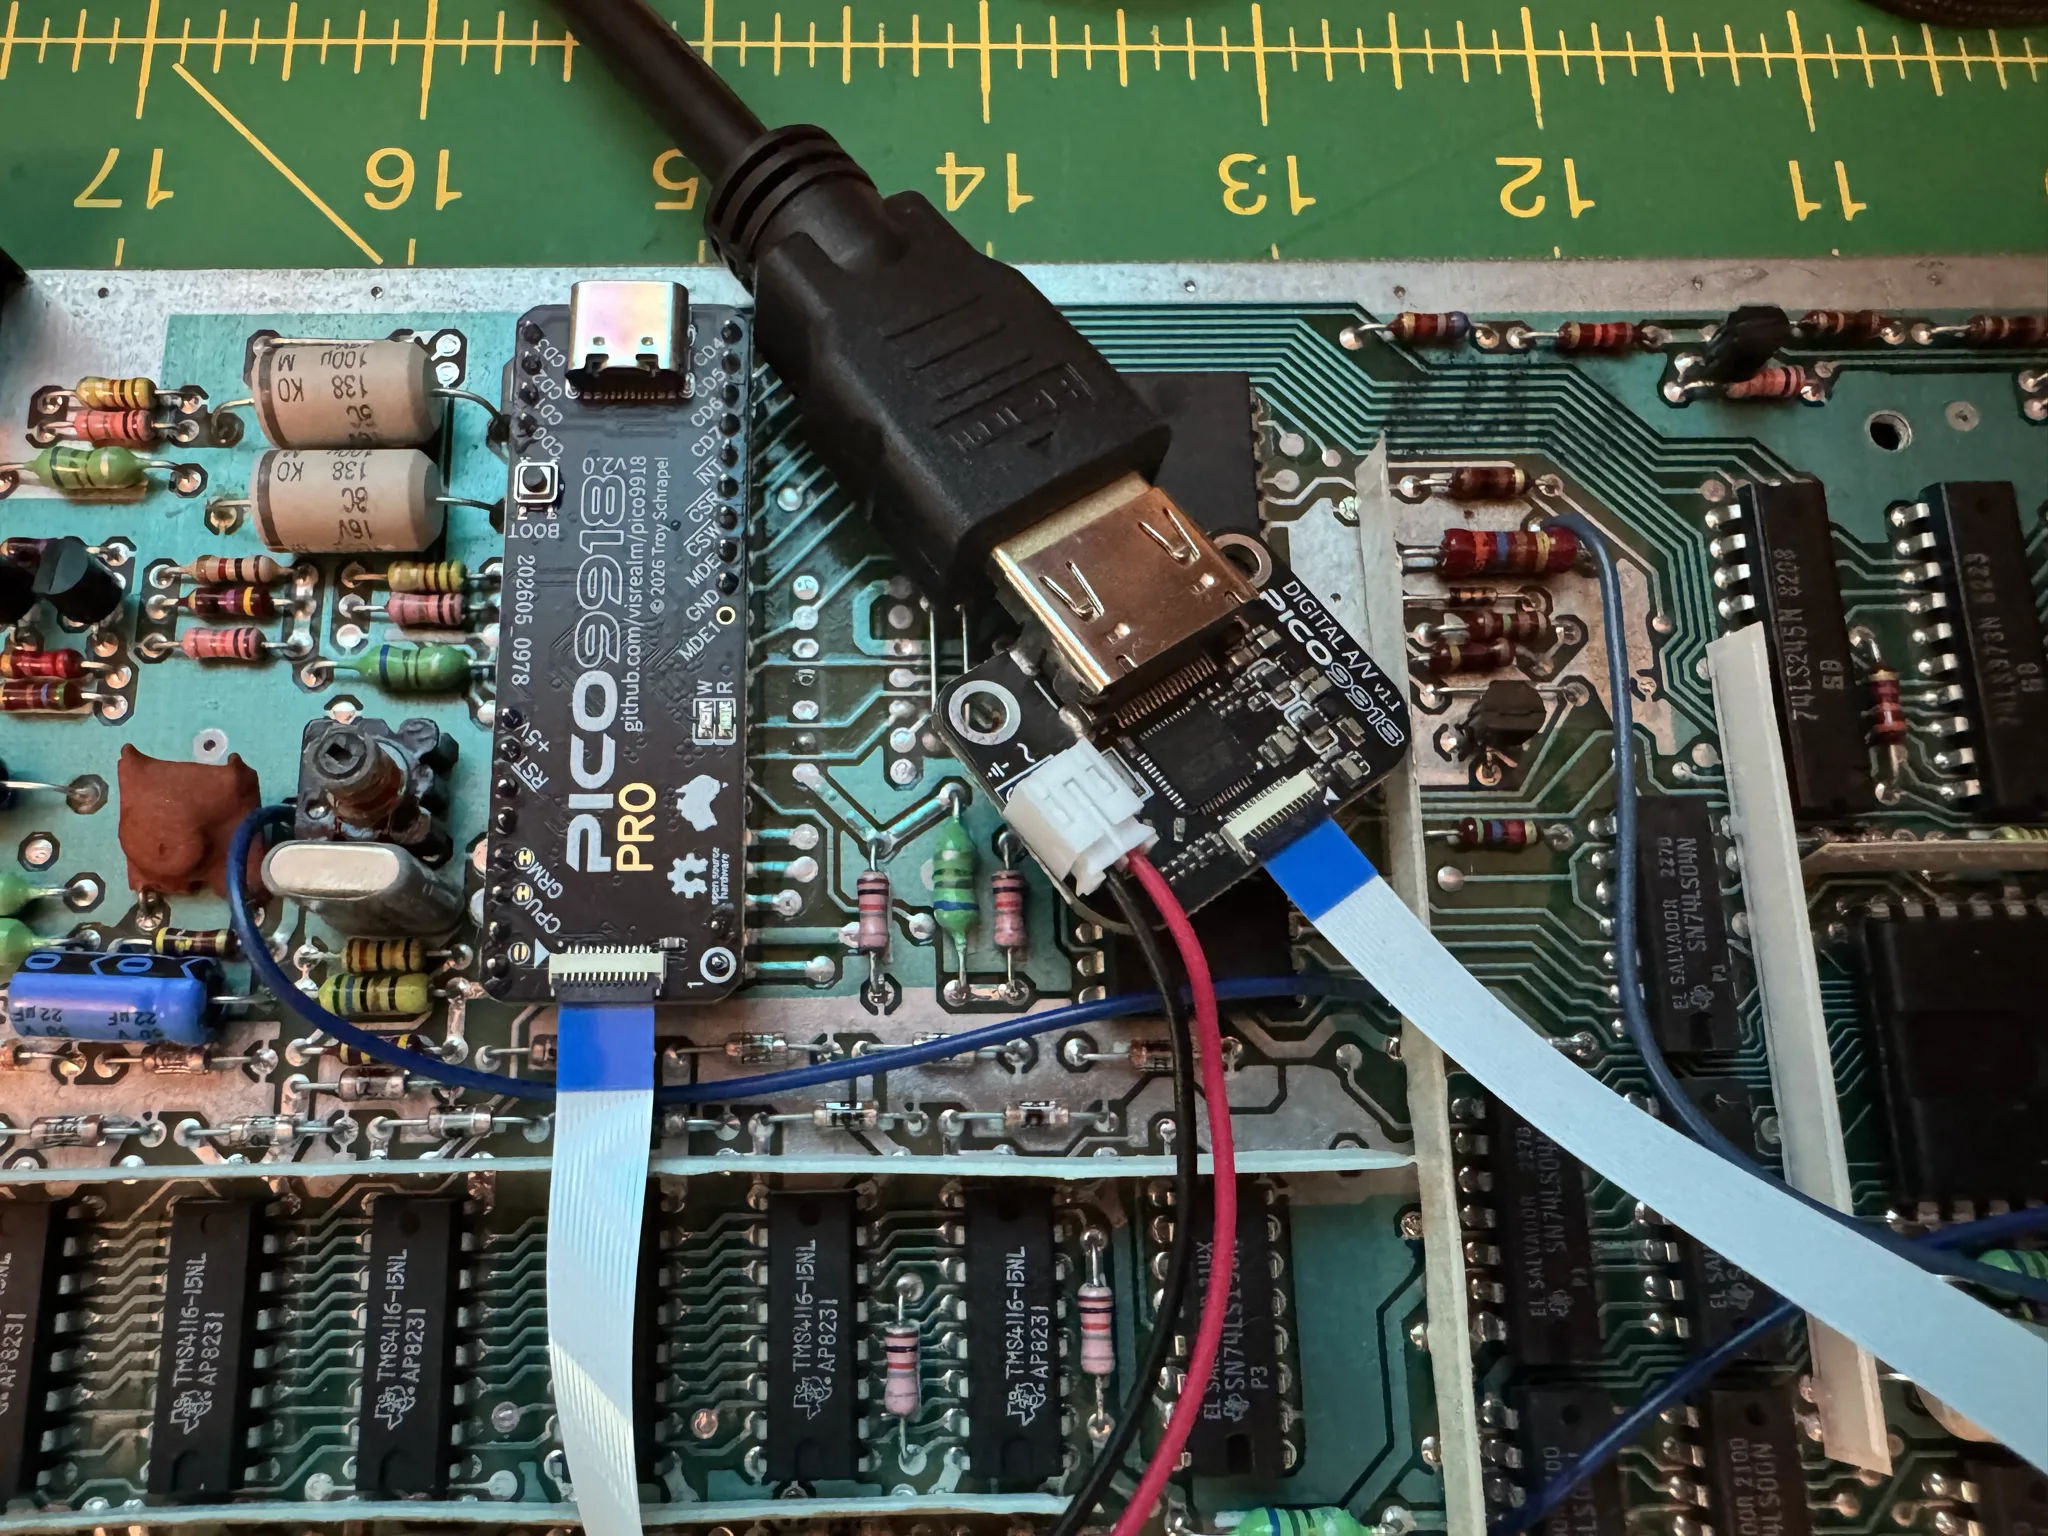
I’m going to be replacing this chip with a Pico9918 mod that will enable the use of HDMI as output.
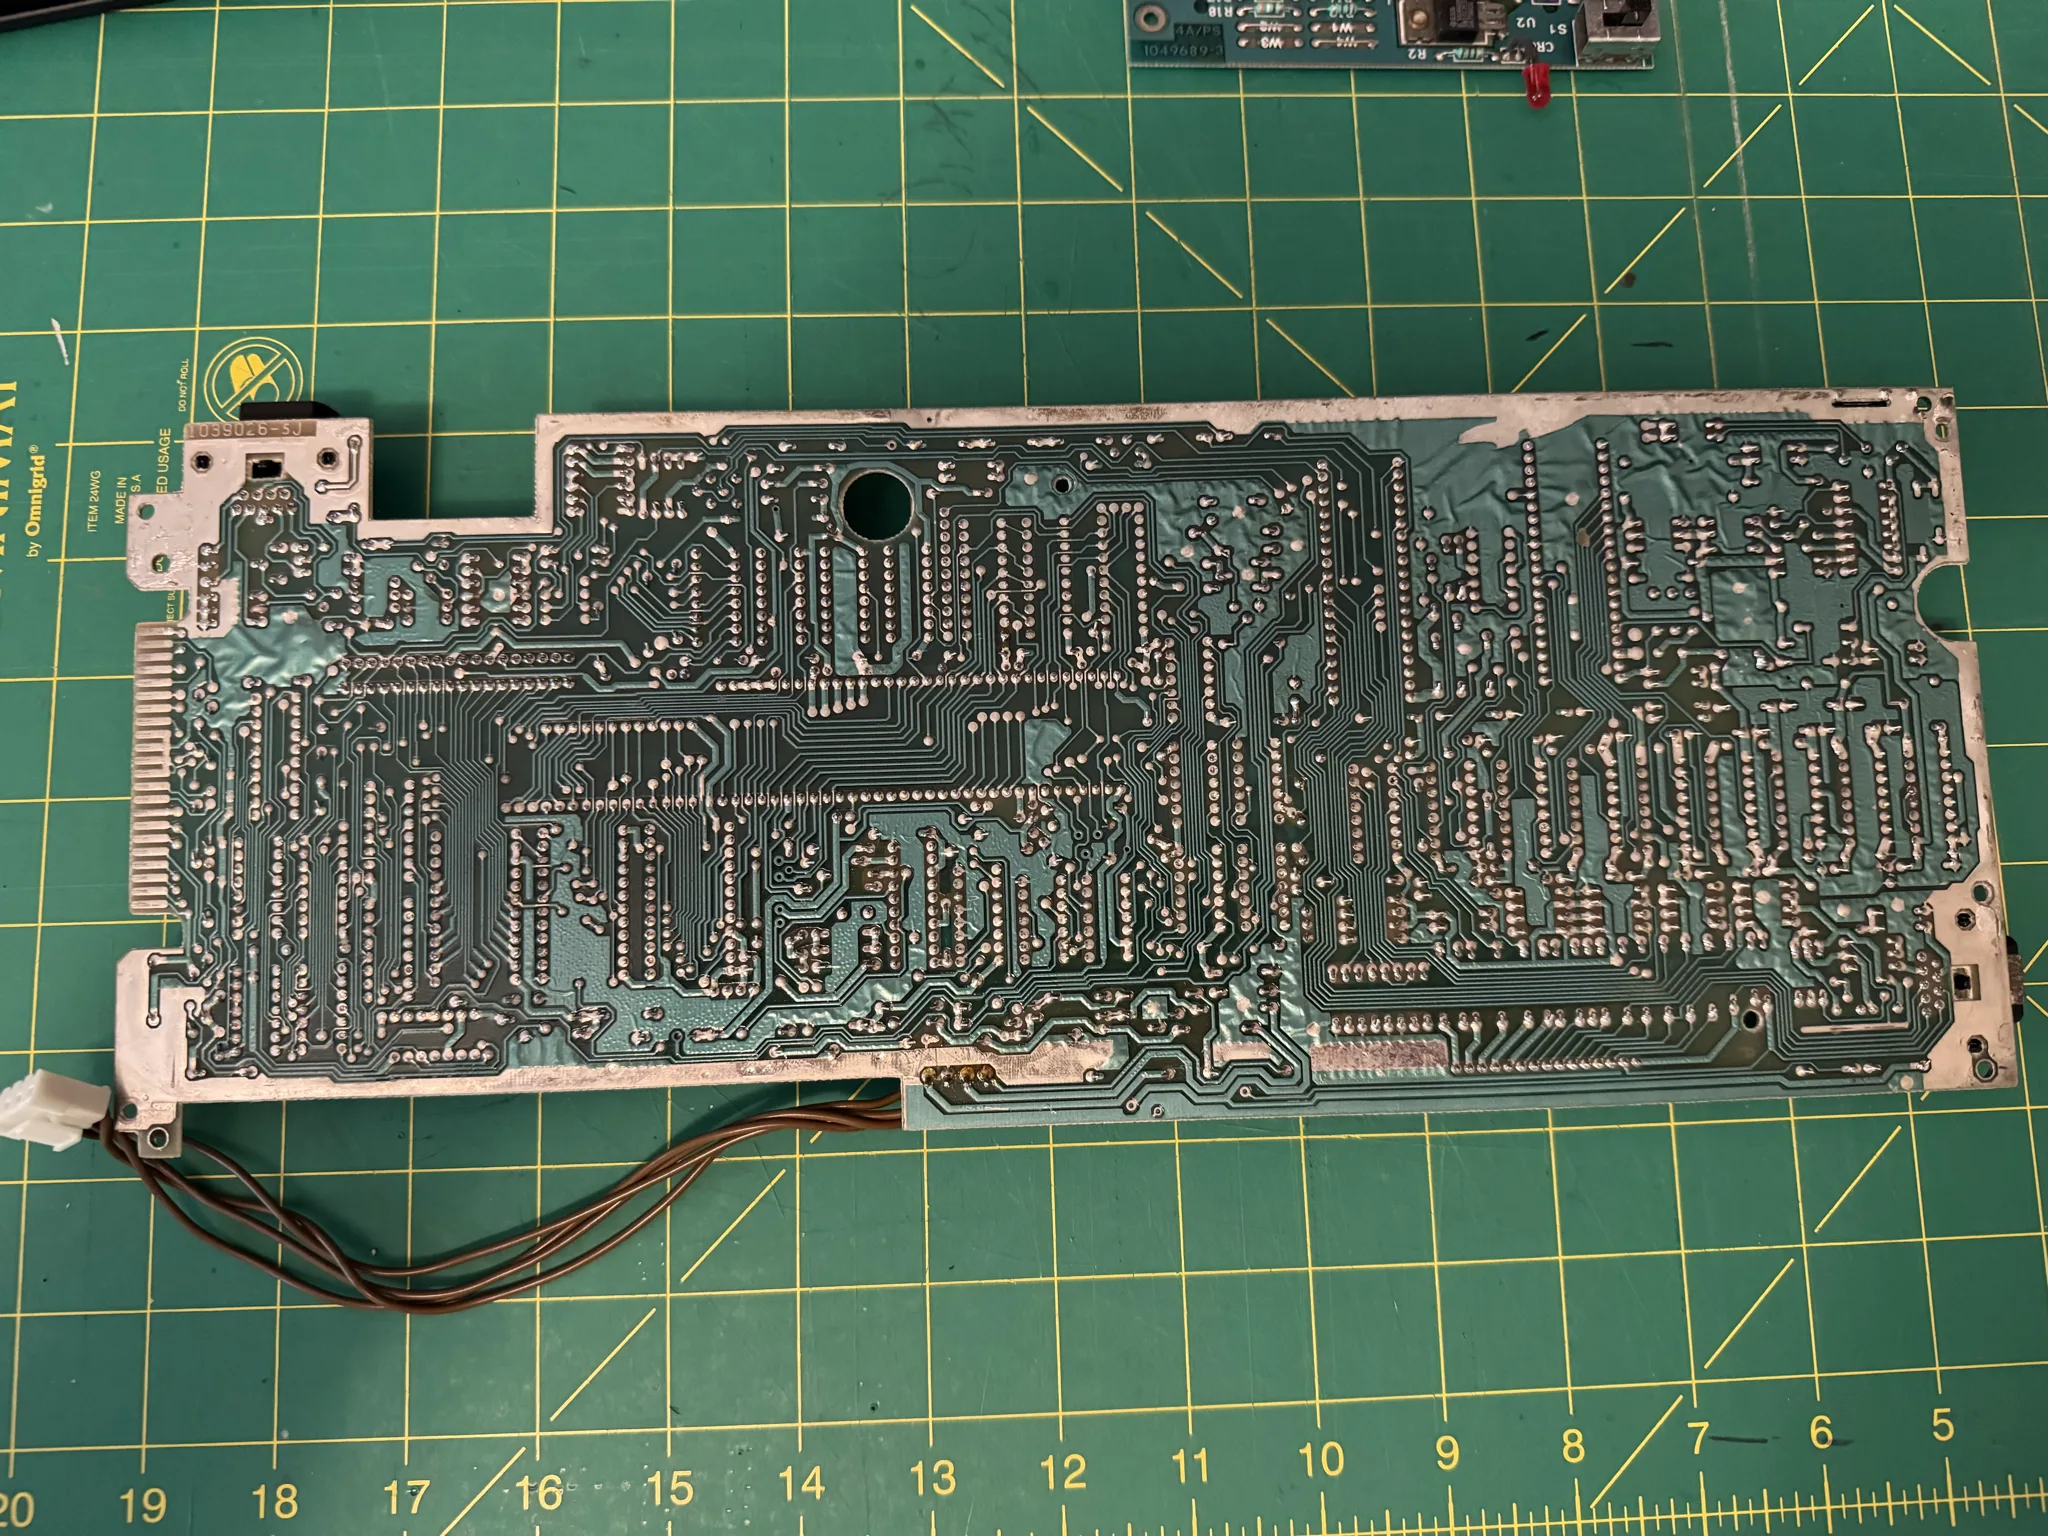
This is the bottom of the circuit board. Old electronics like this are easy to work on because the size of the components is practical for fat-fingered hands. I’ll be doing my soldering work here and on the underside of the power supply board as well.
Here are the two capacitor bags I got from Console5.
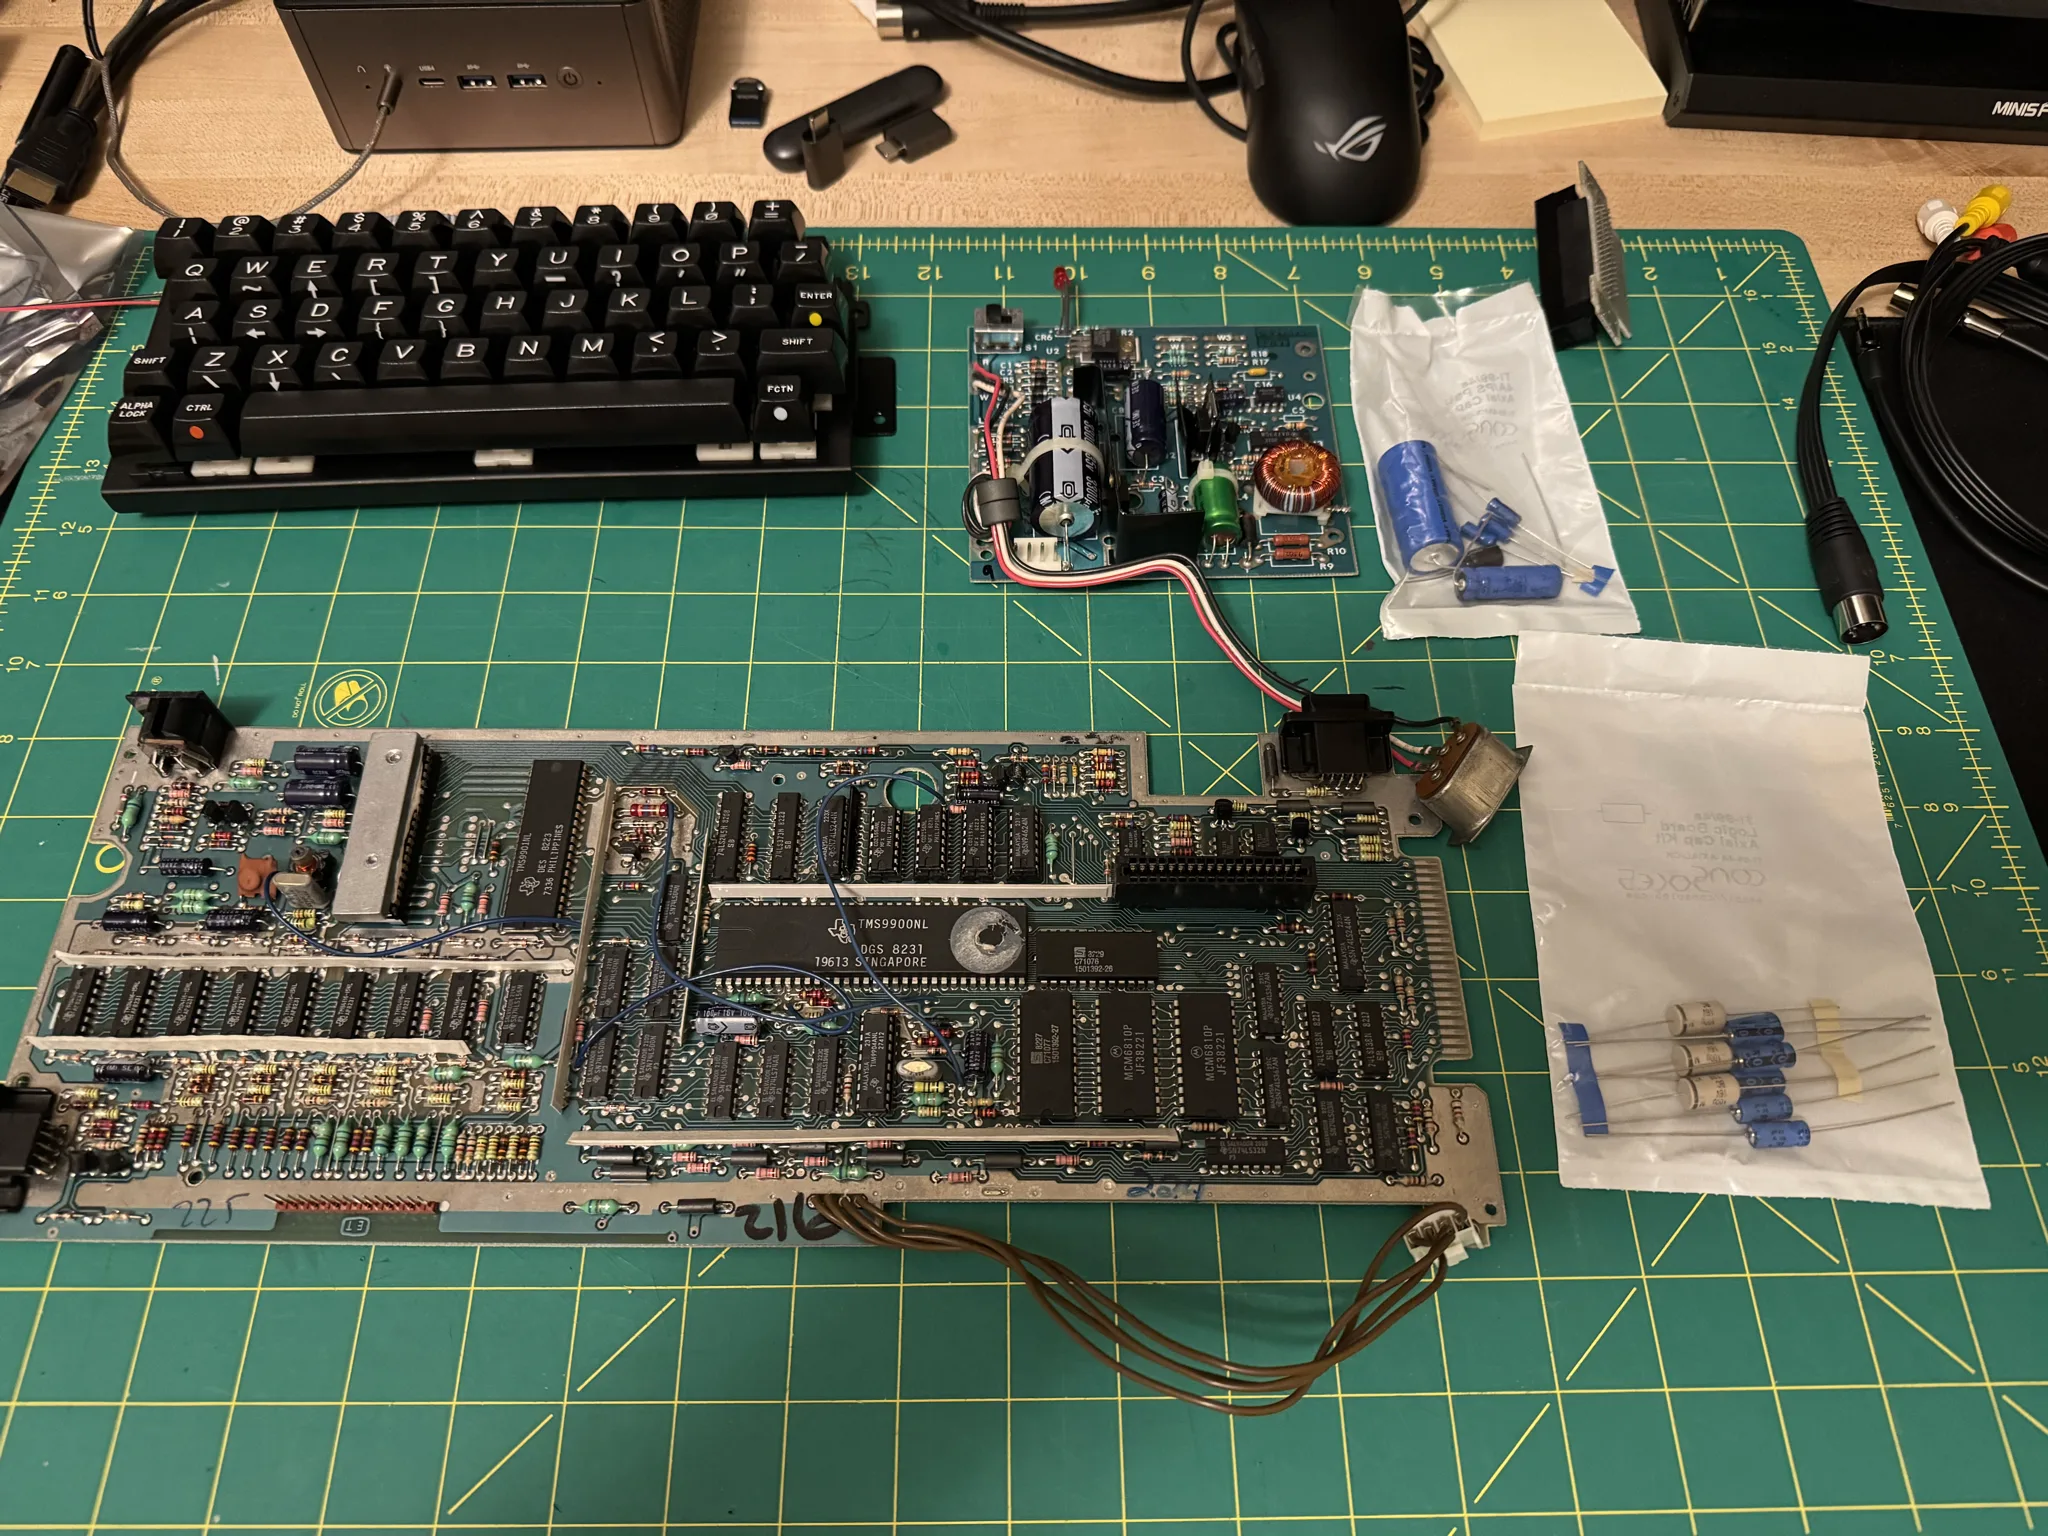
Here you can see the new baby blue capacitors and also the white ones from the Console5 kit. I’ve removed the old ones and replaced them with the new ones.
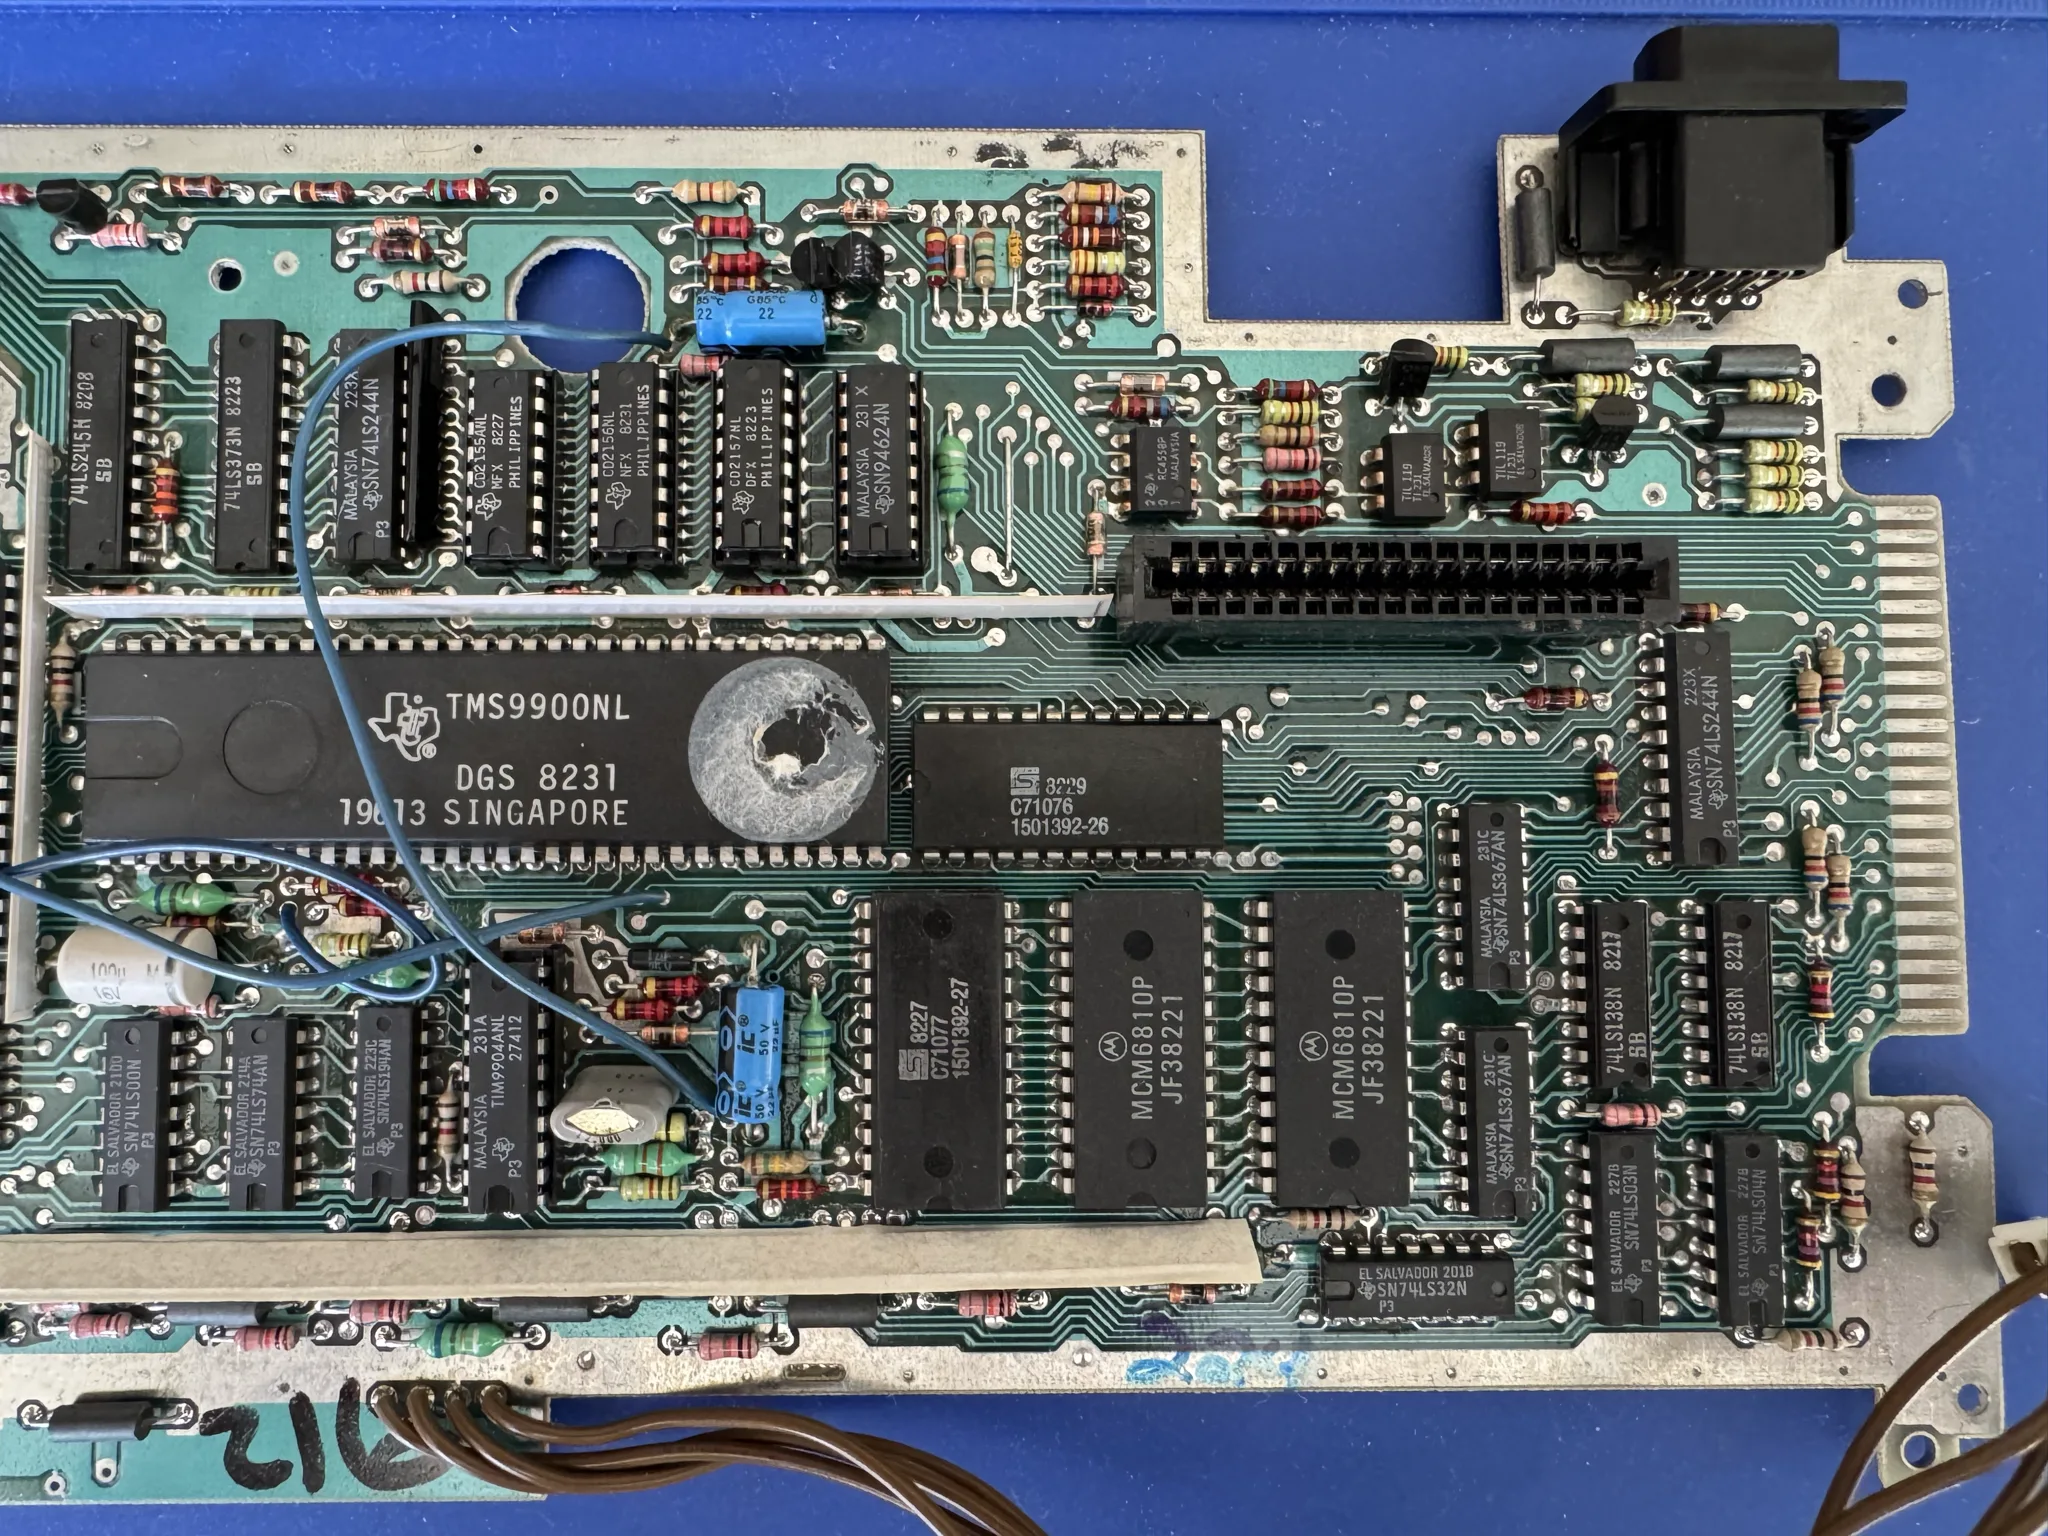
Likewise, a couple replaced on the right side of the board as well.
Here is the power supply with new capacitors as well. I also used 99% Isopropyl Alcohol with Q-tips to clean both boards, though this wasn’t absolutely necessary since they started out quite clean already.
At this point, I plugged in an early RetroTink unit which converts composite video into HDMI and turned on the computer to see if things were working. I only got a black screen so I was worried this was going to be a longer project; which isn’t all bad, because fixing broken electronics is a fun challenge. However, I was also eager to see a working computer.
I felt it might just be a problem with how I was hooking up the composite output to the RetroTink. So rather than debug that, I opted to go ahead and install the Pico9918 mod and see if that works. Installing it was thankfully simple as the original graphics chip was slotted rather than soldered directly to the board.
I pulled the old chip out and pushed the replacement mod board in its place. To get sound into the HDMI signal, I have to solder a couple additional wires but I haven’t done that yet.
It worked!
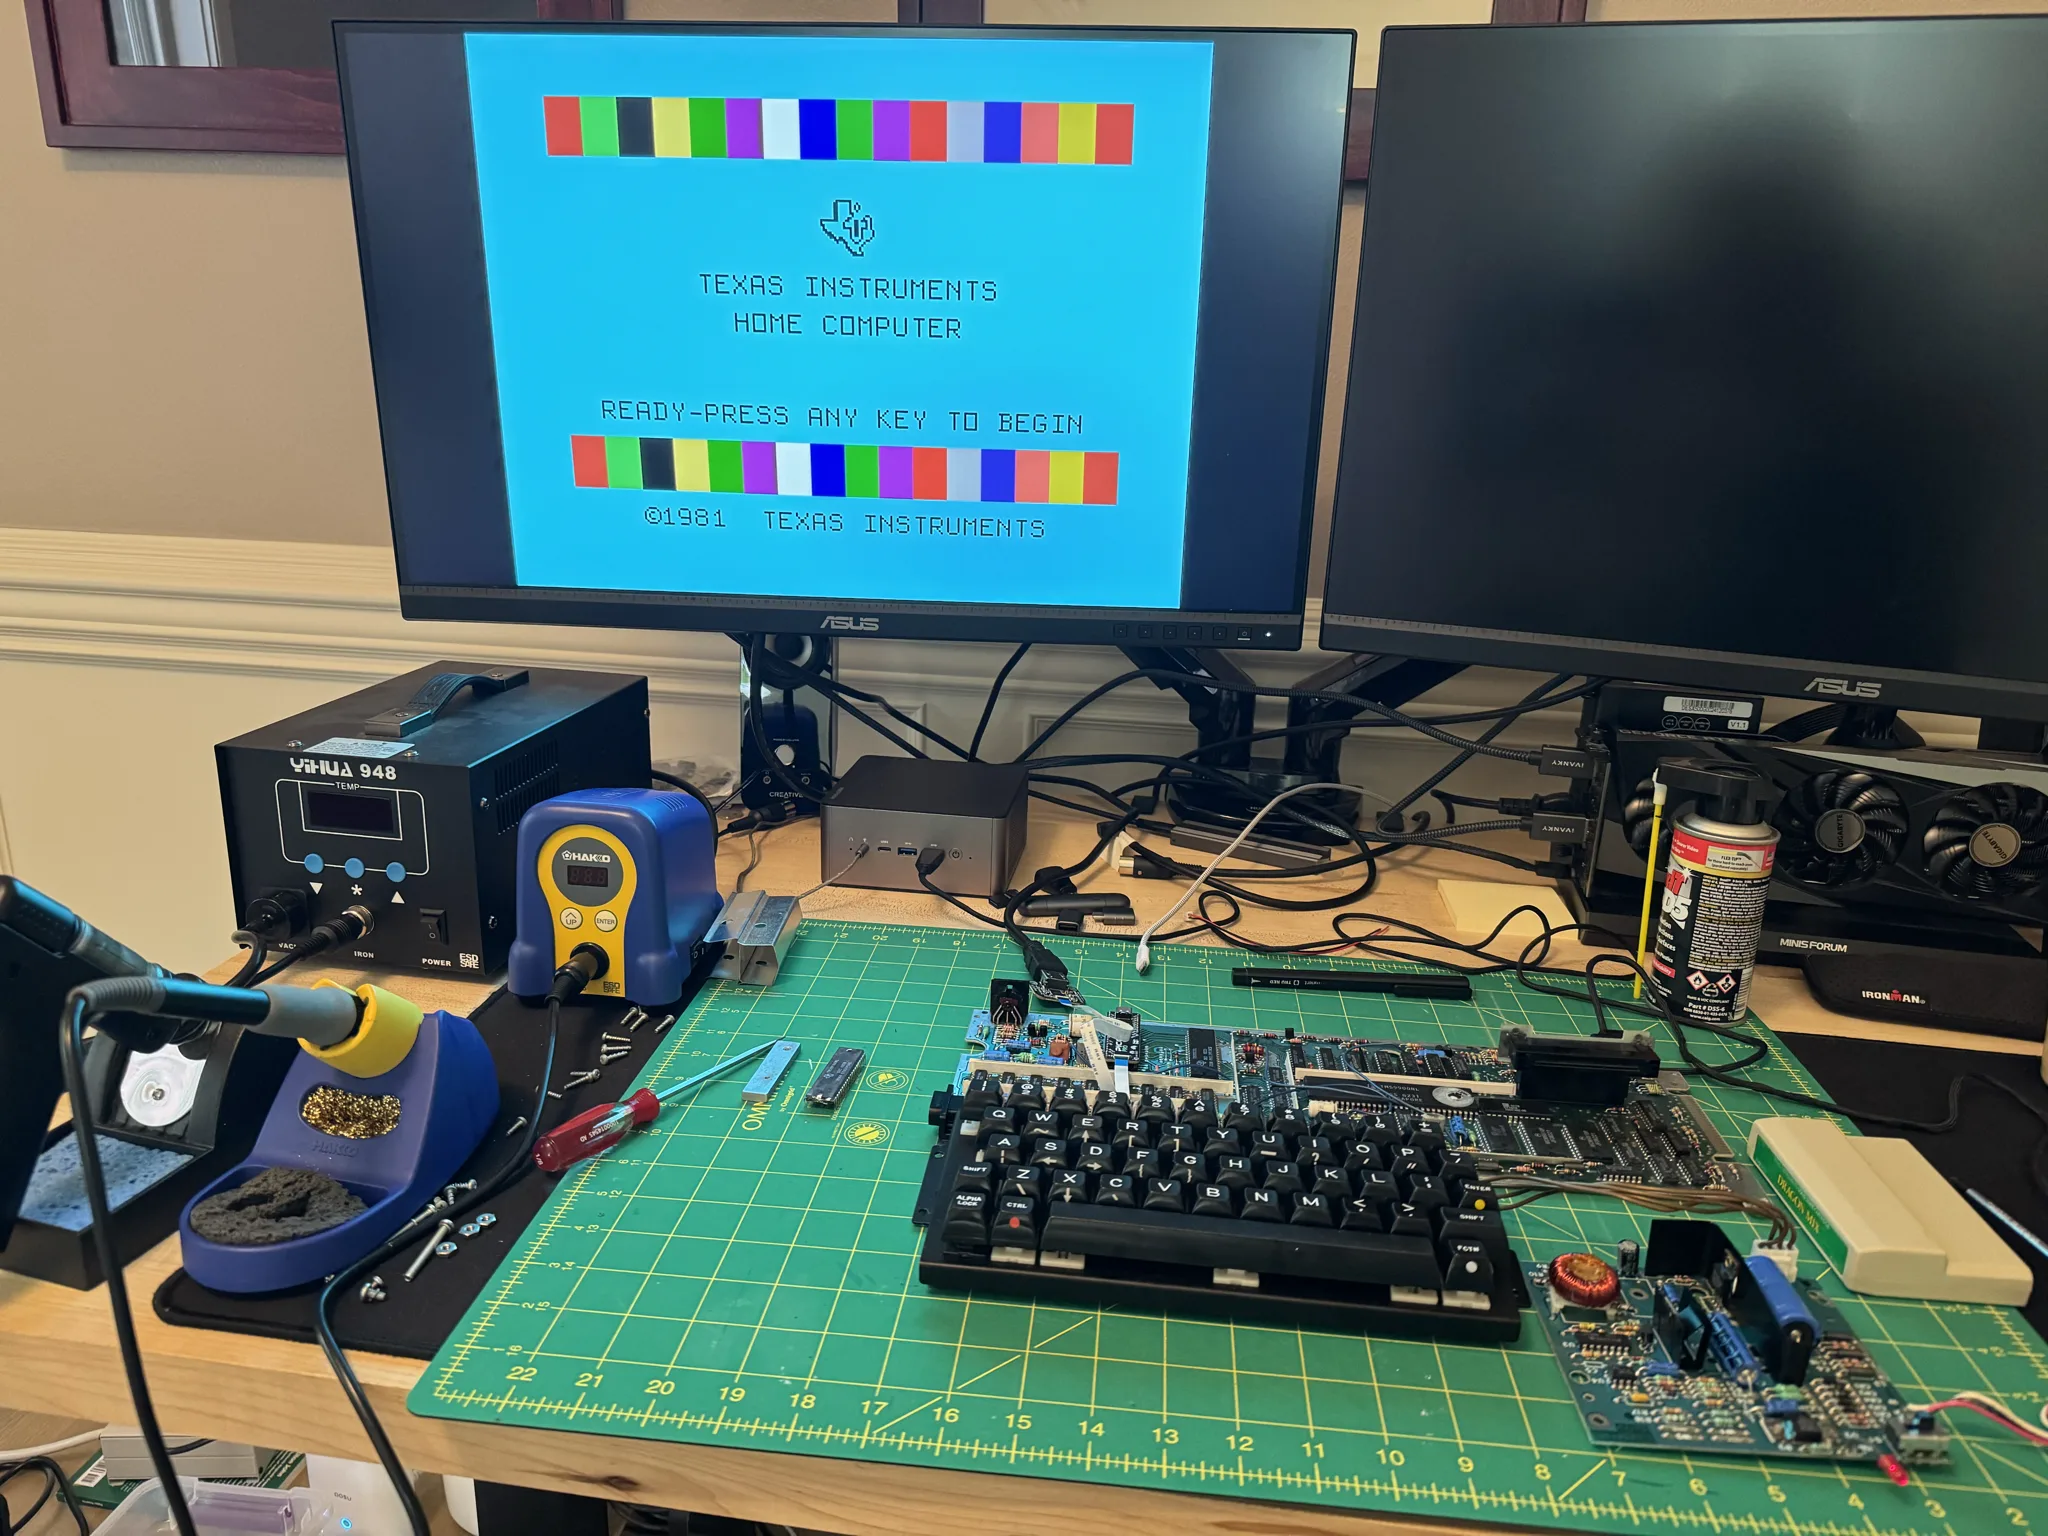
What a nice crisp display for a 40 year old computer!
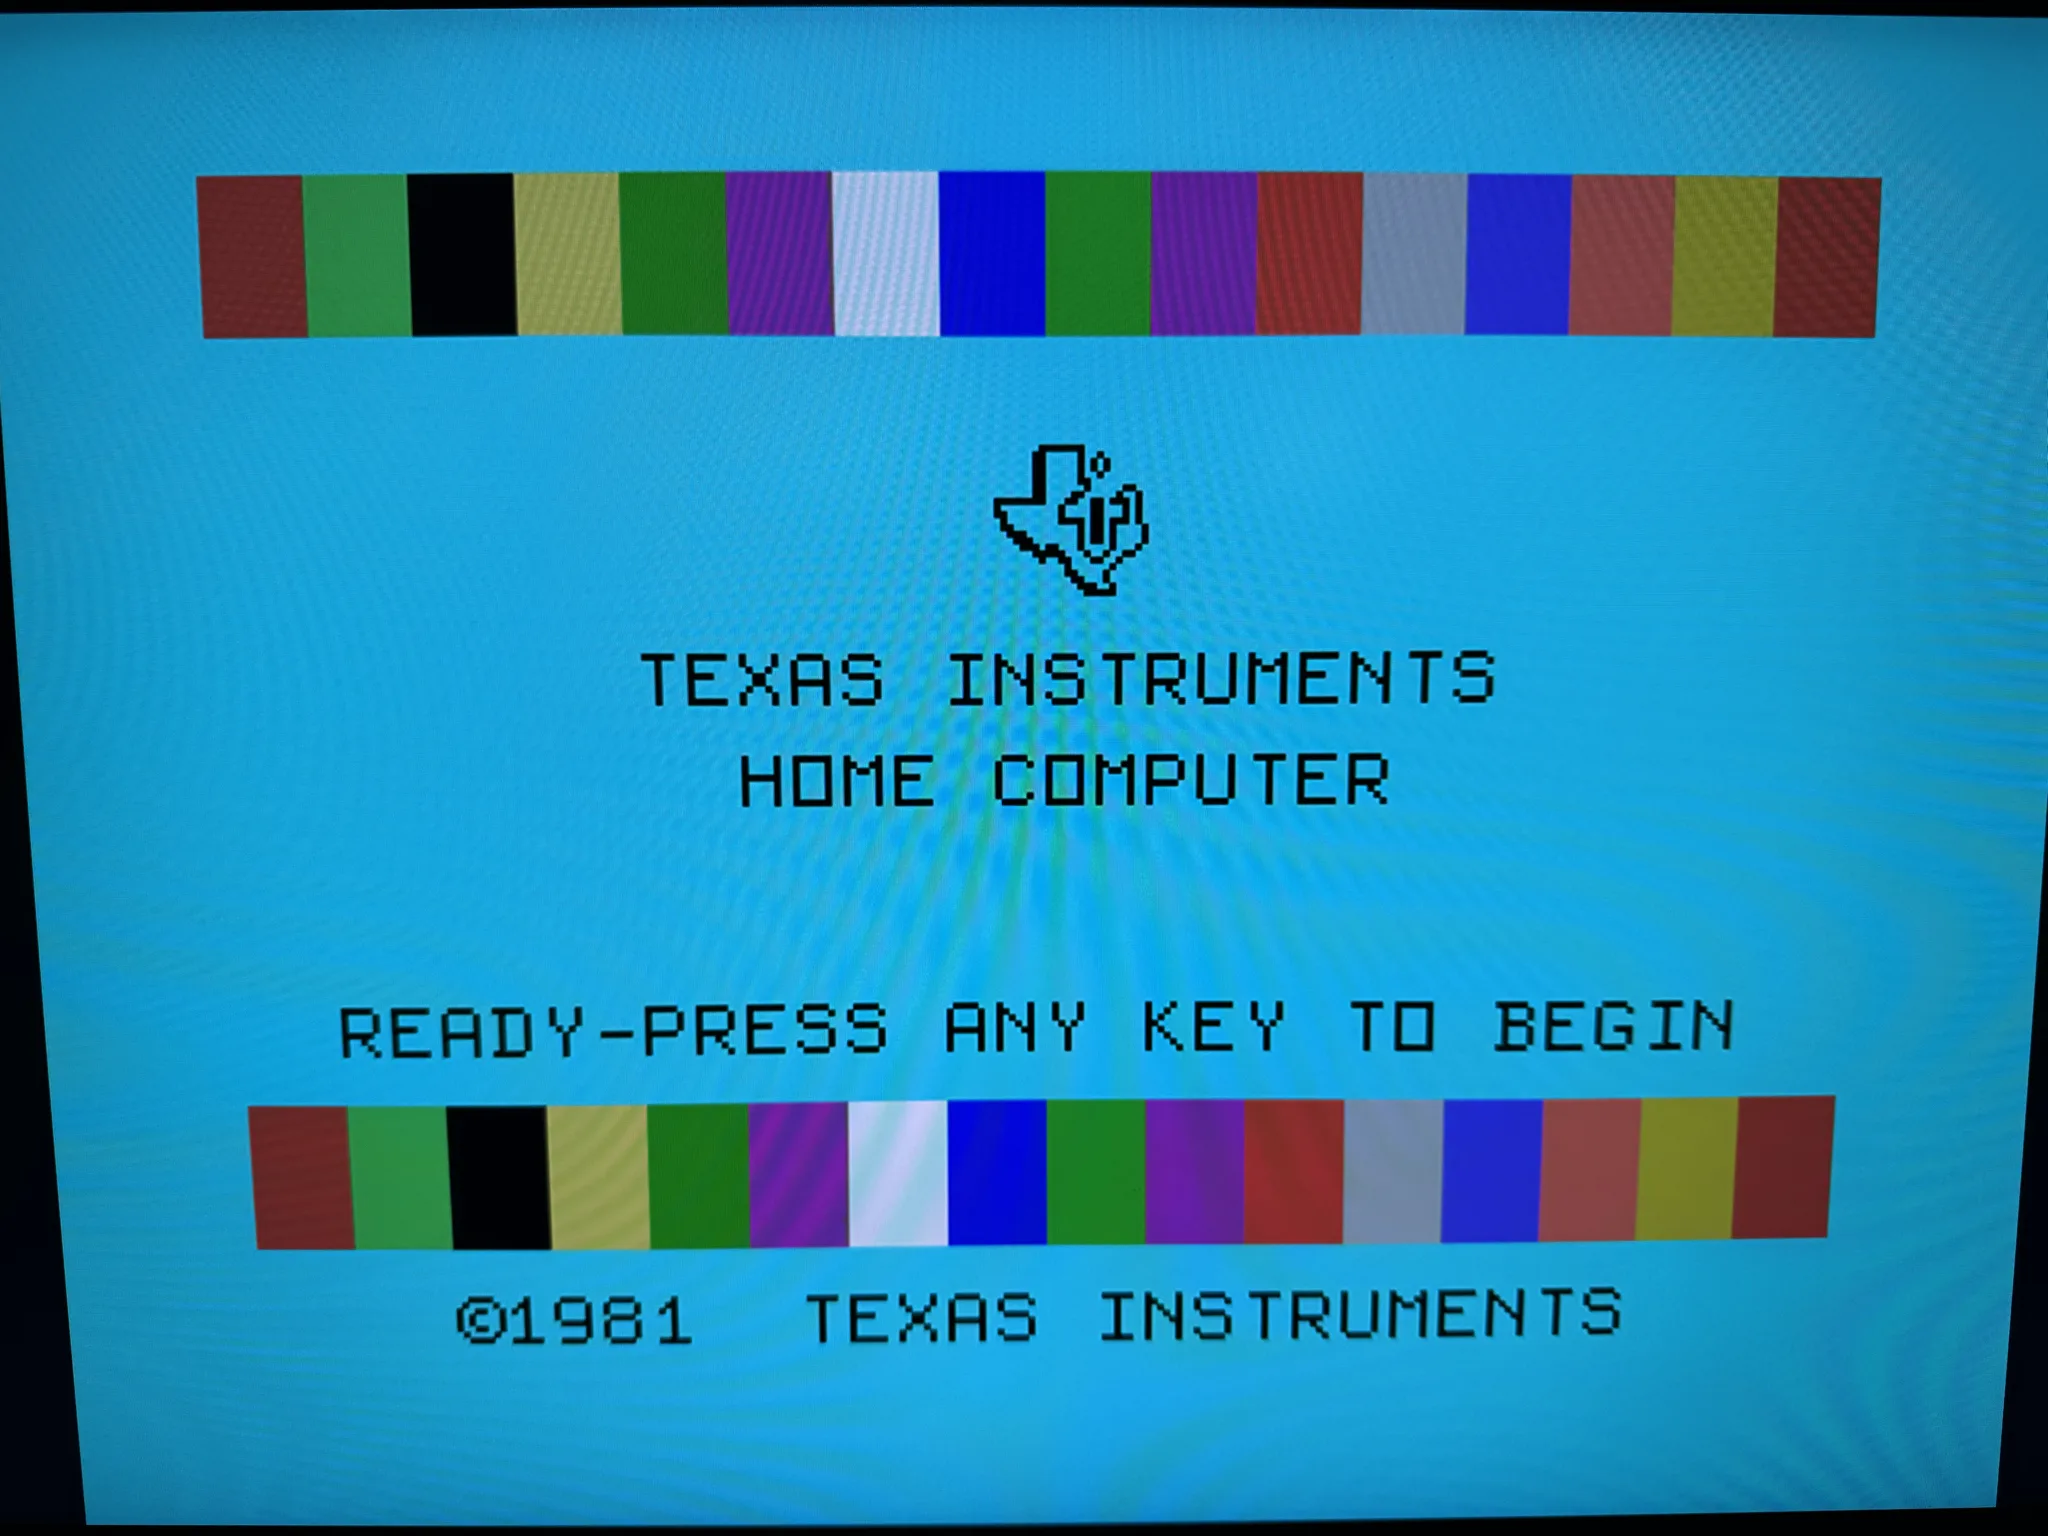
The TI-99/4A has an odd boot methodology. With no cartridge, you are presented with a single selection of “1” to load the built in BASIC. Other computers of the era would simply boot directly into BASIC.
As we will see in a minute, if you have a cartridge plugged in, the menu will render at least one more option for running the software on the cartridge instead of going into BASIC.
This menuing system could have been skipped. If a cartridge isn’t present the computer should go straight to BASIC. If the cartridge is present, the computer could go straight to the cartridge software. I think this is what most computers of the time did. On the other hand, Texas Instruments might have done this to reduce the wear and tear on the prized cartridge port.
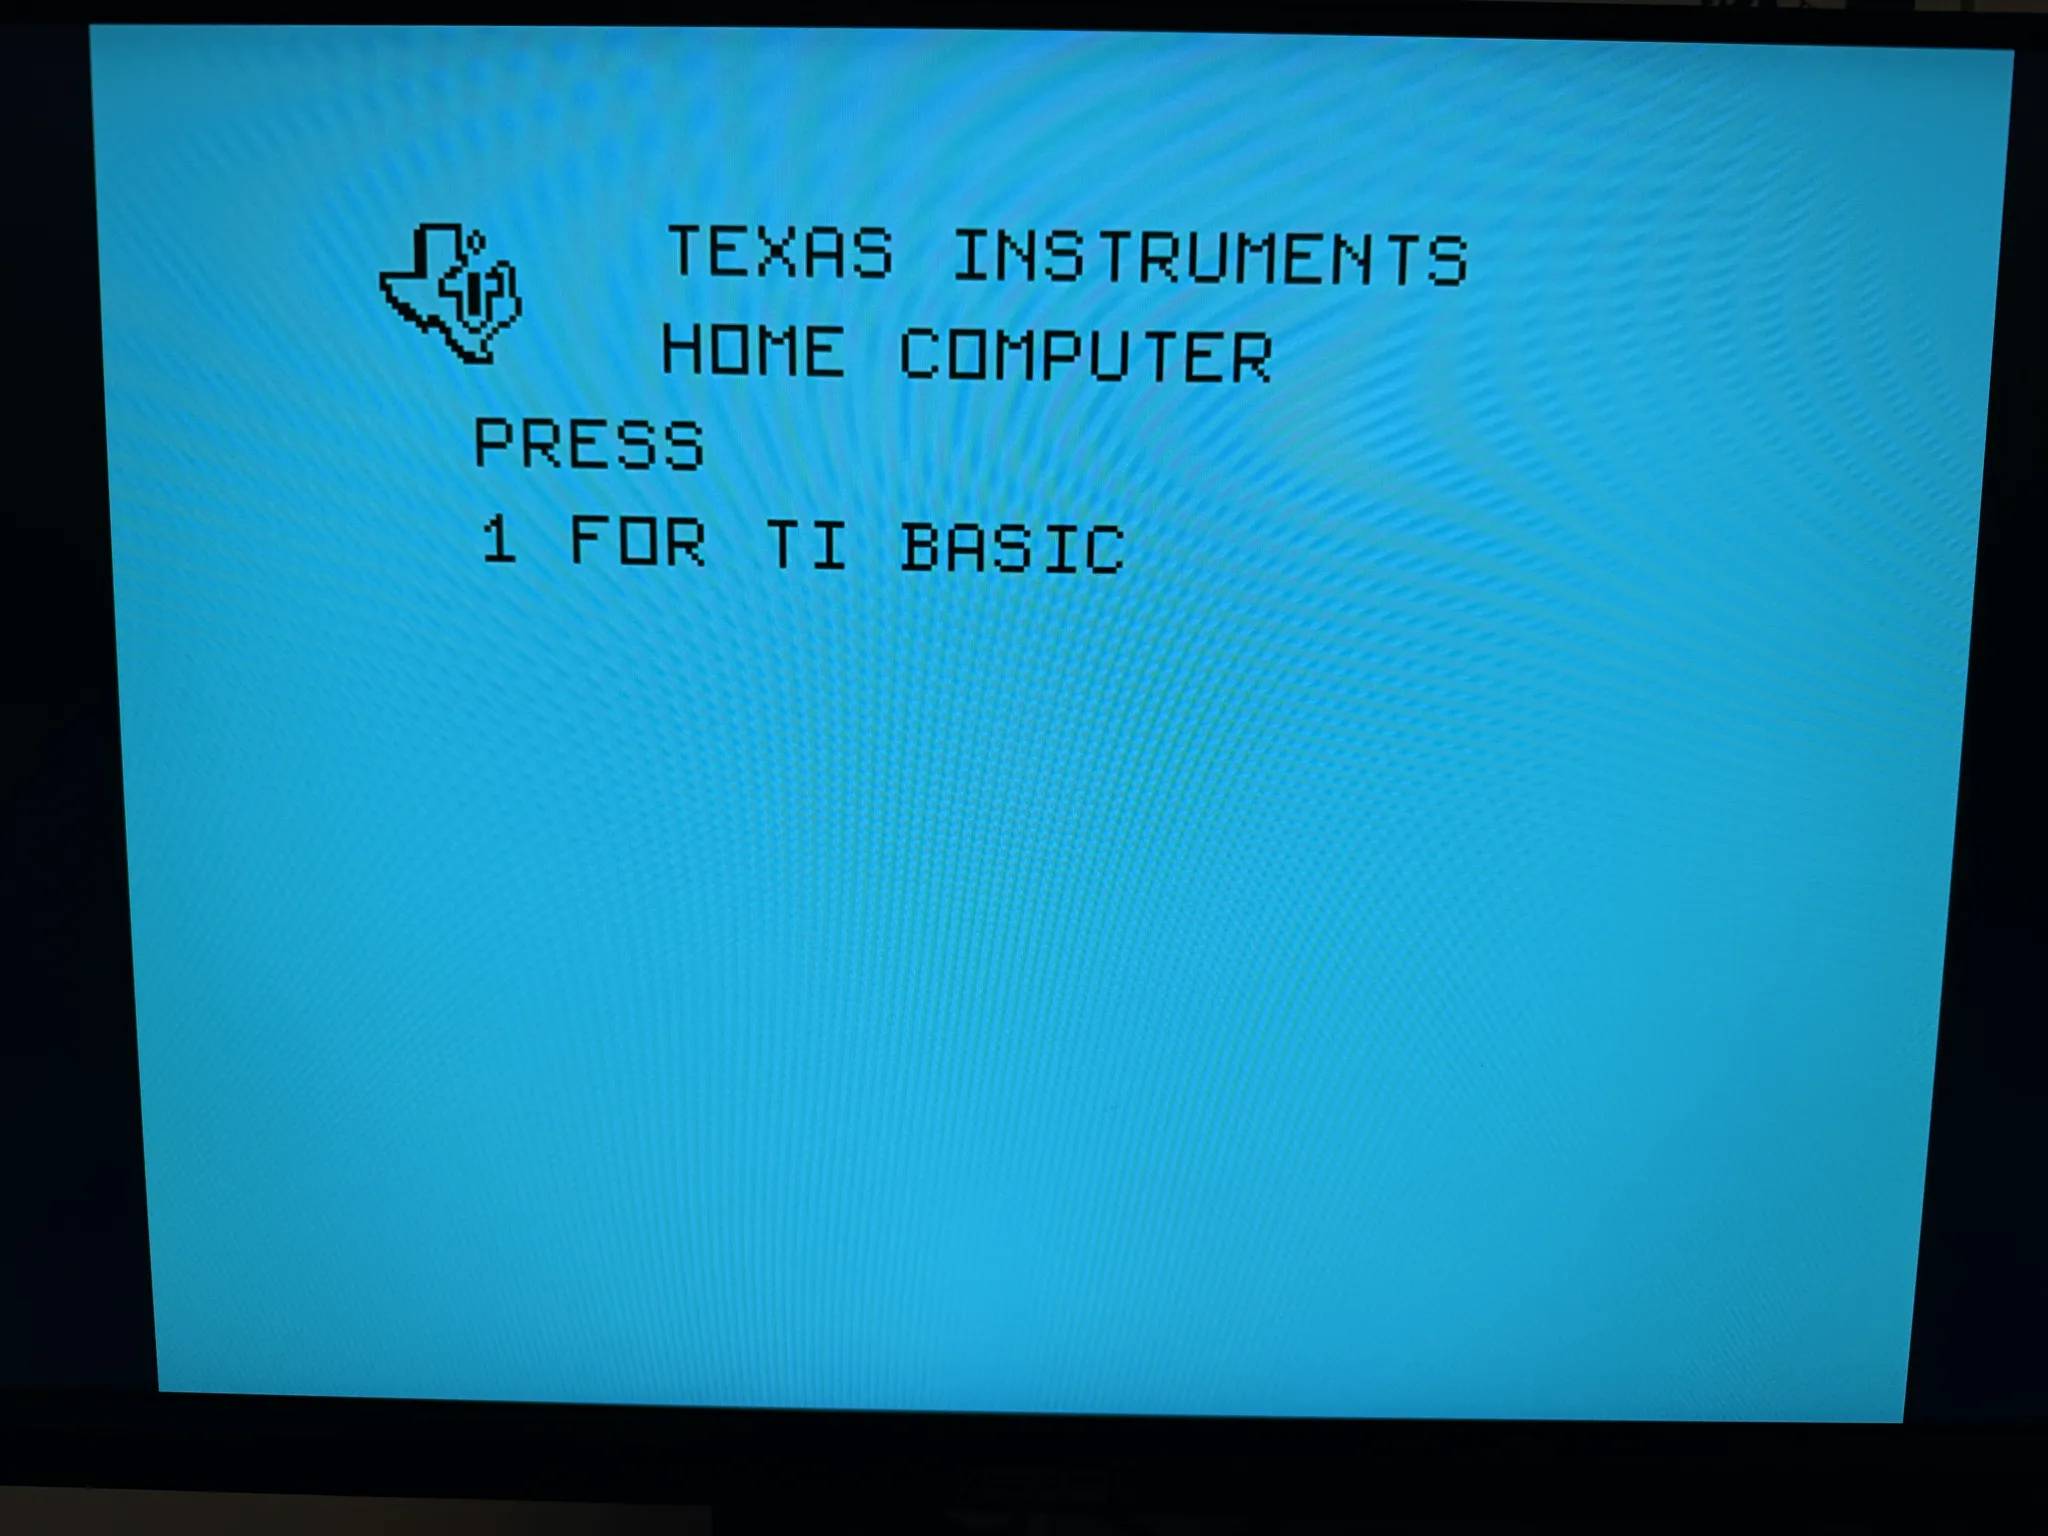
I purchased an adaptor for the joystick port so I can use joysticks with the standard Atari interface. This adaptor also allows me to plug in two joysticks. I believe the original TI joystick solution was always two joysticks connected through the single port.
Other mods I got are the FinalGrom cartridge and a 32K memory upgrade cartridge that plugs into the side port of the computer. The FinalGrom cartridge is the current favorite solution for having a collecion of software on an SD card. The cartridge will interface with the TI menu system to allow me to navigate folders and select a program to run.
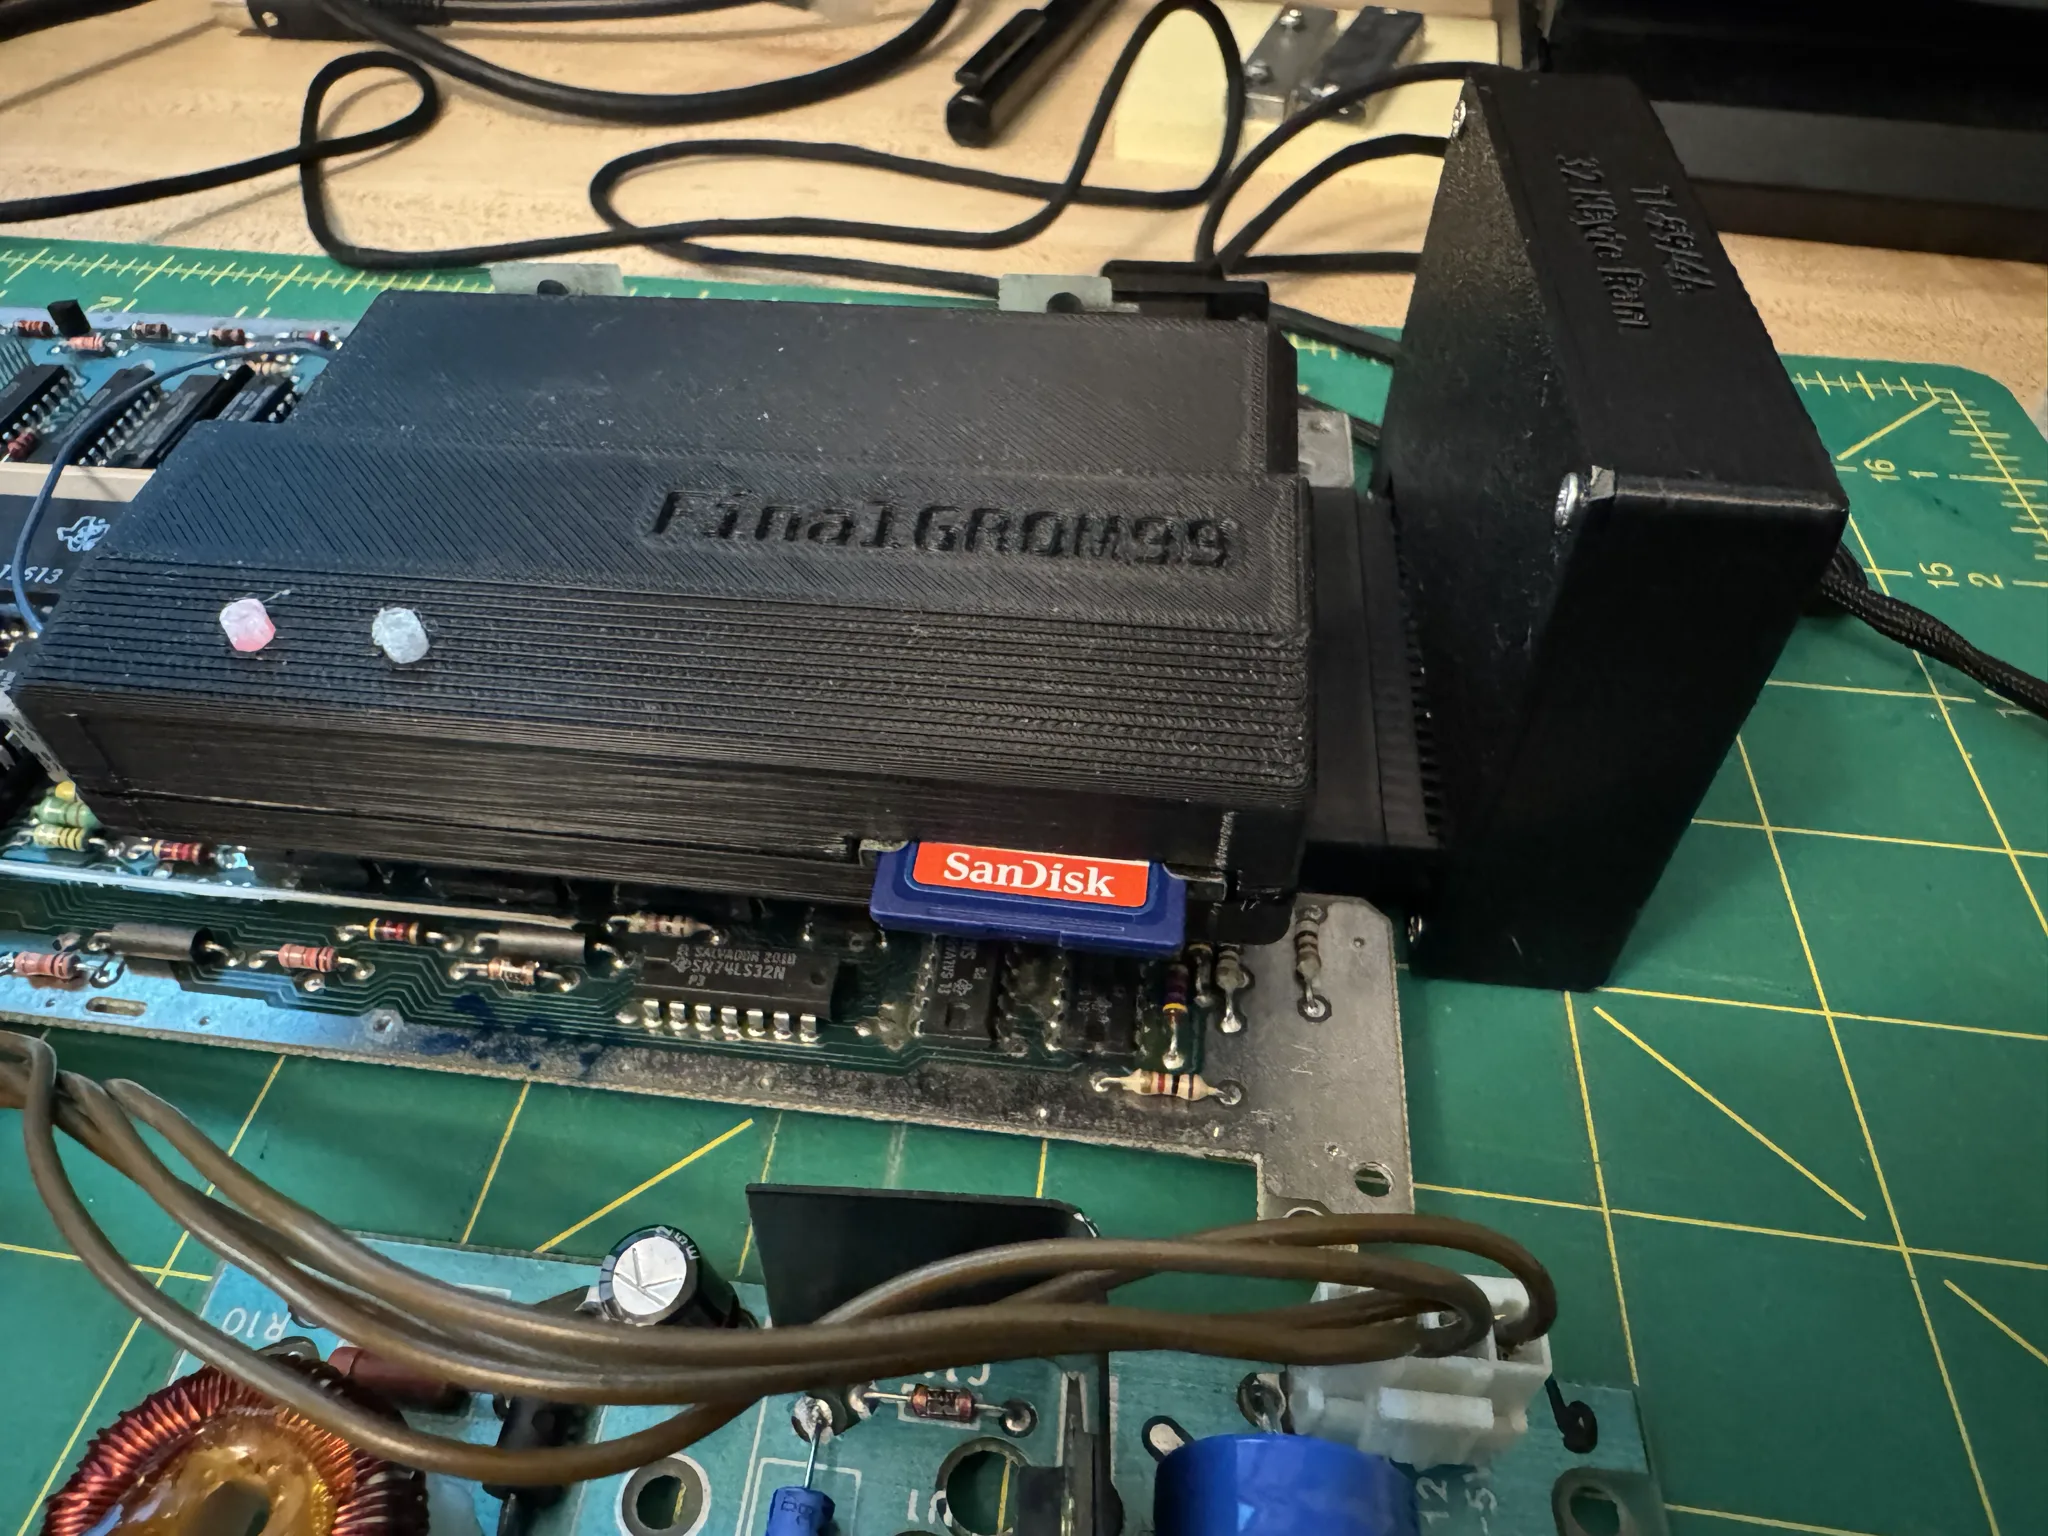
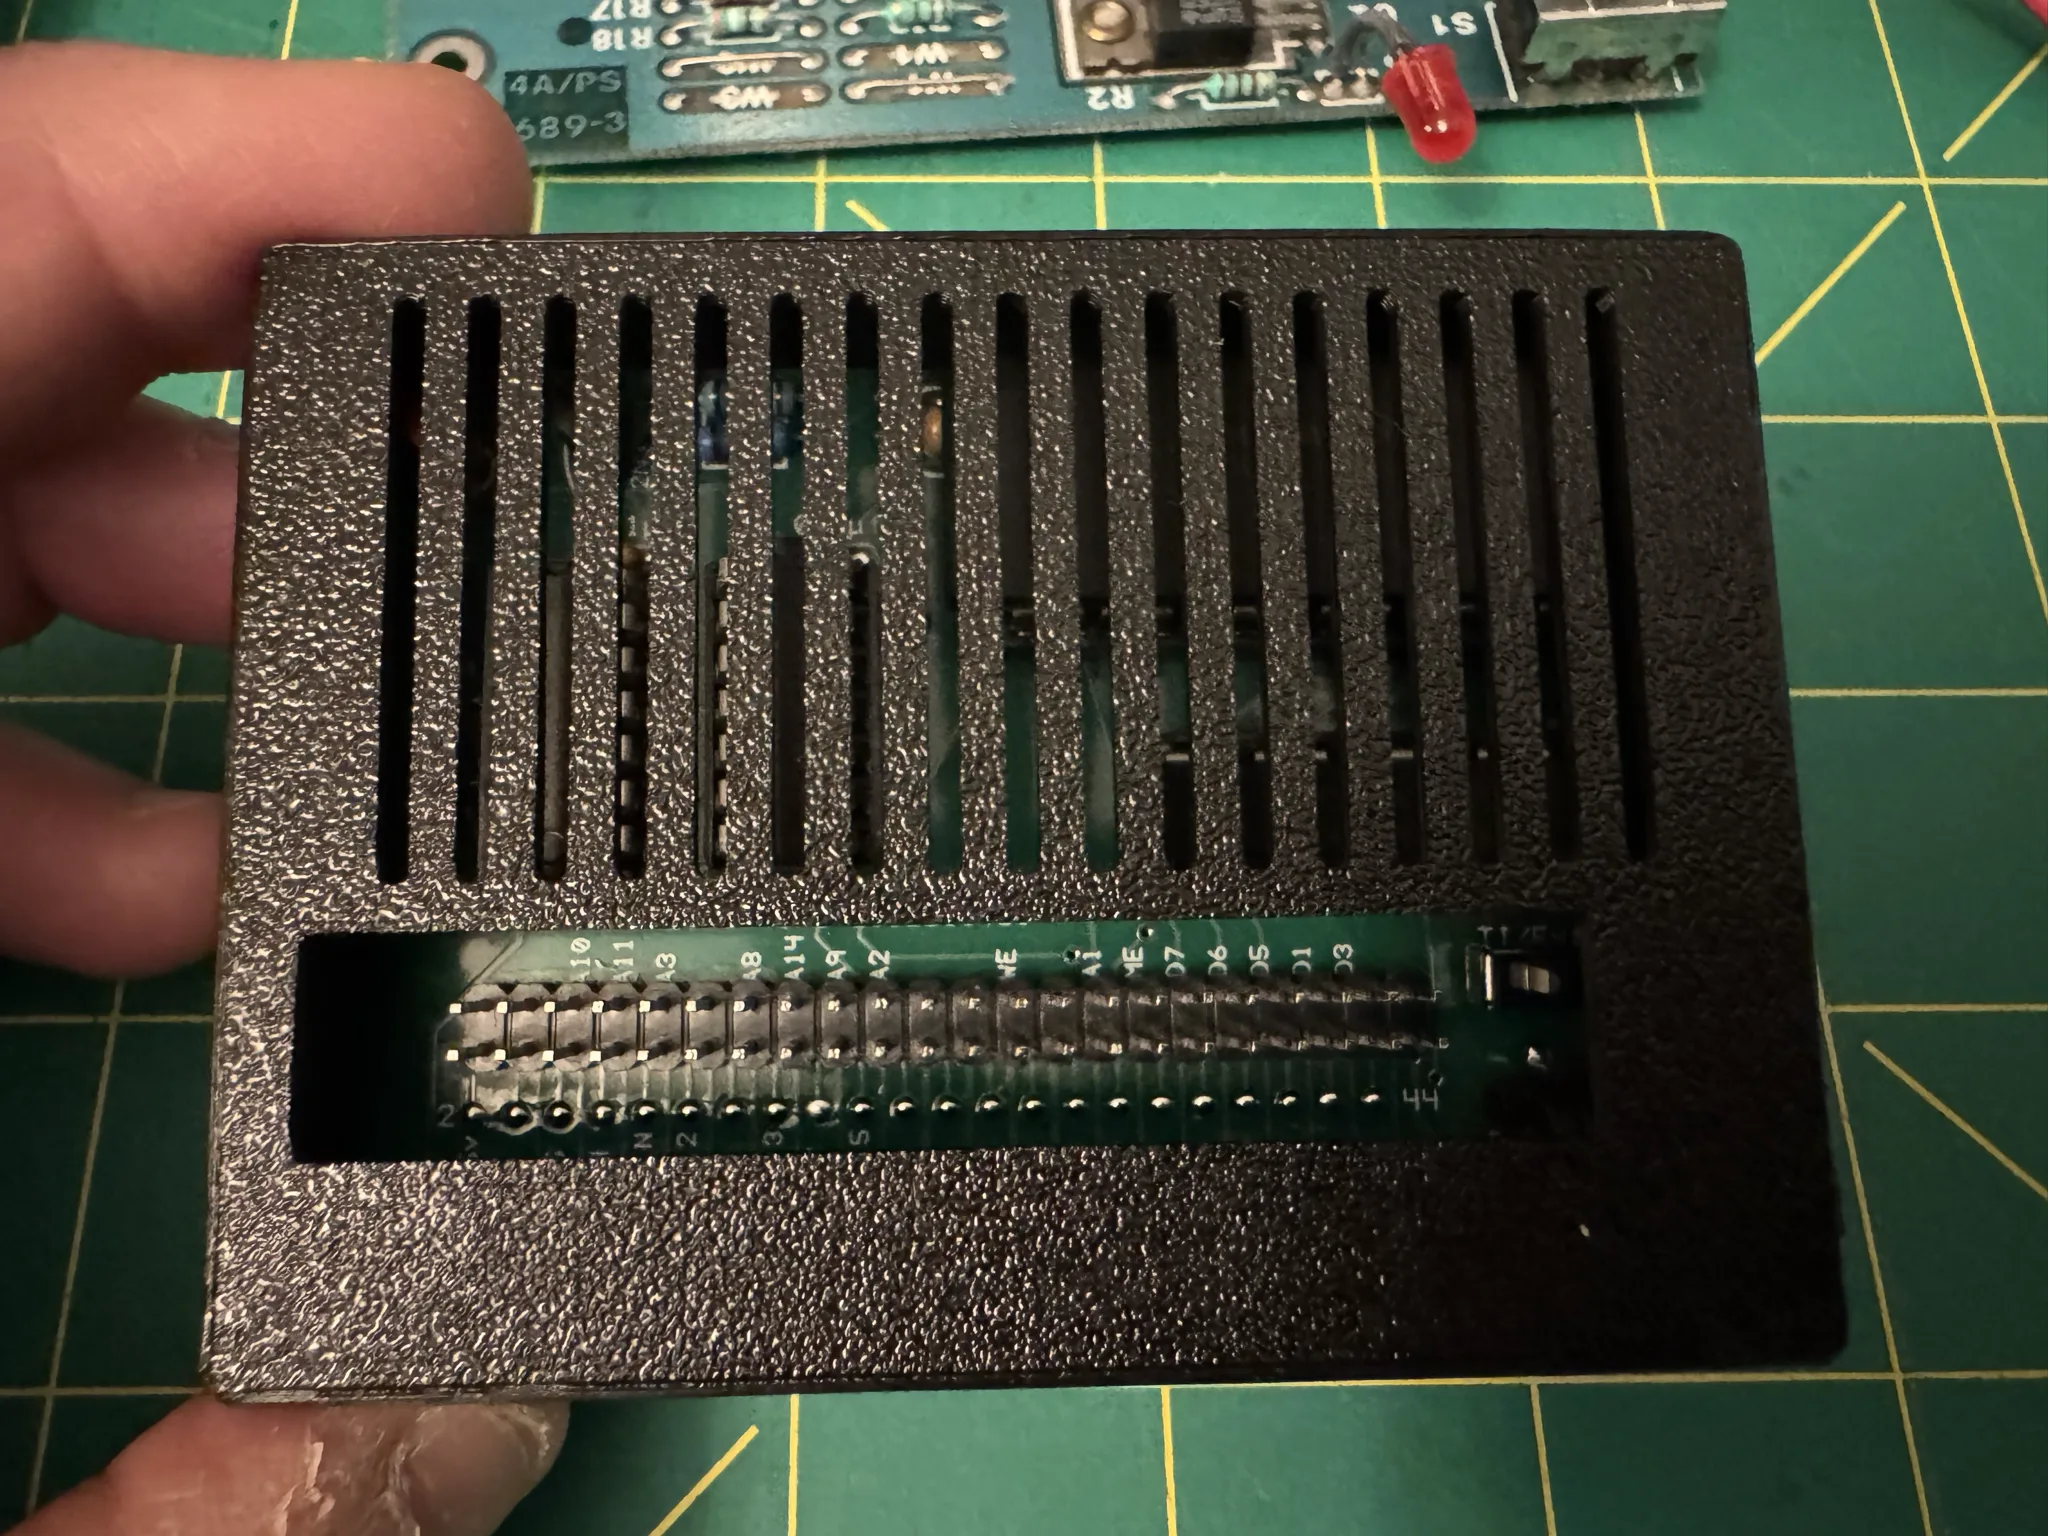
The 32K memory upgrade has an outside port allowing daisy chaining any other components using the side port. Commonly a voice synthesizer module is plugged into the side of the computer. If I find one of those in clean condition I may get it as it seems to be an essential part of the TI-99/4A experience.
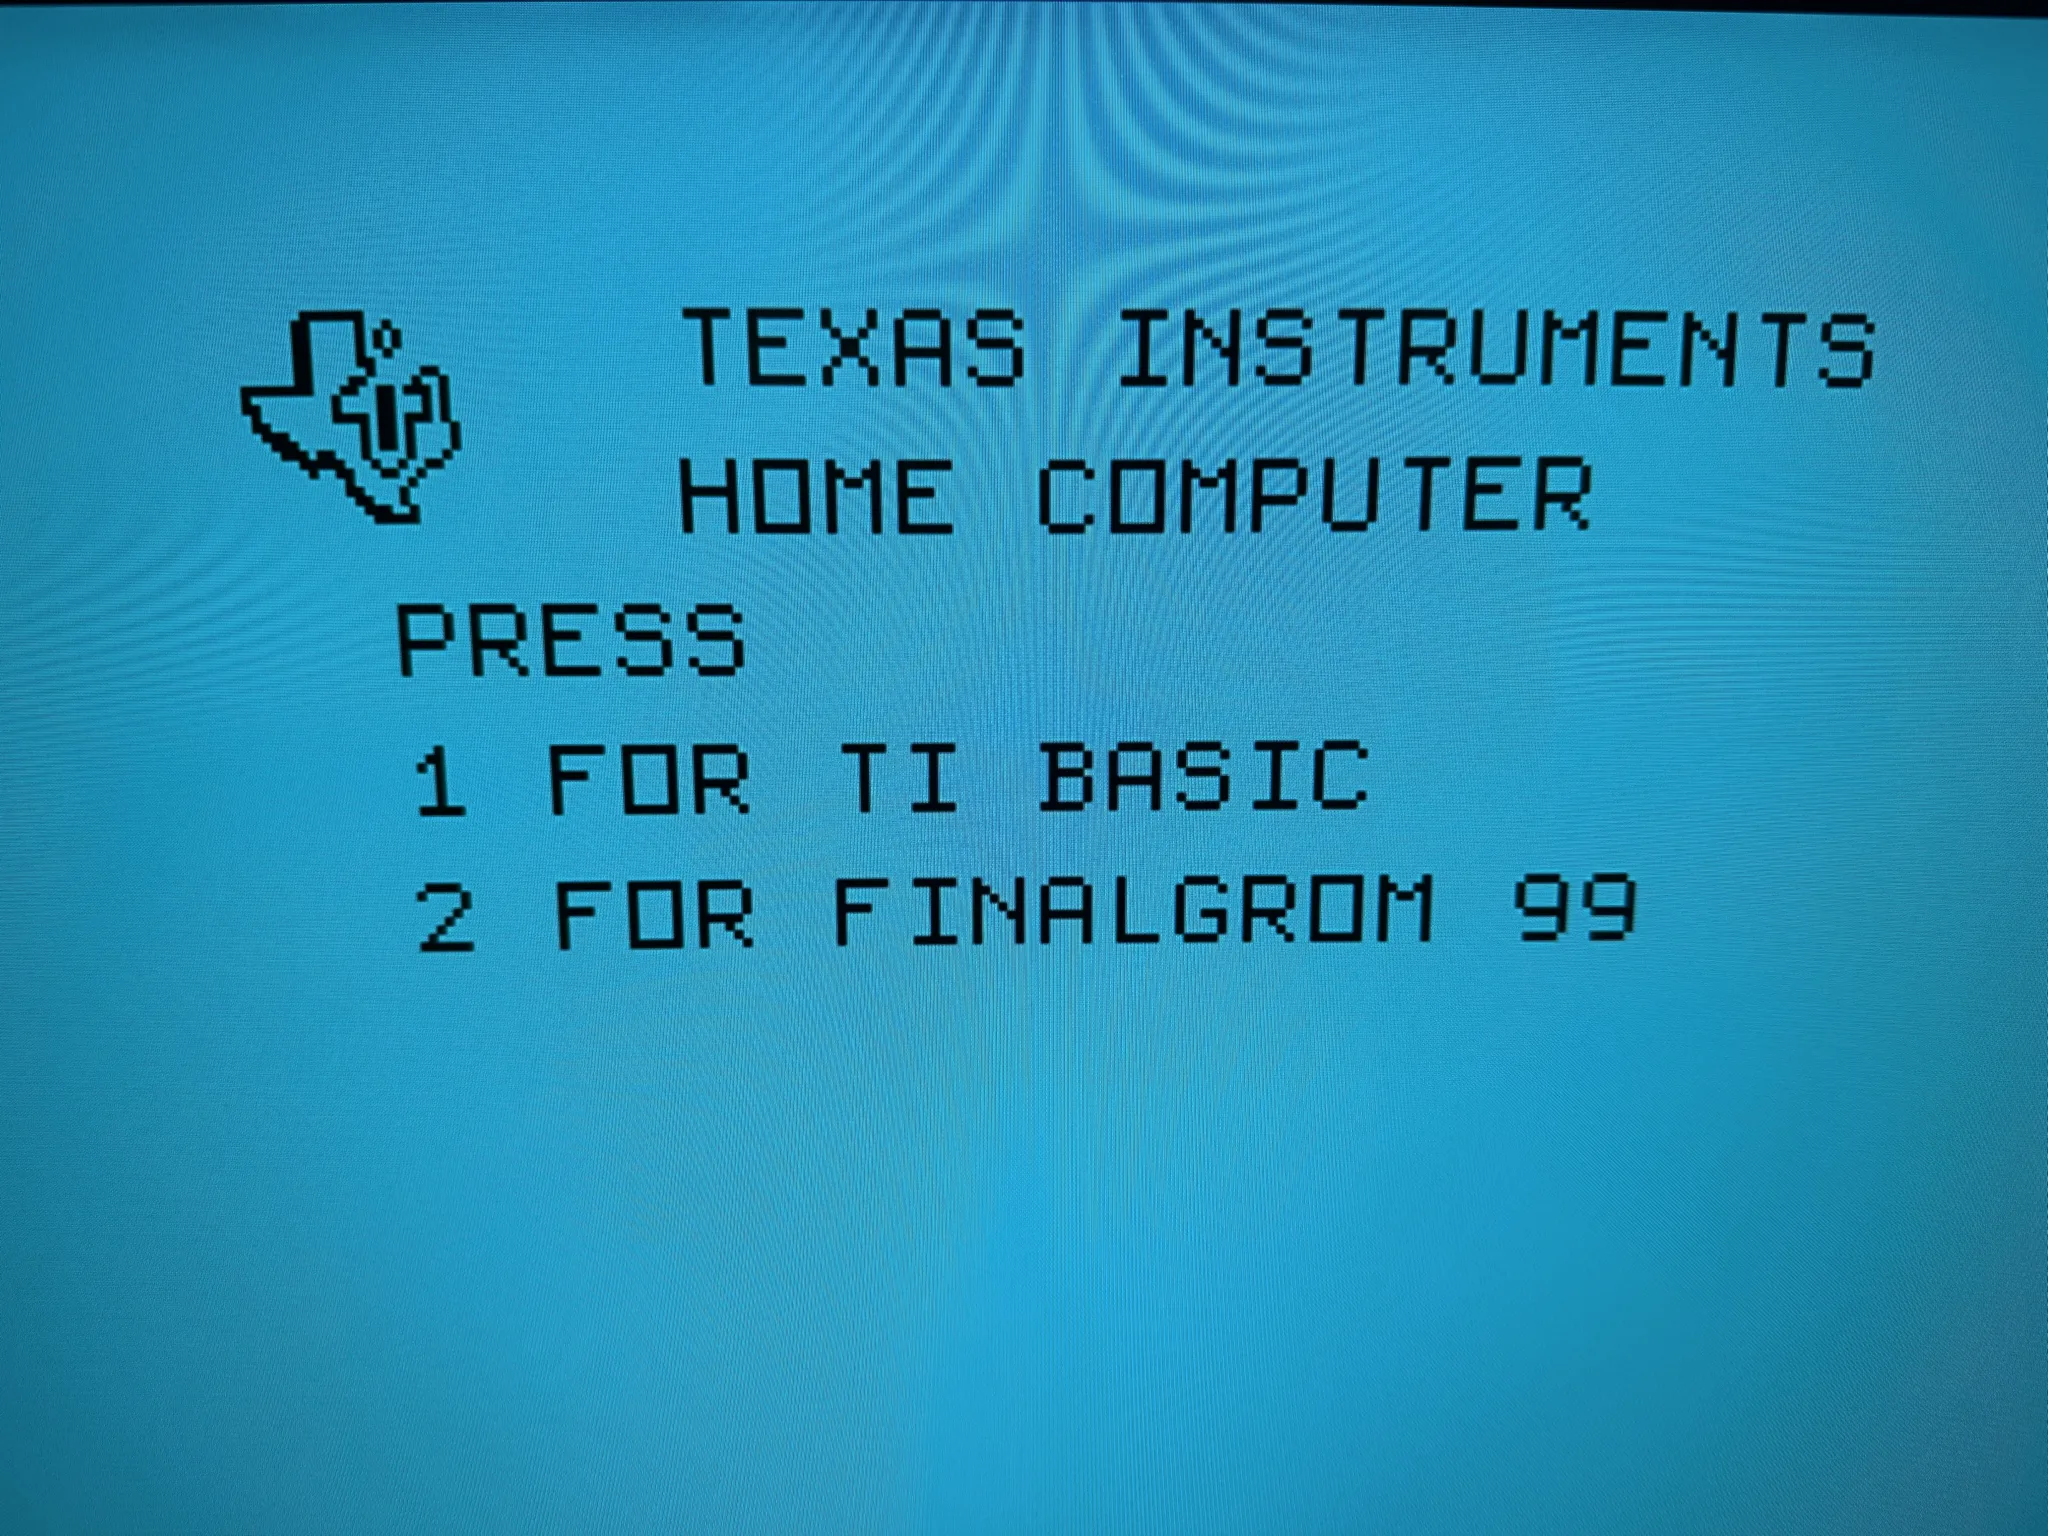
Here is the menu now with an option “2” for activating the FinalGrom cartridge instead of TI BASIC.
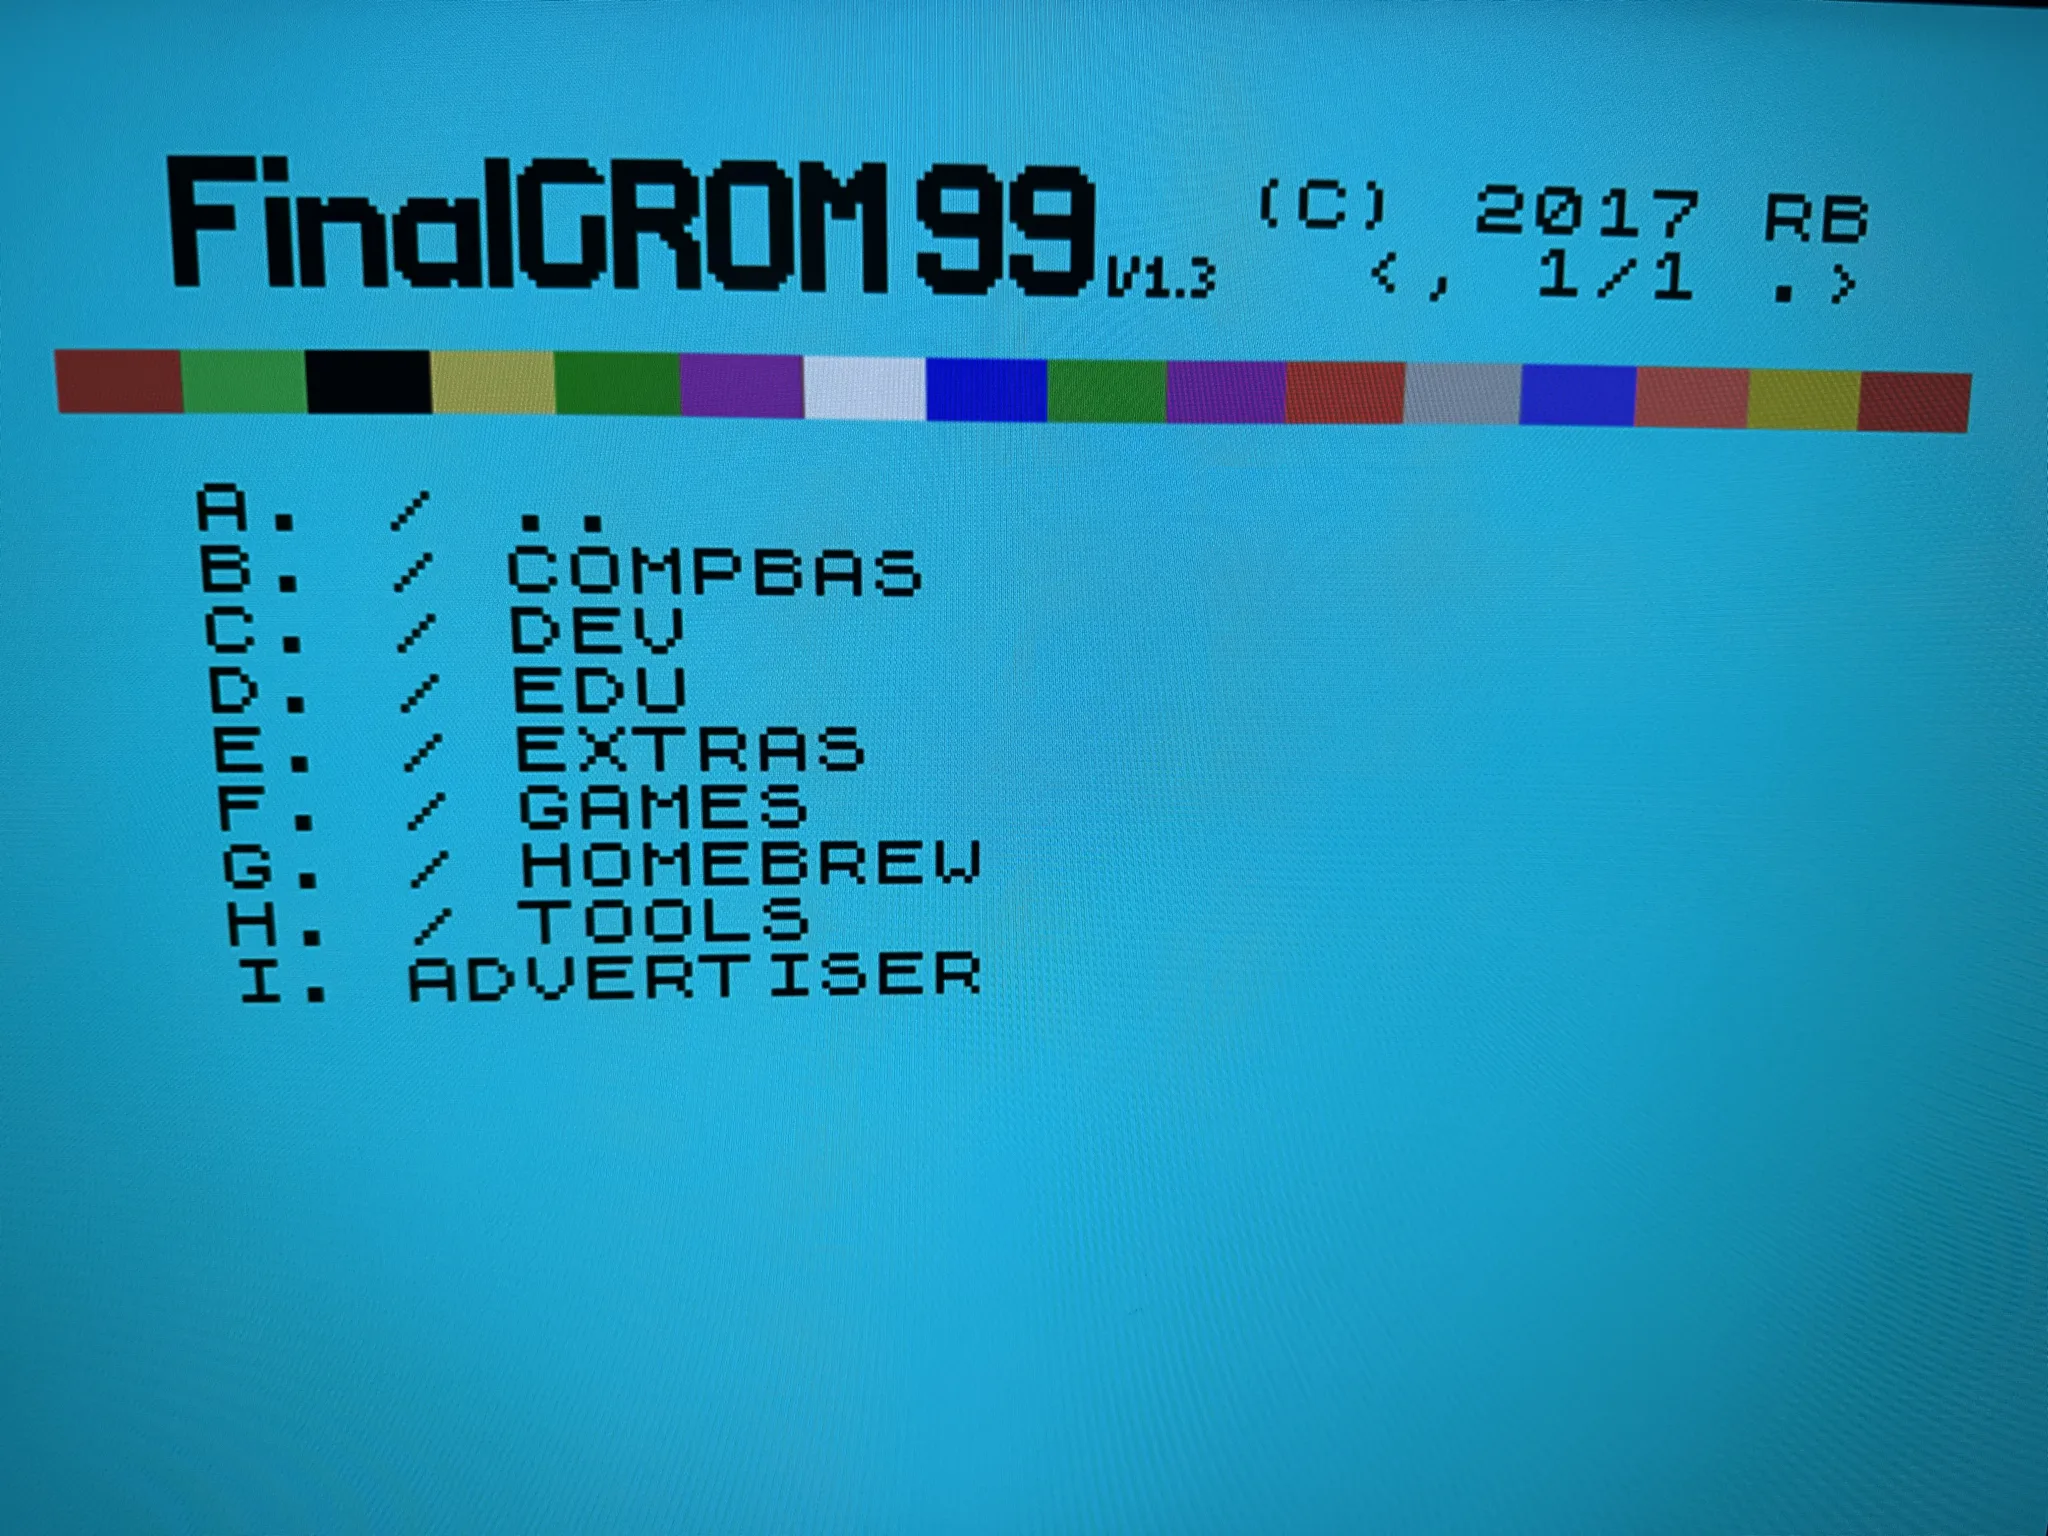
Here is a list of folders containing programs. Press a letter to select.
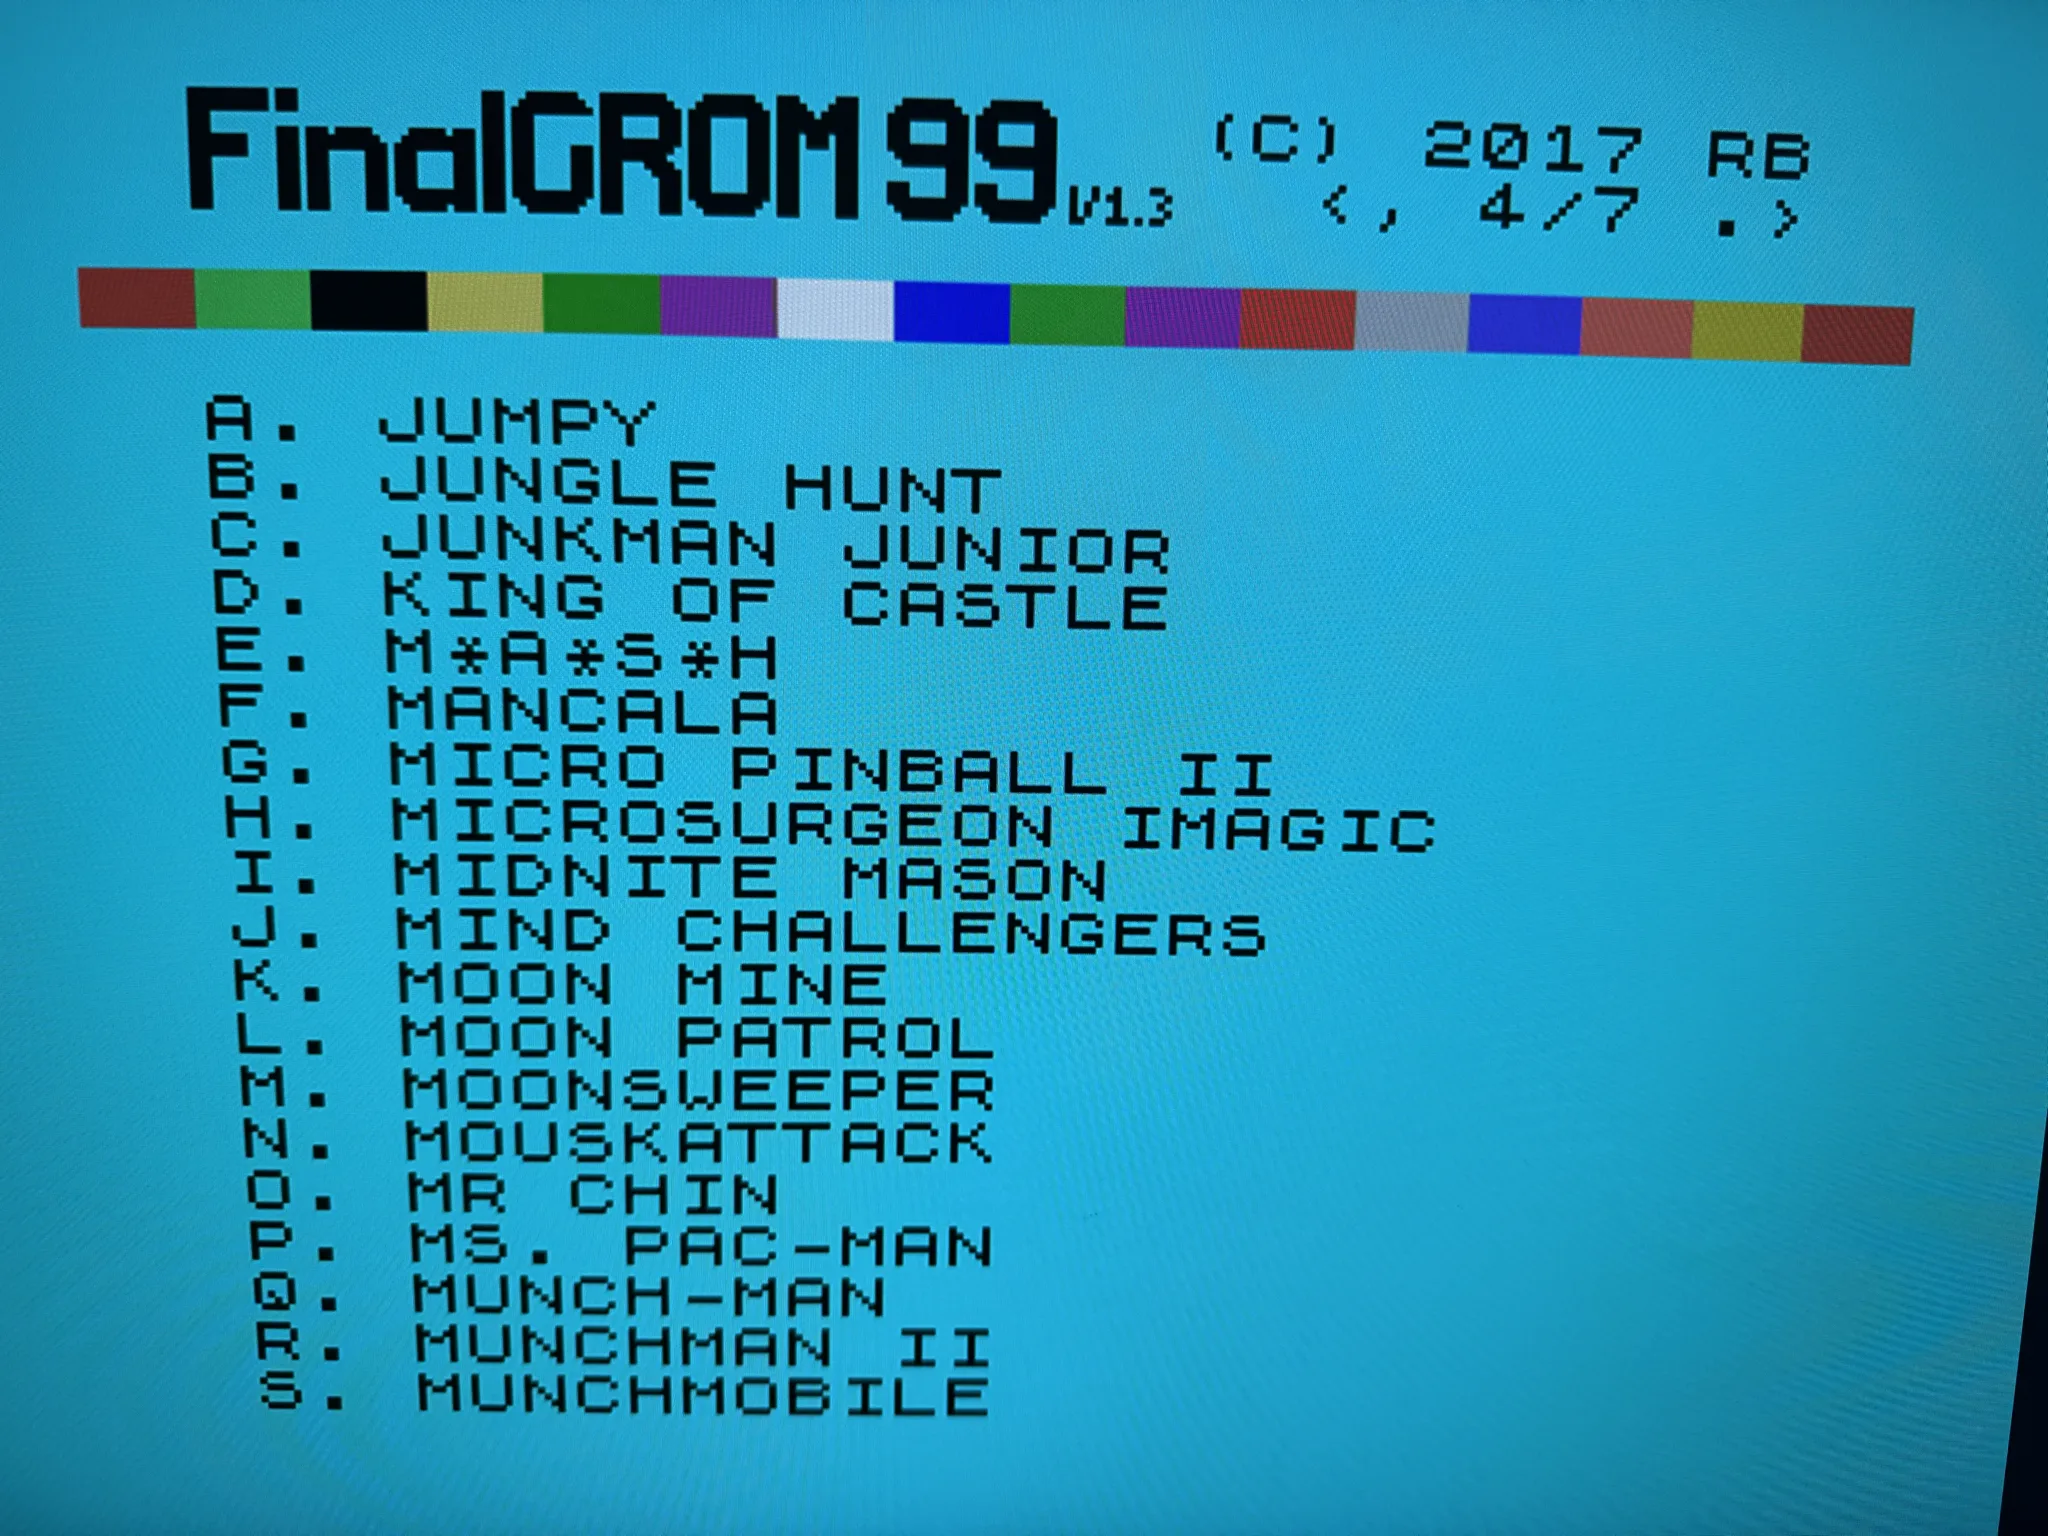
Here is page 4 of 7 of the programs in the games folder. The “,” and “.” keys enable navigation through the multiple page list. I find this to be pretty fast; no waiting for a page to load.
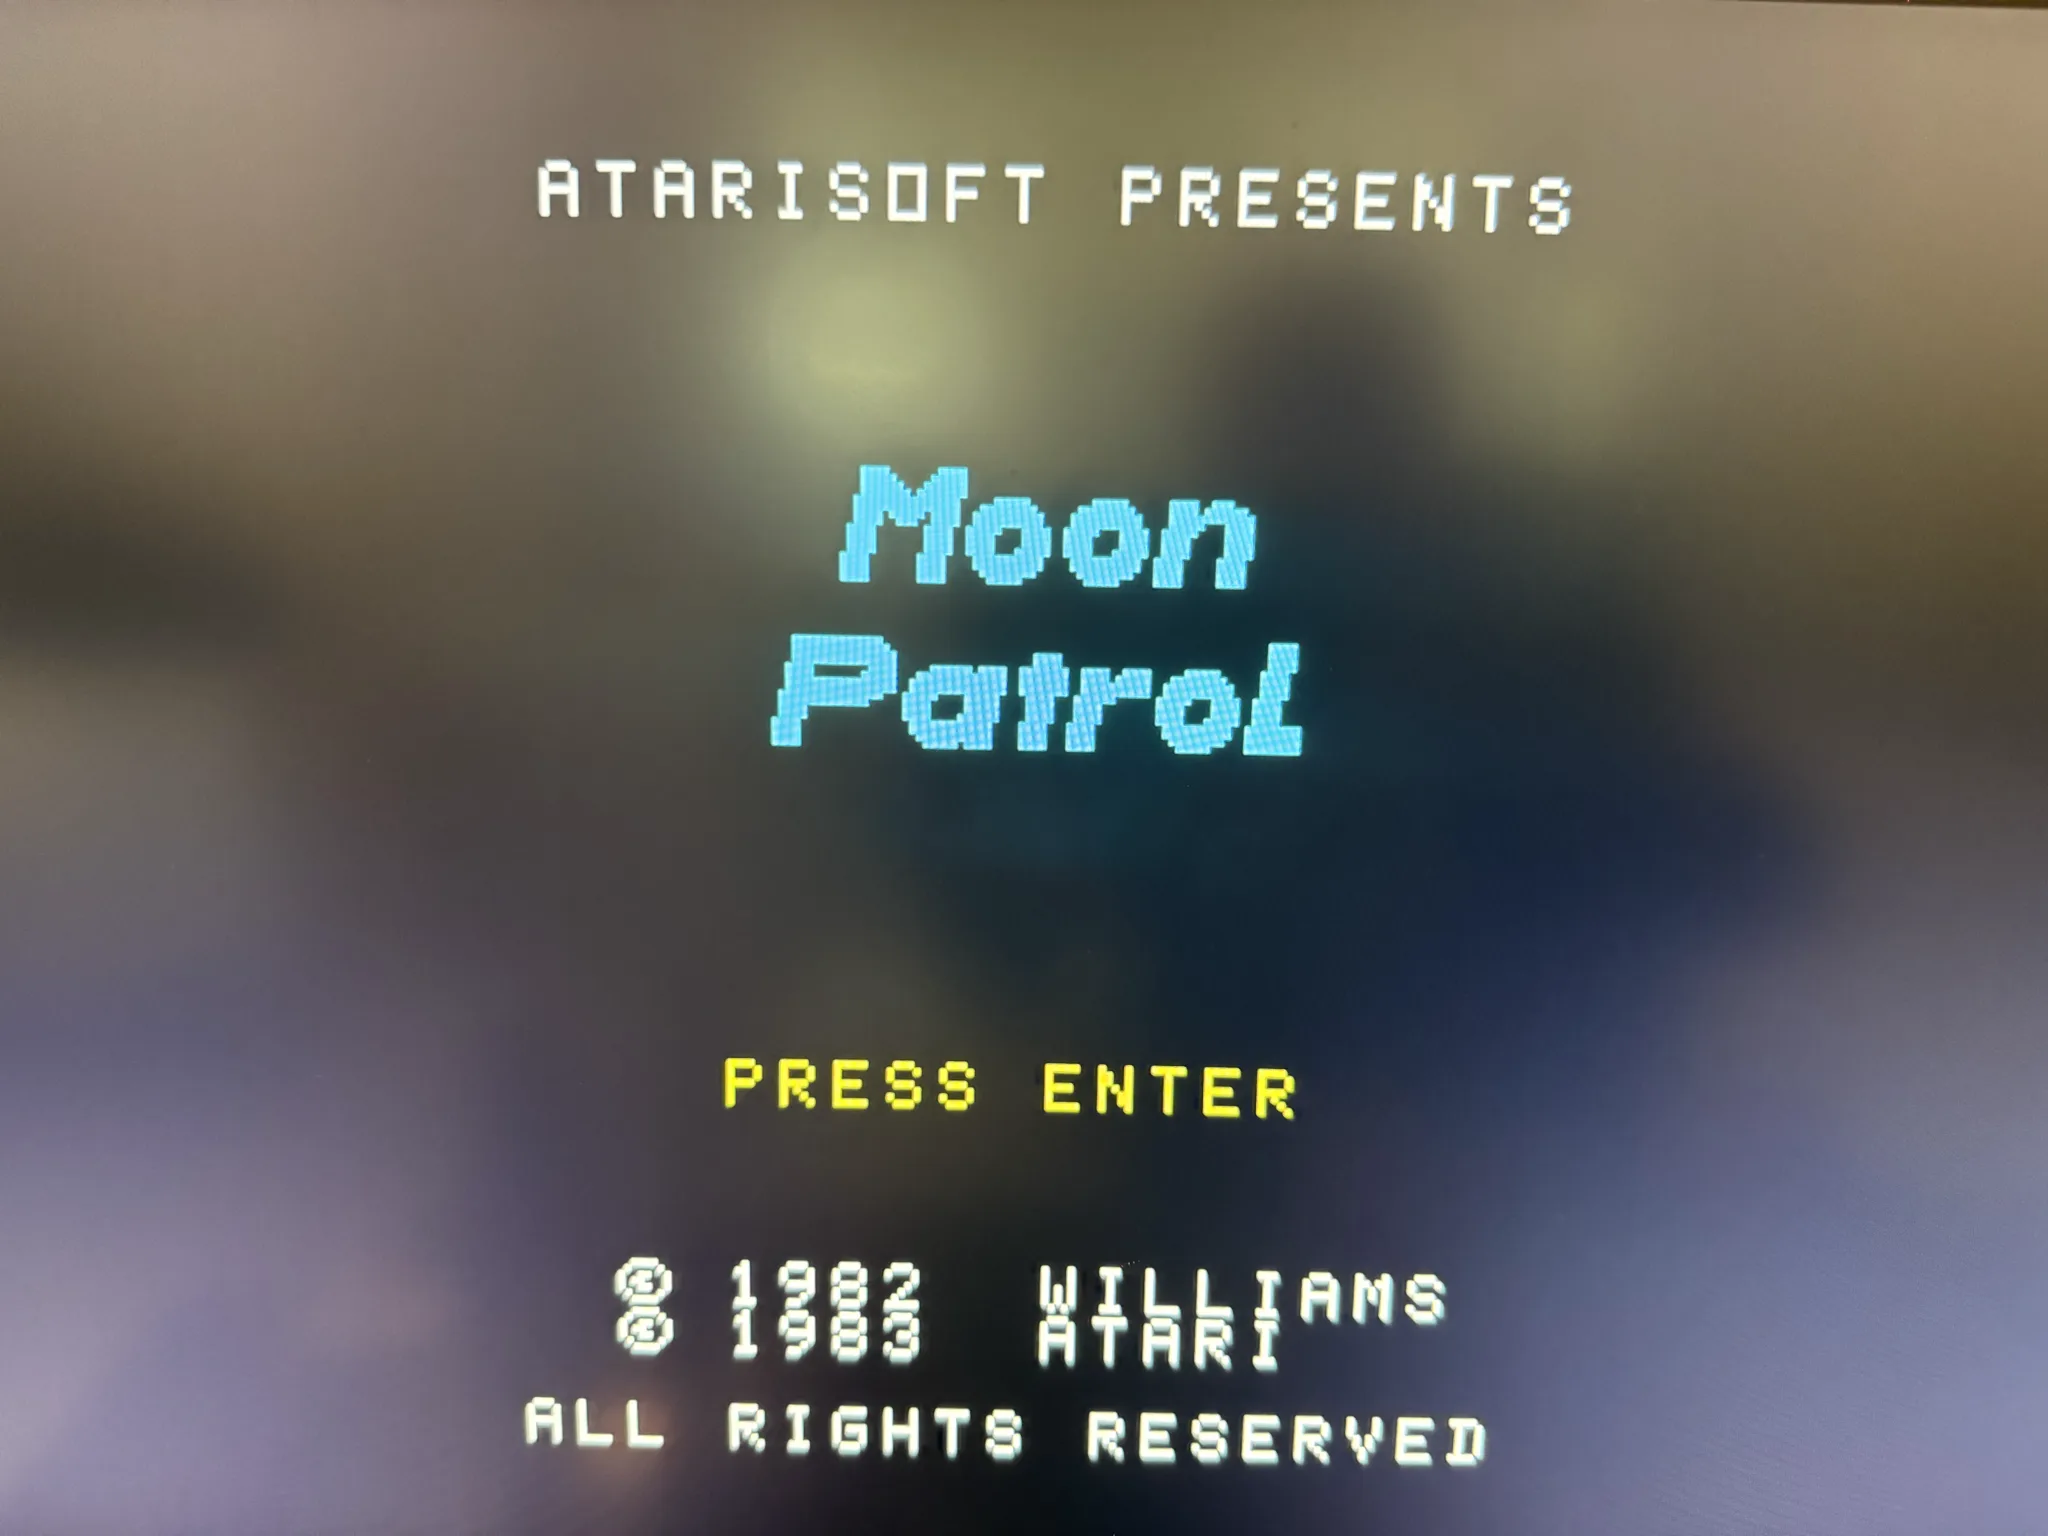
Here is the start screen for a version of “Moon Patrol”. This game is ported to all computers it seems.
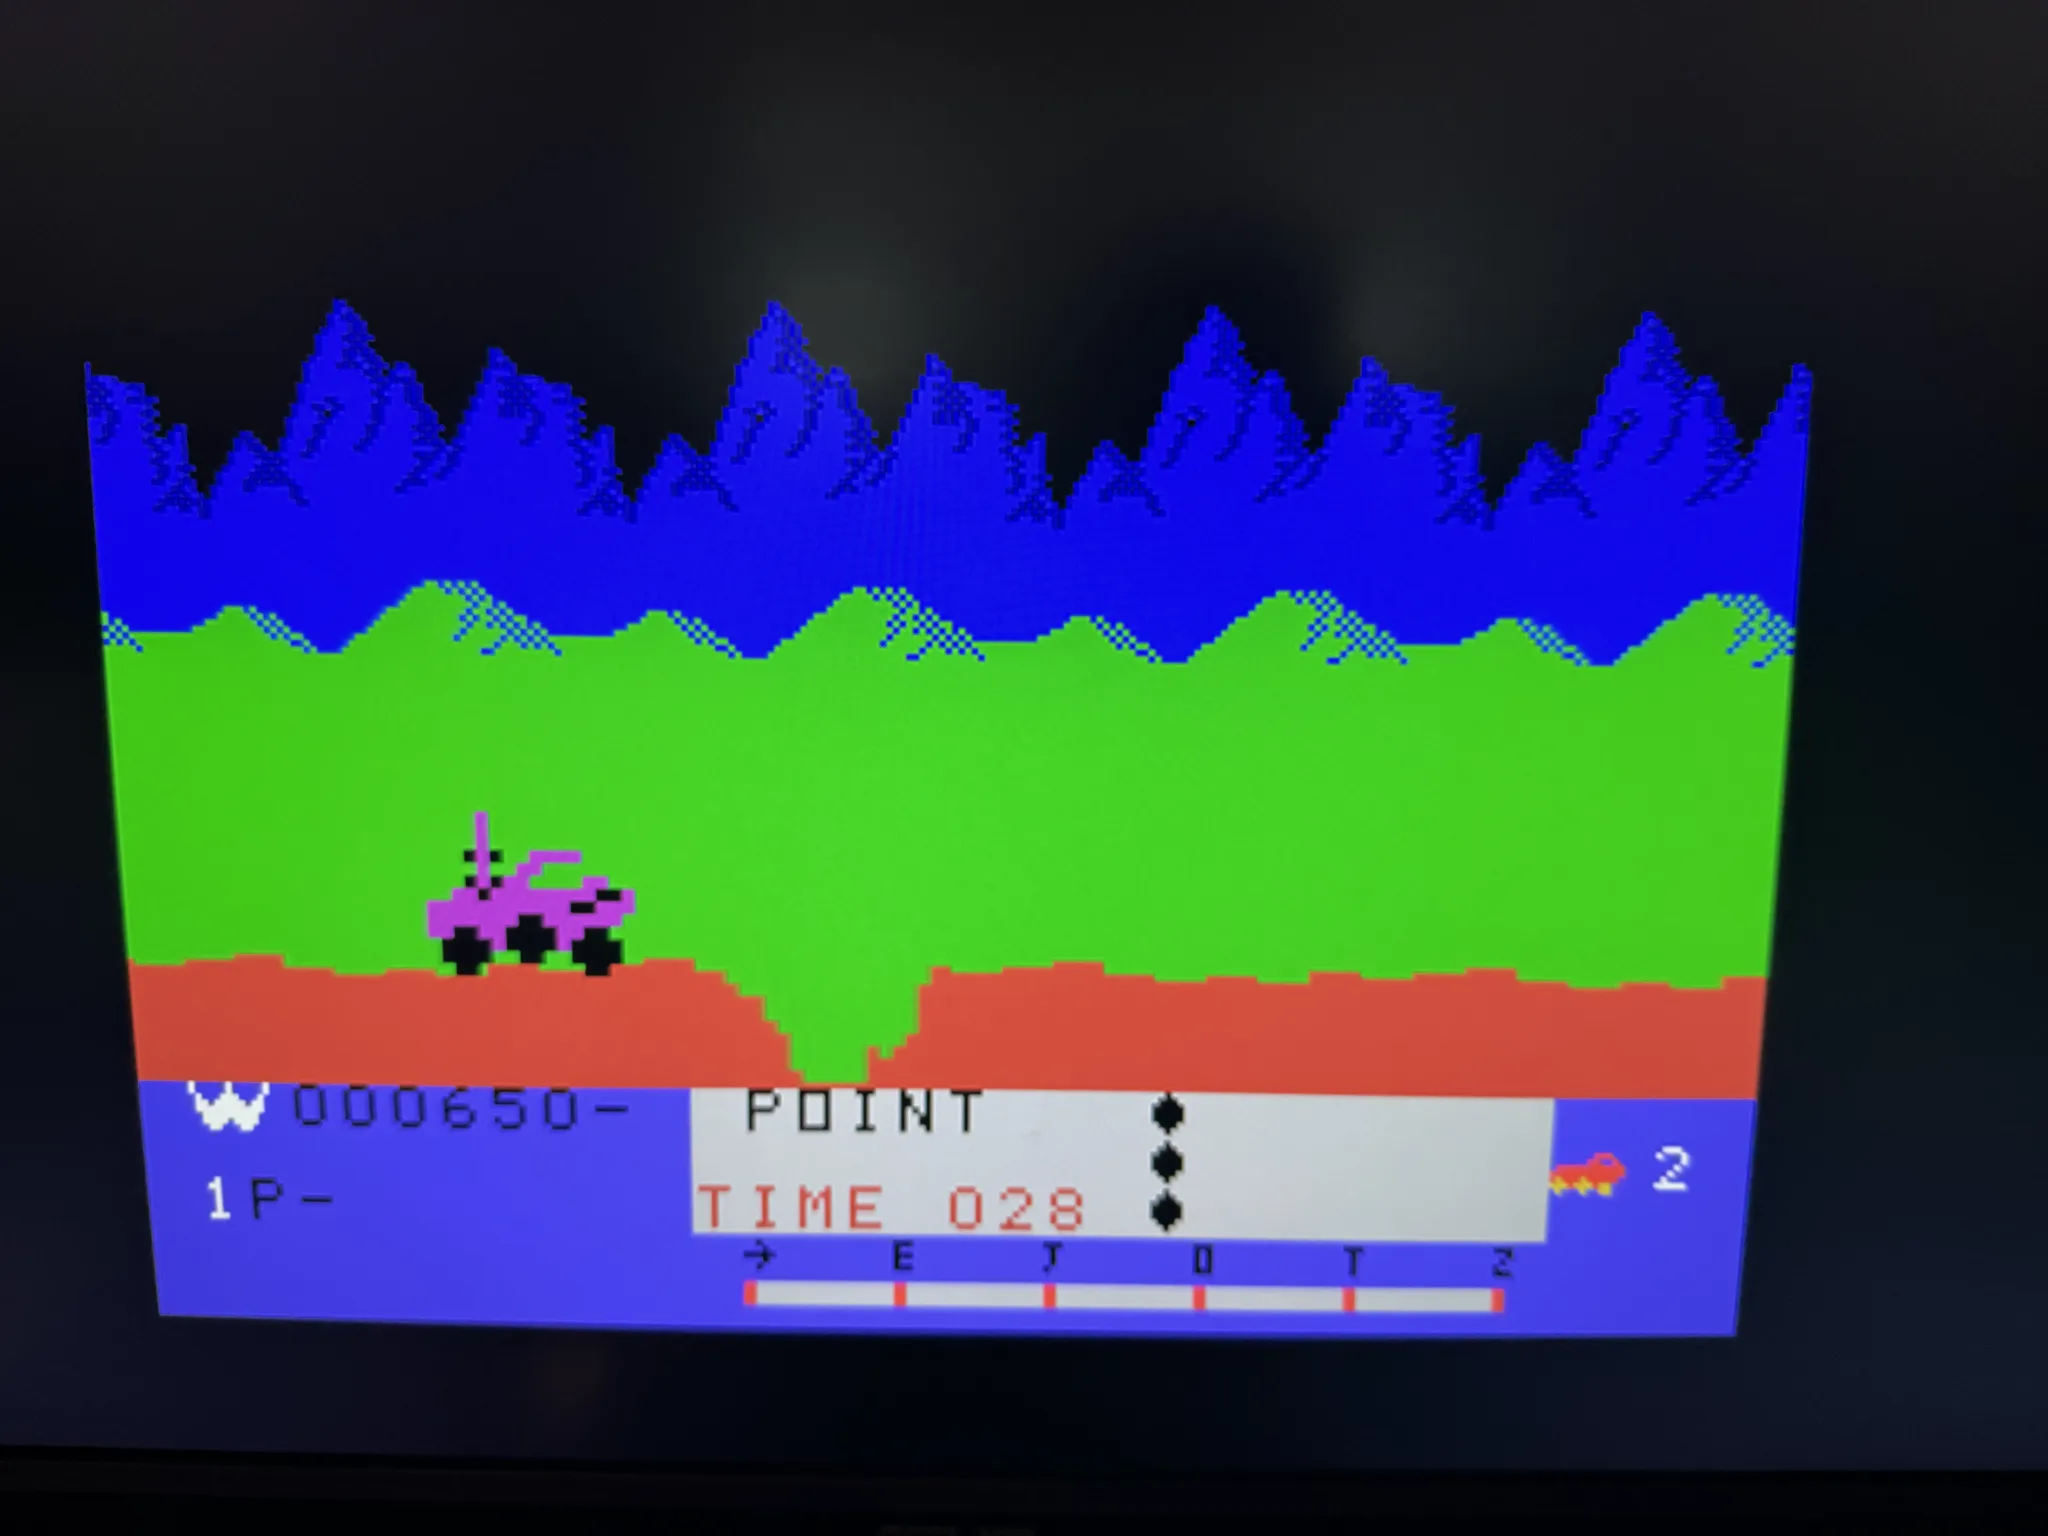
Here is a screen shot of the game in progress. This port is tediously slow and I suspect that has something to do with the inferior TI-99/4A architecture. Its playable, but not as enjoyable as on other systems. I did find that the Space Invaders clone on the TI-99/4A was quite good.
Note, I’m taking pictures of my monitor with my phone, so the screen shot quality is not as good as it looks when you are in front of it.
That’s all for now. I’ll create a new page when I wrap things up. I need to mount a plug in the back of the computer for HDMI and hope to find a clean way of doing this. I’ll also share pictures of the books that come with the computer as those books actually make for a large part of the experience.
I’m really happy how this is going and looking forward to getting it back in it’s case with an easy to use HDMI port.